 Skip to content
What is an electronic enclosure and why it matters
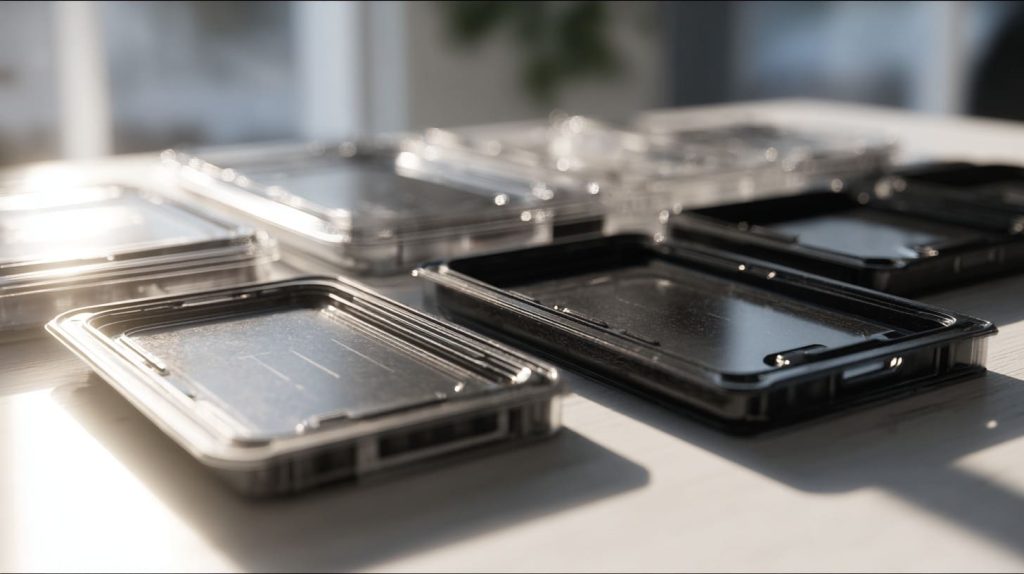
Every product begins with an idea—often small, sometimes messy, always full of potential. But the moment we start shaping that idea into hardware, something physical, the enclosure steps into the spotlight. It’s not just a container. It defines how your product survives the real world. It decides how it looks, how it feels, how it gets used, and how long it lasts. I’ve seen cases ruin good boards, and cases elevate average ones. So yes, the enclosure matters. A lot.
My personal story: how I (Vincent Li of MaidaTech) discovered the importance of enclosure design
A few years ago, we had a client in Europe who designed a sleek small board with lots of LEDs and connectors. They ordered our stock case, we printed their logo, and off it went. Then the first batch came back—heat issues, switches misaligned, the logo faded. It hit us: the enclosure design wasn’t just form, it was function. We redesigned the case, changed materials, improved venting, better alignment—and the next batch shipped without issue. That moment stuck with me: when you treat the enclosure as an afterthought, problems sneak in.
Who this article is for (custom‑case buyers, OEM/ODM engineers, re‑branders)
If you buy custom cases (like our typical client “Davide” in Belgium) and you ask your Chinese supplier for “just a box + logo”, then this article is for you. If you engineer the product, pick materials, choose manufacturing methods and expect your supplier to deliver on time—this is for you too. Or if you re‑brand boards such as Raspberry Pi, Orange Pi or Banana Pi and you need a case that fits your brand, print, stock, ship—yes, this is for you. I’ll walk you through the key steps I use at MaidaTech to help clients.
1. Define the Purpose and Requirements
1.1 What is the product’s application and environment?
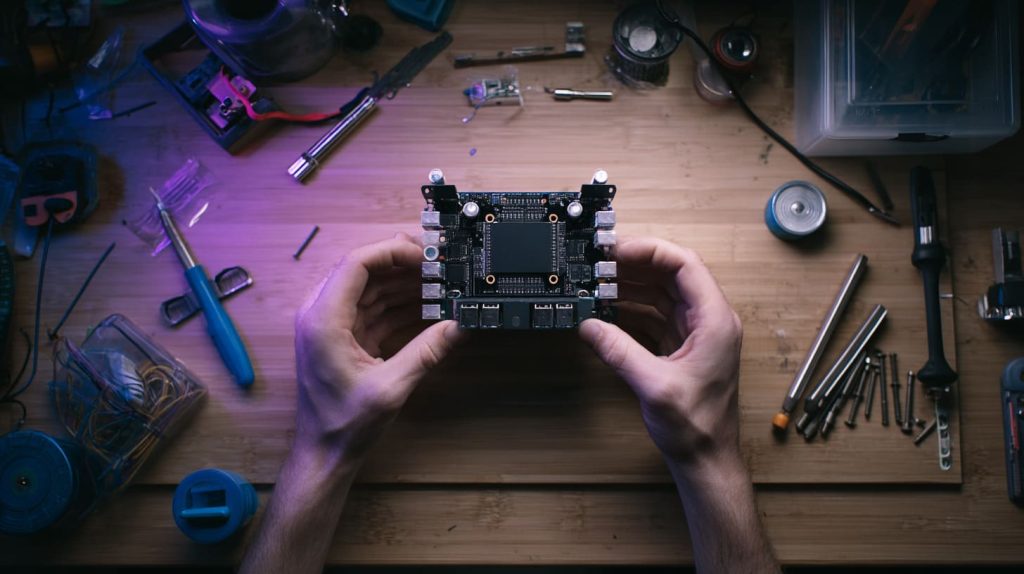
When I ask a new buyer: “Where will this product live?” I’m not just being polite. I need to know: indoor or outdoor? Desk or industrial wall‑mount? Temperature extremes? Humidity? Vibration? These affect everything. For example: a board that goes inside a home router has very different needs versus one mounted in a factory down‑time monitoring case in Korea. If you skip this, you’ll pick a material or method that fails.
1.2 What internal components and layout must be accommodated?
You might have a board with USB ports, HDMI, LEDs, a power supply unit and a heatsink. You need to plan space: mount holes, connectors, cable paths, air gaps, clearance. Without this you risk “it doesn’t fit” or “port misaligned” issues. I tell my team: make a list of all components + dimensions. Then mock up – even with cardboard. One client learned this the hard way: they sent a board and expected a supplier to “just fit it”. The case arrived with two ports blocked by screw posts. Time lost.
Here’s a mini table I often share with clients:
| Item | Qty | Size / footprint | Special requirement |
|---|---|---|---|
| PCB board | 1 | 120 × 80 mm | Includes heatsink 15 mm high |
| USB‑C port | 2 | – | Must align with bezel |
| LED indicator bar | 1 | 100 × 8 mm | Clear window front side |
| Cable entry | 1 | Ø5 mm | Strain relief required |
1.3 What regulatory, industry and market standards must the enclosure meet?
You sell in EU? US? Japan? Then you likely must meet standards: IP ratings, NEMA types, EMC, RoHS, UL, etc. :contentReference[oaicite:4]{index=4} For example: if your device goes outdoors, you might need NEMA 4 or 4X. If indoors only, maybe NEMA 1. Not knowing this upfront is a risk. It may force redesign or delay certification. I’ve seen clients assume “it’s just a case” and later find the enclosure fails ingress tests.
1.4 How will user interface, serviceability and branding play in?
Think of the end‑user. Will they open the case to replace a board? Do you need access screws? Modular panels? Or is it sealed once? Branding: where is your logo printed or engraved? What colours? Packaging? These are often treated as after‑thoughts. At MaidaTech we ask early: “Will you change colour next year? How many SKUs?” Because that affects tooling, cost, stock. A client doing Amazon launch said: “we’ll just reuse next year”. That turned into higher cost because we didn’t plan modular parts.
Now let’s shift into materials and how you make the box.
2. Select Materials and Manufacturing Methods
2.1 Review of common materials (plastics vs metals, composites)
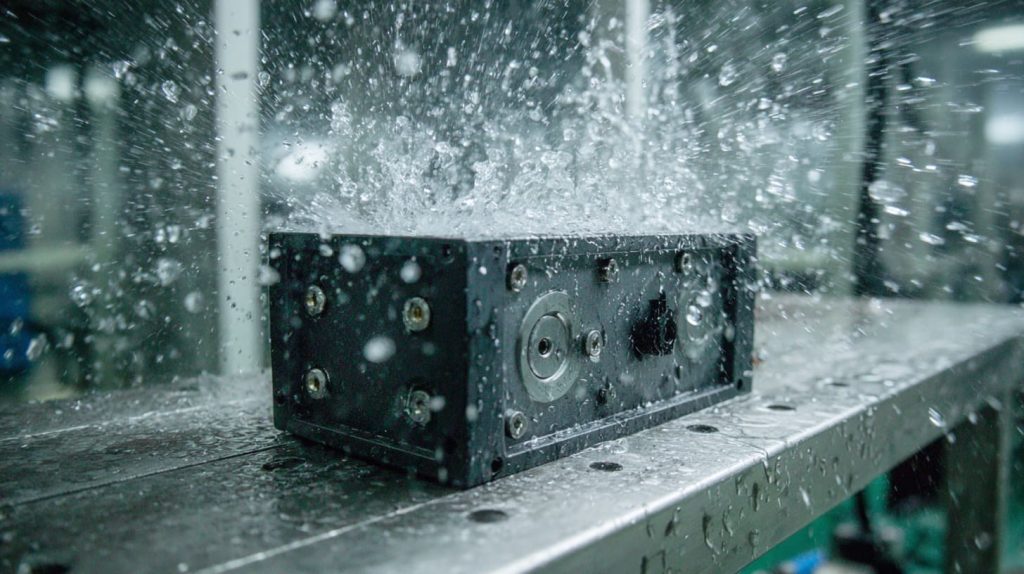
Material choice is key. Plastics (ABS, PC, ASA blends) give flexibility, cost advantage, fast tooling. Metals (aluminium, steel, stainless) give durability, shielding, premium feel. According to industry guides: plastics are fine for indoor uses; metals more for outdoor or industrial.
2.2 Choosing based on environment, cost, durability and shielding needs
From my factory experience:
- If your device sits in a wet environment, you want corrosion resistance (e.g., stainless or anodised aluminium).
- If you have sensitive RF parts, metal helps for EMI/RFI shielding.
- If cost is tight and parts volume is high, plastic may be best. But plastic may age in UV, may not have as good shielding, may flex under heat.
I often ask: “What is your budget per unit? How many units?” Because these answers guide material choice.2.3 Manufacturing methods (injection moulding, sheet‑metal, 3D printing, CNC)
Each method has pros/cons.
- Injection moulding: great for large volumes, fast cycle time, but high tooling cost.
- Sheet‑metal: good for metal enclosures, quick tooling but some limitations in geometry.
- 3D printing/CNC: ideal for low volume, prototyping, but cost per part higher and material limitations.
It’s critical to choose method early. Because tooling lead‑time, cost, volume all tie in.2.4 Trade‑offs between prototyping and mass‑production
When we prototype a custom case, we often use 3D printing. It’s fast. But when we hit mass production, we switch to moulds. That demands revision. If you skip prototyping, you may get surprised by fit issues, heat issues, or aesthetics not matching. One real‑life example: a client’s logo looked flat and cheap on 3D print sample. But on mass‑injection moulded part the surface finish changed and the logo looked dull. A small detail—but brand image suffered. So plan for both: prototype + production.
Enough with materials—let’s talk mechanical design.
3. Mechanical Design & Internal Layout
3.1 Determining overall dimensions, clearance and component fit

Here is where I often see re‑branders make a mistake: the board is fixed, but the case is too tight. Clearance is missing. Or connectors are blocked. One Reddit engineer wrote:
“Do the basic enclosure first because that defines what people see as your product.”
So I ask: measure your largest component. Add clearance. Think about PCB standoffs. Allow for cables. Consider tolerance.3.2 Mounting of PCBs, connectors, heatsinks, cables and cables routing
You must ask: how is the PCB mounted? Are there standoffs? Do you need side‑mount, top‑mount? Where are connectors? Are there cable entries? At MaidaTech we keep a checklist:
- Connector clearance to edge
- Mount holes in case align with board holes
- Cables routed to minimise bend radius
- Strain relief for cables
Poor cable routing can cause repeated failure or customer complaints.3.3 Thermal management: ventilation, heat sinks, airflow, conduction
Electronics generate heat. If you don’t manage it, you’ll reduce lifespan or fail certification. Options: Passive ventilation holes, heatsink interfaces, conduction through case, or active fan. The material helps: metal conducts heat; plastic less so. I once had a case where ventilation holes were on the side but the board fan was blocked by packaging—it overheated in end‑use. We redesigned vent placement and solved it.
3.4 Design for assembly, serviceability, and modularity
Think about factory assembly and end‑user service.
- Can the case be easily assembled with fast screws or clips?
- Will the user need to disassemble? If yes—modular panels, accessible screws.
- Consider future upgrades. If you expect variants, build in modularity (interchangeable covers, etc.). One of our ODM clients (Lasle in Hungary) insisted on modular inserts because his board changed every project. We planned for that.
3.5 Aesthetics, ergonomics and branding (logo, finish, feel)
Finally, how does it look and feel? For re‑branders like Jackson in Belgium selling on Amazon, appearance matters. Your enclosure is part of your product value. Finish, feel, branding area, colour—all influence buyer perception. At MaidaTech we offer logo printing or engraving. But many clients forget: finish quality can critical. Matte vs gloss; UV resistance for colour; emboss vs print. And ergonomics: size, shape, cut‑outs, user interface all matter.
Now, once you’ve mechanically designed it, your case must protect against environment and meet standards.
4. Environmental Protection, Standards & Compliance
4.1 Understanding IP ratings, NEMA types and other enclosure standards
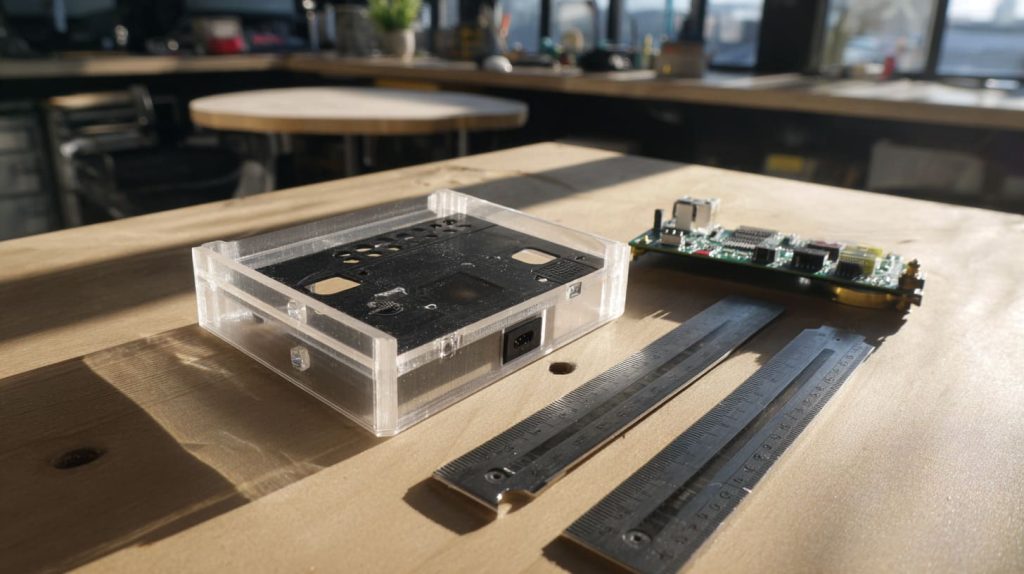
Let’s be clear: “waterproof” or “splash‑proof” are vague. Standards give clarity. The IP code (Ingress Protection) and NEMA types (mainly in North America) tell you exactly how much dust, liquid, corrosion, environment it can handle. For instance: IP65 means dust tight and water jets. NEMA 4X adds corrosion resistance. Not knowing this can kill your application.
4.2 Material resistance to dust, liquids, impact, corrosion, UV
If the case is to be used outdoors by your distributor in South Korea, you must pick the right finish. For example: some powder coatings peel in UV or salt spray. Some plastic ages under sun. A guide mentions that you should match surface finish to environment.Impact resistance, vibration, mechanical shock also matter (especially for transport/shipping)
4.3 EMI/RFI shielding, grounding and electrical safety
If your board emits RF or is susceptible, the enclosure must help. Metal cases help; plastic may need conductive coating or metal insert. According to electronic enclosure design tips: shielding, grounding are key.If you’re selling in Europe or US, you may also need CE/EMC compliance; the case influences that.
4.4 Certification and testing: what your buyers/end‑users will ask for
Your buyer (for example Davide) will ask: “Does this meet CE? UL? RoHS? IP rating? Has it been tested?” You want to answer yes. At MaidaTech we maintain documentation, test reports, first article inspection records. If you skip this, you may face rejection or delays on Amazon/retail platforms. So design with certification in mind—not after.
Onwards now—cost and supply chain matter.
5. Cost, Manufacturing & Supply Chain Considerations
5.1 Volume, tooling cost and production method decisions
When you ask a supplier about a custom case, always ask: what is minimum order quantity (MOQ)? What is tooling cost? For moulded plastic, tooling can be thousands of dollars. Sheet‑metal may have simpler tooling. One of the “ten commandments” of enclosure design says: production volume and budget must decide material and method.If you’re launching a small run (100 pieces), you may want 3D printing or CNC. For 10,000 pieces, you need injection moulding.
5.2 Material choice impact on cost and lead‑time
Metals typically cost more per kg, may have longer finish times (anodising, powder coat). Plastics may have lower unit cost but higher upfront tooling. Also lead time matters: mould lead time is maybe 4‑8 weeks, sheet metal maybe 2‑4, 3D printing days. If your project has a tight timeline (like a holiday Amazon launch), you must choose accordingly.
5.3 Working with suppliers (like MaidaTech) on custom logo, branding, engraving, private labelling
Because I run a factory, I know: branding adds complexity. Logo printing or engraving must be specified up front. Private label kits, custom packaging, re‑brand sticker work—these affect cost, lead time, batch size. Our clients who ask late get charged more or delayed. So you (as the buyer) should plan early.
5.4 Lead‑time risks, communication and shipment: lessons from my factory in China
One pain point for many re‑branders is delays, poor communication, time‑zone mismatch. I had a buyer in Belgium who emailed at midnight my time; by the time they asked for a revision, we lost two production days. My tip: Set clear communication windows, use clear drawings, approve samples, lock in lead time. If you rely on stock (like we do) be cautious of shipping delays, customs, container schedules.
Now we move into prototyping and validation—this is where many buyers skip but shouldn’t.
6. Prototyping, Testing & Validation
6.1 Rapid prototyping: 3D printing, sheet‑metal mockups, visual check

Before full production, build a prototype. It could be 3D printed or a simple sheet‑metal version. This allows you (and your OEM/ODM supplier) to check fit, finish, logo look, mounting issues. One time a client had a crooked logo in their print sample—they caught it in prototype, saved thousands in rejects.
6.2 Fit‑check, thermal simulations, mechanical stress testing
Use the prototype to test: does the board fit? Are connectors aligned? Is airflow adequate (if passive)? Run thermal simulation or even real‑world bench testing. Apply mechanical stress—drop test, vibration. These catch issues before mass produce. For example, we once found that the lid screws loosened under vibration; we added self‑locking nuts.
6.3 Pre‑production sample validation with customer feedback
Send a pre‑prod sample to your buyer (or the buyer’s local market) and get their feedback. Does the branding look right? Does packaging match their shelf expectations? Do colours appear correct under store lighting? This step is often skipped in quick launches—and regrets follow.
6.4 Launching production: first‑article inspection, quality assurance
Before full run, do a first‑article inspection (FAI). Check dimensions, finish, assembly, logo, functional test. At our factory I keep a checklist with photos and send to clients. That protects you from surprises and builds trust. And if you’re sourcing re‑brand cases, this step ensures you get what you expect.
Finally, we arrive at design for re‑branding and customisation—one of your key competitive advantages.
7. Design for Re‑Branding and Customisation (Ideal for B2B buyers)
7.1 How to allow for logo imprinting, engraving, custom colours and packaging

When you re‑brand boards (like Raspberry Pi or Orange Pi), you want your name/logo to stand out. Ask your supplier: can you handle printing? Laser engraving? Colour matching? Custom packaging boxes? At MaidaTech we offer these as options. But you must specify: number of colours, position, material finish. If unspecified, you may pay more or get delays.
7.2 Modular/custom‑case options: accommodating different boards like Raspberry Pi, Orange Pi, Banana Pi
You may carry multiple boards and want one case that fits all (or modifications thereof). Modular design helps. For example: keep base footprint the same, but offer different top‑covers for each board type. This saves tooling cost and stock complexity. One of our clients did this: kept same base but swapped face‑plate for different board versions—smart.
7.3 Stock enabling vs full custom moulds: cost and flexibility trade‑off
Stock enabling means using existing tooling and modifying (logo, finish, colour). Full custom moulds mean brand‑new tooling, shape, size. Stock is faster and cheaper. But custom allows full differentiation. For re‑branders, decide: is your branding enough value to justify full custom? Or will stock + branding suffice? I guide my buyers: if you’ll do >5000 units/year, custom mould may make sense; if <1000, stock + private label might be better.
7.4 Partnering with a factory (your story) to ensure service, quality and fast delivery
When you pick a supplier, check: years in business (we have 9 years), production lines, quality control, large stock, custom branding support. I tell my clients: ask for factory tour (even virtual), ask for sample photos, ask for lead‑time. Because your supply chain depends on it. Picking a supplier only for low price and ignoring service means risk of delays, mis‑prints, mis‑communication. I’ve experienced that—so many buyers pay for it in lost time or bad reviews.
Conclusion
Recap: from purpose to production – the key steps
Let’s walk it back: define purpose and requirements → choose materials & method → design mechanics & layout → ensure protection & standards → work cost & supply chain → prototype & validate → design for customisation and branding. Each step builds on the last.
Why good enclosure design matters for your brand, your product and your customers
Because in B2B, your customers buy trust. They buy reliability. If your enclosure fails, your product fails. If your branding looks cheap, your value‑perception suffers. If the case is late, your Amazon listing bombs. By treating your enclosure as part of your product—not an after‑thought—you add value, reduce risk, and improve your brand reputation.
Final thoughts: next steps you can take (sketching your layout, choosing supplier, prototyping)
Right now you might grab a sketch: place the board, mark the connectors, note dimensions. Ask your supplier for material options & cost. Build a quick prototype. Ask for lead‑time and tooling cost. Make sure branding and packaging are discussed up‑front. These actions will save you pain later.
Invitation: contact me (Vincent at MaidaTech) for custom manufacturing services
If you’re looking for a reliable partner who specialises in custom Raspberry Pi/Orange Pi/Banana Pi cases—with branding, packaging, logo printing/engraving—and you want factory pricing, big stock, fast delivery—feel free to drop me a line: Vincent Li at info@maidatech.com. I’d be glad to talk about your case project and how we can get you from concept to shipment smoothly.




