
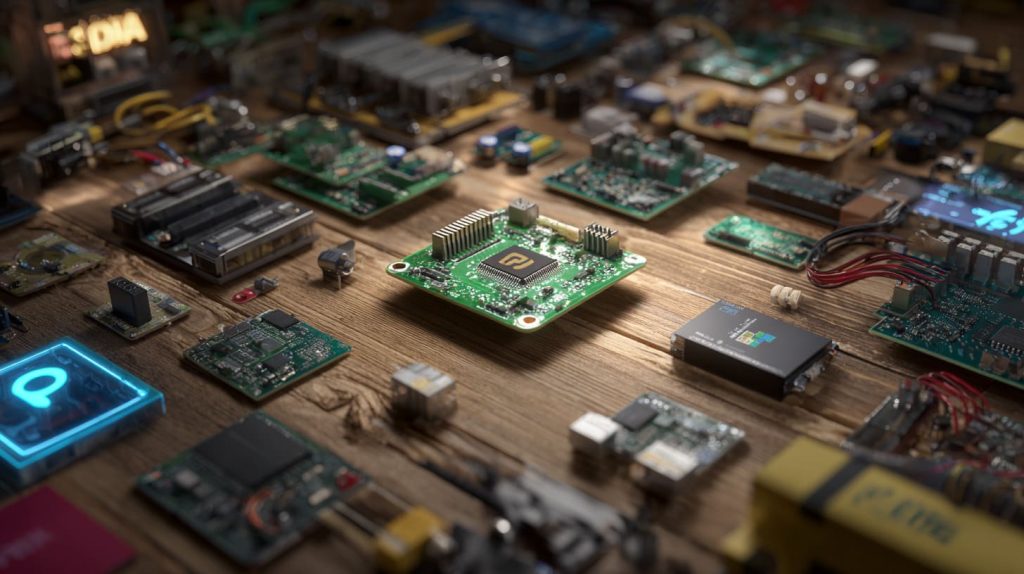
It all started with a client asking, “Can I plug this into my Pi?”
He meant any board. I had to pause.
You can connect many types of circuit boards to a Raspberry Pi—but not every board is compatible. You need to match interface, voltage, and form factor carefully.
I’ve learned the hard way that “looks like it fits” doesn’t always mean it works. Let me walk you through what I wish I’d known earlier.
Does NASA use Raspberry Pi?
I used to joke that if NASA can trust a Pi, maybe I can too. Turns out—it’s not a joke.
Yes, NASA has used Raspberry Pi devices in education programs and some experimental setups aboard the ISS.
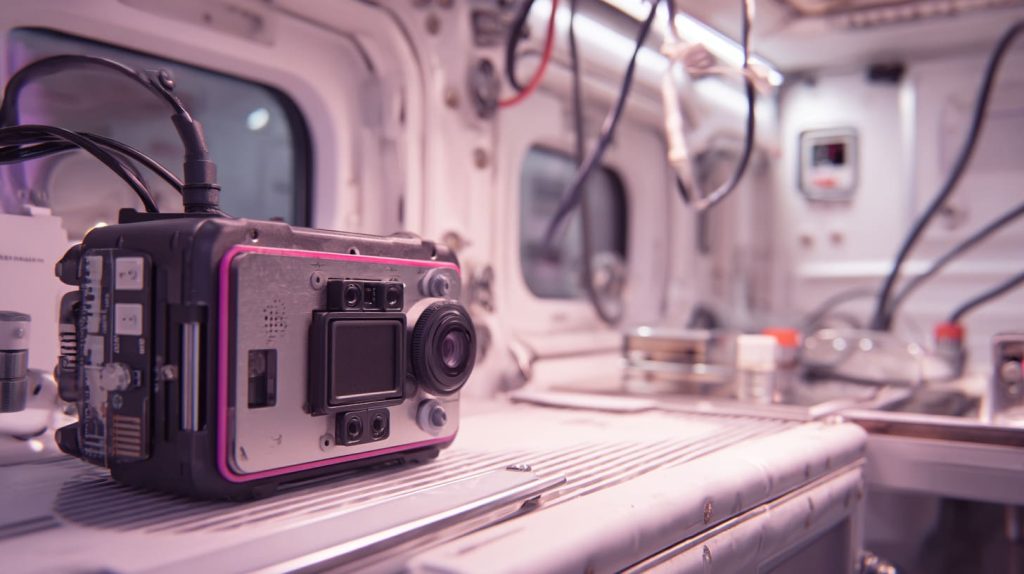
What NASA’s usage tells us about Pi reliability
NASA’s Astro Pi mission proves Pi’s credibility in space. But context matters—NASA doesn’t use Pis for mission-critical flight control. They use them for experiments, education, and lightweight data logging. That said, it speaks volumes about the Pi’s reliability under pressure.
| Use Case | Purpose | Environment |
|---|---|---|
| Astro Pi on ISS | Code competitions, science payloads | Microgravity |
| Earth-based Labs | Simulation, prototyping | Controlled labs |
Do I need a breadboard for Raspberry Pi?
I remember my first Pi GPIO project. My wires were everywhere—until I met the breadboard.
No, you don’t strictly need a breadboard, but it helps for prototyping and testing GPIO connections.
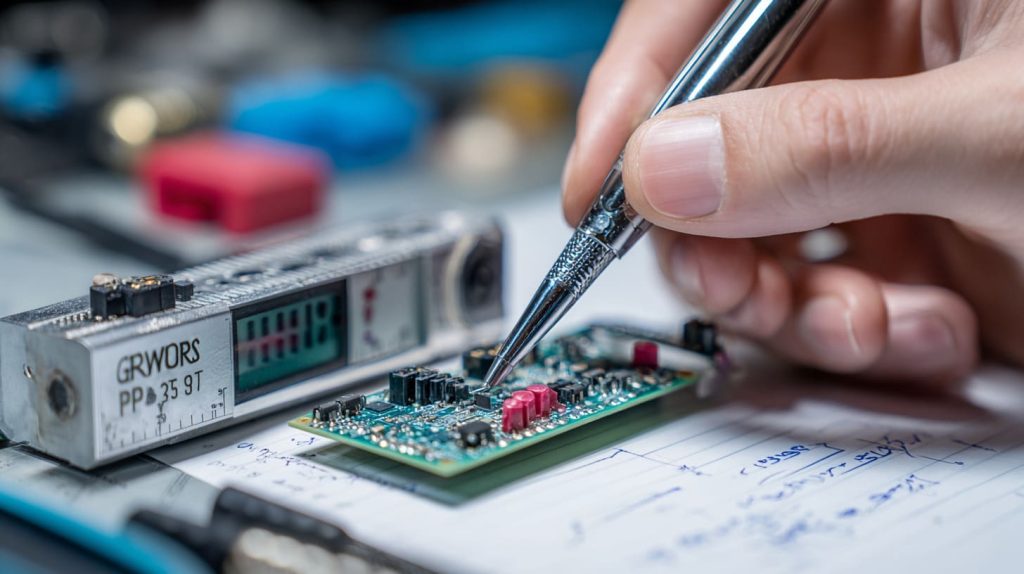
When does a breadboard actually help?
If you’re just plugging in a HAT or USB device, skip the breadboard. But if you’re connecting sensors, LEDs, or custom logic chips? A breadboard saves your sanity. It gives you the freedom to experiment without soldering or damaging your GPIO pins.
Pro tip: Always double-check your pinout and resistor values. A wrong move on a breadboard can still cause a short.
What types of circuit boards are compatible with a Raspberry Pi (GPIO, HAT, USB, etc)?
This is where most people get stuck—thinking anything with pins will work.
Circuit boards that match the Pi’s GPIO header, USB spec, or follow HAT dimensions are generally compatible.
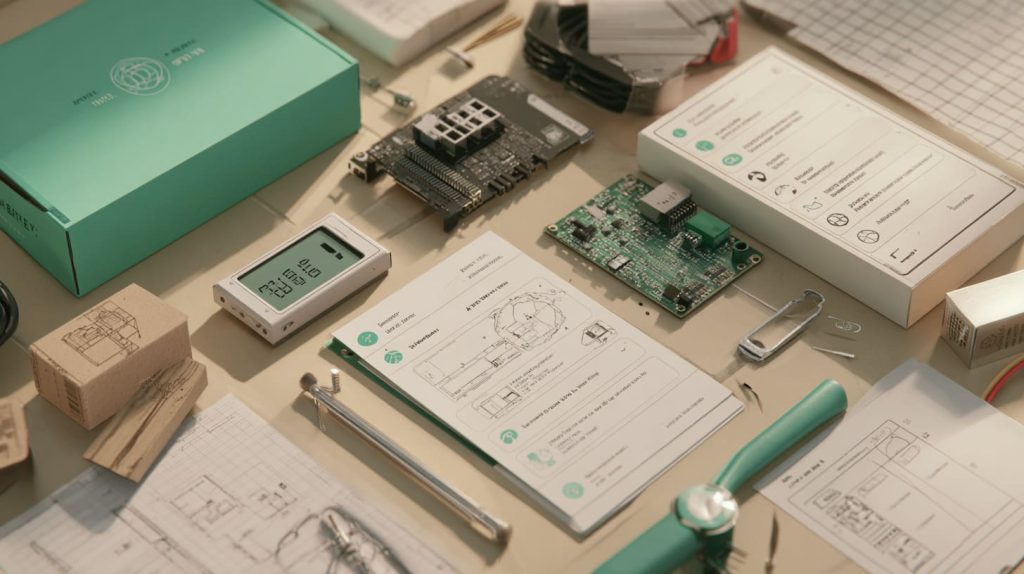
Comparing GPIO, HAT, and USB board compatibility
Compatibility isn’t just about the plug—it’s about voltage, protocols, and mechanical fit.
| Interface Type | Example Use Case | Needs Configuration? |
|---|---|---|
| GPIO | Sensors, LEDs | Often |
| HAT | Display, Motor Controllers | Rarely (plug & play) |
| USB | Cameras, Storage, Dongles | No |
| SPI/I²C/UART | Custom PCBs | Yes |
HATs are easiest—they follow specs. Custom boards? Not so much. That’s where design, layout, and signal matching all come into play.
Which signal interfaces (I²C, SPI, UART, PWM, USB) must a circuit board support for connection with a Raspberry Pi?
When someone says “just wire it up,” I cringe a little. It’s never just that.
Your board must speak one of the Pi’s supported languages: I²C, SPI, UART, PWM, or USB.
Choosing the right interface for your use case
Each signal interface has tradeoffs:
- I²C is simple and supports multiple devices but slower.
- SPI is faster and great for displays or sensors.
- UART is for serial communication—limited to two devices.
- PWM is often used for servos or light dimming.
- USB is easiest—plug and go (if drivers exist).
Make sure your board speaks at least one of these fluently.
What are the power‑and‑voltage requirements when connecting a custom circuit board to a Raspberry Pi to avoid damage?
Burned one Pi with 12V. Never again.
Always match the Pi’s 3.3V or 5V logic levels and ensure peripherals don’t draw too much current.
How to avoid frying your Pi with power mismatch
Voltage mismatches are silent killers. Many Arduino boards use 5V logic. Pi uses 3.3V. Mixing them without level shifters? Risky.
| Danger Zone | What to Watch For |
|---|---|
| Over-voltage | Anything above 5.25V into GPIO or USB |
| Overcurrent | Drawing >1.2A from Pi's 5V rail |
| Ground loops | Can cause erratic behavior |
Rule of thumb: when in doubt, isolate. Use logic level shifters or USB isolators.
How do custom case manufacturers (or OEM/ODM) support or hinder the integration of third‑party circuit boards with Raspberry Pi units?
I’ve seen great boards fail because they didn’t fit the case.
A well-designed custom case either enables smooth integration or makes it impossible. Fit matters.
Why enclosure design makes or breaks compatibility
As a factory, I’ve helped buyers redesign enclosures to fit their HATs or USB extensions. If your board is stacked or mounted, your case must leave space—physically and thermally.
| Feature | Impact on Circuit Integration |
|---|---|
| Cutout positions | Allow access to GPIO/ports |
| PCB standoffs | Provide support and spacing |
| Ventilation | Prevent overheating |
If you’re rebranding, we can even help hide that third-party board behind a branded faceplate.
What are the physical/board‑layout constraints (pin header, stacking, form‐factor) when designing a circuit board to work with a Raspberry Pi?
You can’t just guess where the holes go. Been there.
Your board must match GPIO header position, mounting hole spacing, and leave room for other components.
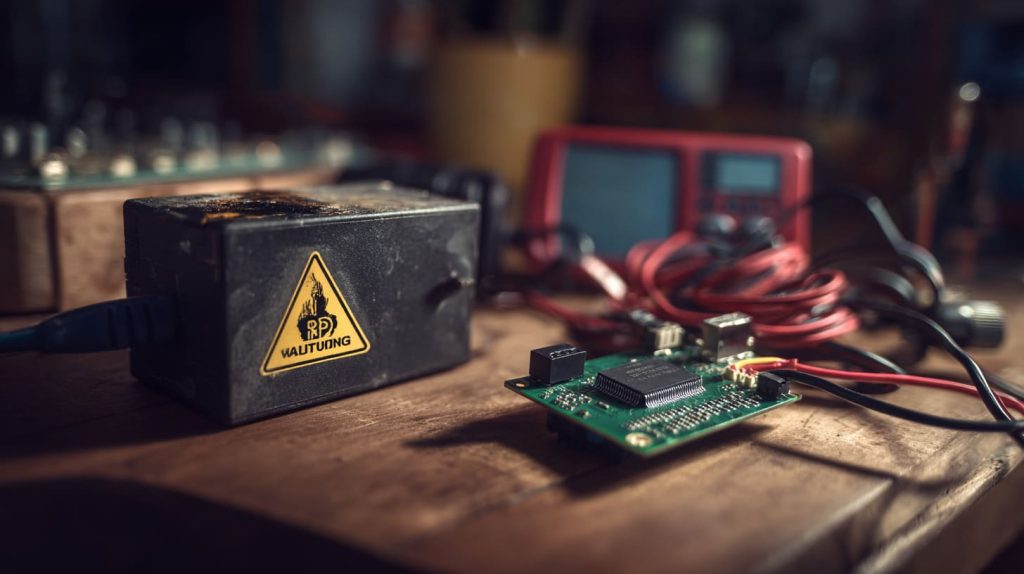
Layout rules to ensure proper hardware fit
If your board stacks on top, follow the HAT spec. If it connects with cables, ensure header alignment. For cases, consider port direction, height, and airflow.
Common constraints to check:
- GPIO alignment: 40-pin standard
- Mounting holes: match Pi’s 58mm spacing
- Clearance: between stacked boards (at least 10mm)
What workflow should a sourcing manager use (for custom orders / re‑brand products) when pairing a Raspberry Pi with a bespoke circuit board?
Jacky from Belgium taught me this—get everything right up front.
Start with function, then check interface, voltage, layout, and finally packaging compatibility.
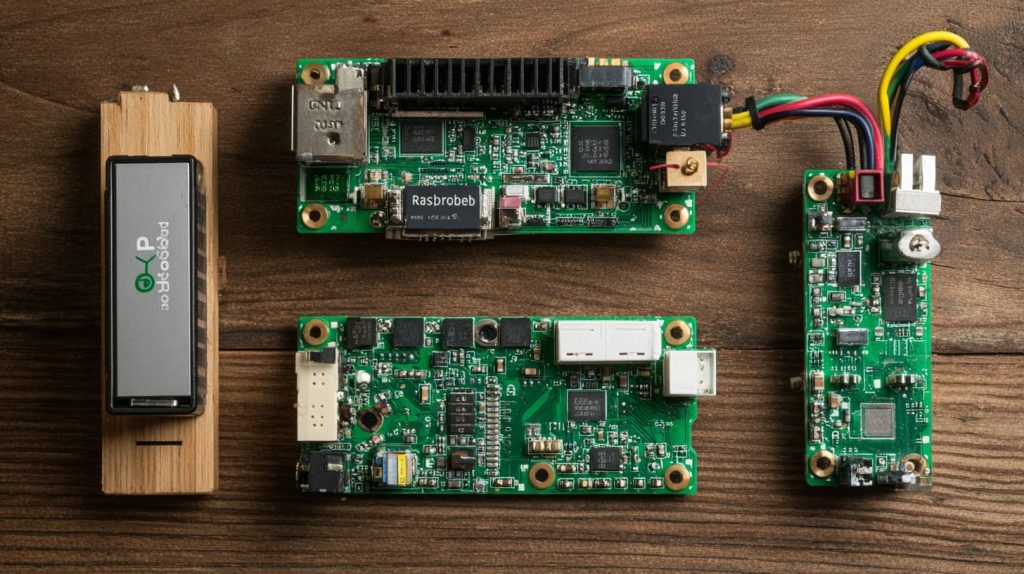
Step-by-step flow for Pi board + custom accessory projects
Here’s the workflow I use with re-brand clients:
- Confirm circuit function (sensor, display, controller?)
- Match signal interface (I²C/SPI/USB?)
- Check voltage + power draw
- Mock up physical layout
- Design or adjust enclosure
- Test fit + heat test
- Branding and label placement
- Prepare sample for confirmation
- Mass production
A good factory partner should guide you through each step—especially if you’re unfamiliar with Pi quirks.
What are the common pitfalls or failure modes when connecting “any” circuit board to a Raspberry Pi — and how can your factory services (custom case, OEM/ODM, etc) help mitigate them?
“Any” board? That’s where trouble begins.
The most common issues are mismatched voltage, wrong pin mapping, overheating, or enclosure misfit—most preventable with upfront planning and custom support.
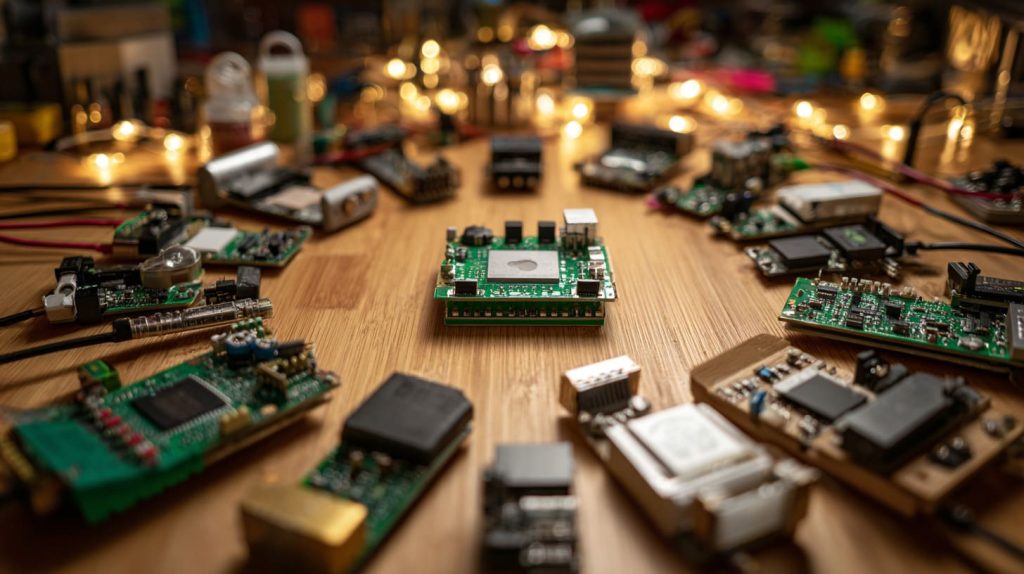
Real-world problems I’ve seen—and how to fix them
Here’s what we’ve helped clients fix:
- 5V logic boards frying 3.3V GPIO
- USB-powered devices overloading the Pi
- HATs not fitting because of misaligned mounting holes
- Custom boards blocking airflow, causing thermal throttling
- Clients forgetting to add label windows or LED cutouts on custom cases
With our OEM/ODM services, we pre-test fit and signal behavior. We provide thermal mockups and enclosure cutout diagrams before mass production. That saves you time, money—and replacements.
Conclusion
Not every board fits every Pi—but with the right plan, most of them can.




