Skip to content


In small workshops or shipping zones, it’s easy to miss a cable, forget a logo, or pack the wrong part. Manual checks just don’t cut it anymore.
You can detect items on Raspberry Pi using a combination of camera hardware, object detection libraries like TensorFlow Lite or OpenCV, and careful resource setup.
The fun part? You can train it to spot your custom parts, not just cats and traffic lights. And trust me, the moment it works, it feels like magic.
How to check resources on Raspberry Pi?
I’ve burned out SD cards faster than I’d like to admit—mostly because I didn’t monitor usage.
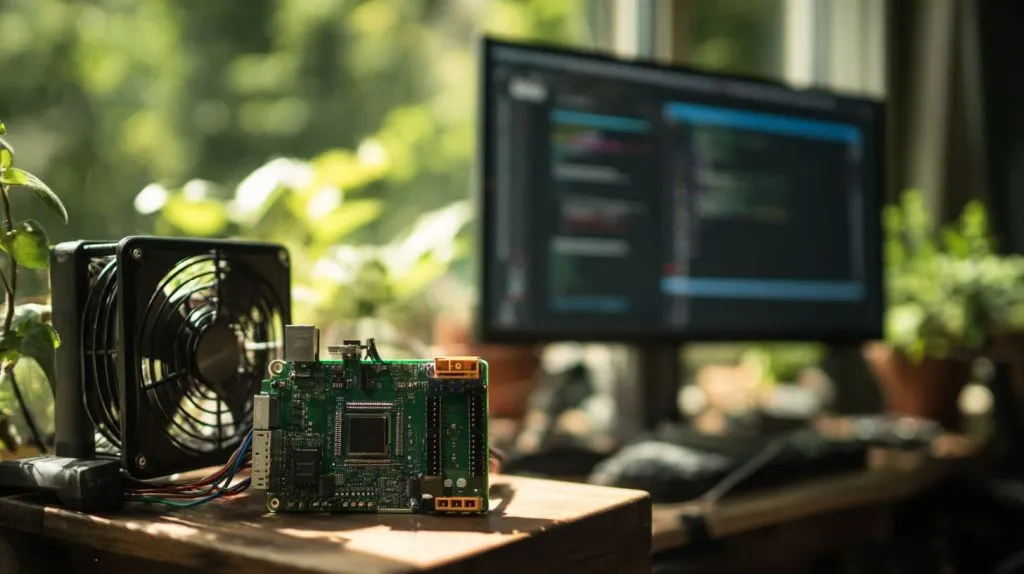
Use tools like htop, vcgencmd, and df -h to track CPU, memory, temp, and disk usage on a Raspberry Pi.
Why this matters for detection tasks
Item detection needs just enough power—not too much, not too little.
| Command | What it shows |
|---|---|
htop | CPU and RAM usage live |
vcgencmd | Temperature and throttling status |
df -h | Disk space usage |
free -m | Memory usage in megabytes |
Keep these in your toolbox. Especially when your Pi starts acting weird mid-task.
How to detect Raspberry Pi model?
Ever shipped the wrong config file just because the board was a different version? I have. It’s awkward.
Run cat /proc/cpuinfo or raspi-model to identify your Raspberry Pi model.
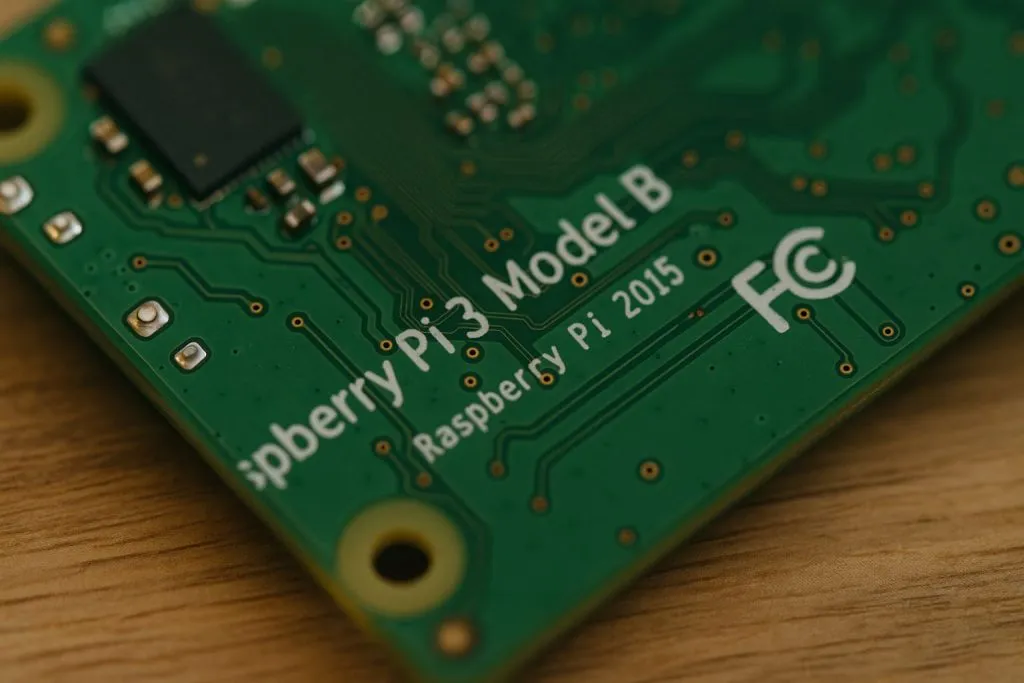
It helps with choosing the right camera module, firmware, or heatsink setup.
What the numbers really mean
The model code (like a02082) tells you exactly what Pi you’re dealing with. Cross-check it with the official Raspberry Pi revision table online. A mismatch can crash your setup.
How to find files on Raspberry Pi?
Sometimes I forget where I saved my dataset. And then I panic.
Use find, locate, or grep to search for files on a Raspberry Pi quickly.
These tools can rescue you from messy directories. Fast.
find . -name "*.jpg"
locate my_model.tflite
grep -r "item_name" .
Organizing helps. But searching smarter? That’s survival.
What hardware do I need on the Raspberry Pi (board, camera, lighting) to detect items reliably?
Your model's great—but if your lighting’s wrong, it won’t see a thing.
You need a Pi 4 (or 5), a high-quality camera (like HQ Camera or IMX219), stable lighting, and a solid power supply.
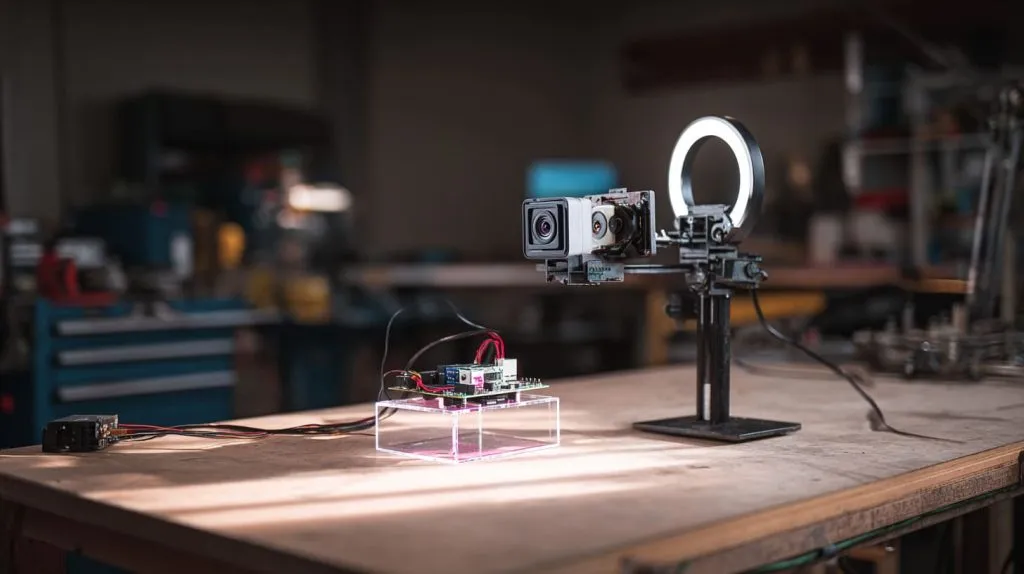
Minimum viable setup for clear detection
| Component | Recommended |
|---|---|
| Board | Raspberry Pi 4 (2GB or more) |
| Camera | Raspberry Pi HQ or IMX219 |
| Lighting | Diffused LED panel or ring light |
| Power supply | 5V/3A official adapter |
And don’t forget mounting—wobbly cams kill accuracy.
Which software frameworks and libraries work best for object detection on Raspberry Pi?
Choosing a framework is like picking a sword. It depends on the fight.
Use TensorFlow Lite for custom models, OpenCV for basic detection, and YOLOv5 or YOLOv8 Nano for lightweight performance.

Each has its flavor. I tried all three before I found what clicked.
When to choose what?
| Framework | Best for |
|---|---|
| OpenCV | Simple detection (motion, shapes) |
| TensorFlow Lite | Custom object recognition |
| YOLOv5/YOLOv8 | Real-time detection, high speed |
You can start simple. But if you want speed + accuracy, YOLO Nano variants are solid.
How do I prepare and optimise my Raspberry Pi setup for item detection performance?
One time, my Pi overheated in the middle of a detection run. It froze. Literally.
Set your camera resolution/frame rate properly, use heatsinks or fans, and ensure steady power to keep detection smooth.
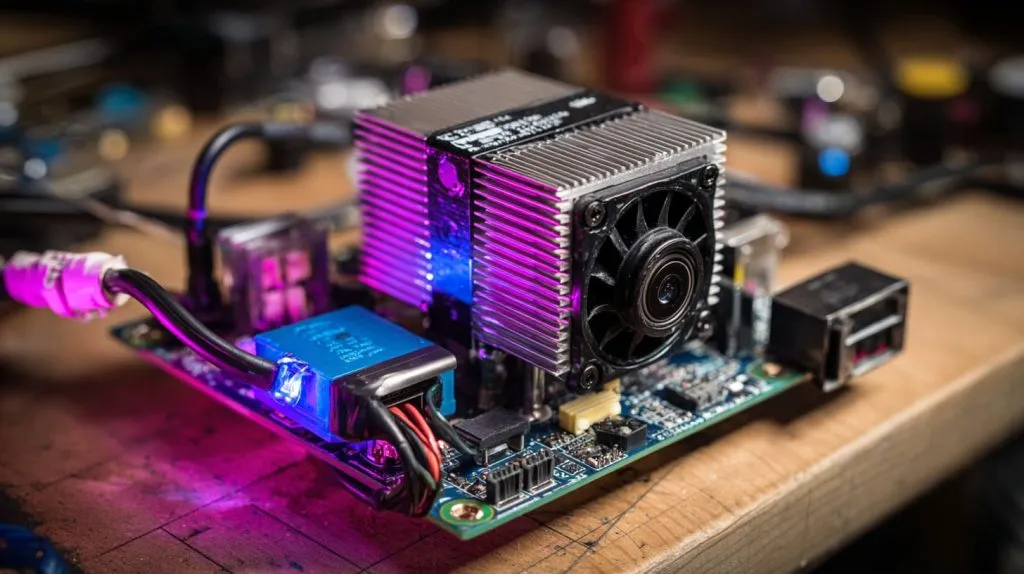
Performance tuning checklist
- Set camera to 640x480 or 1280x720 (balance clarity and speed)
- Limit frame rate to 15–30 FPS
- Use active cooling if detection runs over 10 minutes
- Avoid undervoltage (watch the lightning bolt icon!)
- Isolate detection from other heavy background tasks
Can I detect custom objects on Raspberry Pi?
Absolutely. I’ve trained it to spot specific Raspberry Pi cases with labels. It worked surprisingly well.
Yes, you can train Raspberry Pi to detect your own parts—using tools like Teachable Machine or TensorFlow Lite model maker.

It’s not just about detecting “a box.” It’s about detecting your box.
Training your own model
- Gather ~100+ images per object (different angles, lighting)
- Use LabelImg or Roboflow for annotation
- Train model using Google Colab (YOLOv5, TensorFlow Lite)
- Convert and deploy to Raspberry Pi
Don’t skip good lighting and sharp labels in your training images. That makes or breaks it.
What are the typical accuracy and latency trade-offs when using Raspberry Pi for detection?
Speed vs. brains. That’s the eternal tug-of-war.
Raspberry Pi offers 70–90% detection accuracy at 1–5 FPS, depending on model and load.
If you want real-time 30 FPS, you’ll lose some smarts. For accuracy above 95%, inference time slows.
Local vs Cloud comparison
| Method | Accuracy | Speed | Cost |
|---|---|---|---|
| Pi local | Medium | Medium | Low |
| Jetson Nano | High | Fast | Medium |
| Cloud (AWS) | Very High | Very Fast | High |
Choose what matters more: instant feedback or high certainty.
How can detection be integrated into a packaging or B2B workflow?
This part really excites me. I’ve had buyers ask, “Can your system check if the logo’s printed right?” Short answer: Yes.
Use Raspberry Pi cameras on assembly lines to detect printed logos, check orientation, count items, or verify packaging consistency.

It’s like having a second pair of eyes that never blinks.
Real-world use cases
- Verifying logo engraving on custom cases
- Counting cable bundles per box
- Detecting upside-down installation on mountings
- Flagging missing accessory in kits
The best part? You can hook this up to a buzzer, light, or reject arm. Fully automated.
What cost-effective accessories should I consider?
You don’t need to splurge to build a great detection rig.
Pick budget-friendly items like Pi Camera V2, basic ring lights, 3D-printed mounts, and quality USB cables.

Here’s what’s worked for me:
| Item | Approx. Price | Comment |
|---|---|---|
| Pi Camera V2 | $25 | Good for most tasks |
| USB LED Ring Light | $10–15 | Better lighting = clarity |
| Acrylic mount | $5–10 | Stable shots |
| Passive heatsink | $2 | For short jobs |
| USB fan + holder | $8–12 | For long-term operation |
Start simple. Upgrade when your project grows.
Conclusion
Raspberry Pi item detection is doable—and pretty exciting when it works.