Skip to content


Why 3D-printing + Raspberry Pi = rapid innovation
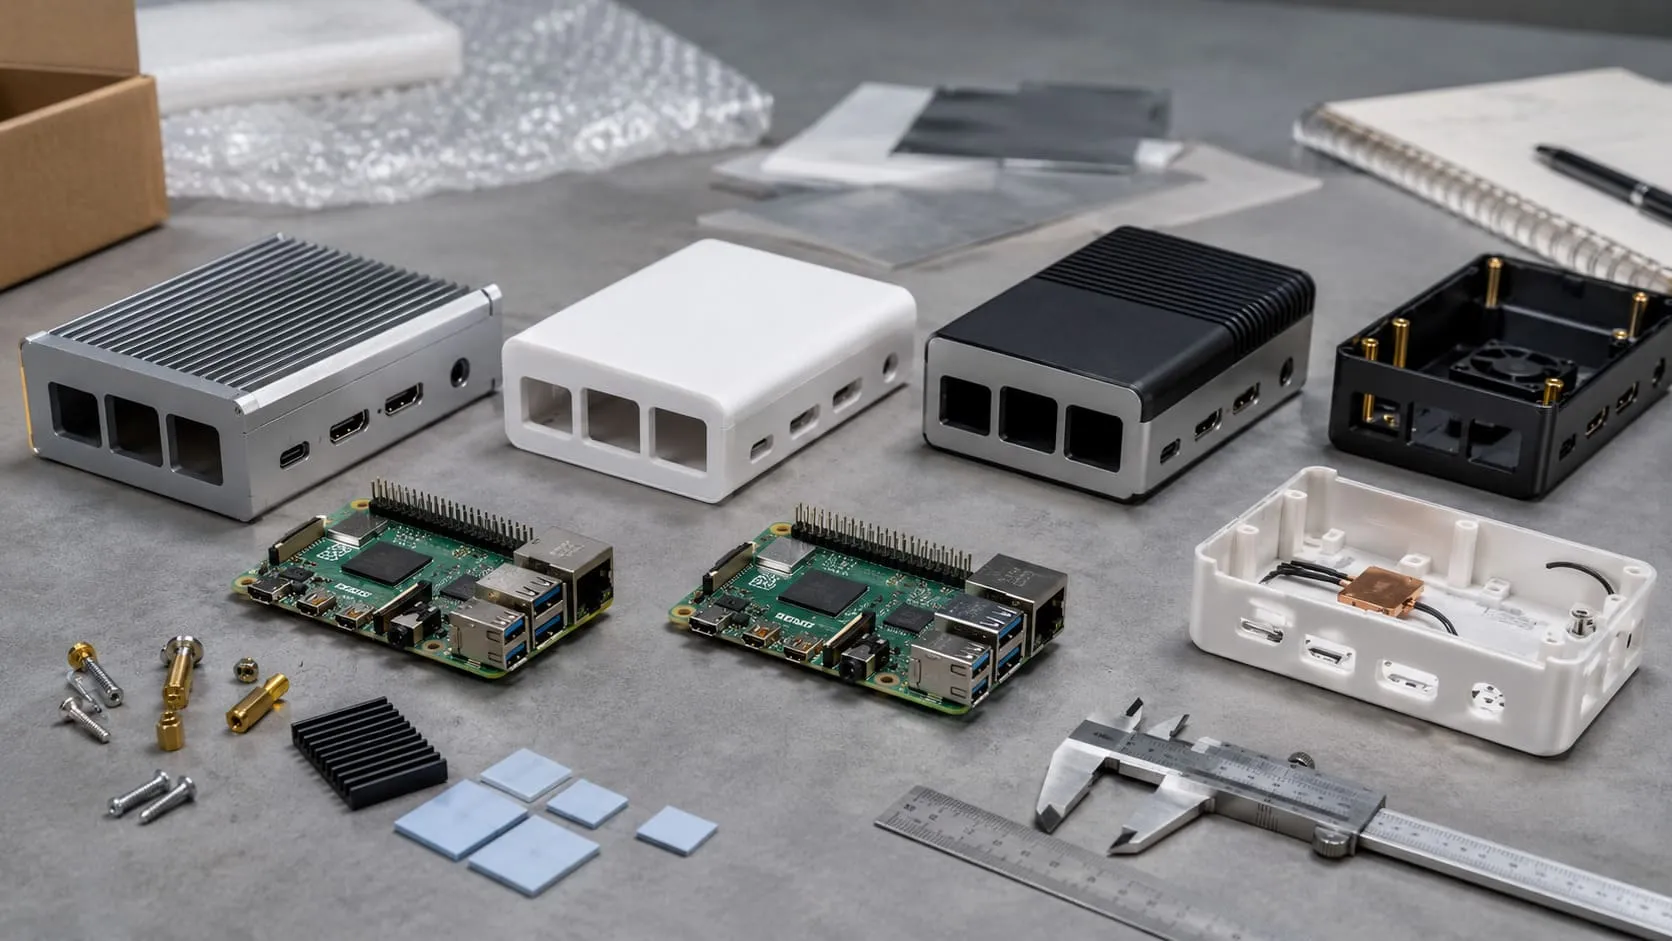
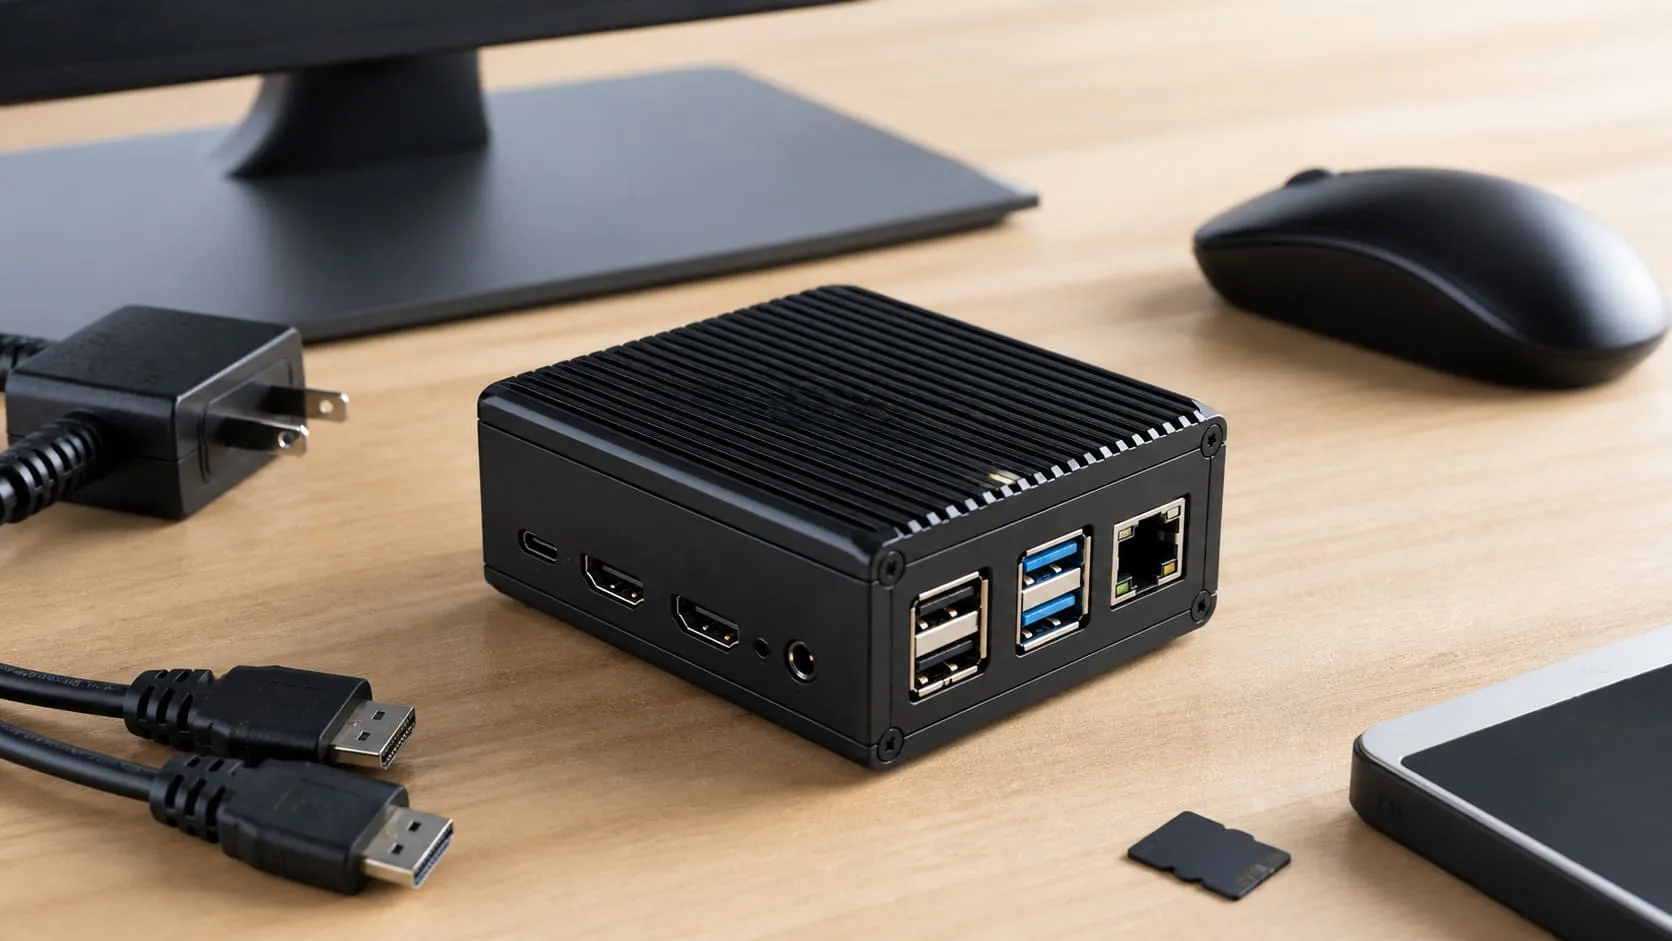
The other day, I was showing a client around our prototyping room when their eyes landed on something halfway between a tangle of wires and a little black brick. “That’s your latest product?” they asked. Not quite—it was our testing setup for a Pi-powered kiosk, snug inside a case I had printed just six hours earlier. That’s what makes the pairing of 3D printing and Raspberry Pi so exciting. You go from idea to working prototype before lunch. No tooling delays. No supplier bottlenecks. Just plug, print, and push forward.
Who will benefit from this list (makers, OEMs, private-label resellers)
- Weekend tinkerers who want a fun Saturday project.
- OEM engineers who need quick jigs before metal tooling.
- Private-label sellers like Davide and Jacky hunting for fresh SKUs.
- Educators stocking classroom kits on tight budgets.
How we chose the “awesome ten” (community popularity + B2B viability + ease of printing)
I combed through the top STL hubs—Printables, Thingiverse, Cults—and filtered for:
| Filter | Meaning | Why it matters |
|---|---|---|
| Star count ≥ 50 | People loved it | Reduces prototyping risk |
| Open licence | Remix allowed | Lets you add a logo |
| ≤ 12 h print time | One-day turnaround | Keeps production agile |
Ready? Let’s dive into the first print that saved me from a roasting CPU.
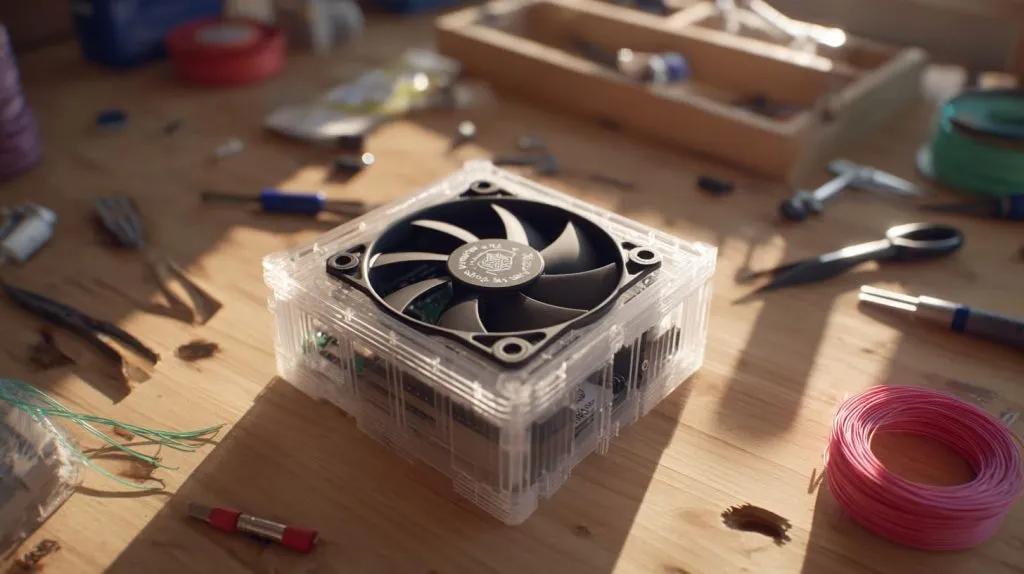
Goodie #1 Snap-Fit Raspberry Pi 5 Active-Cooling Case
Stand-out features & real-world use cases
The shell leaves a perfect cavity for the official Active Cooler, dropping temps by ~18 °C in my fan-less office rack. Countless makers swear by it for Home-Assistant builds that run 24/7.:contentReference[oaicite:0]{index=0}
STL sources & licence notes
- Printables ID 642650 – CC-BY-4.0, remix friendly.
- Thingiverse mirrors under GPL-v3.
Print settings, filaments, and time estimate
| Layer | Value | Tip |
|---|---|---|
| Nozzle | 0.4 mm | Go 0.6 mm to finish sooner |
| Layer height | 0.2 mm | 0.16 mm for logo clarity |
| Material | PETG | No warp in heated beds |
| Time | 7 h 20 m | Fits a workday |
Easy branding tweaks (logo emboss/engrave, colour-split layers)
Emboss a 0.4 mm-high logo on the top plate. Pause at layer 35, swap filament, resume. Instant two-tone branding—no paint booth needed.
Next up, we leave the desktop and bolt Pis onto steel rails.
Goodie #2 DIN-Rail Industrial Mount for Pi 4/5

Why DIN-rail beats zip-ties in control cabinets
DIN keeps maintenance sane. Slide-in, slide-out, no sticky pads peeling in humidity. Electricians nod; IT folks finally get tidy wiring.:contentReference[oaicite:1]{index=1}
Proven projects that use this mount
- Factory environmental loggers in Suzhou.
- Retail digital-sign players running 18-hour shifts in Brussels.
Print orientation & strength tips
Print face-down so the spring clip layers run length-wise—40 % gyroid infill handles vibration.
Integrating cable-strain relief & label windows
Add a 5 mm hole on the tail for a zip-loop; slot a 10 × 35 mm acrylic tag for serial numbers.
A short hop from one Pi to five—let’s stack some boards.
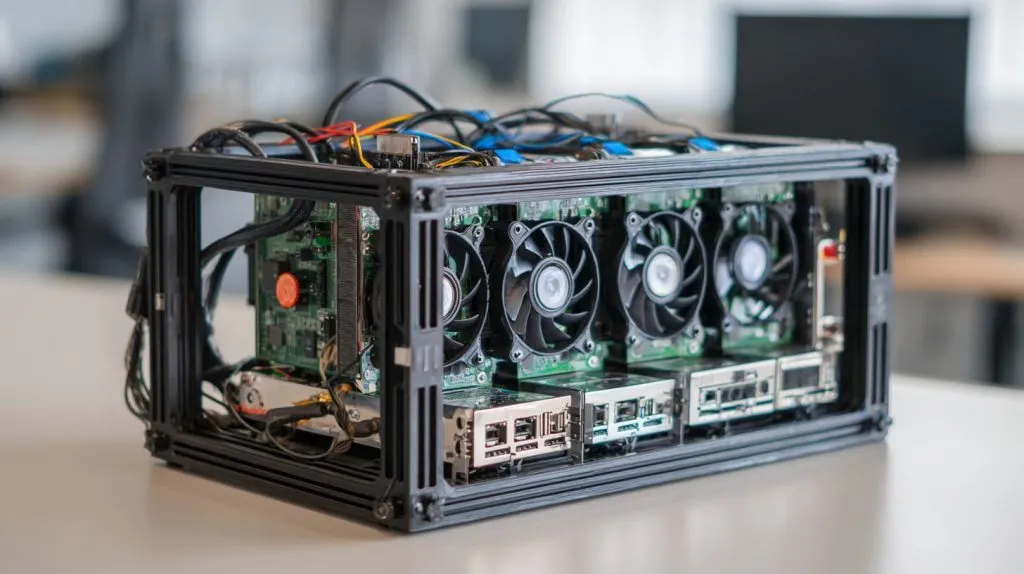
Goodie #3 Modular 5-Node Pi Cluster Rack
Edge-compute, CI servers, and Kubernetes demos
Run GitLab runners or a mini K8s lab without renting cloud time. Print two racks, bolt them back-to-back—space for ten nodes.:contentReference[oaicite:2]{index=2}
Scaling the rack—adding or removing bays
Each bay clicks into the next using a tongue-and-groove. Need more? Print another bay. Need less? Unclip—done.
Cooling airflow simulations & fan options
PETG ducts plus a 120 mm fan keep node temps ≤ 55 °C under stress-ng.
| Fan size | RPM | dBA | Estimated ΔT |
|---|---|---|---|
| 92 mm | 1800 | 28 | –9 °C |
| 120 mm | 1400 | 24 | –17 °C |
Branding each bay for resale kits
Insert laser-cut acrylic tiles on the left ear; buyers see their name first when the rack slides into the cabinet.
Before we wire the cluster, we need eyes—time to add a camera.
Goodie #4 High-Quality Camera Arm & Lens Hood
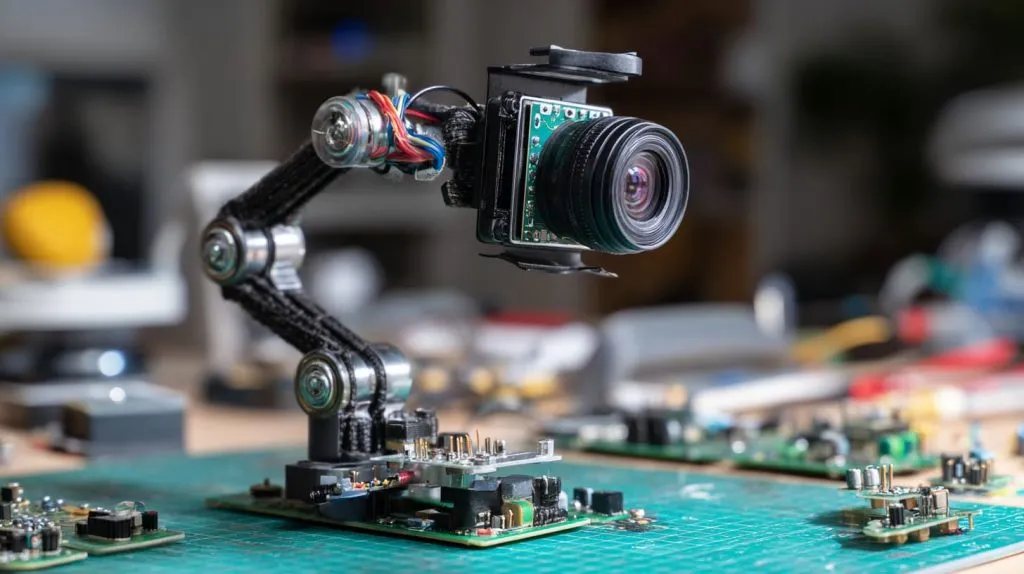
Adjustable angles for automation and streaming
A ball-joint joint lets the HQ camera swing from 0–180° without tools—perfect for SMT pick-and-place inspections.
Best practice for flexible joints vs. rigid prints
Mix PETG for the arm and TPU for the joint sleeve. PETG holds shape; TPU adds friction.
Threaded-insert vs. captive-nut assembly
Threaded brass inserts survive 500+ adjustments. Captive nuts are cheaper but loosen over months—ask my first prototype.
Colour coding for different lens focal lengths
Print hoods in red (16 mm lens) or blue (6 mm) so interns grab the right rig at 6 a.m.:contentReference[oaicite:3]{index=3}
Capturing footage is great, but what about playing it? Grab your nostalgia hat…
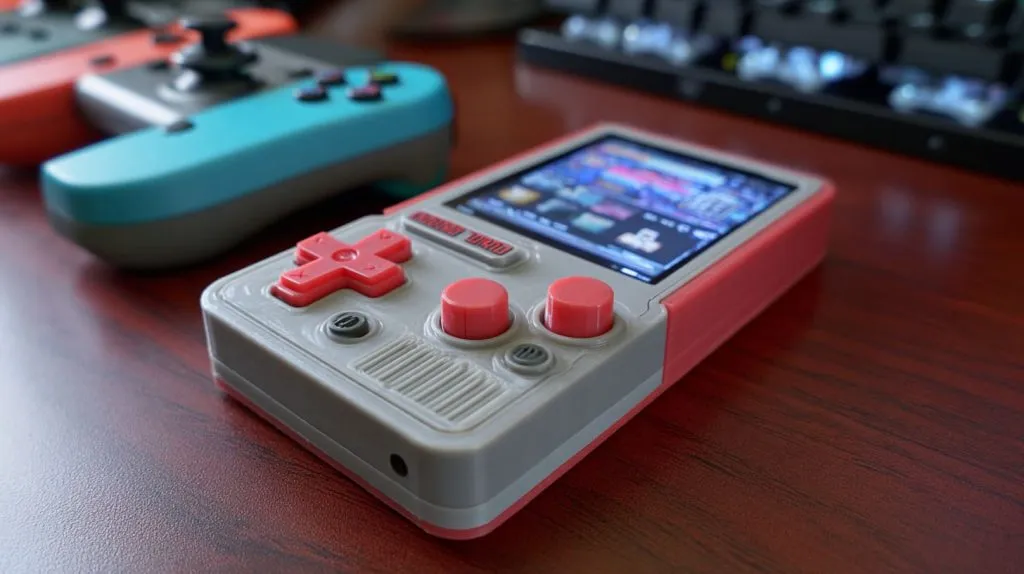
Ergonomic triggers and D-pad layout
The STL authors borrowed the SNES contour—thumbs rest naturally, wrists don’t cramp during long Mario runs.:contentReference[oaicite:4]{index=4}
Split-shell printing & minimal supports
Print halves face-down; only 8 g of tree supports for the shoulder triggers.
TPU grips and two-tone infill effects
Swap to TPU at 50 % height for rubbery grips. Layer swap at 0.8 mm gives that arcade-cabinet red stripe.
Compliance hints for CE/FCC retail sales
Add a 1 mm-deep recess on the back; snap a laser-etched aluminium plate with the compliance icons—clients save time at customs.
Gamers love screens, but offices need screens tidy—so let’s flip to a desk mount.
Goodie #6 VESA Monitor Mount & Cable Guide Kit
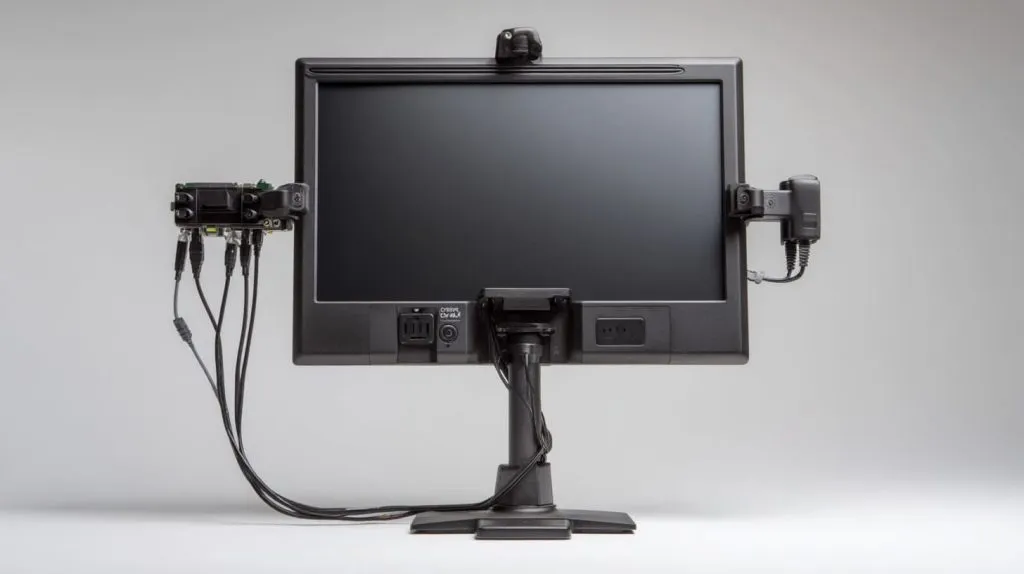
Turning monitors into all-in-one Pis
Bolt a Pi to VESA-100 holes, route HDMI and USB inside printed ducts, and voilà: a clean info-kiosk.:contentReference[oaicite:5]{index=5}
Hidden power-supply pocket design
The rear shell swallows a 30 W GaN brick; vents on the side keep plastics under 45 °C.
Preventing warping on large flat surfaces
Print in 0.3 mm draft mode, add 5 mm brim, and enable 5-per-cent concentric infill to avoid elephant-foot.
Matching brand colours with dual-extrusion
Swap to company colours on the bezel. Davide’s units ship in midnight blue; Lasle’s prototypes wear neon green.
Data deserves fast storage—let’s swap micro-SD for dual SSD.
Goodie #7 Dual-SSD / NVMe Expansion Case
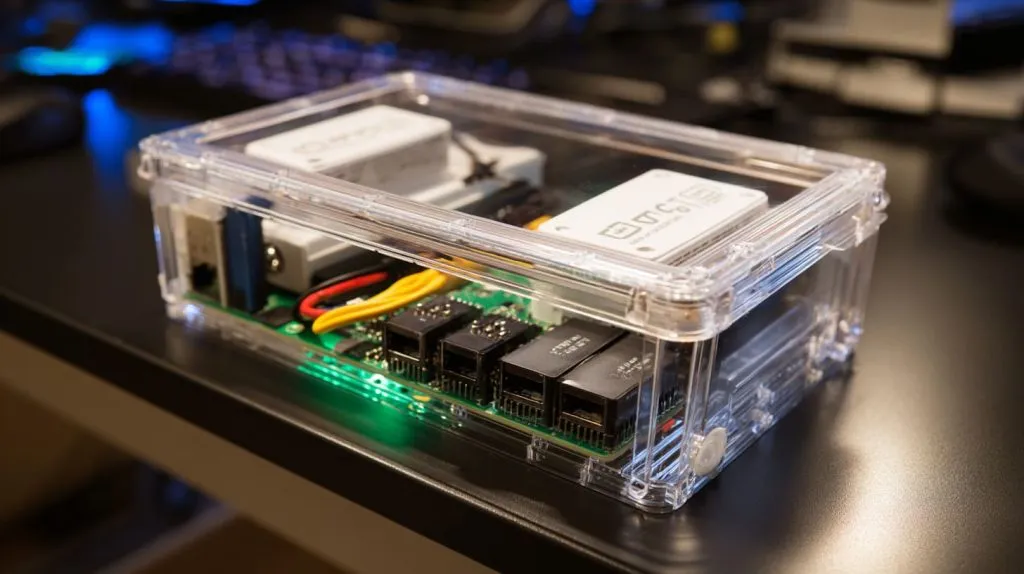
Why SSD beats micro-SD for industrial data logging
SLC-grade NVMe = 3000+ TBW; micro-SD taps out at ~300 GBW. Fail-safes love endurance.:contentReference[oaicite:6]{index=6}
Thermal pathways & copper-slug add-ons
Embed an 8 × 30 mm copper slug under the drive bay. PETG surrounds it, but the slug drags heat straight to ambient air.
Quick-release lid for drive swaps
Press two tabs, hinge pops at 45°, slide SSD out—no screws lost on the factory floor.
Creating barcode recesses for inventory systems
Mirror a 1 × 50 mm slot on the face; stick a label, scan, done. Warehouse team thanks you.
Wires next: GPIO chaos meets printed order.
Goodie #8 GPIO Break-Out & Tool Tray Combo

Keeping jumpers tidy on the bench
Narrow channels guide 40-pin ribbons so they fold, not snarl. Students plug faster, mis-wires drop.:contentReference[oaicite:7]{index=7}
Magnetic inserts vs. press-fit pegs
Embed 5 × 2 mm magnets to hold micro-bits. Press-fit pegs are cheaper but parts slide if you bump the tray.
Print-in-place hinge tricks
Print at 0.15 mm; pause at layer 12 to grease hinge pins with PTFE—smooth first try.
Laser-engraved pin labels for training kits
Engrave pin numbers after print. Labels survive solvent cleaning, unlike stickers.
From bench to pocket—let’s shrink down.
Goodie #9 Pi Zero Key-Chain Sheath
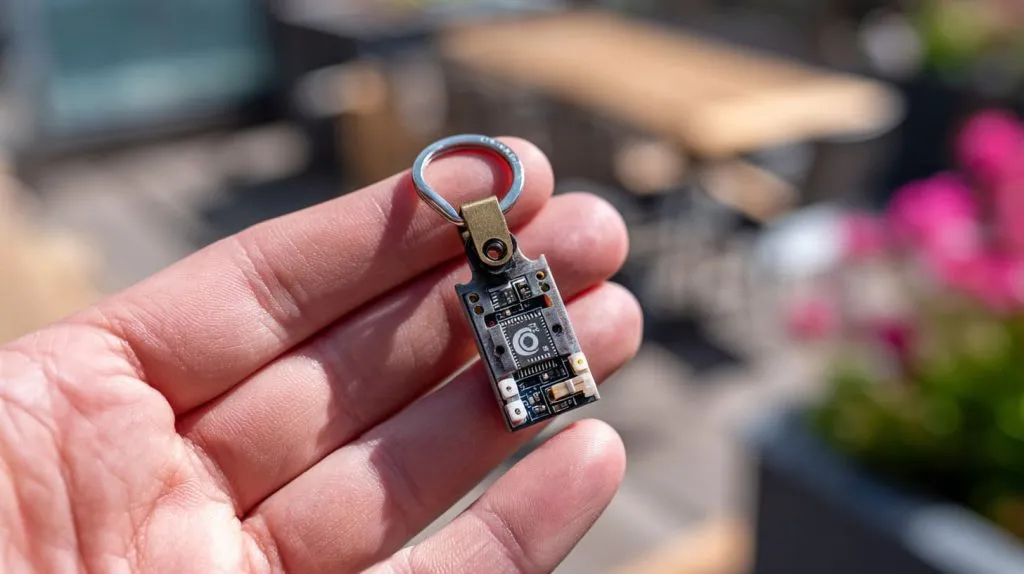
Wearable, portable, and demo-day friendly
Slip a Zero 2W into this sheath; clip to your belt loop. I’ve flashed routers in a parking lot with it.:contentReference[oaicite:8]{index=8}
PETG vs. ABS for impact resistance
A/B test: Drop from 1.5 m. PETG dents; ABS cracks. PETG wins.
Snap-lock micro-HDMI cap
Add a tiny leaf-spring latch; port stays dust-free.
Optional NFC tag pocket for product info
Glue a 20 mm sticker tag inside the lid—tap phone, open support page. Clients love the “magic.”
Pocket Pi stays cool, but big boards still need airflow—last print coming up.
Goodie #10 Clip-On Fan Shroud & Heat-Sink Spacer

Extending stock Pi cooler performance by 12–20 °C
Printed ducts focus air straight through the fin stack, trimming peak temps during 4-K video tests.:contentReference[oaicite:9]{index=9}
Bridgeless bridging: printing that overhang
The shroud’s 45° curve prints support-free. Keep fan grill crisp by lowering speed to 40 mm/s on layer 3.
Colour-matched shroud to case lines
Slice a 2 mm accent ring; swap filament mid-print so the shroud blends with your main case colour.
Adding embossed caution icons for safety
Emboss a 0.2 mm “⚠ Hot” sign over the vent. No paint, yet clear for end-users.
Shroud printed, boards cooled—time to finish your fleet like a pro.
Post-Processing & Customisation Tips
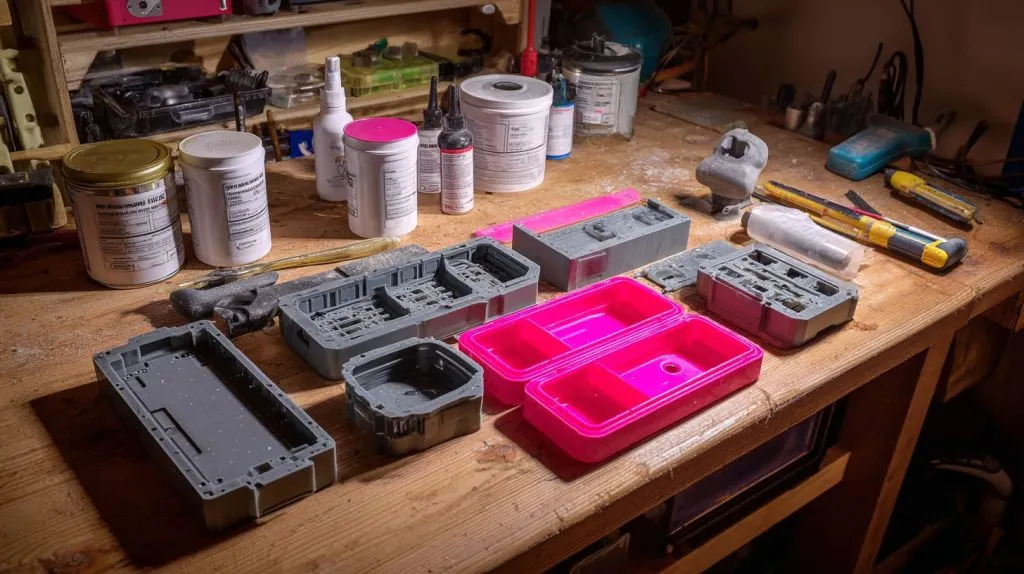
Smoothing, priming, and painting prints to look injection-moulded
Wet-sand to 600 grit, two coats grey primer, light sand, one coat satin. PETG handles automotive paint without blush.
Embossing vs. debossing logos for crisp brand detail
Emboss lifts the logo; deboss sinks it. Emboss shows better on matte. Deboss hides scratches on glossy black.
Batch-printing trays for wholesale runs
Gang ten cases on a 300 × 300 mm bed; two trays = one full carton.
When to switch from FDM prototypes to MaidaTech’s mass-production tooling
If monthly volume > 2 k units or print time > 300 h, aluminium moulds pay back in six months—even faster when you factor our 10 % factory-direct price edge.
Conclusion

Quick recap of the ten printable goodies
From snap-fit cases to fan shrouds, every model above ships in hours, not weeks. STL links stay open, licences stay flexible.
How B2B buyers can leverage these designs for private-label success
- Brand the print today, sell tomorrow.
- Validate market demand before committing to tooling.
- Offer colour variants without extra mould cost.
Next step: partner with MaidaTech for OEM/ODM scaling
Email me at vincent@maidatech.com or hop over to Raspberrypicase.com. Let’s turn a weekend print into your next product line—minus the 3 a.m. nozzle jams.