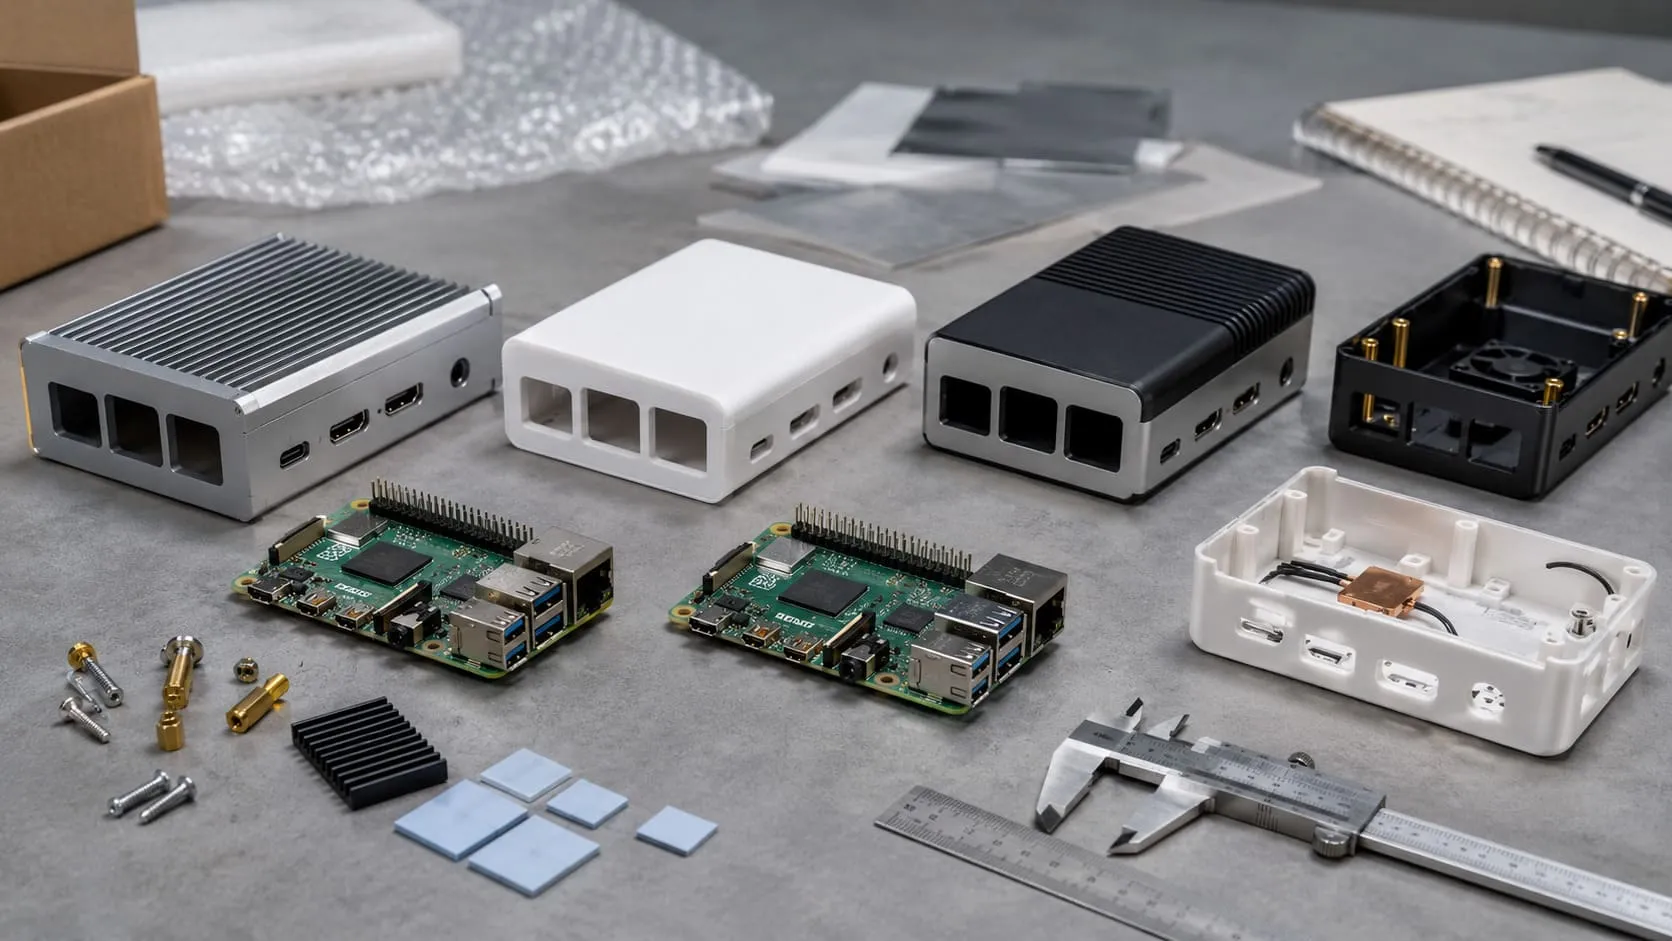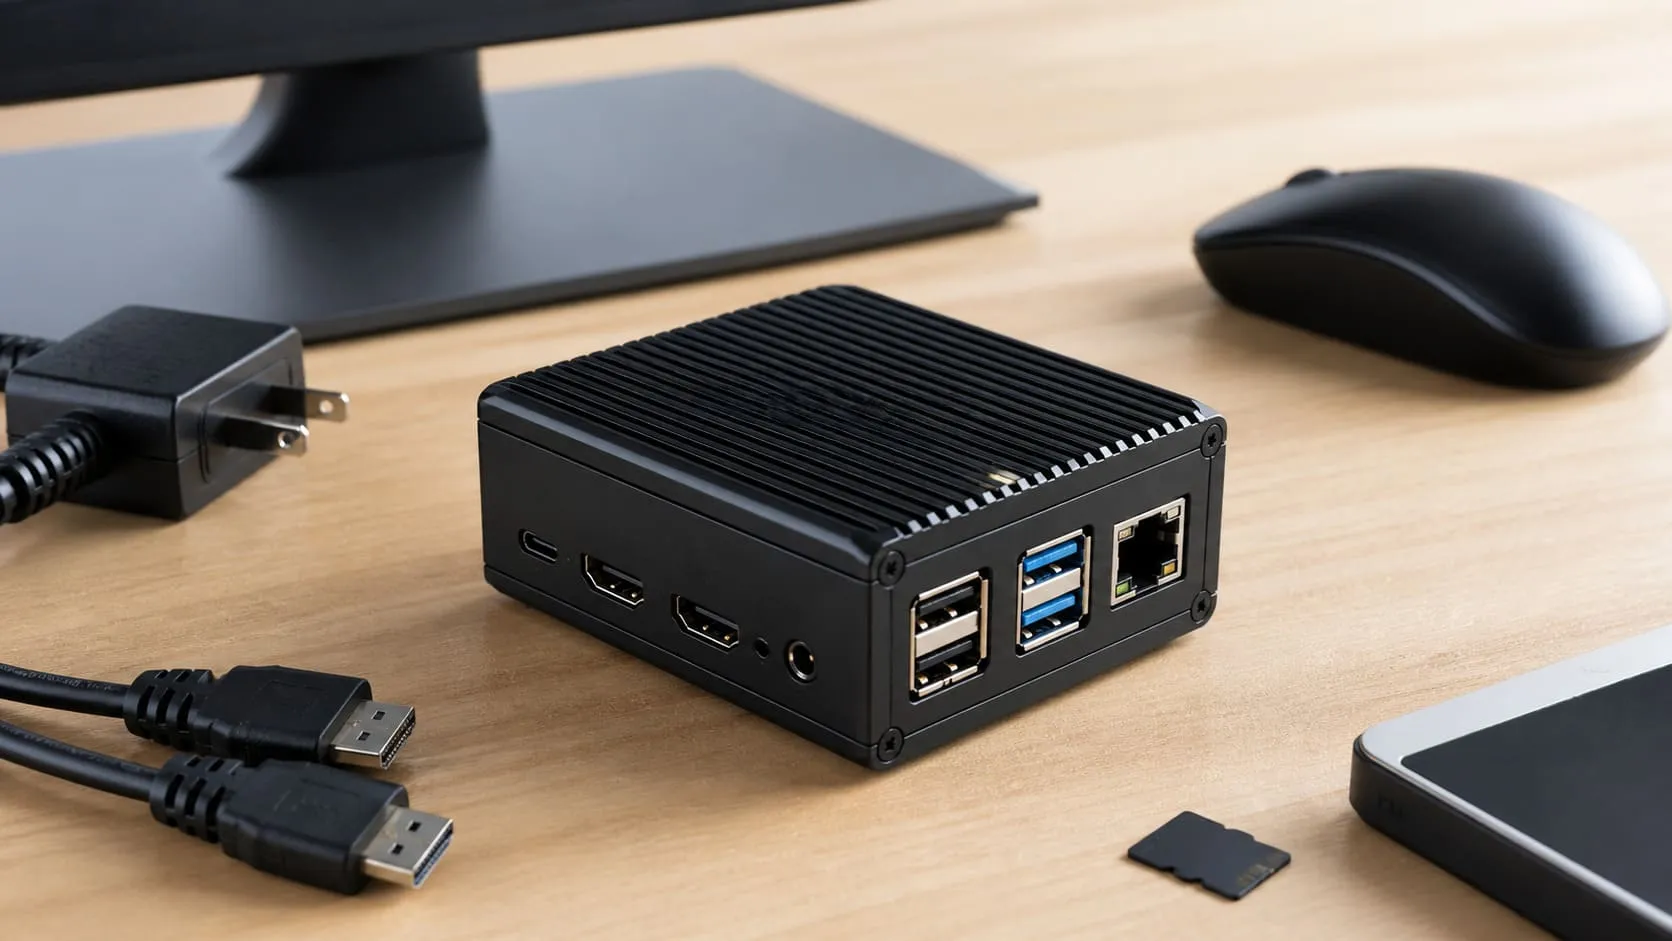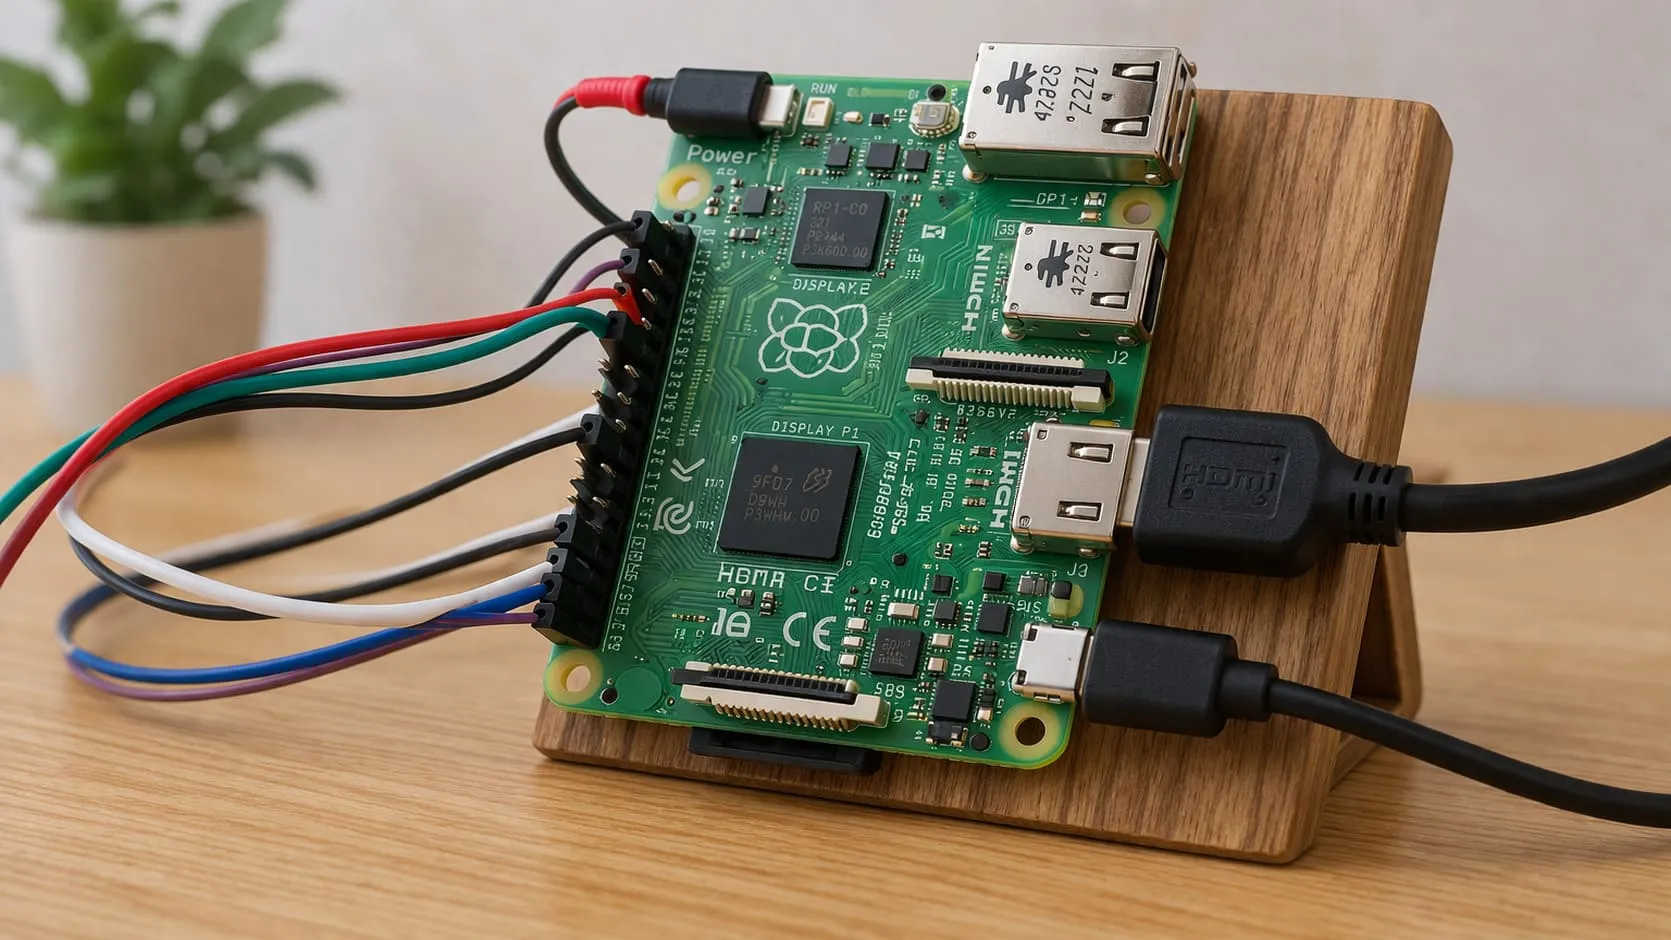
If your Raspberry Pi won’t boot, first check the power supply and SD card. A 5V power supply is very important; an unstable power supply is a common reason for the Pi not booting.
Next, check the SD card. Make sure it’s not corrupted or misformatted, and it contains the right Raspberry Pi OS.
Additionally, any hardware connections, such as HDMI, GPIO pins, etc., may be worth checking out. These are some basic troubleshooting steps to isolate the issue and get your Raspberry Pi back in action.
Why Raspberry Pi Fails to Boot
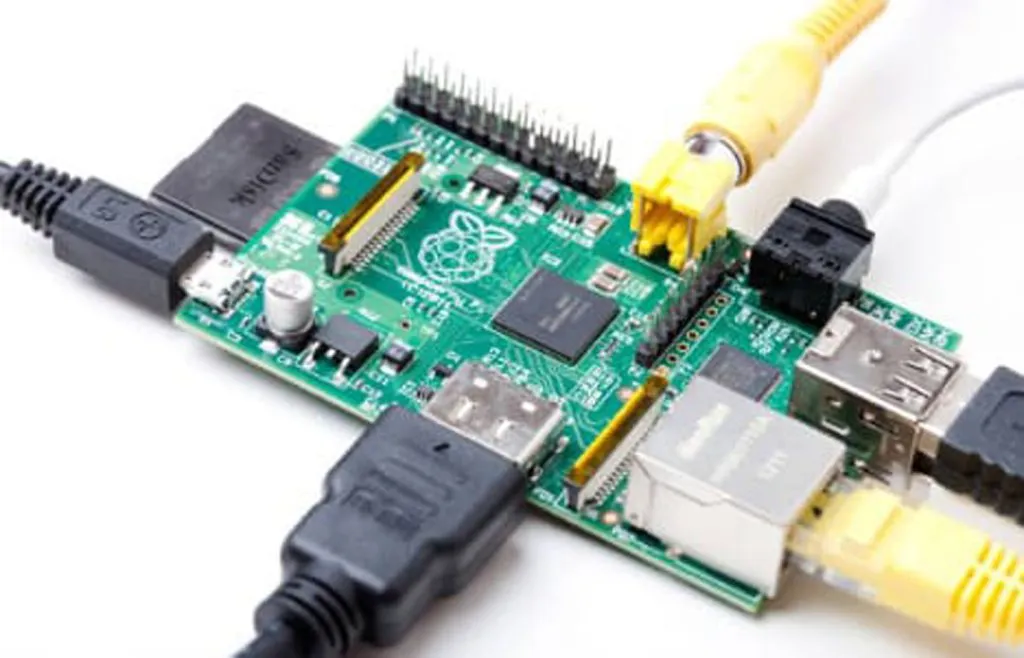
If your Raspberry Pi won’t boot, there are a number of possible reasons that should be considered and narrowed down through an investigative process. Each of these issues can be caused by a hardware or software failure. By knowing these main offenders, you can troubleshoot more quickly and with less frustration.
Let’s take a look at the common categories of where boot problems usually arise.
Power Supply Issues
Power supply issues are one of the most common reasons a Raspberry Pi won’t boot. First and foremost, the Raspberry Pi requires a quality official power supply to function properly. For all but the earliest models, it needs a minimum of 5 volts and 2.5 amps. The new Raspberry Pi 5, for instance, requires a fairly hefty 27-watt USB-C power supply compared to its predecessors. If your device is not getting enough power, it will either fail to boot or operate unpredictably, leading to potential boot issues.
These are a few common issues, but it is always important to check your power cord and where it connects. For example, loose or damaged cables can interrupt the transmission of power, creating a hardware problem. If this is the case, replacing old cables with better quality ones should resolve the issue.
Testing the Raspberry Pi with a known good PSU can rule out PSU failures. Models such as the Raspberry Pi 4 provide alternate boot methods for even more flexibility. If you encounter power-related issues, you can boot over Ethernet or use an SSD connected via PCIe, which can help avoid many booting issues.
Ultimately, ensuring that your Raspberry Pi is powered correctly is an essential part of maintaining a stable operation for your device. By addressing these potential causes, you can enhance the reliability of your Raspberry Pi and ensure it boots normally without complications.
Corrupted SD Card
A corrupted SD card is perhaps the most common reason that a Pi won’t boot. If the SD card is physically broken, or the data on it is corrupted, the Raspberry Pi won’t be able to find the operating system to boot into.
Try booting the Raspberry Pi with a new SD card containing a fresh installation of the Raspberry Pi OS. This quick action can save you troubleshooting time by confirming whether or not the card is at fault.
If your original card is indeed corrupt, reformatting it and reinstalling the OS should fix things. If one or more formatting failures persist, the SD card is bad and needs to be replaced.
Tools such as SD card integrity checkers ensure that the card is checked for any potential issues before it is put to use. As always, make sure you have good backups of anything critical to avoid data loss.
Sometimes, the PC’s card reader that you used to write the OS image could be the culprit. This problem can usually be fixed by updating the reader’s firmware or using a different card reader.
Hardware Connection Problems
This can occur because of improper hardware connections. Start by checking any peripherals including keyboard, mouse and HDMI cable. Check that they are in good working condition and safely connected.
Loose or incorrectly attached HDMI cables, for example, can cause no display to appear. Raspberry Pi 5 users have encountered particular problems with third-party HDMI cabling, so ensuring proper compatibility and quality is essential.
Check all connectors and ports for damage you can see, such as bent pins. Ports that look bent or worn may prevent the Pi from working properly.
Make sure the Raspberry Pi itself is on a safe, stable surface, so it is less likely to get unplugged or disconnected when in use.
Software Configuration Errors
Software bugs, especially with the operating system, are the second most common cause of boot failure. For a Raspberry Pi to boot, it needs an OS that is supported for its specific model.
Trying to run an older or unsupported OS on a Raspberry Pi 4 will cause issues. Perhaps you’re greeted with the sight of nothing but a solid red LED light whenever you boot up your Raspberry Pi.
Usually, a clean install of the current version of Raspberry Pi OS fixes these kinds of problems. Configuration files must be double-checked for typos and other mistakes.
If the bootloader is failing, you will likely find that the four lights that begin blinking on startup are missing. If that’s true, then the bootloader can be restored to working order by reinstalling it with the recovery.bin file.
Identifying the root cause Troubleshooting boot options is another step that can help narrow down and resolve software-related issues.
Overheating or Damage
A second, more rare, but serious concern is operational overheating. Keeping an eye on the Raspberry Pi’s temperature and making sure it’s running in a cool, well-ventilated space should keep any thermal shutdowns at bay.
If you are overheating regularly, consider a heatsink or fan as a reasonable option. Look for physical signs of damage to the board, such as burnt components or cracked parts.
These problems can render the Raspberry Pi device utterly unusable.
Initial Checks Before Troubleshooting
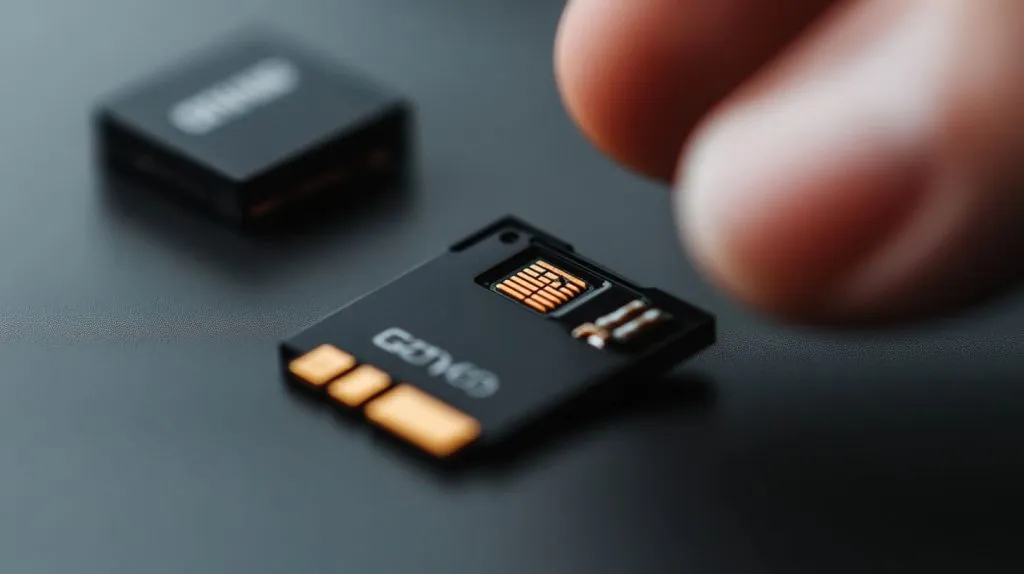
If your Raspberry Pi won’t boot, begin by grounding yourself with a logical methodical approach. This will go a long way in helping you troubleshoot the issue and get it fixed.
These simple initial checks will answer basic questions and get you closer to the root cause before going further into advanced troubleshooting. Check the power, storage, and peripherals, and physical configuration. In doing so, you can eliminate obvious issues and ensure the system is properly configured.
Verify Power Supply and Cables
The power supply is one of the most essential components, and a bad one can cause all sorts of problems, including the Raspberry Pi failing to boot.
The first step would be to ensure the power supply is actually working, always test with a multimeter to check that it’s outputting the correct volts. Make sure you have a suitable 27W USB-C power supply for the Raspberry Pi 5. Conversely, if you try to charge it with a lower-rated charger, it simply won’t charge fast enough.
Troubleshooting Step — Check for inconsistent voltage. Inconsistent voltage can lead to dangerous malfunctioning. How to resolve this? Replace the power supply or use the official Raspberry Pi adapter.
Cables might be even more critical. Even a single damaged cable can stop the flow of power. To prevent this, use a good-quality cable and ensure it is connected to a functioning power source.
A fast look at the red PWR LED might point to power difficulties. If the LED remains off, we recommend troubleshooting the configuration with a different cable or wall outlet.
Inspect the SD Card for Damage
The SD card is the Raspberry Pi’s only form of storage, and if the card is damaged in any way this will stop the Pi from booting.
The initial check is to give it a good physical inspection for cracks, bent pins, etc. Testing the card in another device, such as a laptop, will help determine if the card itself is the issue.
I’ve found that reformatting the SDHC card usually resolves most boot issues. Installing a new copy of the most recent Raspberry Pi OS usually clears up the issue. Good, reliable card readers and utilities such as SD Card Formatter can assist you in this endeavor.
If the card is still not working it may be defective and eligible for a warranty replacement.
Check Connected Peripherals
Peripherals are a major culprit in breaking the boot process. I often detach all peripherals such as keyboards, mice, and USB thumb drives.
Then I attempt to boot the Raspberry Pi. If it boots, I plug each peripheral back in one at a time until I find the faulty device. Wireless USB keyboards specifically are a known culprit and should be tested last.
Reducing the configuration down to just the bare minimum peripherals can help increase boot reliability.
Ensure Proper Board Placement
Finally, the physical environment around the Raspberry Pi can contribute to issues with performance. Keeping the board on a solid surface while working will help you avoid unintended disconnections.
Don’t use it in environments that block ventilation or put the board in contact with conductive materials, which can result in short circuits. If you have your Raspberry Pi in a case, ensure it’s properly mounted.
Fifth, I look for activity on the green ACT LED. It provides me a few hints as to if the board is attempting to read from the SD card on boot or not.
Step-by-Step Troubleshooting Guide
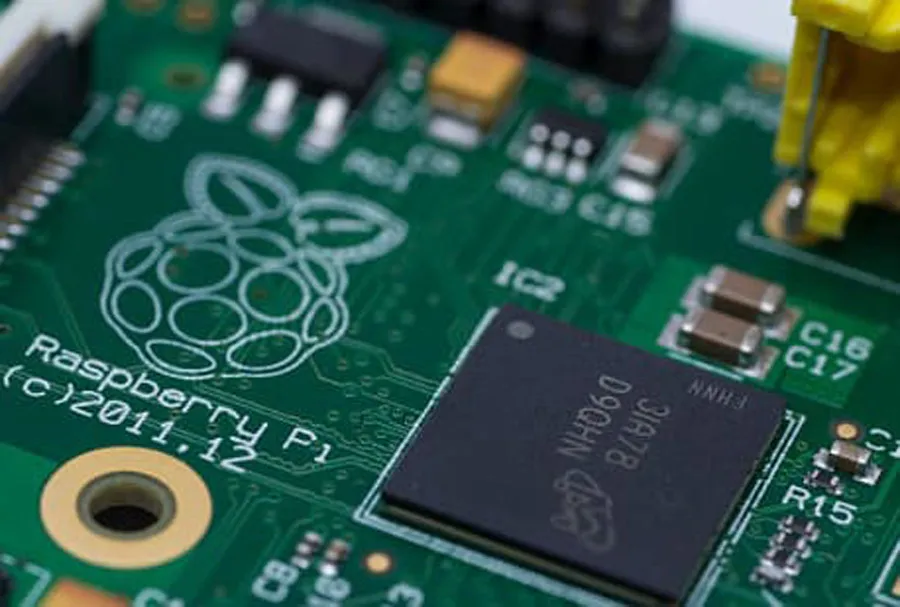
When you’re faced with a Raspberry Pi that simply won’t boot, it’s best to tackle the issue step-by-step. Using a systematic step-by-step process will get you to the root cause quickly and get you back on your way!
It’s super important to document every single step for future troubleshooting purposes. It further helps you keep track of all the small details so that nothing slips through the cracks. The cause of boot issues almost always is something easily fixed, like a power supply or SD card going bad.
Always start your troubleshooting in software before proceeding with hardware inspections. An implementation checklist can make the process efficient and ensure no detail falls through the cracks.
1. Replace the Power Source
The power supply is an important consideration to ensure the smooth operation of the Raspberry Pi. One blinking or continually off red LED usually indicates a power problem.
To begin, try substituting the power adapter with a working one. Check that it is rated for at least 5 volts and 2.5 amps. Note that the Raspberry Pi 4 requires a different power supply than previous models.
This is all the more reason to stick with an official Raspberry Pi power adapter. Check the back of the adapter for any wear and tear. If possible, try using it with another connection type to rule out any compatibility concerns.
2. Reformat or Replace the SD Card
The SD card is the next most likely source of boot issues since that’s where the operating system lives. First, create the card with a known good method such as the Raspberry Pi Imager.
This will ensure that you clear out all the corrupt data. If formatting doesn’t work, the SD card is probably corrupted and should be replaced. SanDisk cards, for example, typically include a warranty that replaces lost cards.
Or better yet, install the latest version of Raspberry Pi OS to start from a clean slate. This really should fix a lot of problems, particularly on the Raspberry Pi 4. Testing with a variety of SD cards can help narrow down the defect even more.
3. Test with a Minimal Hardware Setup
To speed up the boot process, disconnect everything except the power supply and SD card. This minimizes the risk of disruption or interference from other external devices.
If the Raspberry Pi boots successfully, reconnect peripherals one at a time to identify the culprit. Swap out your HDMI cable or try a different display.
If you have a 4kp60 monitor, plug it into the main HDMI port right next to the USB-C power port. The clues provided by that green LED are priceless. Its activity indicates whether the board is able to correctly read the SD card.
4. Reinstall the Operating System
Plus, a clean OS install knocks out all sorts of software problems. Get the most recent Raspberry Pi operating system version and use a tool like Etcher to flash it onto the SD card.
Check that the OS image you’re using is for your model of Raspberry Pi. Follow our installation guide step by step to avoid mistakes.
Booting without an SD card will show a diagnostic screen, assisting in confirmation of the board’s functionality.
5. Check for Physical Hardware Issues
If none of the steps above fix the problem, check out the hardware. Check for any obvious physical damage on the Raspberry Pi board, like burnt components or if anything is loose.
Perform a stress test on the USB ports and GPIO pins to ensure they are working properly. If anything is irreparable, call a professional to prevent further damage from occurring.
Physical damage is less likely but very much possible so don’t discount this possibility—especially if the device has been dropped or handled greatly.
Advanced Troubleshooting Methods

When troubleshooting a Raspberry Pi that doesn’t boot, identifying potential causes like a faulty hardware issue or an incompatible operating system is essential. Getting to the root of the problem means following an orderly process. Several advanced methods can help diagnose and resolve the issue, ranging from analyzing diagnostic LEDs to seeking support from the Raspberry Pi community.
Use diagnostic LEDs for insights
The Raspberry Pi has several diagnostic LEDs that can tell you a lot about what’s happening with the boot process. As with most Linux powered SBCs, the green LED usually indicates SD card activity, while the red LED signals power status. Keeping an eye on these Raspberry Pi indication LEDs can illuminate some common and unique problems, especially when dealing with boot issues.
A constant red light with no green activity typically indicates an unreadable or damaged micro SD card. If the green LED flashes in a specific pattern, it can provide advanced error codes. For instance, if the green LED blinks four times with no SD card plugged in, that’s a bad news indicator, suggesting a potential hardware problem with the bootloader.
In these instances, flashing the bootloader with the recovery.bin file can fix the issue. The Raspberry Pi documentation provides an in-depth discussion of LED activity. You can trust it to read the signs and know what to do next to stay ahead.
Test with a different SD card
One of the most common causes of a boot issue is the SD card itself. Testing with a known good micro SD card can quickly eliminate issues related to the card being the problem. Start by using an SD card with a new installation of the Raspberry Pi OS, preferably configured with the Raspberry Pi Imager. This tool fixes over 80% of all boot failures on boards such as the Raspberry Pi 4, especially when the SD card is formatted to FAT32 or exFAT. If the formatting doesn’t work, the card could be corrupted, which is a common issue that many users face.
If you suspect a hardware problem, major brands like SanDisk provide warranties, so if you have a defective card, you should be able to get a warranty replacement. If you’re experiencing boot failures, attempt using a 16GB card. Additionally, consider replacing your card reader with a newer model, as outdated card readers may lead to issues as well, impacting the performance of your Raspberry Pi.
In summary, ensuring the right setup with a compatible SD card and reader is essential for a smooth boot process. Addressing these potential causes can significantly enhance your experience with the Raspberry Pi, allowing you to avoid many booting issues that can arise from incompatible hardware or corrupted images.
Update firmware and bootloader
Keeping the firmware and bootloader updated opens the door for fully supporting the latest operating systems. Download the most recent updates from the Raspberry Pi site, and you’ll find step-by-step directions laid out for you.
Once updated, ensure the bootloader is working by checking the LED pattern. Follow that up with a recent firmware update that finally made many of these issues work properly, including the card reader. Continual, consistent updates are imperative to maintain devices and ensure proper functionality.
This is all the more critical for newer models such as the Raspberry Pi 5, which requires a 27W USB-C power supply and has specialized boot diagnostic features.
Inspect GPIO pins for damage
A visual inspection of the GPIO pins is helpful to identify potential damage. Bent or broken pins can interrupt the boot sequence. A few simple GPIO scripts will confirm their operation.
Dust or debris around the GPIO area can cause shorts, so keeping that area clean is vital to avoiding issues. Do not connect devices that exceed the GPIO pins’ voltage or current rating, as this may cause permanent damage.
Seek community or expert support
The Raspberry Pi community can be a great resource for troubleshooting. Websites such as the official Raspberry Pi forums contain threads where others with more experience discuss workarounds and fixes.
LED patterns, what you have tried so far, a detailed description of your issue, all that good stuff goes a long way in getting the most useful advice. Online communities and social media groups can offer real-time support. They introduce you to grassroots practitioners who have dealt with and overcome the same challenges you’re currently facing.
Preventive Measures for Boot Issues
Proactive maintenance and smart usage habits can significantly enhance your device’s lifespan and performance. By prioritizing data protection, particularly with your micro SD card, you’ll save time and effort down the line, preventing common issues such as boot problems and hardware issues.
Use a reliable power supply
In fact, a reliable power supply is the most important accessory of any Raspberry Pi. Non-official Raspberry Pi power adapters can’t guarantee a consistent voltage or current. This kind of consistency is imperative in order to avoid the risk of spontaneous shutdowns and boot failures.
Cheap, generic power supplies can’t usually maintain these standards, resulting in hardware instability in the long run. For example, as I’ve mentioned before, generic power adapters tend to induce random reboots, particularly under load.
Check power adapters periodically for signs of damage, including frayed cords, and discontinue the use of damaged units. Make sure you have an official spare power supply on hand at all times. This is doubly important if you use your Raspberry Pi for mission-critical projects.
Backup the SD card regularly
SD card corruption is a common cause of boot issues, but frequent backups can protect your information. Tools such as Win32 Disk Imager or balenaEtcher simplify cloning SD cards and let you keep exact copies of your SD cards.
For extra protection, keep these backups in at least two different places, like an external hard drive and online or in the cloud. Understanding how to restore these backups is just as important.
Rehearsing the process makes sure you’re ready for any situation. On a personal level, I have monthly backups scheduled and a monthly checklist to prevent failure through redundancy.
Avoid sudden power interruptions
Sudden power interruption can corrupt your data or brick your Raspberry Pi. A surge protector helps to prevent power spikes. In the event of an outage, an uninterruptible power supply (UPS) provides necessary protection for mission-critical applications.
Developing the simple but effective habit of properly shutting down the Raspberry Pi through the software interface before unplugging power is another easy preventive measure. For shared installations, training any other users in how to take these precautions can help avoid unnecessary errors.
Keep the Raspberry Pi cool
Additionally, if there is overheating, it can fry the components and cause permanent boot failure. I’d suggest keeping an eye on the temperature, perhaps with the built-in valenced utility.
For example, adding a heatsink or using a small fan to help dissipate heat while doing intensive tasks. Open, well-ventilated spaces are a great way to optimize airflow around the Raspberry Pi.
Don’t obstruct ventilation, as even small items will cause excessive heat buildup.
Handle hardware with care
Human care is one of the most important aspects of the longevity of a device. Electrical anti-static precautions, like using grounded mats or wrist straps, help prevent electrical damage while assembling or modifying your setup.
Connectors and pins are sensitive—always use caution when applying pressure to prevent bending or snapping. When your Raspberry Pi isn’t in action, protect it in a tough protective enclosure.
This will protect it from dust and all those unexpected bumps. Routine hardware inspections identify and address early signs of wear, such as loose connections or damaged components, before more serious failure occurs.
Conclusion

Repairing a Raspberry Pi that fails to boot may seem daunting, but with the proper approach, it is easily resolved. By doing simple checks and troubleshooting systematically, you can diagnose the majority of boot issues. Where needed, employ professional techniques to locate and troubleshoot the problems. Preventive measures, such as using good quality power supplies and ensuring software is kept up to date, further minimize the risk of future failures. A bit of patience and care ensures your Pi boots reliably every time.
If you’ve done everything and your Pi still won’t boot, it may be worth looking for assistance in the Raspberry Pi community or help forums. They’re packed with folks who have run into the same problems and solved them. Don’t let technical difficulties stop you in your tracks—apply what you’ve learned and continue to experiment and create with your Raspberry Pi!