

A few years back, I was helping a Belgian customer, Jacky, optimize his custom Raspberry Pi kits before a product launch. He called late one night—his Pi 3 B was lagging badly in a demo, and his Amazon reviewers were waiting. I remember standing in my factory’s testing room, barefoot, holding a hot aluminum shell in one hand and typing commands with the other.
It wasn’t the board’s fault. The Raspberry Pi 3 B is like a small, eager worker. But if you overload it, forget to cool it, or feed it unstable power—it slows to a crawl. Today, I want to walk you through how I squeeze more speed from the Pi 3 B, step by step. Whether you're a project builder like Lasle, or rebranding cases like Jacky, this post will help you get more done—faster.
Baseline: Measure Before You Tweak

If we don’t know what’s slowing us down, we can’t fix it. Simple as that.
Benchmark core resources
I usually start with some quick checks. I run sysbench for CPU, hdparm or fio for storage, and iperf3 for network. These aren’t fancy tests—but they show the real bottlenecks. If your storage read speed is under 20 MB/s, your Pi is limping.
| Tool | What it Measures | Command Example |
|---|---|---|
| sysbench | CPU performance | sysbench cpu run |
| hdparm | SD card read | hdparm -Tt /dev/mmcblk0 |
| iperf3 | Network speed | iperf3 -c <host_ip> |
Monitor thermals & throttling
Here’s where things get sneaky. Even if the board runs “fine,” it might secretly be throttling because of heat or weak power. I check with:
vcgencmd get_throttledIf it returns anything other than 0x0, the Pi has been throttled. That’s already performance lost. I learned this the hard way in a Korean warehouse—Pi looked fine, but frame drops and lag showed up on sensors. Turned out the USB power bank was underpowered.
Profile boot sequence
Use:
systemd-analyze blameThis shows what’s hogging time at boot. Sometimes just disabling one or two services—like Bluetooth or Avahi—cuts boot time by 10 seconds.
Let’s talk upgrades next, but first—don’t overlook how these small measurements help guide smarter decisions.
Hardware Upgrades That Move the Needle

I always say this: you can’t software-patch bad hardware.
Stable, high-current power supply
If your Pi’s using a generic 2.5 A phone charger—it’s time to stop. I only recommend 5.1 V / 3 A supplies with clean current. Voltage dips cause the CPU to clock down without you even knowing.
| Supply Spec | Result |
|---|---|
| 5V / 2.5A (low) | Frequent throttling |
| 5.1V / 3A (high) | Stable at full speed |
Active cooling solutions
A Pi 3 B without cooling is like running a race in a winter coat. I once built a passive heatsink-only setup—looked great, but temps hit 82 °C under load. I now use aluminum cases with small fans. Simple. Quiet. Effective.
Safe overclocking roadmap
Once cooled and powered properly, overclocking becomes a real option. I set the CPU to 1.45 GHz, GPU to 500 MHz, and over_voltage=4 in config.txt. It’s stable if cooled.
arm_freq=1450
gpu_freq=500
over_voltage=4
Don’t rush here. Test in increments.
Faster storage
If you’re still using an old Class 10 card—consider upgrading to an A2-rated microSD or USB boot. Even over USB 2.0, SSDs reduce I/O wait time dramatically.
Network and cabling tweaks
On one file server setup, I swapped the onboard 10/100 Ethernet for a USB Gigabit adapter. Speeds jumped 3x. Also, don’t cheap out on cables—short, shielded cables reduce noise and power loss.
So once we’ve got hardware on our side, let’s see how the software can help.
Lightweight Operating Systems & Firmware

I used to load full desktop builds on every Pi, just in case. Big mistake.
Raspberry Pi OS 64-bit Lite
The 64-bit Lite version runs faster, especially with heavy math. You drop the GUI, but gain smoother operation, especially in server or headless mode. It’s the first image I flash for Davide’s orders.
Keep firmware current
Sometimes, performance comes down to firmware. sudo rpi-update gives the latest kernel and boot tweaks. After one update, USB boot lag on my Pi 3 B dropped by 30%.
Ultra-lean alternatives
For advanced users, DietPi and PiCore boot in under 12 seconds. I once used DietPi on 100 units for an IoT customer—the consistency saved us days of QA.
Still, all this tuning is useless if the system itself isn’t configured right.
System-Level Configuration

System tuning is where the magic happens—if you know what knobs to turn.
CPU governor
Switch from “ondemand” to “performance”:
echo performance | sudo tee /sys/devices/system/cpu/cpu*/cpufreq/scaling_governorThis keeps the CPU at top speed instead of idling down.
Memory tuning
I usually shrink GPU memory split to 16 MB for headless use. Then enable ZRAM to compress RAM usage and set vm.swappiness=10 to delay swap.
File-system mount flags
Change /etc/fstab entries to:
noatime,nodiratime,commit=60That cuts down on unnecessary SD writes.
Service pruning
Disable anything you don’t use:
sudo systemctl disable bluetooth.service
sudo systemctl disable cups.service
You’ll be surprised how fast things feel after that.
Now let’s get serious about boot time itself.
Boot-Time Acceleration
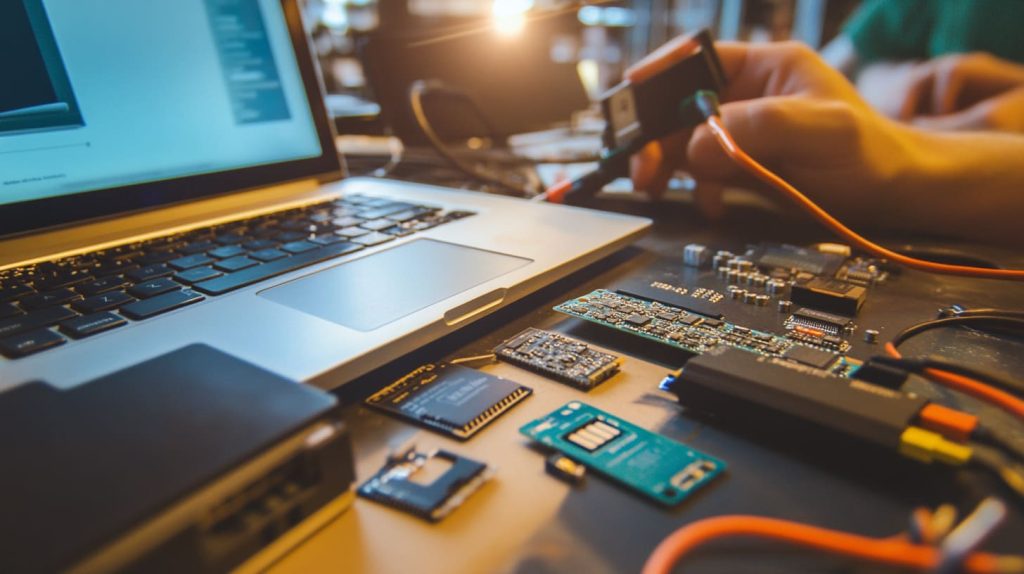
Waiting for a Pi to boot feels longer than it is—especially in demos.
Remove wait states
Edit cmdline.txt and config to remove boot splash, delay, and wait-on-network.
Parallelize startup
Enable systemd concurrency with:
systemd-analyze critical-chainDisable services that don't need to wait for each other.
Read-only or OverlayFS roots
For kiosk builds, I mount the root as read-only. That way, even if you yank power—nothing breaks. And yes, they boot in 4–5 seconds.
Still, even after all this, apps themselves can slow you down.
Application-Level Optimizations

Let’s not forget—what we run matters just as much as how fast the Pi boots.
Lightweight desktops or CLI
For desktop, I prefer XFCE or i3. For headless use, I skip GUI entirely. The difference is huge, especially on Pi 3.
Code efficiency
For Python apps, I switch to PyPy or compile with cython. One customer shaved 1.2 seconds off every loop in his sensor job just with this.
Multimedia acceleration
Use OMX or V4L2 for video. Without hardware decode, even 480p can stutter. Jacky once found his YouTube install played fine—until the GUI hogged RAM.
But none of this means anything if your setup can’t stay cool.
Cooling & Stability Testing

Pushing the Pi too hard without stress testing is like racing a car you’ve never driven.
Stress-test regimen
Run stress-ng for 30 minutes. Watch temps with:
vcgencmd measure_tempIf temps hit 80 °C, it’s time to back off.
Continuous logging
Use watch -n1 vcgencmd measure_temp or write a script to log temp and throttle flags. Graphing the data helps spot patterns.
Roll-back thresholds
I once had to down-clock a batch order by 100 MHz because fan quality varied. Be ready to adjust based on results—not just hope.
Still wondering how we test our cases at MaidaTech?
Case Study: MaidaTech Active-Cooled Aluminum Case

I’ve tested our active-cooled case for hundreds of hours.
Thermal delta vs. bare board
Under stress, the Pi 3 B in our aluminum case runs 15–18 °C cooler than bare. That means it holds 1.45 GHz with zero throttling.
| Setup | Max Temp | Stable Overclock |
|---|---|---|
| Bare board | 82 °C | No |
| MaidaTech case + fan | 64 °C | Yes |
Private-label opportunities
Clients like Jacky and Davide love that we pre-install fan, PSU, and logo. Some even want custom packaging. These small touches build brand trust fast.
Conclusion

Speed isn’t just one thing. It’s not just clocks or code. It’s how well everything—from your power supply to your OS—works together. The Pi 3 B can still shine in 2025 if we respect its limits and tune it wisely.
If you're rebranding like Jacky or launching projects like Lasle, your product’s speed reflects your brand. So test often, tune smart, and always—always—start with the basics.




