

A stack of Raspberry Pi boards hums beside an old ATX power supply, wires neatly bundled, LEDs pulsing like quiet heartbeats. There’s no USB-C in sight—just solid 5 V rails, one unit powering everything from fans to SSDs to a 12-node cluster. It might look overbuilt, but that’s the point. When you’re juggling multiple Pis or integrating storage and lighting, those tiny wall bricks don’t cut it anymore.
Instead of grabbing five chargers and crossing your fingers, a single ATX unit offers stable voltage, way more amps than needed, and built-in cooling—all for the price of a takeout meal.
Spoiler: An ATX supply is overkill only if you forget to tame it.
Once your solder joints are solid and the switch clicks into place, the next question becomes: how do you make it safe, clean, and scalable? That’s exactly what this guide is here to answer.
What Is an ATX Power Supply and How Does It Work?
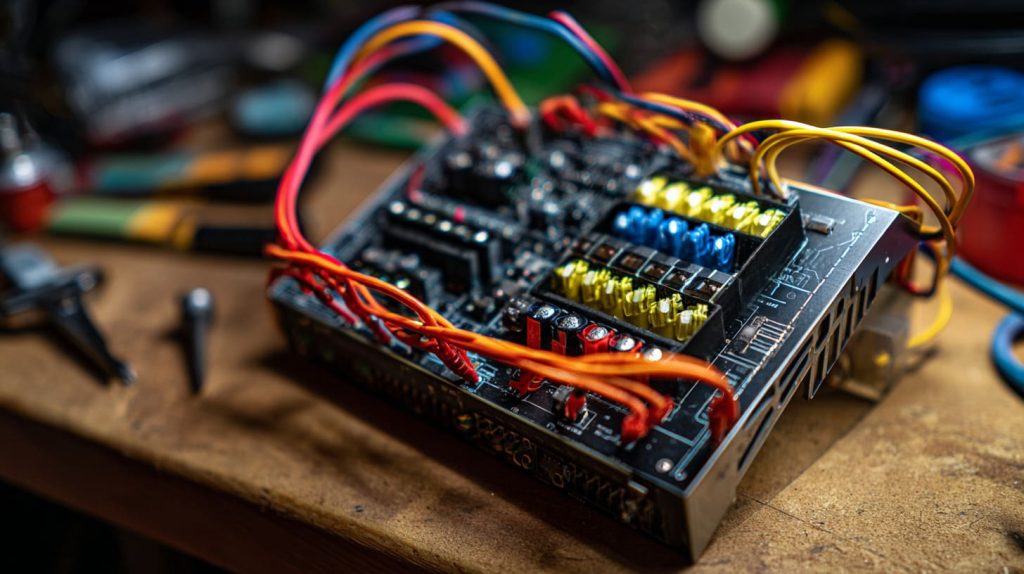
Typical Voltage Rails (3.3 V, 5 V, 12 V, -12 V & 5 V SB)
Most Pi projects sip power from the 5 V rail, but an ATX brick offers more. Think of the rails as different flavors at an ice-cream bar:
| Rail | Color (ATX) | Typical Current | Raspberry Pi Use |
|---|---|---|---|
| 3.3 V | Orange | 20–30 A | Logic on custom HATs |
| 5 V | Red | 20–30 A | Main Pi power, USB devices |
| 12 V | Yellow | 15–60 A | Fans, LED strips, HDD motors |
| -12 V | Blue | <1 A | Legacy serial, rare today |
| 5 V SB | Purple | 2–3 A | Always-on sensors, wake logic |
PS_ON, Power Good, and Soft-Start Logic
- PS_ON (Green wire): Pull to ground and the beast wakes up.
- PWR_OK (Gray wire): A polite handshake that says, “Voltage is stable—boot away.”
- Soft-Start: Internal circuitry ramps current slowly, saving sensitive devices from abrupt surges.
Load Requirements and Minimum Current on Each Rail
Old ATX units sometimes need a tiny dummy load on 5 V or 12 V to stay stable. A 10 Ω, 10 W resistor does the trick. Modern supplies are usually fine without extra help, yet I still keep a resistor in my travel kit because Murphy still loves labs.
Three sentences, one coffee sip, and we’re ready to size the Pi’s appetite…
Power Requirements of Modern Raspberry Pi Boards

Overview of Model-to-Model Differences (Zero 2 W → Pi 5)
| Model | Idle (A) | Peak (A) w/USB | Note |
|---|---|---|---|
| Zero 2 W | 0.15 | 0.7 | Good for sensors |
| Pi 3 B+ | 0.4 | 1.3 | Retro gaming sweet spot |
| Pi 4 B (8 GB) | 0.6 | 2.5 | 4K desktops & clusters |
| Pi 5 | 0.7 | 3.0 | PCIe and AI add-ons |
USB-C PD vs. “Dumb” 5 V Rails
The Pi 5 negotiates up to 5 V @ 5 A over PD, but it’s just as happy with a clean, fixed 5.1 V rail—if you feed it through GPIO 2 & 4. No negotiation required, just pure amperage.
Headroom for USB Devices, Displays, and HATs
Add-ons can double your draw. My test jig once burned 4 A on a single Pi 4 after loading a 2.5-inch SSD and an LED fan. Rule of thumb: budget 1 A for the board, 1 A for every “extra.”
The smell of warm acrylic reminds me why we overbuild power—let’s weigh the bigger picture…
Why Power a Raspberry Pi with an ATX PSU?

Running Multiple Pis from One Supply
One ATX unit can serve a ten-node cluster. Fewer cables, fewer outlets, fewer tripping hazards when you sprint across the lab after a failed makefile.
Integrating Drives, Fans, and LEDs in a Single Enclosure
Hard drives love 12 V. Case fans love 12 V. Mood lighting loves 12 V. With an ATX PSU, every voltage is one plug away.
Cost, Availability, and Efficiency Considerations
A decent 450 W bronze PSU costs less than two official Pi adapters and idles at 80-plus efficiency. It’s not just cheaper—it runs cooler and quieter under light loads.
My cat once chewed a tangle of wall bricks; that was the last day I tolerated spaghetti power. Let’s talk about staying safe…
Safety Precautions and Electrical Pitfalls

Voltage Accuracy, Ripple, and Transient Response
Keep 5 V within ±5 %. I log ripple with an oscilloscope: anything above 50 mV p-p under load triggers a supply swap.
Fuses, Polyfuses, and In-Line Protection
Insert a 5 A inline fuse between the PSU and GPIO. The Pi’s onboard polyfuse is tiny; give it a bigger backup.
Ground Loops and EMI Inside Metal Cases
Route all returns to a single star point. My first metal chassis hummed like a haunted fridge until I killed the loop.
The oscilloscope trace calms down, and curiosity moves me to the nuts and bolts of hooking wires…
Hardware Methods to Connect an ATX PSU to a Raspberry Pi

Direct 5 V Rail to GPIO 2 & 4 (Bypassing USB-C)
Solder ferrules, crimp Dupont pins, and double-check polarity. Red is 5 V, black is ground; mistakes smell like burnt PCB.
Molex/SATA-to-USB-C Adapter Cables
Off-the-shelf cables exist, but cheap ones use hair-thin wire. Aim for 20 AWG or thicker.
DC-DC Buck Converters from 12 V→5 V for Extra Isolation
Great when you already run fans on 12 V but want a clean, protected 5 V for the Pi.
ATX Breakout Boards with Built-In Switch & Indicators
Breakout boards slap screw terminals and LEDs on every rail. Perfect for quick experiments and late-night debugging.
A quick stretch, a swig of green tea, and let’s wire this beast for real…
Step-by-Step Wiring Guide
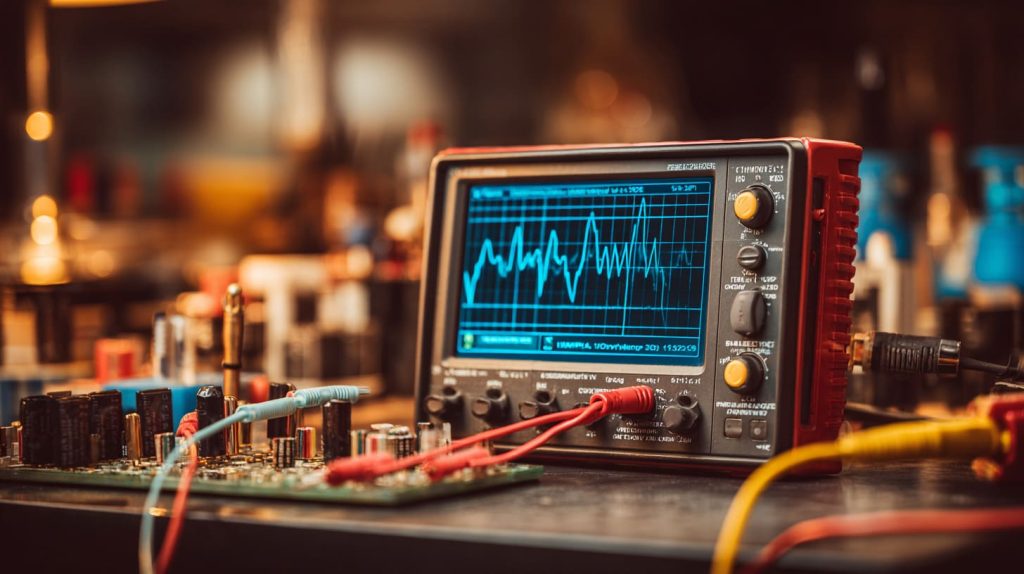
Identifying & Tapping the Correct Wires
- Unplug PSU.
- Find red (5 V) and black (GND) leads.
- Crimp ring terminals if using a bus bar.
Wiring the PS_ON Line to a Momentary or GPIO-Controlled Switch
- Tie PS_ON (green) to ground through a push-button for manual control.
- Or drive it from GPIO 17 via an NPN transistor for software shutdown.
Adding Inline Fuses and Ferrules for Reliability
| Position | Fuse Rating | Reason |
|---|---|---|
| 5 V main | 5 A fast-blow | Protect board & cable |
| 12 V fan | 2 A slow-blow | Surge when fan starts |
First-Boot Voltage Checks with a Multimeter
Measure 5.15 V at GPIO 2. Load the CPU with stress -c 4; voltage should stay above 4.90 V. Undervoltage icon gone? Good.
The multimeter beeps approval—time to add brains to power…
Adding Power Control and Monitoring
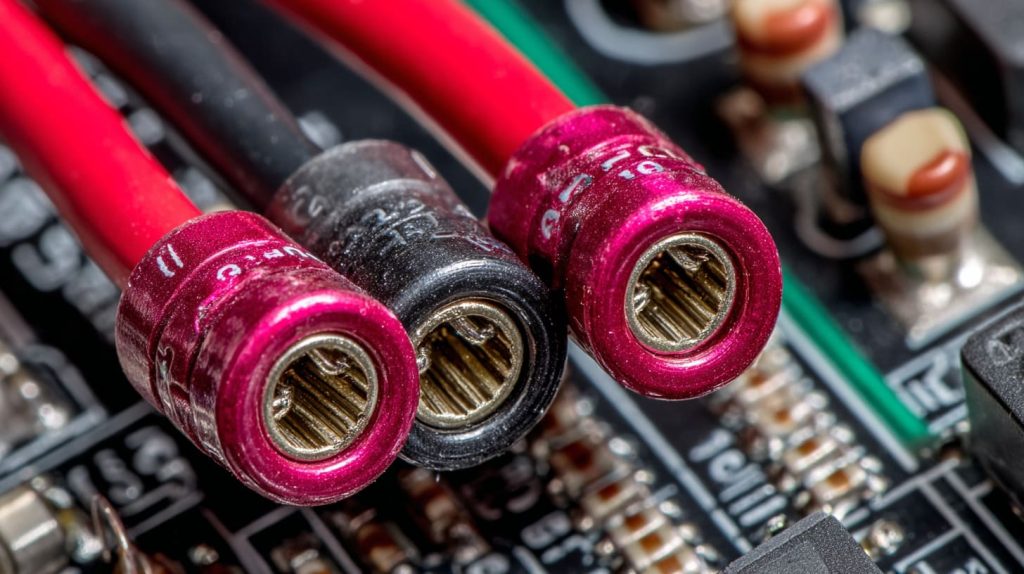
Using GPIO to Toggle PS_ON for Safe Shutdown
A Python script listens for sudo halt, waits 5 s, then pulls PS_ON high. Clean cut, no SD corruption.
Monitoring 5 V Line Voltage via ADC or INA219
An INA219 breakout logs voltage/current to InfluxDB. Dashboard turns red at 4.85 V—my cue to check wiring.
Automating Alerts for Undervoltage & Overcurrent
Tie a Telegram bot to the dashboard. One night it pinged me at 2 A.M.; a loose SATA cable was shorting. Saved a board and my pride.
Coffee’s cold but spirits are high—let’s think bigger…
Scaling Up: Powering Multiple Pis and Peripherals
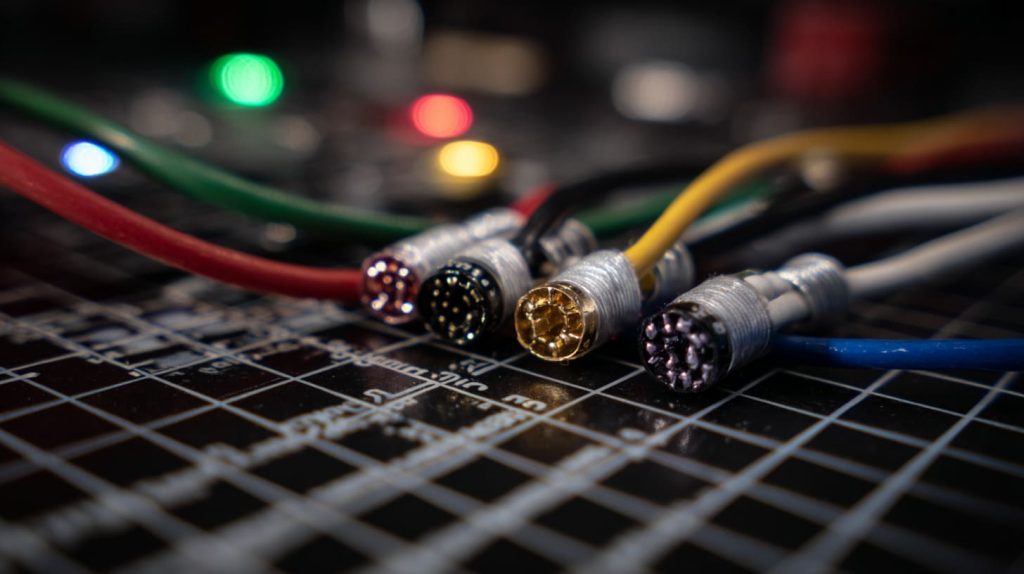
Current-Distribution Boards and Ribbon Power Cables
PCB busboards split one fat 5 V input into ten screw terminals. Ribbon cables keep interiors neat.
Managing Heat & Ventilation Inside an ATX or Rackmount Case
Rule: every 15 W load deserves one 80 mm exhaust fan. My 10-Pi cluster idles at 35 °C with two quiet spinners.
Labeling, Cable Management, and Serviceability Tips
Zip-ties are cheap; downtime isn’t. Label each lead with heat-shrink tags before first power-on.
Blinking LEDs fade into the background, but gremlins remain—here’s how to chase them…
Troubleshooting Common Issues
“Lightning-Bolt” Undervoltage Icon & dmesg Logs
Icon shows at 4.63 V. Check cable resistance first; long USB leads drop volts faster than gossip.
Random Reboots Under Load or USB Hot-Plug
Split power and data. High-draw USB drives deserve their own 5 V rail.
Noise Interference on Audio/Camera Modules
Add ferrite beads on 5 V and ground. My camera feed once turned into a purple waterfall until I clamped those beads.
A quiet rig is a happy rig—let’s peek at some real builds…
Real-World Integration Examples
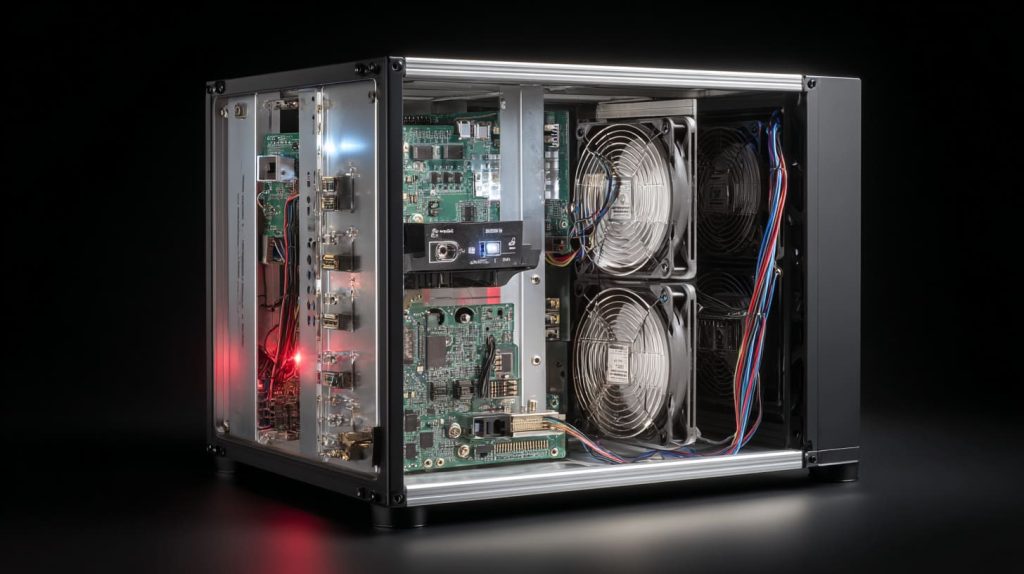
Home-Lab Cluster with Ten Pi 4 Nodes in a PC Chassis
I carved vent holes where GPU fans once sat. The cluster compiles kernels 30 % faster thanks to shared cooling.
Pi-Powered NAS Using ATX PSU for HDDs and the Board
Four-bay HDD cage draws 24 W at spin-up. ATX 12 V laughs at the surge; Pi grabs 5 V from the same box.
OEM Scenario: Shipping a Pre-Assembled Kit with ATX-Based Power
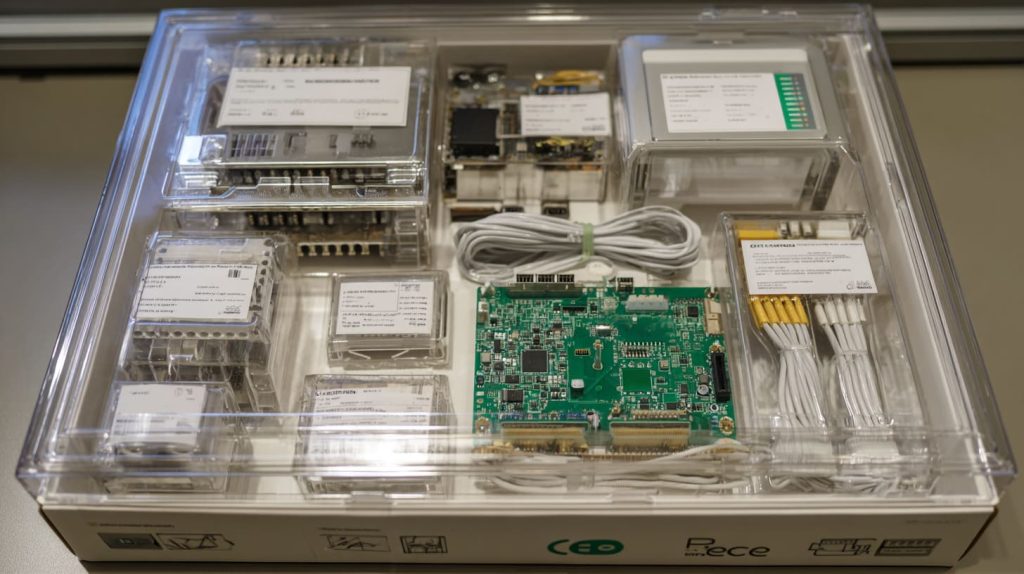
For Davide-style re-brand clients, we pre-crimp cables, slap their logo on the case, and include CE paperwork for the PSU. Faster launches, fewer returns.
All stories told, lessons learned—time to land the plane…
Conclusion

An ATX power supply is not a silver bullet—but wielded well it delivers clean, abundant power to one Pi or twenty. Check ripple, fuse your lines, monitor voltage, and respect PS_ON logic. Do that, and the only sparks you’ll see are in your next big idea.




