
Introduction
Overview of Raspberry Pi and its popularity
Raspberry Pi has taken the tech world by storm. It's a small, affordable computer that can be used for almost anything—from learning programming to building personal projects or even running home automation systems. Its popularity continues to rise, thanks to its versatility, low cost, and the massive online community. Whether you're a student, a hobbyist, or a professional developer, there’s always something new to explore with Raspberry Pi.Importance of knowing the right components before getting started
Before diving in, it's crucial to understand that Raspberry Pi isn't just the board itself. The right accessories, power supplies, cases, and cables will help you get the most out of your Raspberry Pi experience. Choosing the wrong components can lead to frustration and delays. In this post, I’ll walk you through the essential things you need to buy to get started on the right foot.
1. Raspberry Pi Model Selection
Choosing the Right Raspberry Pi Model for Your Project
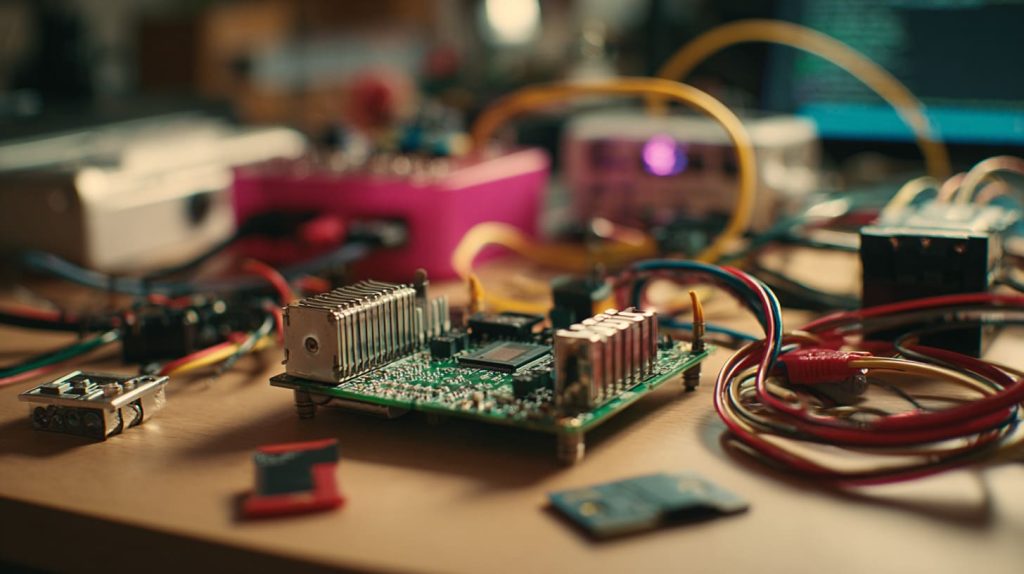
When you’re starting with Raspberry Pi, the first step is deciding which model fits your needs best. There are several models out there—Raspberry Pi 4, Pi 3, Pi Zero, and others—but which one is right for your project?
- Raspberry Pi 4: The powerhouse. If you’re building something that requires heavy processing or media streaming, Pi 4 is your go-to model.
- Raspberry Pi 3: A great option for most basic projects, like building simple web servers, weather stations, or small applications.
- Raspberry Pi Zero: Ultra-compact and budget-friendly, great for tiny projects like simple sensors or cameras.
The Difference Between Raspberry Pi Models
It’s easy to get lost in the specs, but it’s important to keep the project goals in mind. For instance, if you're planning to run a media center, the Raspberry Pi 4’s increased memory and faster CPU would be beneficial. For a simple project like a weather station or a small robot, the Pi Zero might be all you need.
The biggest difference is performance, memory, and connectivity. Pi 4 offers more RAM (up to 8GB), faster processing speeds, and multiple USB ports, making it more versatile but also slightly more expensive.
2. Raspberry Pi Power Supply and Cables
Essential Power Supply for Raspberry Pi
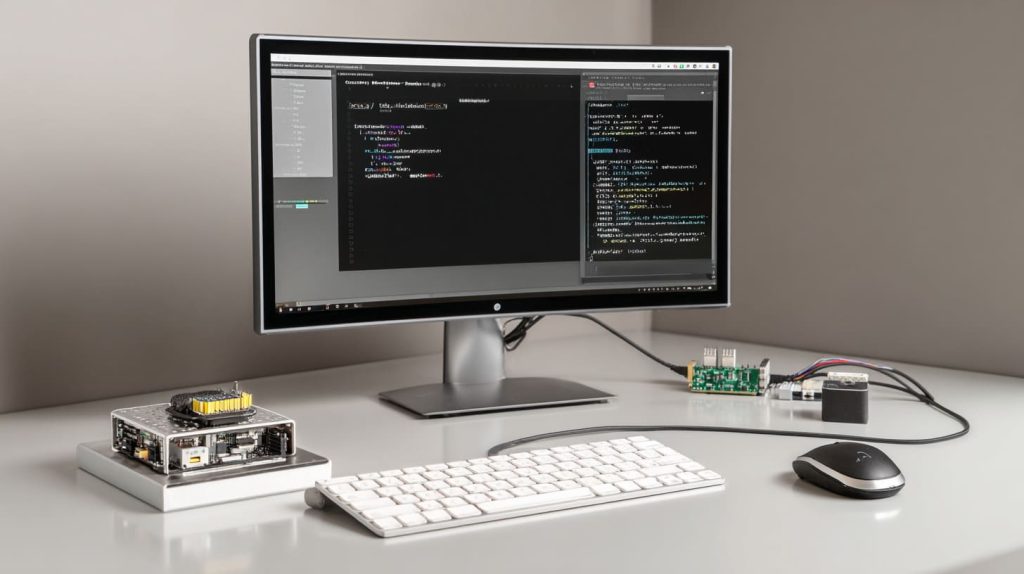
It may sound simple, but ensuring you have the right power supply is essential. Using the wrong one can result in unstable performance or, worse, cause damage to your Raspberry Pi.
- Power Supply for Pi 4: At least 5V 3A.
- Power Supply for Pi 3: 5V 2.5A should suffice.
- Power Supply for Pi Zero: It can run on as little as 5V 1A.
Choose a good-quality power supply to avoid issues with booting or random shutdowns.
Necessary Cables and Adapters
You'll need several cables to get your Raspberry Pi running:
- HDMI Cable: For connecting to a monitor or TV. Make sure to choose the correct HDMI type based on your Pi model.
- USB and Ethernet Cables: For connectivity. USB is essential for peripherals like a mouse or keyboard, while Ethernet cables are needed if you're using a wired internet connection.
Choosing the right cables will ensure you have a smooth setup without any compatibility headaches.
3. Raspberry Pi Accessories
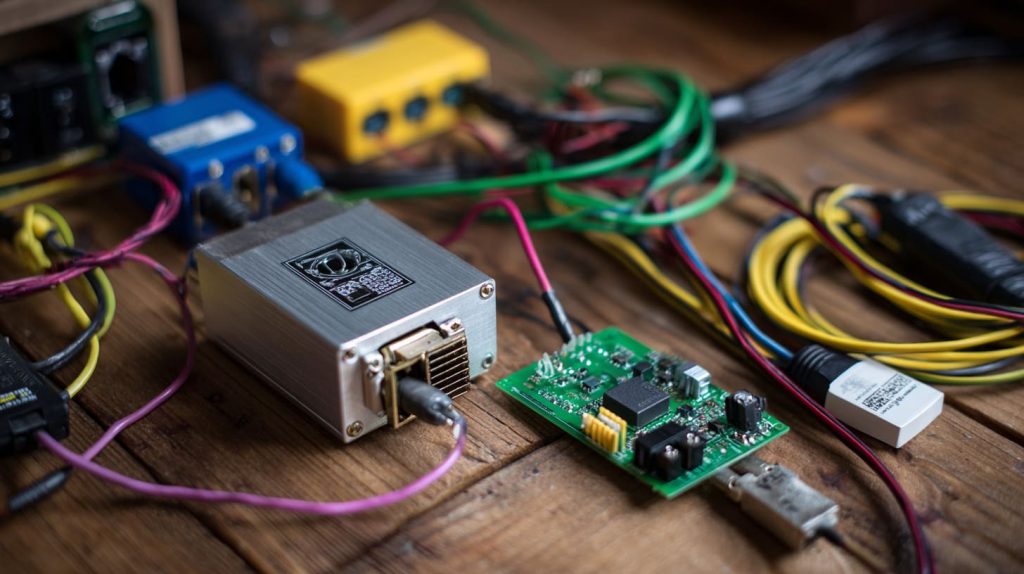
Heat Sinks and Cooling Systems
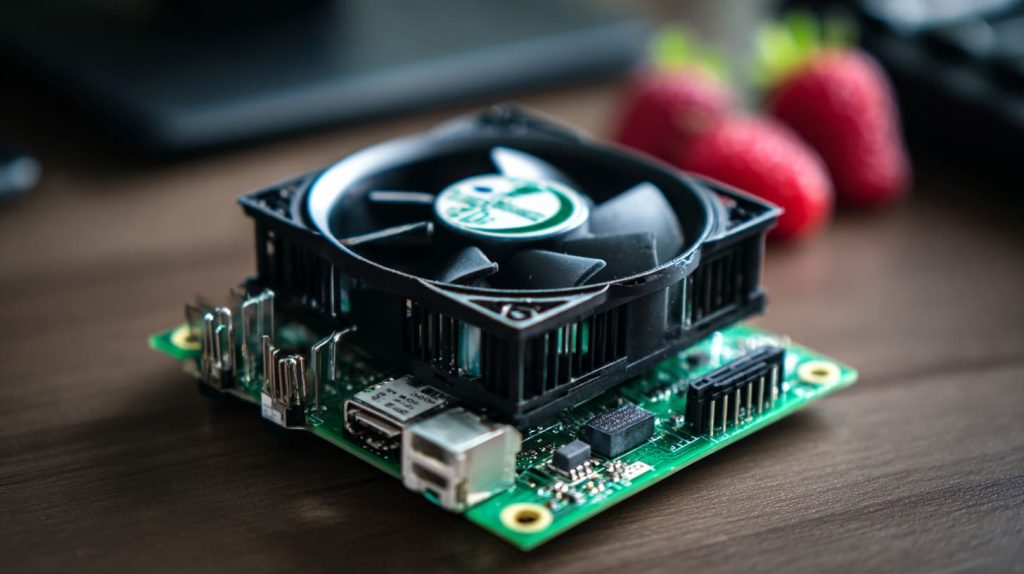
One thing many people forget when setting up their Raspberry Pi is proper cooling. When running intensive tasks, the board can overheat, leading to throttling and lower performance.
- Heat Sinks: These tiny, metal pieces attach to your Pi’s chips to dissipate heat. They’re essential for projects that demand a lot of processing power, like gaming or media centers.
- Fans: If you’re using your Pi in a case, adding a fan can keep the temperature low, ensuring smoother performance.
Storage Options: MicroSD Cards & External Drives
You can’t just plug in a Raspberry Pi and go—it needs storage! The most common way to store the operating system and your files is via a microSD card.
- MicroSD Card: Choose a high-speed card (Class 10 or UHS-1) with at least 16GB of space.
- External Drives: For larger projects, consider using external storage via USB. This is ideal for media centers, backups, or file servers.
You can install your OS on the SD card and then configure everything to run smoothly.
4. Raspberry Pi Cases and Protection
Choosing the Best Raspberry Pi Case
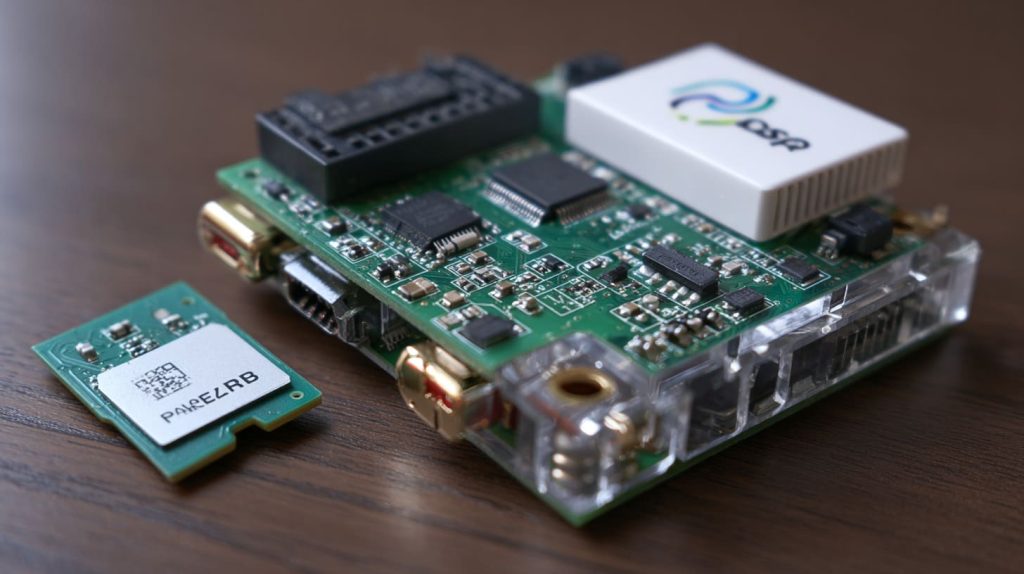
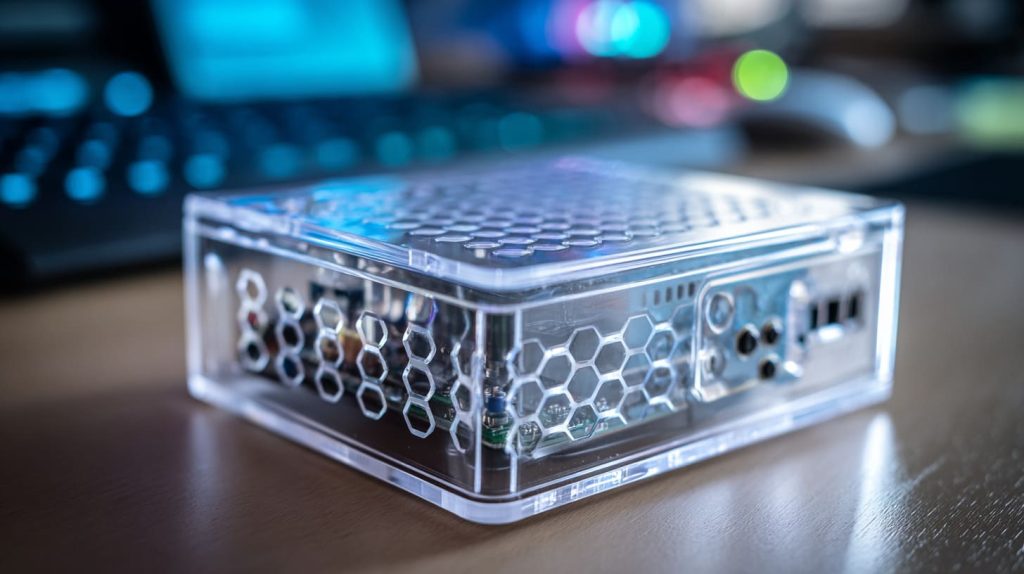
A case is not just for aesthetics—it's a protective shell for your Raspberry Pi. It guards against dust, physical damage, and accidental short circuits.
- Standard Cases: Affordable and functional. Great if you’re just looking to keep your Pi safe on a desk.
- Custom Cases: These are ideal if you need to brand your project or create a personalized design. I’ve worked with many clients who’ve needed custom-printed cases with their logos, and it’s always a great way to add a professional touch.
Ensuring Proper Ventilation and Durability
If you're placing your Raspberry Pi in an enclosed space, make sure the case offers ventilation. This is especially true for high-performance models like the Pi 4, which can get quite hot under load.
A good case will not only protect but also provide easy access to ports and help with heat dissipation.
5. Operating System for Raspberry Pi
Which Operating System Should You Install?
The official Raspberry Pi OS is often the best choice for beginners. However, there are several other options:
- Raspberry Pi OS (Lite): A lightweight version for projects that don’t require a graphical interface.
- RetroPie: Perfect for turning your Pi into a gaming console.
- Ubuntu: A full desktop experience for those looking for a more traditional OS.
Each OS has its strengths, so choose based on your project.
Setting Up and Configuring Your Raspberry Pi
Once your Raspberry Pi is up and running, you'll need to do some configuration:
- Wi-Fi Setup: Connecting to Wi-Fi is simple, just use the GUI or terminal to input your network details.
- Performance Tweaks: Make sure you adjust the memory split (for the Pi 4) and enable GPU support if necessary.
This initial setup will make a huge difference in your overall experience.
6. Peripherals for Raspberry Pi
Monitors, Keyboards, and Mice
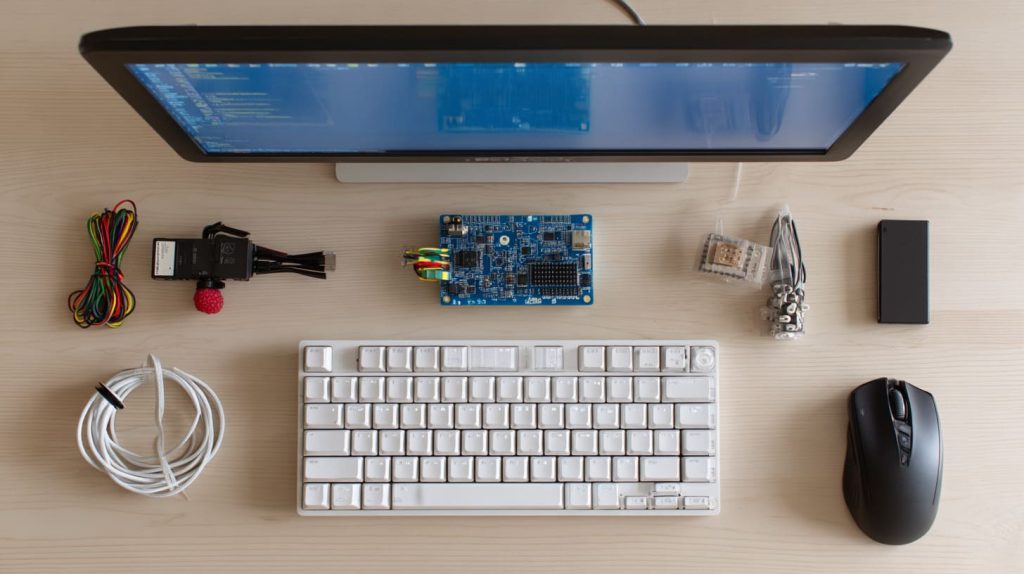
For any Raspberry Pi project that involves a display, you’ll need a monitor, keyboard, and mouse.
- Monitors: Choose based on your need for resolution and connection type. A 1080p display will work for most cases.
- Keyboards and Mice: USB or Bluetooth, depending on your setup.
If you’re planning to use your Pi as a desktop replacement, don’t skimp on peripherals.
Other Essential Accessories: Sensors, Cameras, and Displays
For more advanced projects, you might need additional accessories:
- Sensors: Temperature, humidity, and motion sensors are commonly used in IoT projects.
- Cameras: Raspberry Pi camera modules are perfect for security systems or image processing projects.
Make sure you choose the right accessories based on your project’s needs.
7. Software and Tools for Raspberry Pi Projects
Setting Up Software for Development
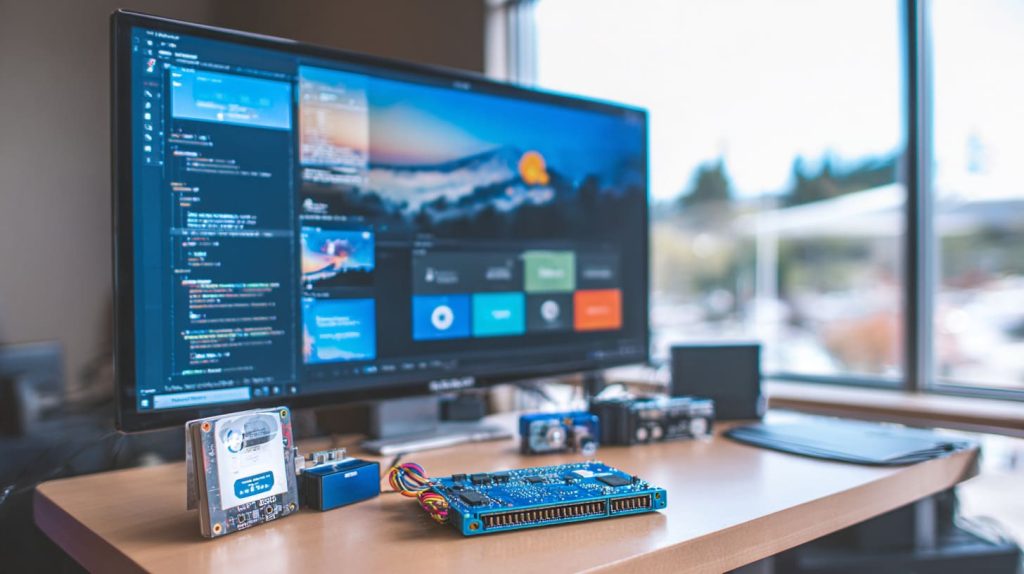
To get your Raspberry Pi up and running for programming, you’ll need some tools:
- Python: The go-to language for many Raspberry Pi users.
- Node.js: If you're into JavaScript, Node.js is great for server-side tasks.
- Thonny: A simple IDE for Python development.
These tools will make development easier and faster.
Useful Software for Raspberry Pi Users
Once your Pi is ready, it’s time to start using it. Here are some popular software options:
- Kodi: A media center software.
- Pi-hole: A network-wide ad blocker.
- VNC: For remote control of your Pi from another device.
With these tools, your Raspberry Pi can do just about anything.
8. Budgeting and Sourcing Raspberry Pi Components
How to Source Your Raspberry Pi and Accessories
When buying your components, make sure to source them from reliable platforms.
- Online Marketplaces: Websites like Amazon, eBay, and Alibaba are great for finding Raspberry Pi accessories.
- Wholesalers: If you're buying in bulk, it's worth looking into reliable wholesalers who offer discounts.
How to Budget for Your Raspberry Pi Project
It’s important to estimate how much you’ll spend. A basic setup can cost around $50, but for more advanced projects, you may end up spending much more.
Plan carefully, especially if you're working on a large project or multiple Pis.
Conclusion
To sum it up, getting started with Raspberry Pi is all about knowing the right components to buy. Choosing the right Pi model, power supply, accessories, and peripherals will set you up for success. Whether you're building a personal project or experimenting with new ideas, having the right tools will make the process smoother and more enjoyable. So, get out there, explore the endless possibilities, and start creating amazing projects!
Happy tinkering, and remember—there’s no such thing as the “wrong” project, just learning experiences waiting to happen!




