Skip to content

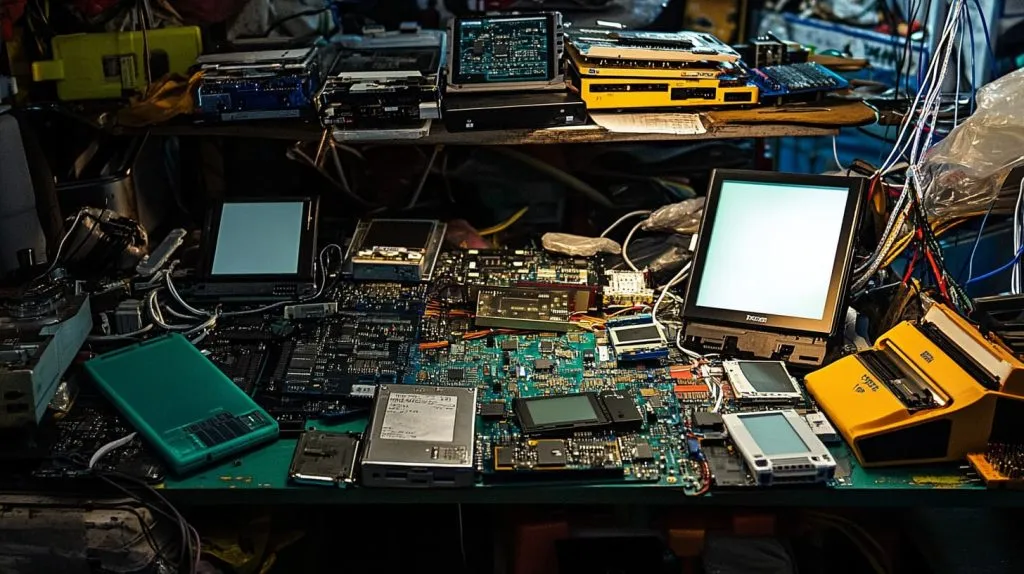
Walk into any local electronics market—maybe in Shenzhen, maybe in Berlin—and you’ll likely spot a stack of old PSP consoles, screens half hanging, plastic cracked. Nearby, a bin of Raspberry Pi boards buzzes with possibilities. One screen. One board. Two completely different worlds—yet something about that pairing sparks curiosity.
What if that leftover PSP LCD could power your next Pi project? Not just as a recycled screen, but as a working part of your own custom build—cheap, compact, and oddly satisfying. In this guide, I’m going to show you how to bridge that gap. Whether you’re a Pi kit seller, a maker, or a rebranding entrepreneur like Jacky in Belgium, this is where hardware hacking meets smart sourcing.
(Grab an oscilloscope or just your curiosity—we’re diving right in.)
Understanding PSP LCD Hardware
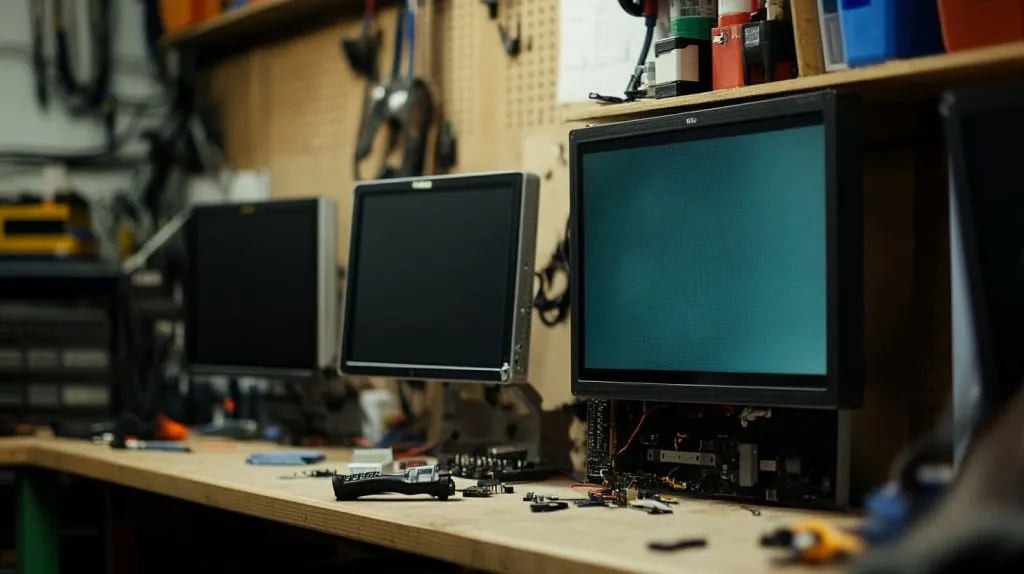
Common PSP LCD models & key specs (e.g. Sharp LQ043T3DX02, LS043T3PX01)
| Model | Size | Native Res | Interface | Notes |
|---|---|---|---|---|
| Sharp LQ043T3DX02 | 4.3 in | 480 × 272 | 24-bit RGB | Found in early PSP-1000 units |
| Sharp LS043T3PX01 | 4.3 in | 480 × 272 | 24-bit RGB | Later PSP-2000/3000, thinner FFC |
These panels are bright, cheap on auction sites, and stubborn about timing. They expect a rock-solid 9 MHz pixel clock and 60 Hz refresh. No handshake, no picture.
Pin-out & signalling: 24-bit RGB vs. serial MIPI interfaces
Most PSP screens speak parallel RGB: 8 bits per color plus HSYNC, VSYNC, DE, and a pixel clock. If a listing whispers “MIPI,” it’s probably mislabeled—skip it or budget for an FPGA.
Back-light power and brightness control basics
The LED string wants \~15–20 V at 20 mA. A tiny step-up driver does the lifting; PWM on its EN pin dims the light. Skip the driver and the screen looks like a candle in daylight.
_Those specs are facts, but questions about how to feed the panel lead us to Raspberry Pi’s own bag of tricks.
Raspberry Pi Display Output Options
HDMI (TMDS) port capabilities
Pi’s HDMI spits differential TMDS, perfect for TVs. A PSP panel can’t digest that data stream without a translator.
DPI: 24-bit parallel RGB over GPIO
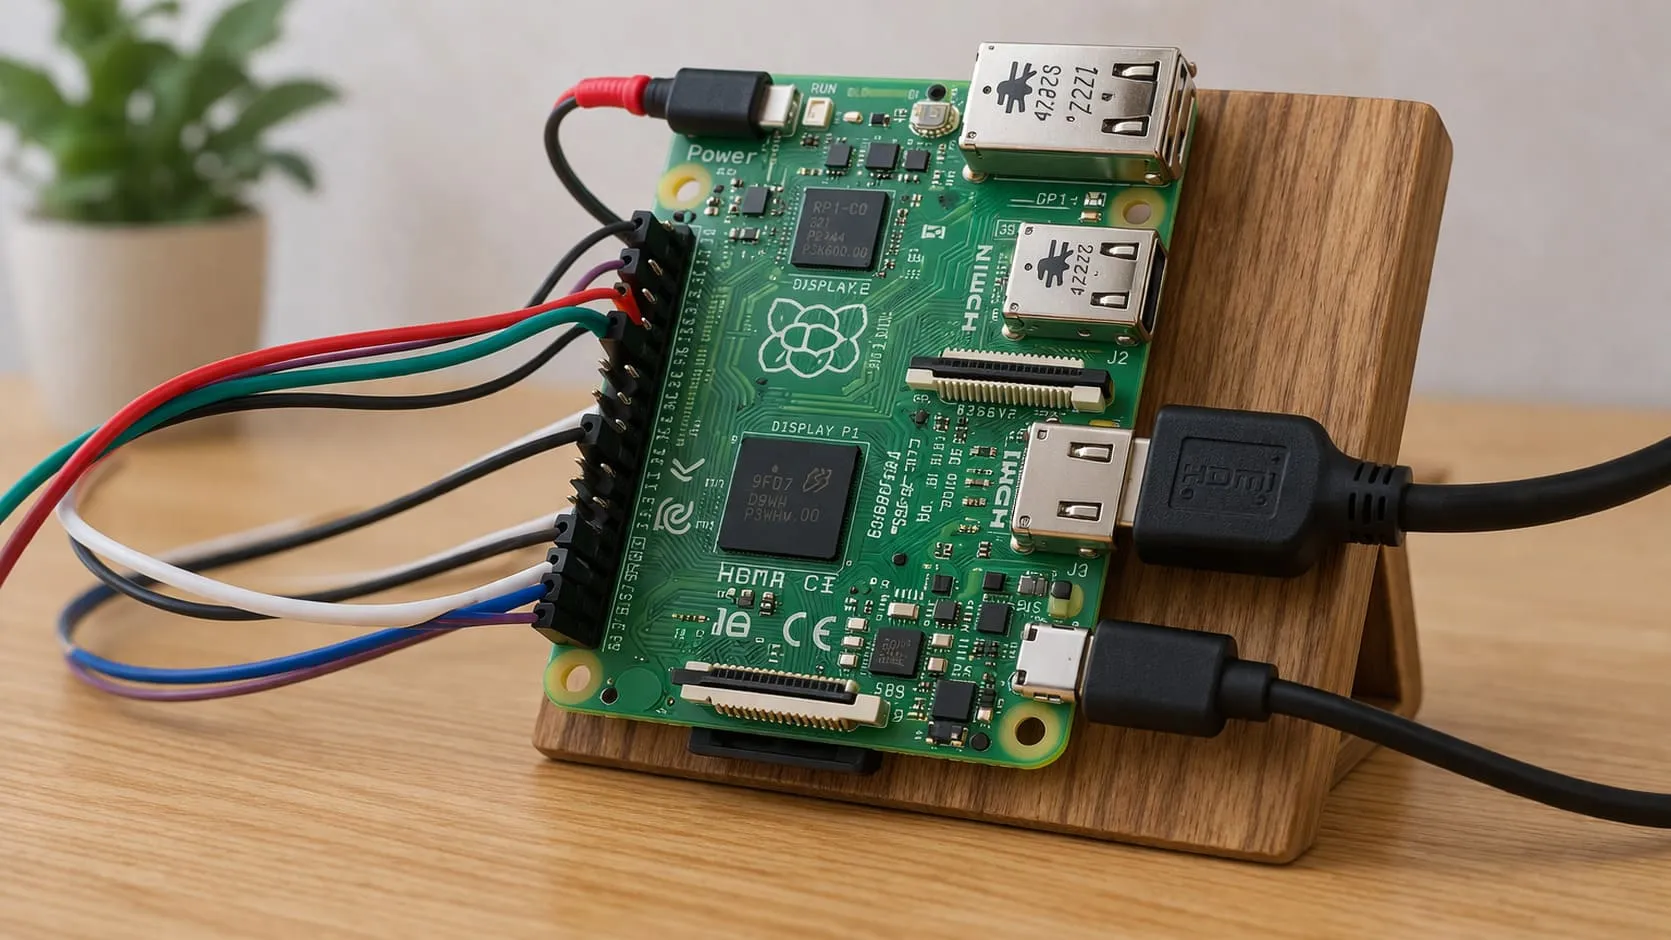
Hidden in the Pi’s SoC is a Display Parallel Interface. Enable it and 28 GPIO pins become the very signals the PSP panel craves. You pay with GPIO real estate, but gain a direct link.
DSI (MIPI) and why it can’t drive a PSP panel directly
Pi’s flat cable connector uses two-lane MIPI. Great for official touch screens, useless for raw RGB glass. You’d need a costly bridge chip to mediate.
So, can the two sides talk without an interpreter? Let’s measure the gap.
Feasibility Check — Can They Talk Natively?
Electrical-level compatibility (voltage, impedance)
Pi GPIO toggles at 3.3 V logic. PSP panels are comfortable at 2.8–3.3 V, so no level shifters needed—score. Keep trace lengths equal to avoid skew.
Pixel clock & timing constraints for 480 × 272 @ 60 Hz
The math says 480 × 272 × 60 ≈ 7.9 MHz plus porch overhead. Pi’s PLL can deliver that cleanly. Miss by 0.1 MHz and the panel snow-storms.
Cost-benefit overview versus using an off-the-shelf Pi display
| Option | Parts Cost | Labor | Brightness | Touch? | Headaches |
|---|---|---|---|---|---|
| PSP LCD DIY | $10 | High | ★★★★☆ | No | Cable routing, timing |
| Official 7″ DSI | $60 | Low | ★★★☆☆ | Yes | Zero wiring |
| Cheap HDMI TFT | $25 | Low | ★★☆☆☆ | Touch optional | Scaling blur |
Feeling brave? Let’s wire it up the raw way first.
Method 1: Direct DPI Wiring to the PSP LCD
Required components, adapter FFC connector & level shifters
Raspberry Pi 4 or 5
40-pin FFC breakout for the panel
28 jumper wires or a custom PCB
Optionally, a 3D-printed bracket to keep the flex flat
Device-tree overlay & config.txt timing setup
dtoverlay=dpi24
enable_dpi_lcd=1
dpi_group=2
dpi_mode=87
dpi_output_format=0x7f216
display_clock=7200000
One typo here and you stare at black glass.
Pros, cons & example “raw-DPI” community builds
Pros: Lowest latency, no extra ICs, hacker cred.\
Cons: GPIO hog, fragile ribbon, EMI gremlins.
But maybe you’d rather plug-and-play. Enter the HDMI driver board.
Method 2: HDMI-to-RGB Driver Board
How HDMI controller boards convert TMDS → RGB
Chips like RTD2660 take HDMI, unpack the TMDS stream, then spew 24-bit RGB plus sync. Think of them as diplomats translating fast.
Selecting a compatible board and wiring the 40-pin FFC
Look for a board with a 40-pin “RGB 480×272” header. Match pin order; some vendors mirror HSYNC and VSYNC. Test before solder.
Firmware/EDID tweaks and resolution scaling issues
EDID often advertises 800×480. Force the Pi to 480×272 or live with fuzzy scaling. Hex-edit the EEPROM if the menu lacks options.
Still too bulky? A microcontroller bridge might charm your inner engineer.
Method 3: Microcontroller / FPGA Bridge
Translating DSI or SPI to parallel RGB (STM32/ICE40 examples)
A $5 STM32 can DMA SPI frames into RGB at \~25 fps—fine for static gauges. Need video? Pair a tiny ICE40 FPGA with a SDRAM buffer.
Latency & frame-buffer considerations
Bridges add at least one frame of delay. Gamers notice. Digital signage won’t care.
When an FPGA makes sense for commercial ODM projects
If you must add capacitive touch, rotation, or overlay graphics, the FPGA pays for itself in PCB real estate and update cycles.
All these methods light the panel, but a dark screen is useless without back-light love.
Power & Back-light Management

Constant-current LED driver design options
Boost converters like MT3608 drive the LED string. Set feedback to 19 V, 20 mA.
Using the Pi’s PWM GPIO for dimming
Tie PWM to the driver’s EN pin. 25 kHz keeps flicker above human vision.
Heat dissipation inside compact enclosures
A slim copper shim behind the LED bar wicks heat to the case wall—cheap and silent.
Great, the image shines. Now let’s teach the Pi to feed perfect frames.
Software Configuration on Raspberry Pi
Building custom modelines & timing parameters
tvservice -m DMT lists presets. Use cvt 480 272 60 for a fresh modeline, then insert it in /boot/config.txt.
Kernel overlays for DPI and back-light GPIO
Add gpio=18=op,dh to export PWM. Overlay rpi-backlight for sysfs brightness control.
Color calibration & gamma correction utilities
ddcutil can’t talk raw RGB, so rely on xrandr --gamma and a test chart. Adjust until skin tones look alive, not sunburned.
Software dialed in? Time to stress-test.
Troubleshooting & Validation

Detecting signal integrity problems (ringing, skew)
Probe HSYNC on an oscilloscope. Overshoot above 1 V past rail hints at missing series resistors.
Diagnosing ghosting, tearing, and back-light flicker
A scrolling checkerboard exposes tearing. If lines break, your pixel clock is off. Back-light shimmer? Check PWM grounding.
Useful tools: logic analysers, oscilloscopes, test patterns
A $20 USB logic tool reads GPIO edges. The classic SMPTE color bar catches banding fast.
After the smoke test, let’s see what the project really costs.
Cost, Complexity & Performance Comparison
| Approach | Parts $ | Build Hours | Latency | GPIO Used | Best For |
|---|---|---|---|---|---|
| Direct DPI | 15 | 3 | 0 ms | 28 | Tinkerers, tiny kiosks |
| HDMI Board | 35 | 1 | 1 frame | 0 | Quick prototypes |
| MCU Bridge | 25 | 4 | 1–2 frames | 4 | Custom interfaces |
Short on time? Pay for the HDMI board. Short on cash? Grab wires and a weekend.
But maybe none of these fits your deadline—other displays exist.
Alternative Display Paths for Pi Projects
Official 7-inch DSI touch panel
Plug, play, swipe. Pricier but bulletproof.
Cheap HDMI TFTs & LVDS panels with driver boards
Look on AliExpress. Expect lower brightness and fuzzy scaling, yet setup is trivial.
Composite video “backup camera” screens for quick demos
Five dollars, cigarette-lighter power, and retro vibes. Resolution tops out at 480 i—but sometimes that’s enough.
Still set on a PSP panel? Let’s talk sourcing and custom work.
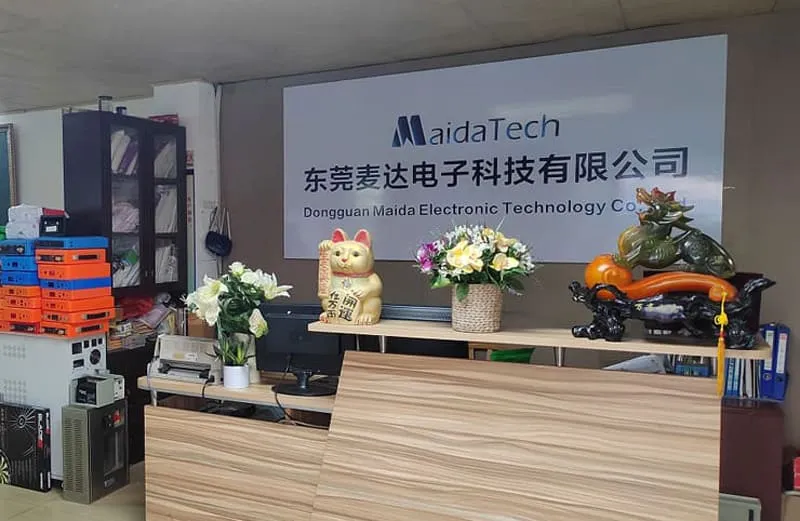
Sourcing Components & Custom Solutions (MaidaTech Perspective)

Where to buy PSP panels, FFC connectors, and driver boards in bulk
Shenzhen Hua-qiang Bei remains the treasure cave. We vet sellers, bundle panels in anti-static trays, and ship by pallet or FedEx.
Custom housing, cables & logo printing via MaidaTech OEM/ODM lines
Our CNC line cuts acrylic frames in two hours. Silk-screen or laser engrave your brand the same shift. Davide loves the private-label stickers—we place them before QC, so he never sees loose sheets.
Packaging, QC, and drop-shipping for Amazon/Facebook sellers
We add foam corners, humidity cards, and scannable barcodes. Cartons leave Dongguan on Friday; Jacky’s Brussels warehouse scans them by Thursday. Inventory stays green.
Parts sourced, brand stamped—let’s land the plane.
Conclusion
I started with a broken PSP and a stubborn urge to recycle. Along the way I burned a fuse, mis-timed a clock, and finally watched a Pi desktop glow on that 4.3-inch relic. If you crave the same thrill—or need a unique screen for your next OEM kit—I hope this guide shortens your path. And if you’d rather skip the wiring altogether, drop me a line at [vincent@maidatech.com](). I’ll keep a hot-air gun warm for you.