

I remember the first time I thought about setting up my own home surveillance system. I wanted something reliable, but I also worried about spending too much. Then I discovered how Raspberry Pi boards could solve both problems. They provide a cost-effective, flexible way to watch over a space. They are small, but they can handle big tasks. And best of all, I have full control of every detail.
I once chatted with Jacky, a friend in Belgium who is used to working with Raspberry Pi cases for his Amazon shop. He told me that using a standard, off-the-shelf system didn’t meet his needs. He needed a custom look, and he hated the hidden costs that big brands often charge. That was when he asked for my help with a Raspberry Pi-based setup. Seeing how I could help him design a home surveillance solution gave me the confidence to try it in my own home. Now, I want to share with you what I learned.
Understanding the Basics of a Raspberry Pi Surveillance System

I sometimes compare building a surveillance network to building a puzzle. It might look tricky at first, but once you know the pieces, it becomes easier.
What Is a Raspberry Pi?
A Raspberry Pi is a small computer that can hold an operating system on an SD card. It supports USB devices, has a few HDMI ports, and can connect to the internet. It’s popular for surveillance because it can run camera software and manage video streams. I’ve seen how people even use it for advanced tasks like motion detection.
From my factory experience at MaidaTech in China, I’ve found that many businesses prefer Raspberry Pi systems when they test new ideas. They like how it can be customized to match their needs. Some even ask me to design special cases with their own logo or brand.
Why Use Raspberry Pi for Surveillance?
I like the Raspberry Pi because it’s affordable. If you break one, it won’t cost a fortune to replace. It’s also easy to modify. You can add your own scripts or use different software. That’s what some of my clients who want re-branding prefer. The Pi also connects well with other devices, which means you can set up notifications or store footage in the cloud.
Components Required for a Surveillance Network
You need a few key pieces for a good system:
- Raspberry Pi board (like a Raspberry Pi 4)
- Cameras (Raspberry Pi Camera Module, USB webcams, or IP cameras)
- Storage (SD card, external drive, or cloud space)
- Network equipment (router, Ethernet cables, or Wi-Fi)
I also recommend a reliable power supply for the Raspberry Pi so it can run smoothly. If you plan on re-branding or want your own logo, you might also consider a custom case from Raspberry Pi Case Supplier.
Planning Your Surveillance Network
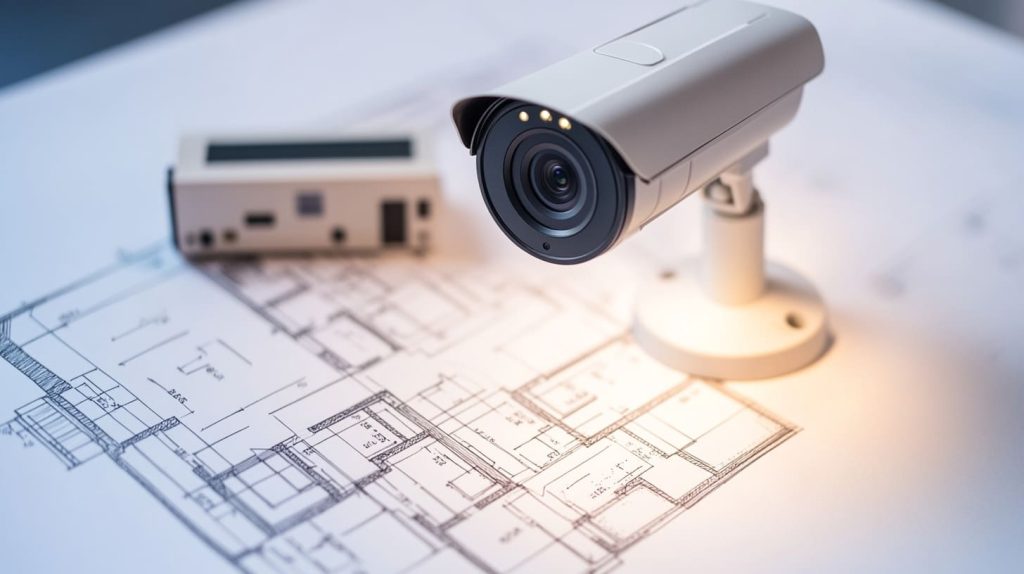
Sometimes, you have to pause and plan before you start connecting everything. I learned this the hard way when I rushed into buying cameras I didn’t really need.
Assessing Your Home’s Surveillance Needs
Ask yourself which spots in your home need a watchful eye. Is it the front door, the garage, or the backyard? Also think about the number of cameras you want. More cameras can give better coverage, but it can also be more complex to manage.
I like to draw a rough map of my house to figure out where I need cameras the most. This helps me see which angles have blind spots. A quick tip: make sure to avoid direct sunlight or glare, or you might lose clarity in the footage.
Selecting the Right Raspberry Pi Model
The Pi 3 Model B+ or Pi 4 are usually good picks. The Pi 4 has more RAM and handles video streams with less lag. Below is a quick table I made to compare some key points:
| Raspberry Pi Model | RAM Options | Ports | Recommended Use |
|---|---|---|---|
| Pi 3 Model B+ | 1GB | 4 USB, 1 HDMI | Lighter setups, fewer cameras |
| Pi 4 | 2-8GB | 4 USB, 2 HDMI | More demanding, multi-camera use |
I lean toward the Pi 4 if you plan to manage multiple cameras. It’s worth it because it reduces jitter and can handle heavier software.
When I helped Davide from Belgium, he insisted on the Pi 4 because he needed strong performance for a big order of custom-labeled surveillance kits for his Amazon store. It truly made the difference in ensuring smooth video streams.
Sometimes, I also mention the Banana Pi or Orange Pi for those who want to explore alternatives. But many of my customers still prefer the Raspberry Pi for its solid community support.
If you’re seeking a custom case, you can check out Custom Raspberry Pi Case Designs. Using custom-branded enclosures keeps it professional, especially if you plan to resell these units.
I encourage you to keep reading because I have a personal tip that saved me from messing up my network later.
Setting Up the Raspberry Pi

Before you dive in, remember to gather all the accessories. Get an SD card loaded with the right operating system, a reliable power supply, and any cables you might need. Once you’re set, the rest is like following a recipe.
Installing the Operating System
Most people start with Raspberry Pi OS. You can also use dedicated surveillance software, such as MotionEyeOS. If you want a traditional desktop environment, Raspberry Pi OS is a safe bet.
- Download the OS from the official Raspberry Pi site.
- Use a tool like Raspberry Pi Imager to flash the image to an SD card.
- Insert the SD card into the Raspberry Pi, then power it up.
Configuring the Raspberry Pi for Surveillance
Plug in your camera to the Pi. If you’re using the Pi Camera Module, connect it via the ribbon cable. For a USB camera, just pop it in a USB port. Then install the drivers or enable the camera in raspi-config if needed.
I once forgot to enable the camera interface in raspi-config and spent two hours wondering why I had no video feed. So, don’t repeat my mistake.
Network Configuration
I like to connect over Ethernet for the best speed, but Wi-Fi works if you want a cleaner setup without cables running around. If you want to access your feed easily, set a static IP. This keeps the Pi from changing addresses, which often causes headaches when you’re trying to log in from another device.
Installing and Configuring Surveillance Software
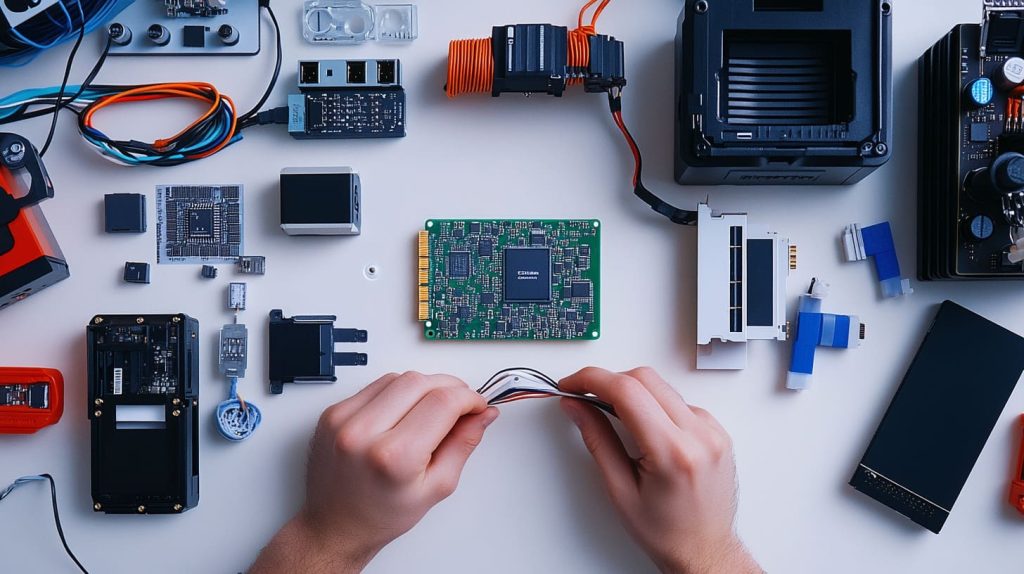
At this point, you have your Pi ready. Now you need software that will capture video, detect motion, and let you see your feeds.
Choosing Surveillance Software
Some popular picks include MotionEye, ZoneMinder, and Kerberos.io. I like MotionEye because it’s simple. You can install it on top of Raspberry Pi OS, and it gives a nice web interface.
Step-by-Step Guide to Installing MotionEye
- Update your system with
sudo apt-get update && sudo apt-get upgrade. - Install MotionEye with a few commands (instructions can be found on the official GitHub).
- Access the MotionEye web interface from your browser by typing in the Pi’s IP address.
Once you’re in, add your camera from the admin panel. If you have multiple cameras, repeat the process and label them for convenience. I always rename cameras based on their location, like “front-door-cam” or “driveway-cam.”
Setting Up Motion Detection and Alerts
MotionEye lets you tweak sensitivity. If you set it too high, even a tree blowing in the wind might trigger a recording. If it’s too low, it might miss a real event. You can also set email or push notifications. This is handy if you’re out of town and want to know if something suspicious is going on.
Enhancing Your Surveillance Network
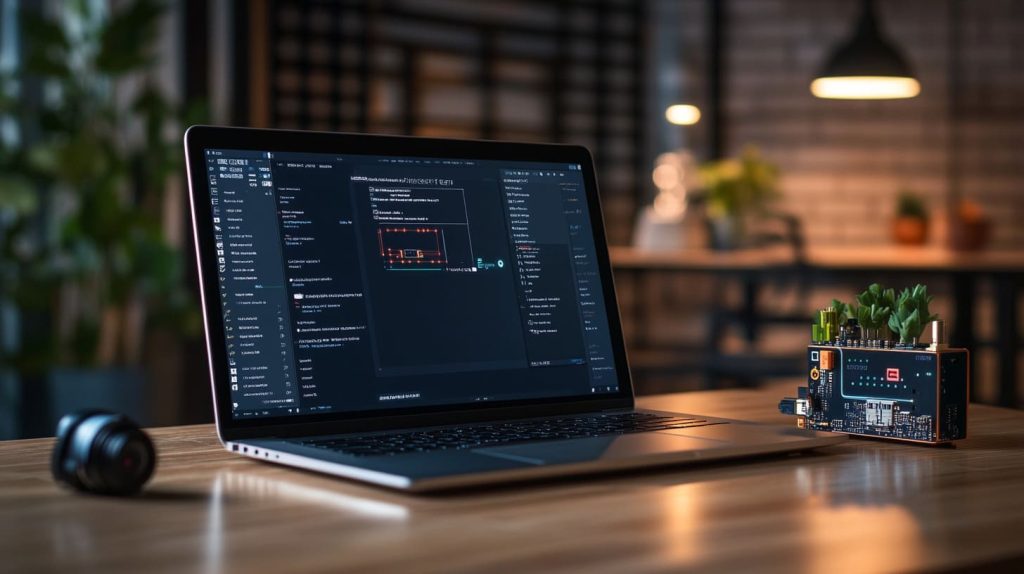
Sometimes, one camera is not enough. Or you want to save all recordings in the cloud. Let’s explore a few ways to upgrade.
Adding Multiple Cameras
Just connect additional cameras to your Pi, or use IP cameras over the network. My biggest tip is to keep an eye on bandwidth. Too many cameras streaming high-resolution video can overwhelm your Pi and your network. I once tried adding four cameras to a Pi 3, and everything slowed to a crawl. If you want more than two cameras, I suggest using a Pi 4 with enough RAM.
Integrating Cloud Storage
Cloud storage is great if you don’t want to lose footage if someone snatches your Pi. Services like Dropbox or Google Drive let you store event clips off-site. I often recommend it to customers who don’t want the hassle of large hard drives. Of course, this means you need a reliable internet connection.
Accessing the Surveillance System Remotely
To see your cameras when you’re away, you can set up port forwarding on your router. If your ISP changes your IP address often, you can use a DDNS service. Then you can type something like “myhome.ddns.net” in a browser and watch your live feeds.
Troubleshooting and Maintenance

We all hope everything runs smoothly. But issues will pop up sometimes. I’ve had my share of frantic moments where a camera refused to connect right before I left on a trip.
Common Issues and How to Fix Them
- Camera Connectivity Problems: Check your cables or the camera ribbon. Make sure the camera is enabled in the settings.
- Network-Related Issues: Verify the Pi is on the correct Wi-Fi or that the Ethernet cable is plugged in. Check your router’s DHCP list.
- Software Crashes: Updating your software and the Pi’s firmware can fix a lot of crashes. Also, watch out for overheating. A Raspberry Pi heatsink can help.
Maintaining the System
Regularly updating your Pi and any surveillance software can block security holes. Keep backups of your SD card so you don’t lose your configurations if the card fails. Clean your camera lenses and ensure your Pi case has enough airflow. That’s where a high-quality custom case from my brand, MaidaTech, can be a big help. I often engrave client logos to make the case look professional while ensuring good heat dissipation.
Conclusion

I hope this walk-through helps you feel more confident about building your own Raspberry Pi surveillance network. When I first started, I was hesitant, but I soon realized that a Pi-based system can be scaled to meet almost any need. From a single front-door camera to a multi-camera setup in a big house, the Raspberry Pi can do it all.
Get to Us

If you want a strong case for your Pi or need custom branding services, I would love to help. My name is Vincent Li, and you can reach me at vincent@maidatech.com. I run a factory in China, MaidaTech, and we’ve been making custom Raspberry Pi cases for nine years. We support wholesalers, resellers, and folks like Jacky who need private labeling to stand out in the market.
You can also check out my site: Raspberrypicase.com for more info or to explore our custom solutions. Whether you’re planning a large B2B order or a simple project, let’s figure it out together.




