
I remember the day I decided to set up a small camera in my garage. I wanted a simple way to keep an eye on my space without paying for an expensive commercial system. That’s when I stumbled into the world of Raspberry Pi. It was a pleasant surprise to learn how powerful and affordable this tiny computer can be for surveillance tasks. I felt confident that I could create a custom camera solution on my own terms, and I want to share how I approached this process.
I like the idea of owning my surveillance setup. I don’t have to worry about someone else’s subscription fees, and I can customize every little detail. This approach also gives me the freedom to expand or change features as I wish. In this post, I’ll guide you through the benefits of using a Raspberry Pi for surveillance, along with every key step I’ve learned along the way.
Now, before I dive deeper into the true essence of Raspberry Pi, let me set the stage for why I think this is such a great solution for anyone looking to gain more control over their surveillance projects.
I believe it’s always good to understand the foundation before building on it. Let’s take a look at what Raspberry Pi really is and why it stands out for DIY surveillance.
Understanding Raspberry Pi in Surveillance Systems

What is Raspberry Pi?
I see the Raspberry Pi as a compact computer that fits in the palm of my hand. It packs a surprising amount of processing power for its size. From my perspective, it’s more than just hardware—it’s a gateway to countless DIY projects, including surveillance systems. It can run a variety of operating systems, which makes it flexible and versatile.
But why is it significant for someone wanting a custom camera? In my view, its biggest strength is its balance of power and affordability. If I invest in a Pi, I’m not locked into using it for only one project. I can repurpose it later if I decide to explore a new idea. That’s a big win in my book.
Why choose Raspberry Pi for surveillance?
I often ask myself what I really need in a surveillance camera. For me, it’s about real-time monitoring, motion detection, video recording, and remote access. The Raspberry Pi is a perfect hub for these requirements. When I pair it with the right camera module, I get a comprehensive surveillance system that I can control entirely.
Plus, I can integrate advanced features like custom alerts, nighttime recording, or external sensor triggers. If I need more guidance, I often refer to the Raspberry Pi official guides. They have a wealth of tutorials that walk me through the specifics.
Advantages and limitations in surveillance applications
I’m a big fan of the Raspberry Pi for three main reasons:
- Cost-effectiveness – It’s budget-friendly.
- Flexibility – I can customize almost everything.
- Community support – There are plenty of online forums where others share their experiences.
However, it’s not perfect. Sometimes, I notice that high-resolution video streaming can strain the Pi if I don’t optimize settings. And if I want enterprise-level capabilities, I need to add more external modules or adopt better power solutions to avoid overloading the board.
When I decided to build my own surveillance system, I had to gather the right tools. Let me walk you through the hardware essentials.
Hardware Components for a Raspberry Pi Surveillance Camera

Raspberry Pi board options (e.g., Pi 3, Pi 4, Zero)
I began with a Raspberry Pi 3 Model B a while back. It was capable of handling standard definition video without much trouble. Later, I upgraded to a Pi 4 for smoother high-definition streaming. If I wanted something more compact, I might choose a Pi Zero, though it’s less powerful.
Here’s a quick comparison of Pi versions:
| Model | Processing Power | Recommended Use Case |
|---|---|---|
| Pi 3 | Moderate | Basic surveillance, SD video |
| Pi 4 | High | HD surveillance, faster streaming |
| Pi Zero | Low | Ultra-compact setups, lower power |
Camera modules and alternatives
I typically gravitate toward the official Raspberry Pi camera module because it integrates well with the Pi. But I’ve also tried USB webcams and found that some are surprisingly good. The official module, though, often offers tighter integration with software like MotionEye.
I encourage a bit of experimentation. Testing a few cameras is a good way to see which image quality or field of view you prefer. Sometimes I notice third-party cameras can have a slightly different color profile or need a bit more tweaking.
Essential accessories (power supply, case, cables, heatsink)
I never overlook the basics:
- Power Supply: A stable 5V power adapter, usually around 3A for the Pi 4.
- Case: Since I run a B2B custom case service at MaidaTech, I appreciate a sturdy enclosure. This not only protects the Pi but also helps with heat management if I add a heatsink.
- Cables: HDMI or Ethernet cables for setup and connectivity.
I also use a reliable heatsink if I notice high temperatures while recording. It’s an easy fix that boosts the Pi’s performance under heavier workloads.
Additional hardware for enhanced performance (storage, networking, sensors)
I opt for at least a 32GB microSD card so I can keep local recordings without running out of space too quickly. If I want more, I add external SSDs. When it comes to networking, I might use an Ethernet cable for a stable connection, especially if I’m streaming HD video.
In more advanced projects, I’ve integrated sensors like motion detectors or door sensors. This can reduce false alarms and help me capture only relevant footage.
After collecting all the necessary hardware, I realized software is the real heart of the operation. Let’s see how I make sure the right tools are in place.
Software Requirements and Tools
Operating systems (Raspbian and alternatives)
I typically start with Raspbian (now called Raspberry Pi OS). It’s straightforward, well-supported, and stable. Some people experiment with Ubuntu or specialized security-camera systems. I prefer what’s tried and tested, so I stick with Raspberry Pi OS for reliability.
Surveillance software options (MotionEye, ZoneMinder, etc.)
I’ve enjoyed using MotionEye because of its user-friendly web interface. It’s easy to configure streaming and motion detection. When I need a more robust setup, I check out ZoneMinder. It offers advanced features like multi-camera management, scheduling, and extensive event reporting.
Sometimes, I’ve found references to alternative tools in Linux surveillance forums. Those forums often provide direct comparisons of different software options.
Programming libraries and tools for customization
For specialized tasks, I might install Python libraries like OpenCV to analyze video frames. This can help with tasks like face detection or object tracking. It’s not always necessary, but if I’m feeling adventurous, I like having the option.
I’ve also tried simple shell scripts for automating tasks, such as starting or stopping the camera service at specific times. The Pi’s flexibility means I can integrate just about any library that works on Linux.
Installation and update procedures
Installation is usually straightforward. I use the Raspberry Pi Imager to flash the OS onto an SD card, then run sudo apt-get update && sudo apt-get upgrade to ensure everything’s current. After that, I install whichever surveillance package I prefer, configure it, and test.
Armed with the right software, I could finally set up everything. Let’s walk through the practical steps of getting the Pi ready for surveillance.
Setting Up the Raspberry Pi for Surveillance
Initial Raspberry Pi configuration and OS setup
I start by powering on the Pi and walking through the basic configuration: setting a hostname, locale, and Wi-Fi or Ethernet. I usually enable SSH for remote access. Then I confirm the camera interface is activated via raspi-config.
I take it one step at a time. Doing too much at once can lead to overlooked settings or mistakes. It helps me keep the process organized.
Connecting and positioning the camera module
For the official camera, I connect the ribbon cable to the Pi’s CSI (Camera Serial Interface). Then I secure the module in a stable spot. I’ve learned to keep lighting in mind. If my camera is facing a bright window, I might get washed-out footage.
I also test different angles. Sometimes, raising the camera just a bit higher or tilting it can make a big difference in coverage.
Network configuration and establishing remote access
I prefer a static IP address so I can always find my Pi on the local network. If I want access from outside my home or office, I set up port forwarding or a VPN. This step may sound intimidating, but I take it slowly—one simple configuration at a time.
With the Pi and camera in place, the next challenge is installing and configuring the software that brings the entire surveillance system to life.
Installing and Configuring Surveillance Software
Step-by-step installation of surveillance software (e.g., MotionEye)
I typically install MotionEye with just a few commands. After updating, I use sudo apt-get install motion or follow specific guides for the MotionEye OS if I want a more dedicated system. The process is usually quite direct.
I watch for any prompts or firewall notifications. Once it’s done, I open the web interface in a browser and confirm I can view a live stream from the Pi’s camera.
Configuring video streaming and recording settings
This step feels like setting up a simple control room. I tweak resolution, frame rate, and recording length. If my Pi is a lower-end model, I reduce resolution to avoid lag. If I have the Pi 4, I might go higher for better clarity.
I also choose whether to store footage on the microSD card or an external drive. Balancing quality with available space is key.
Customizing alerts, notifications, and storage options
I love customizing notifications so I know when motion is detected. For instance, I can send an email alert or trigger a webhook. It’s a way for me to stay informed without constantly checking the camera feed.
Sometimes, I set up a schedule so the camera only records at certain hours. This cuts down on unnecessary footage and helps me manage my storage more efficiently.
Once I’m comfortable with the basics, I enjoy exploring extra features that can make the surveillance system truly unique.
Integrating Advanced Features and Customizations
Implementing motion detection and event triggering
Motion detection is usually my top priority. It’s efficient and doesn’t fill my hard drive with hours of static footage. I configure sensitivity levels so small changes in lighting don’t create endless false alarms. If the Pi sees movement, it starts recording.
Critically, I examine my environment. For instance, I ask myself if leaves blowing past a window will trigger a flood of recordings. If so, I might reposition the camera or refine the detection area.
Integrating cloud storage and local recording strategies
Some folks like using local storage only, but I prefer having a remote backup. I sometimes upload clips to my private cloud server so they’re safe even if the Pi is damaged. Another option is a network-attached storage (NAS) device on the same LAN.
I see this dual-storage approach as a fail-safe. Even if one system fails, I still have a copy. That kind of peace of mind is worth the extra setup time.
Connecting with IoT devices and smart home systems
I’ve experimented with linking my camera system to a door sensor. When the door opens, the Pi automatically starts recording. This synergy can extend to voice assistants or other IoT gadgets. It’s a neat way to centralize home automation.
From a critical perspective, though, integration can get complex. If too many devices rely on each other, a single glitch in one system might cause unexpected behavior in another. Balancing convenience with reliability is key.
Custom rebranding and OEM/ODM options for unique projects
I run a factory that provides custom cases, logos, and packaging. If you want to take your Pi surveillance project beyond a hobby, consider your own branded case or design. That’s how I’ve helped clients who want to sell their own camera solutions.
But I always encourage them to look at real-world testing and feedback. A fancy design doesn’t matter if the software or hardware is unstable. For instance, I ensure my custom cases allow good airflow, or they might trap heat and throttle performance.
As our surveillance system grows more powerful, we also need to keep security in mind. Let’s see how to protect our data and respect privacy laws.
Security and Privacy Considerations
Network security measures (firewalls, VPN, etc.)
I do not underestimate the importance of securing my Pi. I often enable the built-in firewall (ufw) and restrict ports that aren’t necessary. If I need remote access, I prefer using a VPN. This way, unauthorized users can’t just stumble across my camera feed.
It’s also helpful to update the Pi regularly. Security patches for the OS can fix vulnerabilities before they become a real problem.
Data encryption and secure access controls
Whenever possible, I enable encryption for my data storage. Some solutions let me encrypt recordings at rest, so if someone steals my SD card, they can’t just pop it into another device and view the footage.
I also keep strong passwords. It may seem obvious, but I’ve heard stories of compromised cameras because the default login was never changed. That’s an easy oversight to avoid.
Legal and privacy guidelines for surveillance systems
I like to remind myself that while it’s my camera, I need to respect local laws. Certain regions require visible signage or consent if people are being recorded. In some cases, you can’t record audio without permission.
I check my local regulations to make sure I’m compliant. If you’re unsure, consult legal resources or forums where others discuss these topics. Understanding these rules helps me set up a system that is respectful and responsible.
Even with thorough planning, I’ve run into a few hiccups. Let me share some troubleshooting tips that helped me stay calm.
Troubleshooting and Optimization Tips
Common hardware issues and resolutions
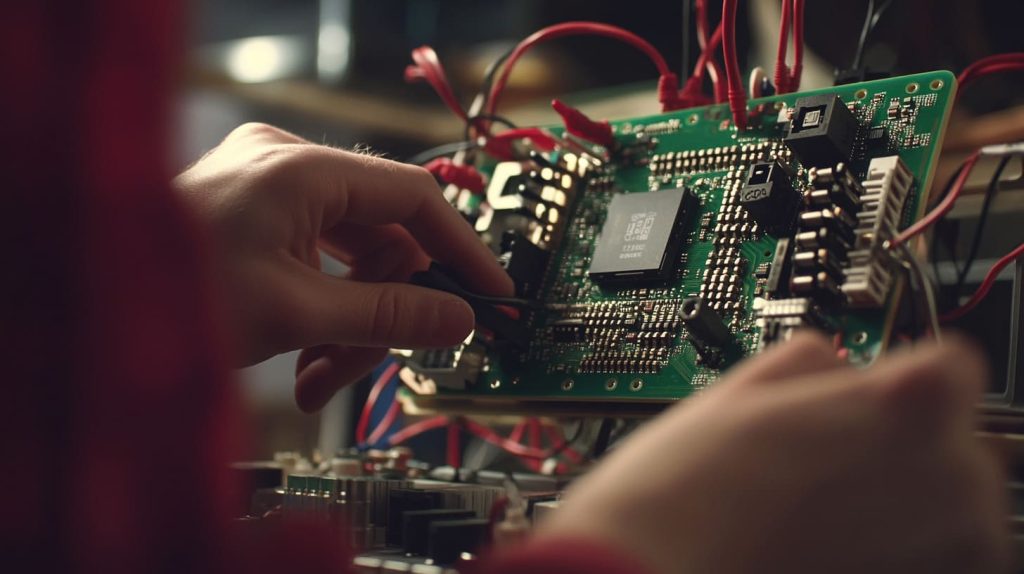
Sometimes, my camera feed goes blank. In my experience, it could be a loose ribbon cable or insufficient power. Ensuring a stable 5V supply (with adequate amps) typically resolves random reboots or camera dropouts.
I also watch for heat. If the Pi gets too hot, it may throttle the CPU, leading to choppy video. A simple heatsink or small fan usually helps.
Software configuration and connectivity troubleshooting
When streaming stops unexpectedly, it might be a misconfiguration in the software. For instance, if I set the resolution too high, my Pi 3 can struggle. Another check is ensuring my router’s DHCP didn’t assign a new IP address, which can break my saved links.
I also confirm that the motion detection parameters aren’t overly sensitive. If the system is overwhelmed by constant triggers, it might freeze. Adjusting thresholds can prevent overloading the Pi.
Performance optimization and regular maintenance practices
I schedule periodic reboots. It sounds old-school, but it keeps the Pi running smoothly. I also clear old log files so I don’t fill up the SD card.
If I notice performance dips, I’ll try different camera resolutions or frame rates. Lowering them slightly can make a big difference in reliability.
Now that we’ve tackled the technical aspects, I want to share a few real-world scenarios where this setup truly shines.
Case Studies and Practical Applications
Home surveillance: DIY solutions for personal security
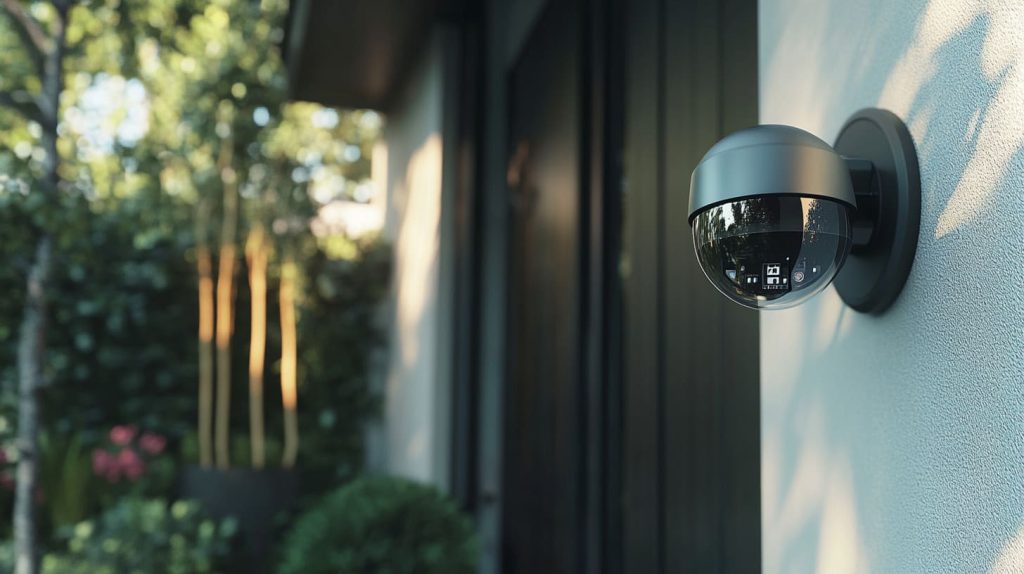
I helped a neighbor install a Pi camera at his front door. We configured motion detection and a simple email notification. He loves that he can check on deliveries or unexpected visitors without paying for a subscription service.
Critically, we tested how it handled nighttime activity. We added a small IR illuminator to ensure the camera could see after dark. That’s the beauty of a Pi setup: it can scale to your specific requirements.
Business applications: Custom surveillance setups for small and large enterprises
At MaidaTech, we sometimes get inquiries from companies wanting customized camera units for their warehouses. They appreciate that a Pi-based system can be tailored to their layout. We’ve done projects where multiple Pi cameras feed into a centralized server, all enclosed in branded cases.
Some businesses prefer this approach because they control how data is stored. They don’t have to rely on external services, which might be costly or less secure. From a critical angle, though, they need IT staff who understand how to maintain everything.
Success stories and lessons learned from real-world implementations
One of the biggest lessons I’ve seen is that simpler is often better. People sometimes pile on advanced features and end up complicating the setup. A more focused approach—like clear, stable video and reliable motion alerts—usually meets most needs.
I also value planning. Mapping out camera angles, deciding how to handle storage, and testing connectivity beforehand can save time and frustration later. That’s why I suggest starting small and expanding as you go.
We’ve covered plenty of ground, from hardware to real-world cases. Let’s wrap up with a quick review and some final thoughts.
Conclusion

I’ve walked you through the steps I took to build my own Raspberry Pi surveillance camera. Along the way, I explored hardware choices, important software configurations, and strategies for security and privacy. I also touched on some advanced customizations, like motion detection and IoT integration.
Looking ahead, I see more opportunities for camera modules with higher resolutions or integration with AI-driven analytics. It’s a fun time to be experimenting with Pi-based systems. Whether you’re building a simple home solution or a custom enterprise setup, the flexibility is incredible.
My best advice: keep it simple at first. Make sure everything works, then add complexity bit by bit. By doing so, you’ll likely end up with a setup that’s both stable and easy to maintain over the long term.




