

It was 2 a.m. in my Shenzhen workshop when my Wi-Fi router finally gave up. I still needed to tweak a batch of Pi Zero boards before dawn, and the network outage felt like a bad joke. Instead of panicking, I reached for a short USB cable, plugged one board straight into my laptop, and kept working as if nothing had happened. That night I fell in love with USB gadget mode—the trick that lets a Raspberry Pi pretend to be a tiny network card. No Ethernet, no Wi-Fi, just a single cable and full control.
In this guide I’ll show you, step by step, how I set up that cable lifeline. Whether you’re preparing a classroom demo, shipping a headless kit to Amazon, or simply escaping a patchy office network, the payoff is the same: stable access, fewer cables, less fuss.
Ready? Let’s make the Pi talk over USB.
Step 1: Check Compatibility & Gather Required Hardware
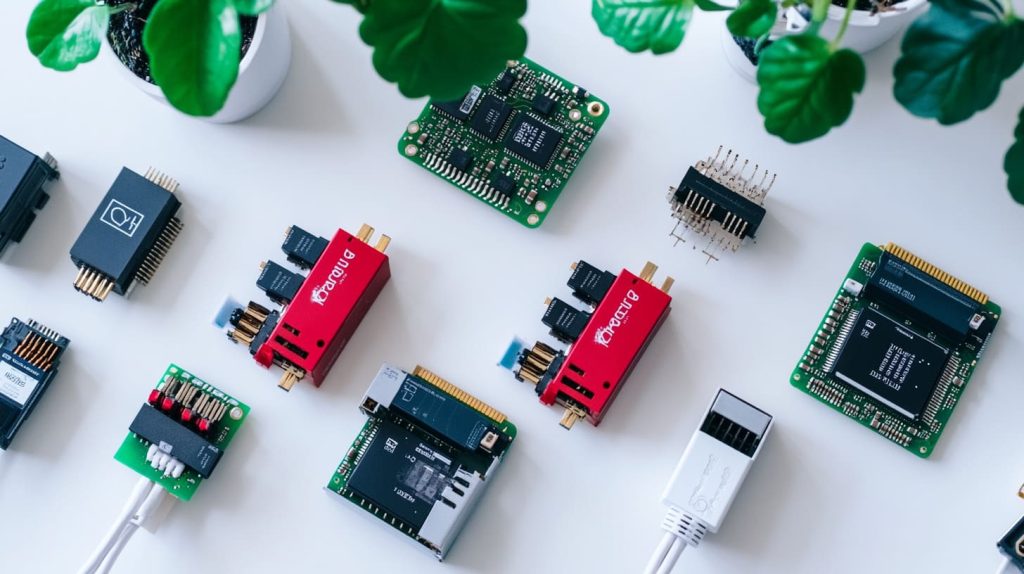
I learned the hard way that not every Pi speaks USB gadget mode. Here’s my quick checklist before I even unroll the cable.
| Raspberry Pi Model | USB Port Type | Gadget-Ready? | Notes |
|---|---|---|---|
| Pi Zero / Zero W | Micro-USB OTG | Yes | My go-to for headless kits |
| Pi 4B (all RAM) | USB-C (power) | Yes | Needs correct OTG cable |
| Pi A / A+ | Micro-USB OTG | Yes | Rare but still works |
| Pi 400 | USB-C | No | Keyboard form factor blocks OTG |
Alongside the board, I use a proven data cable—cheap charging leads often skip the data wires and leave you staring at a blank screen. If I expect trouble, I keep a USB-to-serial dongle in my tool bag; it has saved more demos than coffee ever has.
Once the parts are on the bench, the next step is carving a clean SD card—let’s dive in.
Step 2: Prepare the SD Card

I flash a fresh copy of Raspberry Pi OS Lite with Raspberry Pi Imager because Lite boots faster and keeps memory free. After flashing, I open the small BOOT partition that shows up on my laptop and drop in an empty file named ssh. That tiny file is the switch that turns on remote access at first boot.
Tip: If I need a desktop later, I add it through
sudo taskselinstead of flashing a heavier image.
| Action | Command / Tool | Why it matters |
|---|---|---|
| Flash OS | Raspberry Pi Imager | Simplest cross-platform flasher |
| Enable SSH | Create empty ssh file |
Saves me from hunting a spare monitor |
| Safe eject | OS file manager | Prevents card corruption |
Card ready? Good—now we teach the Pi a new personality.
Step 3: Configure USB Gadget Mode on the Pi
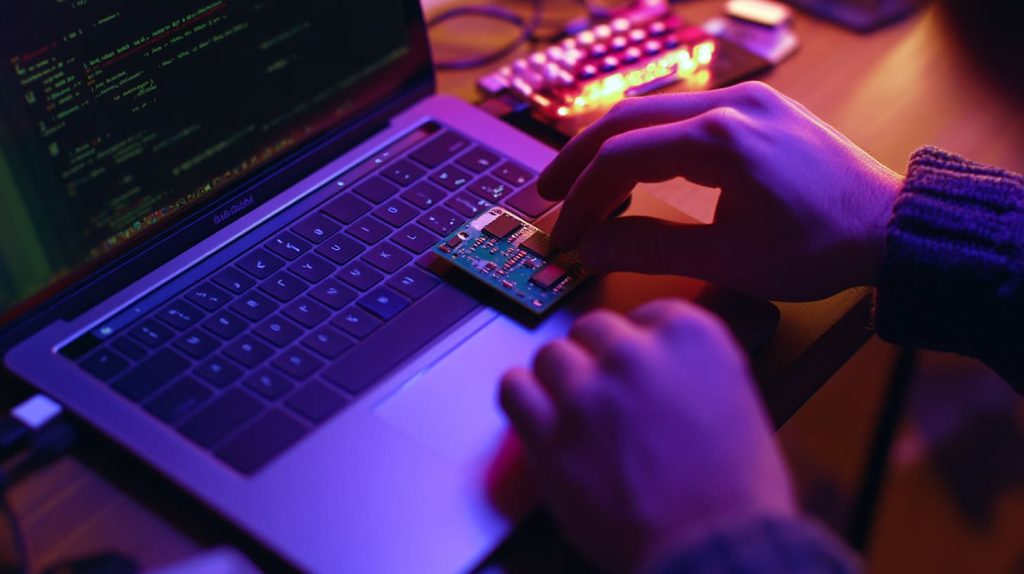
I slot the SD card back into my laptop and open config.txt. At the very end I add:
dtoverlay=dwc2This line wakes the USB controller in gadget mode. Next I edit cmdline.txt—a single, space-packed line that must stay on one line. Just after rootwait I insert:
modules-load=dwc2,g_etherNow the Pi will load the Ethernet-over-USB driver at boot. Save, eject, and we’re ready for the first real test.
With the operating system tweaked, it’s finally time to power up and plug in.
Step 4: Boot the Pi and Plug into Your Laptop

I slide the SD card into the Pi, then connect the data port—not the dedicated power port if you’re on a Zero. On a Pi 4, the single USB-C acts as both. When the LED flickers, the board boots and quietly advertises itself as a new network adapter. On my laptop I see a fresh interface appear—usually called Rndis on Windows or usb0 on Linux.
Seeing the adapter pop up feels like a small victory, but we still need to hand out addresses so the two machines can chat.
Step 5: Configure Host-Side Networking

Different operating systems play by slightly different rules, so I keep a cheat-sheet in my notebook.
| Host OS | Quick Steps | Notes |
|---|---|---|
| macOS / Linux | Nothing to install. Avahi/Bonjour resolves raspberrypi.local. Optional: set laptop to 192.168.7.1, Pi to 192.168.7.2. |
Works out of the box on most modern distros. |
| Windows 10 / 11 | Install Bonjour Print Services, let Device Manager pick Microsoft RNDIS. Set adapter to 192.168.7.1/24. |
Bonjour keeps names simple; static IP avoids DHCP guesswork. |
If .local resolution ever fails, I fall back to pinging 192.168.7.2. Static beats sorcery every time.
Network stable? Great—let’s open the first secure shell and take control.
Step 6: SSH into Your Raspberry Pi Over USB

On Linux or macOS I type:
ssh pi@raspberrypi.localOn Windows I launch PuTTY, enter the same host, and hit Open. The default password is raspberry; I change it right away with passwd because Davide’s Amazon customers don’t appreciate open doors.
Once inside, I usually run a quick sudo apt update && sudo apt upgrade -y to patch any holes.
Connection made, but every workshop hides a gremlin or two—let’s prepare for them before they bite.
Step 7: Optional Configurations & Troubleshooting

Static IP on the Pi
sudo nano /etc/dhcpcd.confAdd:
interface usb0
static ip_address=192.168.7.2/24
Restart with sudo reboot.
Share Your Laptop’s Internet
-
macOS: System Settings → Sharing → Internet Sharing → Share from Wi-Fi to USB RNDIS.
-
Windows: Network Connections → right-click main adapter → Properties → Sharing tab → pick RNDIS adapter.
My Pocket Troubleshooting Table
| Command | What I Learn |
|---|---|
\lsmod | grep g\_ether\ |
|
ifconfig usb0 |
Shows IP address and packet stats |
ping raspberrypi.local |
Tests name resolution |
\dmesg | tail\ |
Got past the gremlins? Time to do real work with that sturdy link.
Step 8: Use Cases After Connection

-
Headless SSH control keeps my desk cable-free when I rack twenty boards for a burn-in test.
-
File transfer with SCP or SFTP lets me push firmware straight from my build server.
-
VNC over USB turns my laptop into a screen when a client insists on “seeing” the desktop.
-
Python socket tricks—I once ran a lightweight flask server on the Pi, then hit it locally from my laptop browser for a live demo. No Wi-Fi, no complaints.
These small wins add up, and they all started with that single cable on a sleepless night.
Conclusion

Connecting a Raspberry Pi to a laptop over USB feels almost too simple, yet it solves real headaches—no spare router, no dangling HDMI, no frantic search for a monitor in a crowded expo hall. Choose the right Pi, use a solid cable, and follow the gadget-mode tweaks. From there you can secure SSH, script automatic updates, or layer on VNC for a full desktop. I rely on this setup every week in MaidaTech’s factory, and I hope it keeps your projects—and your deadlines—running just as smoothly.




