 Skip to content

One Monday morning, I found myself camped out in a bustling airport lounge with nothing but my laptop and a nearly drained battery. My client back in Belgium needed proof that our Raspberry Pi 3 batch would boot without a full workstation. No monitors. No keyboards. Just my laptop’s USB ports and a handful of cables. Thirty minutes later, as clouds passed over the tarmac outside, my SSH session lit up with a familiar shell prompt—and a quick “All good!” from the team. That small win, achieved between boarding calls and luggage rattles, taught me that a Pi 3 can thrive on minimal gear—if you know the right steps.
Understanding the Goal: What “Using Only a Laptop” Really Means

Display vs Input vs Power – separating the three jobs
A laptop can do three favors for a Pi: show the screen, pass keystrokes, and feed electrons. Knowing which favor you need keeps you from chasing cables you never use.
Headless operation vs local console
Running headless means the Pi hums quietly while your laptop opens an SSH or VNC window. Local console, by contrast, mirrors the Pi’s HDMI output with capture hardware or an OTG trick. Pick one; mix-ups waste time.
Safe power requirements for the Raspberry Pi 3
The Pi 3 needs a clean 5 V at 2.5 A. Most laptop USB-A ports top out at 0.9 A; some USB-C ports do more. Undervoltage throttles CPUs and can scramble SD writes—cheap today, costly tomorrow.
Next up, let’s lay every tool on the table so you’re not hunting adapters at midnight.
Hardware & Software Checklist

| Item | Why It Matters | Quick Tip |
|---|---|---|
| Pi 3 B / B+ / A+ | Different LAN & USB layouts affect power draw | The B+ idles \~80 mA lower |
| Laptop ports | USB-C PD beats legacy USB-A for juice | Check BIOS for “Always-On USB” |
| SD reader | Faster imaging, fewer corrupt rows | Use UHS-I class cards |
| Imaging app | Balena Etcher for beginners, dd for masochists | Verify checksums every time |
| Bonus add-ons | USB-Ethernet dongle, HDMI capture stick | Borrow, don’t buy, for one-off jobs |
A crisp checklist frees brain space for debugging later.
Checklist done? Great—slip that micro-SD in your pocket; we’re about to flash it.
Preparing the micro-SD Card on Your Laptop

Selecting an OS image (Raspberry Pi OS Lite vs Desktop)
Lite boots faster and sips RAM; Desktop carries GUI comfort. If in doubt, flash Lite—GUIs stream well over VNC later.
Flashing the image with verification
Write once, check twice. Balena Etcher verifies automatically; command-line lovers can use sha256sum after dd.
Enabling SSH headlessly (ssh file trick)
Drop an empty file named ssh into /boot. The Pi sees it, opens port 22, and saves you from plugging in a keyboard.
Pre-configuring Wi-Fi in wpa_supplicant.conf
Add your SSID and PSK before ejecting the card. Remember to set the country= code—“US” on a Chinese bench blocks channels 12-13.
Setting locale, hostname, and default user before first boot
Edit userconf.txt and hostname. Unique names beat a classroom full of raspberrypi.local collisions.
Card prepped? Slide it in; now let’s talk safe electrons before you fry copper.
Powering the Pi Safely from the Laptop

USB power budgets: why some laptop ports work and others don’t
Think of USB-A as a coffee straw and USB-C PD as a garden hose. A straw might keep the LED on, but stress-test sysbench and the Pi gasps.
Choosing the right cable (USB-A vs USB-C-PD) and measuring voltage drop
Short, fat conductors win. I keep a 30 cm 20 AWG lead in my toolkit; longer phone cords sag below 5 V.
Monitoring for undervoltage with vcgencmd get_throttled
Run watch -n1 vcgencmd get_throttled. Anything but 0x0 means the Pi is begging for calories.
When to switch to a dedicated supply after setup
Once Wi-Fi scripts and GPIO relays pile on, swap to a 5 V 3 A brick. Your future self will thank you.
With electrons sorted, we need bits to flow—time to build a network bridge.
Creating a Network Link Between Laptop and Pi
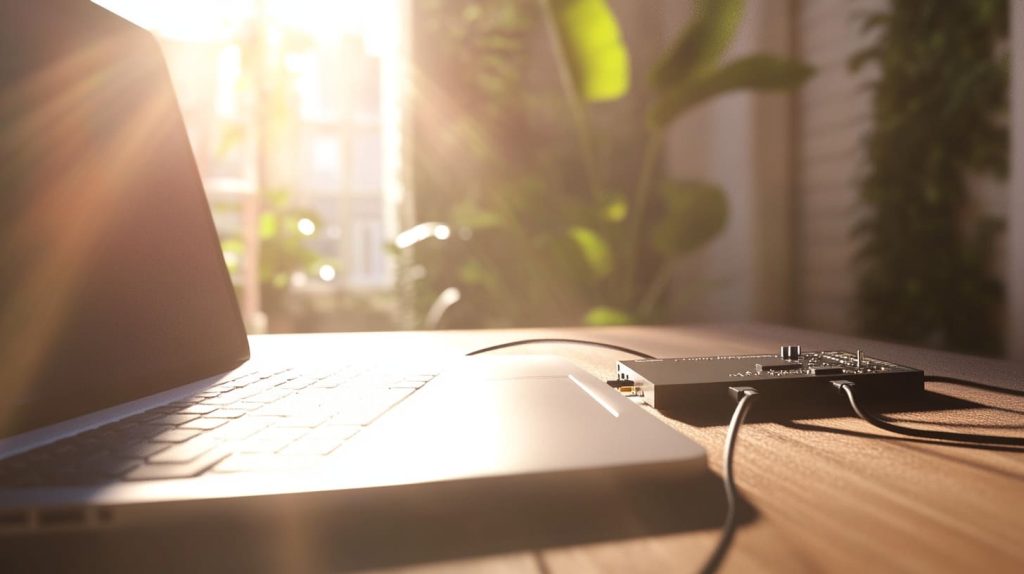
Direct Ethernet with cross-over/regular cable and link-local addressing
Most modern NICs auto-MDI; plug straight, wait for 169.254.*.*, and you’re good.
On macOS and Windows, “Internet Sharing” hands out addresses; Linux friends might spin up dnsmasq.
Wi-Fi hotspot from the laptop vs connecting both devices to the same router
Hotspot frees you from hotel captive portals. Router mode keeps logs neat. Choose based on firewall paranoia.
(Optional) USB-OTG Ethernet gadget and why Pi 3 is limited here
The Pi 3’s micro-USB port supports OTG only after pin tweaks—not worth it unless you love solder fumes.
A green link light means one thing: first boot is seconds away.
First Boot & Headless Access

Finding the Pi’s IP address (router admin page, nmap, [ARP-scan](#link3))
Scan the subnet or peek at the router lease table. I like a quick arp -a | grep -i b8:27:eb.
SSHing in from Windows/macOS/Linux and first-time password change
Run ssh pi@<IP> and change “raspberry” immediately. Smash-and-grab bots hit fresh IPs within minutes.
Updating packages and firmware immediately (sudo apt update && upgrade)
Old firmware means old bugs. Patch while the SD card is still expendable.
Logged in and patched? Let’s give the Pi a face—your laptop screen.
Using Your Laptop as the Pi’s Display

Lightweight X11 forwarding for single apps
ssh -X plus leafpad & proves GUI without hogging bandwidth. Latency beats hauling a monitor upstairs.
Full desktop via VNC Server/Viewer (RealVNC, TightVNC)
Enable VNC in raspi-config, install RealVNC viewer, and watch pixels dance. Encryption keeps coffee-shop snoops blind.
Browser-based web consoles (Cockpit, Pi-Control)
Cockpit gives dashboards; Pi-Control turns GPIO pins into clickable buttons. Handy for demo nights.
HDMI-to-USB capture card for native video output (optional hardware)
If you must see the rainbow splash, $10 capture sticks plug into OBS. Good for recording, not for latency-free gaming.
Screen sorted; why stop at SD cards? Let’s flirt with USB boot.
Optional: Booting the Pi 3 from USB with Help of Your Laptop

Setting the one-time USB-boot OTP flag
Run echo program_usb_boot_mode=1 | sudo tee -a /boot/config.txt. Power-cycle; the fuse blows once, forever.
Preparing and testing a bootable USB flash drive or SSD
Clone your SD image to USB, then lsblk to confirm partitions. SSDs slash boot times almost in half.
Performance, reliability, and power-draw considerations
SSDs draw more milliamps; plan for a beefier supply. But they shrug off sudden power cuts that shred SD cards.
Speed boost achieved—now let’s sprinkle quality-of-life sugar on top.
Automation & Quality-of-Life Tweaks
Adding your SSH public key for password-less login
ssh-copy-id pi@pi.local ends password fatigue and thwarts brute-force bots.
Enabling mDNS (avahi-daemon) so pi.local “just works”
Install avahi-daemon; reboot; no more IP notes on sticky paper.
Remote GPIO, camera, and sensor access over the network
Use pigpio and raspistill with TCP flags to script labs from the sofa.
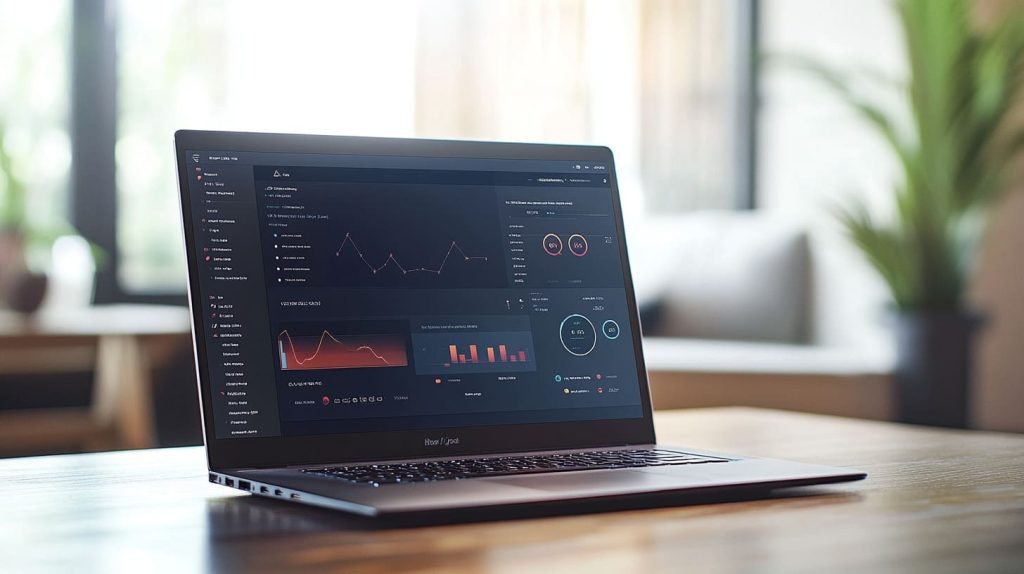
Building a simple dashboard on the laptop to monitor temps and throttling
Python + Flask + vcgencmd feeds a live chart. Throw it on a second browser tab during stress tests.
Everything humming? Good. Yet gremlins love last-minute cameos—let’s corner them now.
Troubleshooting & Common Pitfalls

Under-voltage warnings, random reboots, and fixes
Swap cable first, supply second. The yellow lightning icon is not decorative.
“Connection refused” or time-outs when SSHing
SSH disabled? Wrong IP? Firewall? Start with ping; work up the stack.
Wi-Fi country code mismatches and wpa_supplicant typos
sudo raspi-config nonint do_wifi_country CN saves ghost channels.
Recovering from a corrupt SD card or bad flash
Always keep one verified spare. Flashing in a hurry invites bit rot.
When problems hide, past client stories light the path—let me share a few.
Integration Case Studies for MaidaTech Clients
Jacky’s bulk re-flash & labeling workflow for re-brand inventory
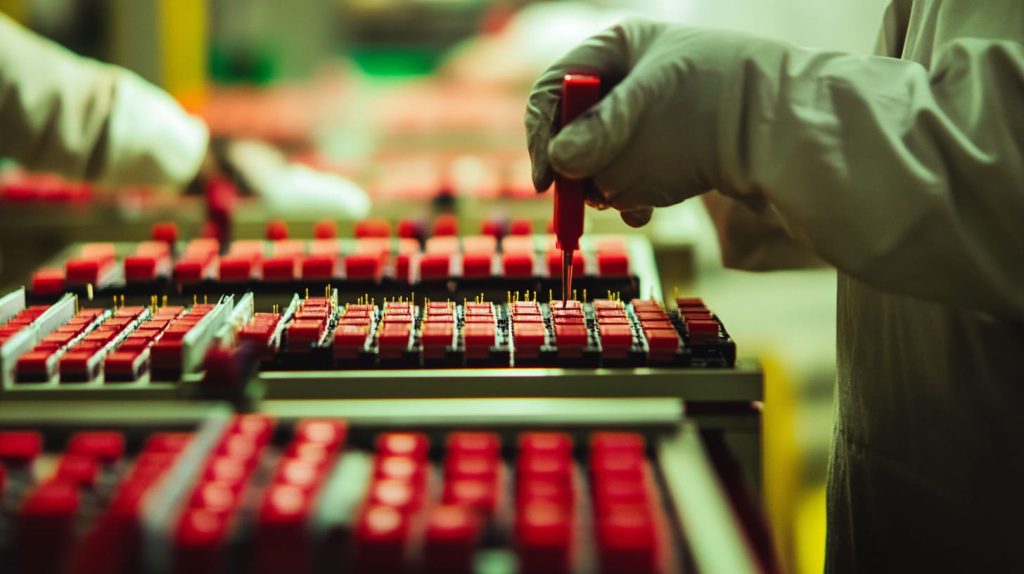
Jacky’s warehouse in Antwerp re-flashes 500 Pi 3 units a night. A single laptop, a USB hub, and pre-scripted dd loops cut his man-hours by 40 %. Each case leaves with his QR sticker already scanned into Amazon FBA.
Lasle’s rapid prototyping loop with live case redesigns
Lasle iterates CAD models while the Pi streams thermals over Wi-Fi. He hot-glues sensors inside 3D-printed shells, boots headless, and decides within minutes whether to shift vent holes. Laptop-only boot keeps his solder station uncluttered.
Davide’s Amazon QC line running headless scripts at scale
Davide plugs every finished case into a Pi 3 rack. A laptop pushes Python scripts that verify port tolerances, LED alignment, and logo sharpness. Failures beep through speakers so his team can yank rejects instantly.
Real benches, real deadlines. Now, let’s tie the last knot.
Conclusion

Booting a Raspberry Pi 3 with only a laptop isn’t a stunt; it’s a survival skill. Whether you’re stuck on a train, rushing a prototype, or vetting a shipment in a drafty warehouse, the steps above get silicon blinking before coffee cools. Pack a stout cable, a clean SD image, and courage to peek at voltmeters—your Pi will return the favor with silent, blinking loyalty.




