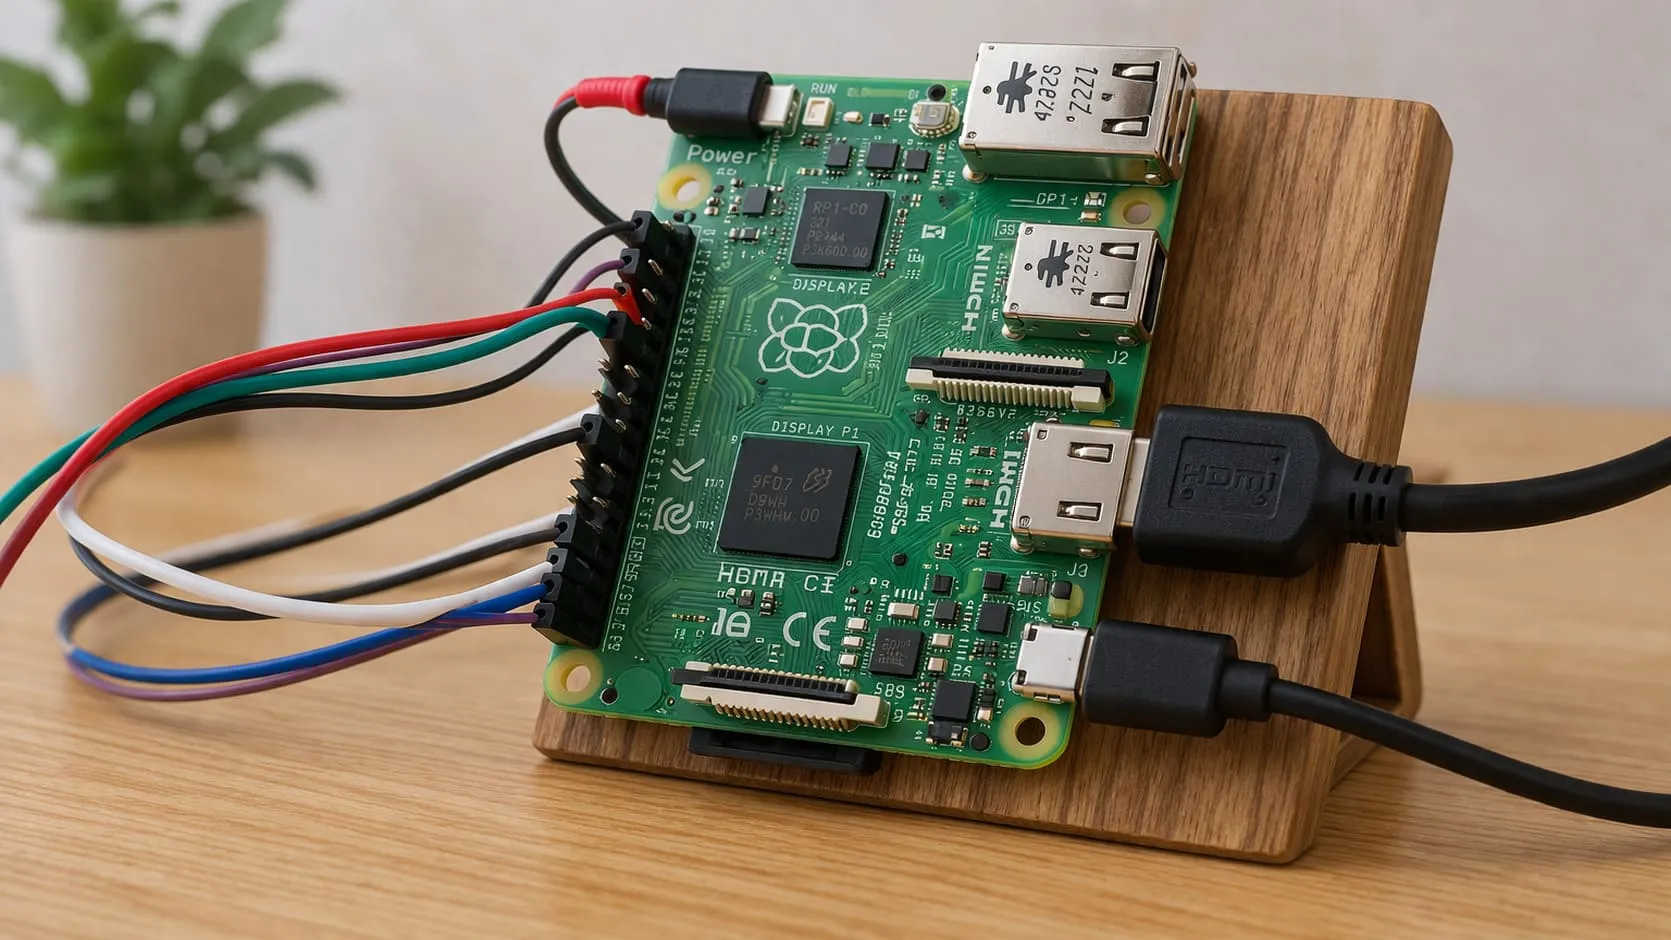

Your laptop is fine. It powers on. It runs. But lately… it drags. Apps open slower. File transfers crawl. And every boot-up feels like waiting in line behind someone writing a check. You don’t need a new machine—you just need to breathe new life into the one you already have.
Swapping in a SATA SSD is one of the most effective and affordable ways to do that. I’ve done this dozens of times—for my own machines, for clients, for businesses rolling out Raspberry Pi-based systems. And the difference? It's night and day. We’re talking faster startups, near-instant file access, and better energy efficiency across the board.
Why upgrade with a SATA SSD?
A SATA SSD trades moving parts for silent speed. Your files open faster, your apps breathe easier, and your battery lasts longer because the drive sips less power.
Quick overview: SATA vs. PCIe/M.2 for laptops
- SATA SSD – great when your laptop has a 2.5-inch bay or an unused SATA header.
- PCIe/M.2 SSD – ideal when you need peak speeds, but many laptops still keep a spare SATA slot for extra storage.
A quick story: My friend Jacky in Belgium doubled his Amazon order volume after adding a second SATA SSD for raw product photos. Speed saved him hours of editing time each week.
Ready to see if your laptop can share the same spark? Let’s test the fit.
Assessing Laptop Compatibility & Selecting the Right SSD
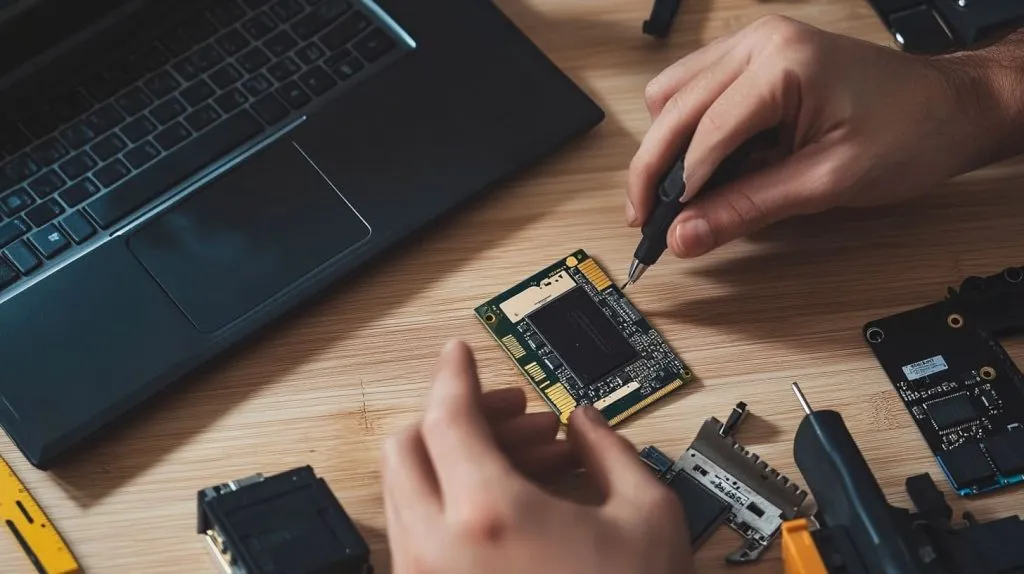
Measuring drive-bay thickness (7 mm vs 9.5 mm) and mounting points
Open the bay cover. Slide a thin card against the installed drive. Measure the gap. Most laptops since 2014 prefer 7 mm drives, yet many include a simple spacer for 9.5 mm options.
Confirming SATA interface version and backward compatibility
SATA III (6 Gbps) feels sweet, but SATA II (3 Gbps) is still fine for everyday tasks. Good news: drives are backward-compatible. They just step down in speed.
Capacity, endurance, and warranty factors for power users and B2B buyers
| Capacity | Recommended Use | Typical DWPD* | Warranty |
|---|---|---|---|
| 250 GB | OS & office | 0.3 | 3 yrs |
| 500 GB | OS + media | 0.3–0.6 | 3–5 yrs |
| 1 TB+ | Large datasets | 0.6–1.0 | 5 yrs |
*DWPD = Drive Writes Per Day.
I like to remind Davide—our re-brand buyer in Belgium—that higher endurance pays off when customers edit video or run databases on Pi clusters.
A snug fit found? Next, let’s gather the gear.
Tools & Materials You’ll Need

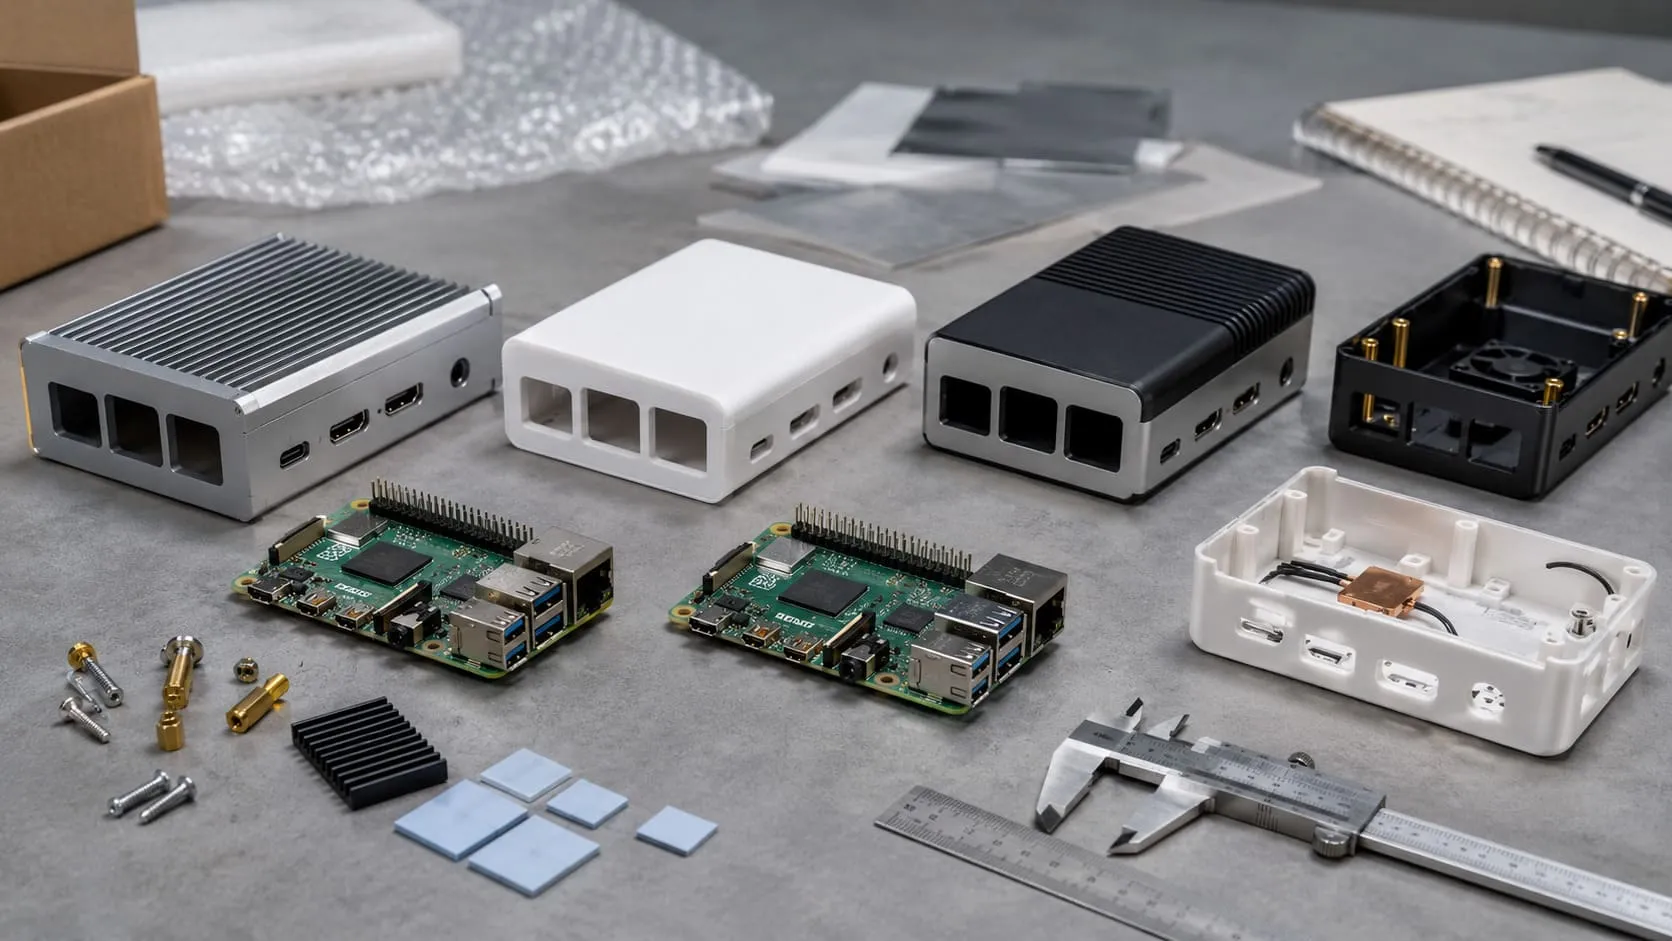
Essential hand tools
- Precision screwdriver set
- Plastic spudger
- ESD wrist strap
Cables & adapters
- SATA data ribbon – links SSD to motherboard
- SATA power flex – feeds juice if the bay lacks a pre-routed cable
- USB-to-SATA cloning cable – makes migrations painless
Optional extras
| Add-On | When to Use | Note |
|---|---|---|
| 2.5-inch caddy | Bay is empty | Keeps drive from rattling |
| Thermal pads | Tight bays | Helps spread heat |
| External enclosure | Portable backups | Turns old HDD into a pocket drive |
A quick tip: I label each tiny screw with masking tape as I go. Saves late-night hunts on the workshop floor.
Tools ready? Let’s prep the laptop for surgery.
Preparing Your Laptop
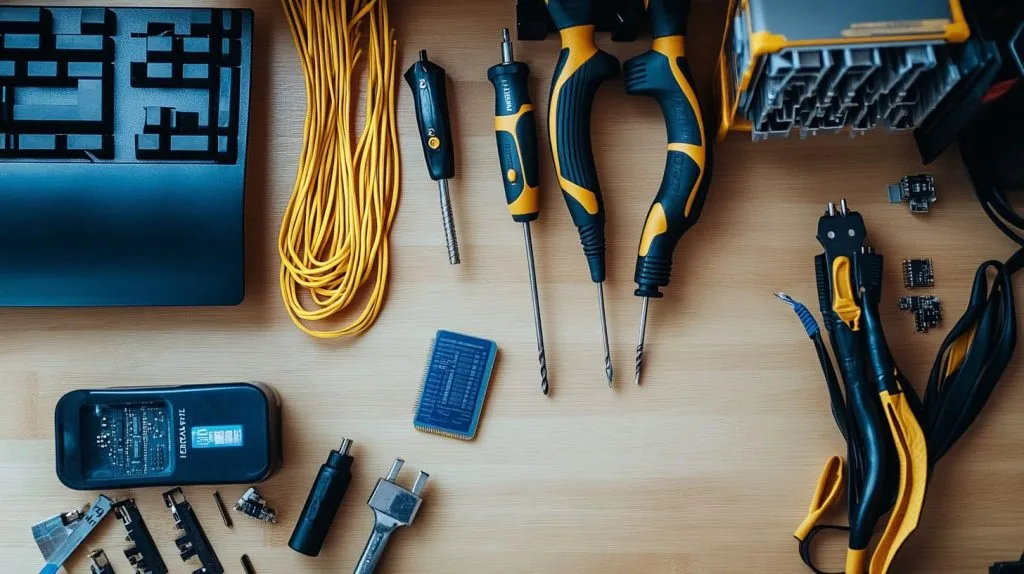
Full data-backup strategies
- Cloud sync for small files
- External HDD for bulk media
- Disk-imaging software for a full clone
Creating a recovery USB or drive-clone image
I use Macrium Reflect—free, friendly, and fast. A clone gives you a safety net if the upgrade takes an unexpected turn.
Setting up a static-safe workspace
Ground yourself. Work on a wooden table. Clip the ESD strap to a metal desk leg. Your SSD will thank you.
Backups done and wrists grounded? Time to crack the case—gently.
Opening the Laptop & Locating the SATA Interface
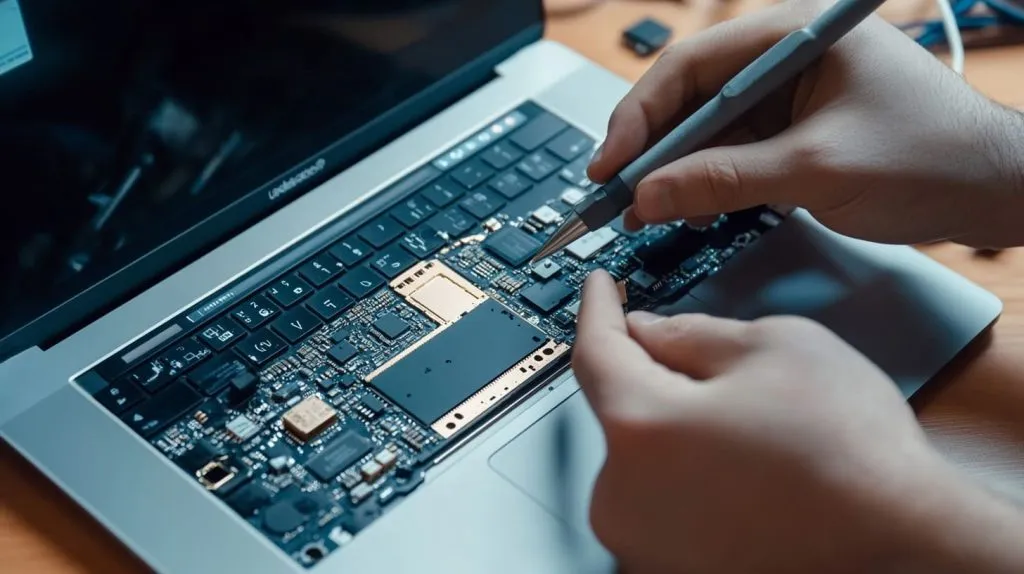
Safely removing the back cover or keyboard deck
Check for hidden screws under rubber feet. Pry slowly with a spudger to avoid bending plastic clips.
Identifying existing storage bays and free SATA ports
Many thin laptops hide the bay beneath a metal shield. Look for a ribbon cable socket marked HDD or SATA.
Handling laptops that ship with only M.2 storage
If your board lacks a SATA connector, you can still add storage with a USB 3.2 enclosure. It is not as tidy, yet it works in a pinch.
Found the port? Let’s route that ribbon.
Method 1: Internal Installation With a SATA Cable
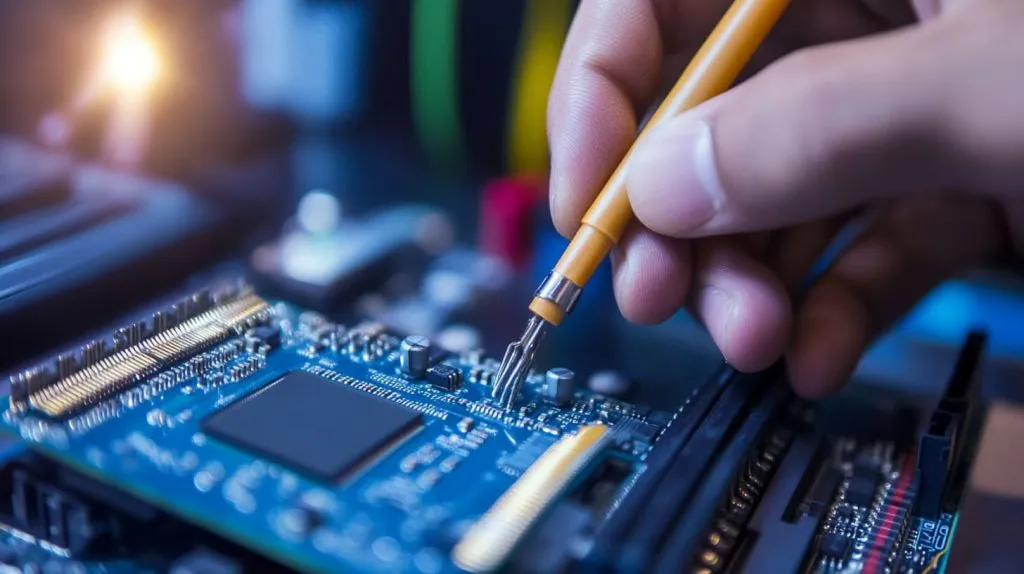
Attaching the SATA data ribbon
Slide the ribbon into the motherboard socket. Flip the lock bar down. Tug gently to confirm it holds.
Connecting the SATA power flex or adapter
Align the tiny notches. Press until you hear or feel a soft click.
Mounting the SSD securely in a bay or caddy
Screws go in diagonally—one corner, then the opposite—so the drive seats flush.
A client in Tokyo once skipped the screws and called me when his SSD rattled like maracas during a train ride. Tighten them now; avoid that song later.
Internal path clear? What if you only need a quick clone instead? Let’s step outside—literally.
Method 2: External Connection for Cloning or Expansion
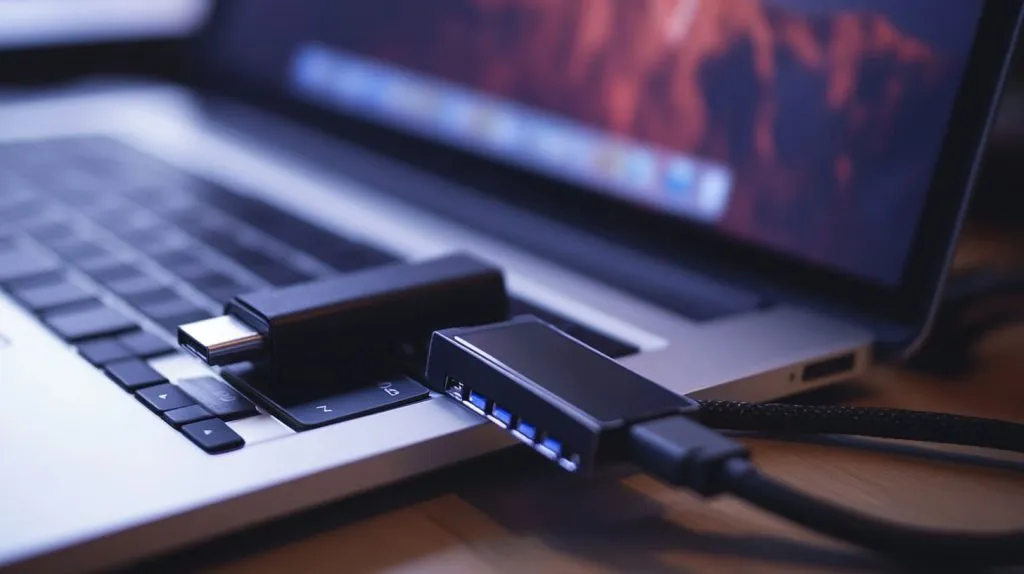
Using a USB-to-SATA adapter or enclosure
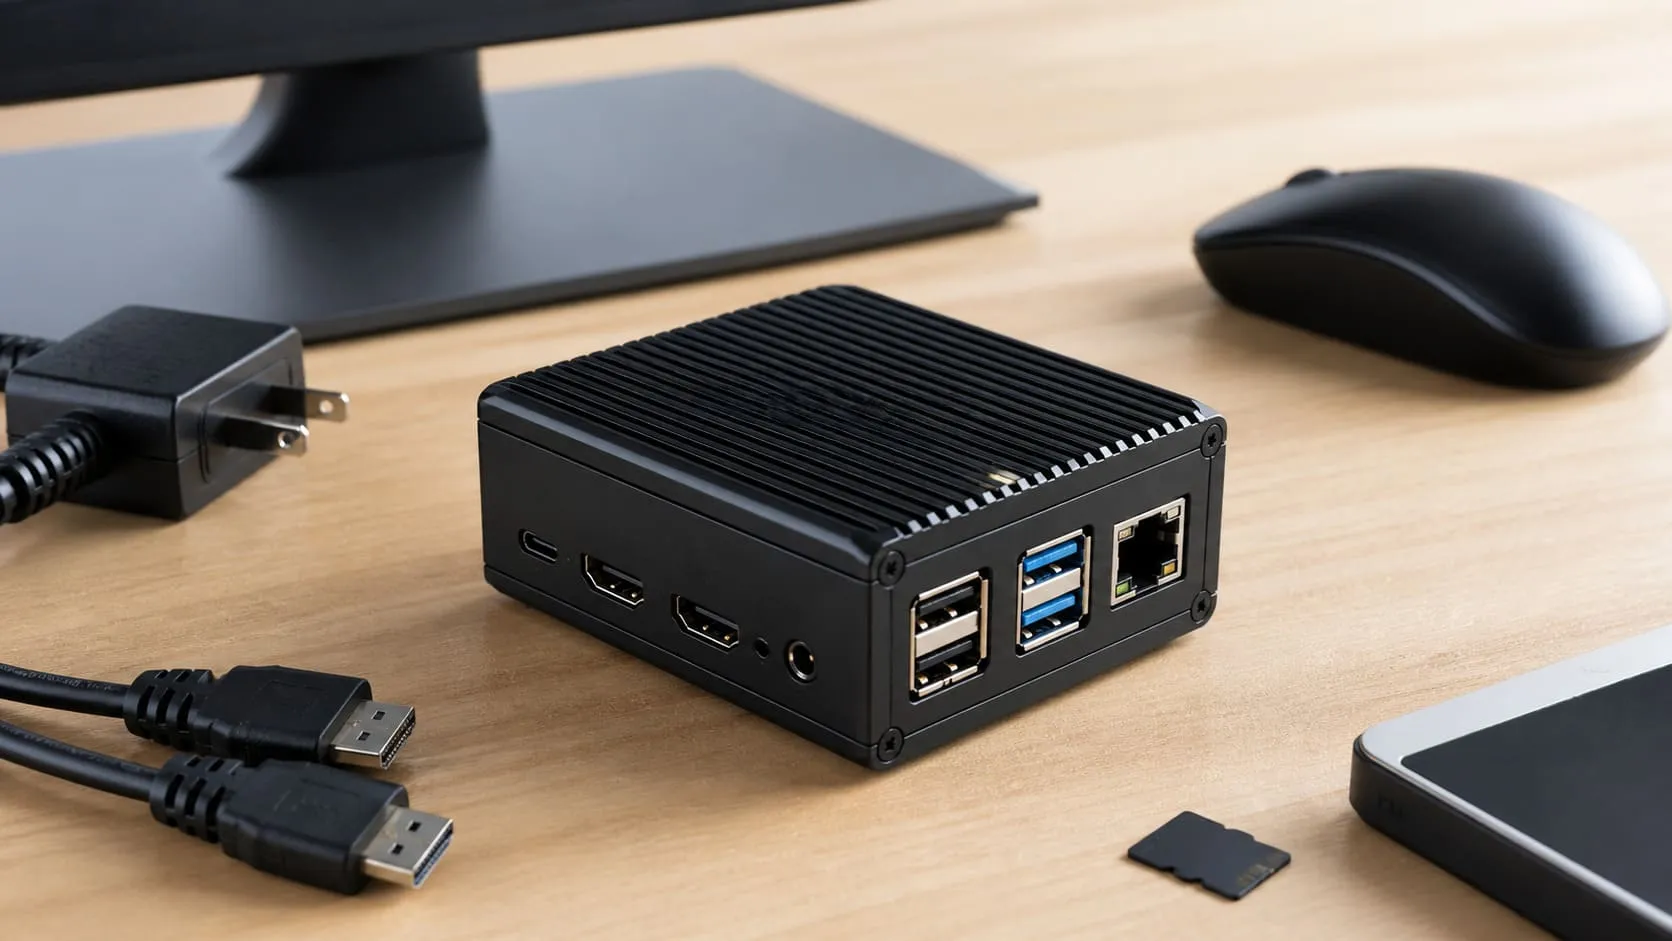
Plug the adapter into a USB 3.0 port. Slide the SSD into the SATA head. LED blinks tell you power is flowing.
Hot-plugging rules and power considerations
Most 2.5-inch SSDs draw under 2 W, safe for USB power. Still, avoid yanking the cable mid-write.
Choosing external vs. internal setups for different use cases
| Setup | Best For | Drawbacks |
|---|---|---|
| Internal | Speed, security | Requires disassembly |
| External | Cloning, backups | Slightly slower, needs cable |
Clone finished? Time to button up and see if the system boots.
Reassembling & First Boot

Double-checking cable seating and screws
Run fingertips along each connector. Nothing should wiggle.
Powering on and verifying BIOS/UEFI detection
Hit F2 or DEL at startup. Your SSD should appear under Storage or Boot.
Setting the boot order when migrating the OS
Move the new SSD to slot #1. Save and exit. If the OS was cloned, Windows or Linux should load as usual.
Drive shows up? Great. Let’s make it friendly to your OS.
Initializing, Cloning, or Migrating Your OS

Initializing a new drive
- Windows: Disk Management → Initialize → GPT → New Simple Volume
- macOS: Disk Utility → Erase → APFS or HFS+
Popular cloning workflows
- Macrium Reflect – drag source to target, tick Verify.
- Clonezilla – text-heavy but bulletproof.
Aligning partitions and enabling AHCI/TRIM
Most cloning tools handle alignment. Check TRIM with fsutil behavior query DisableDeleteNotify in Windows (0 = TRIM on).
System humming? Let’s measure that boost—and fix issues fast.
Benchmarking & Troubleshooting
Running quick benchmarks
- CrystalDiskMark (Windows)
- Blackmagic Disk Speed Test (macOS)
Common issues and fixes
| Symptom | Likely Cause | Fix |
|---|---|---|
| Drive not detected | Loose ribbon | Reseat cables |
| Wrong capacity | Old partition table | Reinitialize GPT |
| SMART warning | Firmware bug | Update drive firmware |
I once saw a SMART warning on a brand-new batch meant for a Pi cluster. Firmware patch fixed it in minutes—panic avoided.
Smooth numbers? Let’s keep the drive that way.
Post-Install Maintenance Tips
Enabling TRIM and disabling unnecessary defrag
Windows 10+ schedules TRIM weekly. You can turn off classic defrag for SSDs.
Monitoring health with SMART utilities
I like CrystalDiskInfo. It flashes yellow before things get ugly.
Proper handling and cooling for external SSDs
Avoid stacking drives on hot routers. A thin thermal pad inside the enclosure can drop temps by 5 °C.
Performance steady? Now let’s talk numbers for your business.
Cost-Benefit Analysis for B2B & Re-Brand Customers
Performance gains vs. upgrade cost
| Batch Size | Cost per 500 GB SSD | Avg. Boot Time Cut | Payback (support hours saved) |
|---|---|---|---|
| 10 units | \$30 | 65 % | 1 mo |
| 100 units | \$27 | 65 % | 2 wks |
Stocking pre-cloned drives for rapid deployment
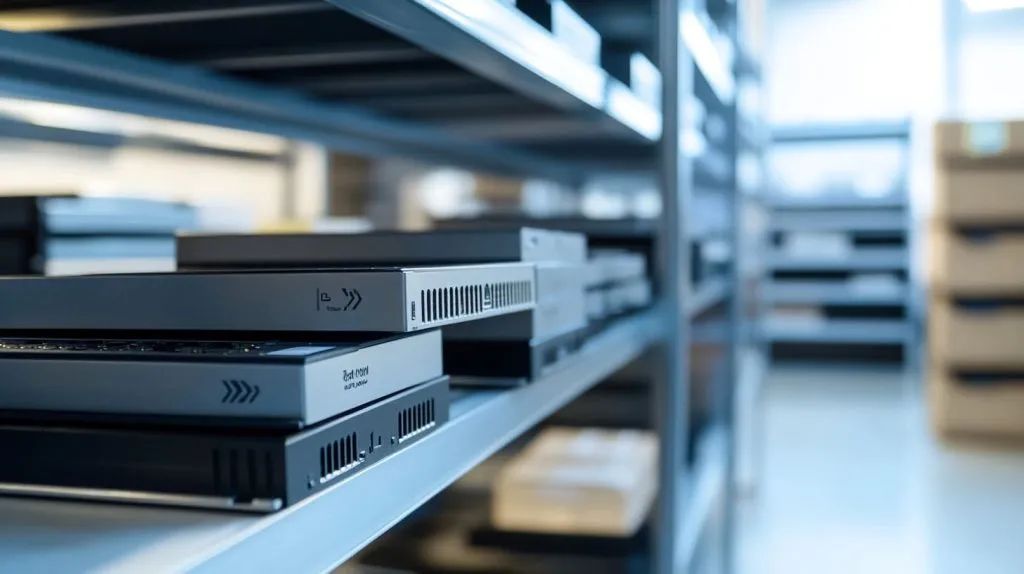
We keep a shelf of ready-imaged SSDs for Pi labs. When a customer’s board fails, swap the drive and they’re back in minutes.
Branding opportunities: custom-logo SSD enclosures
Our laser line etches your logo in 30 seconds. Davide’s Amazon reviews jumped after buyers saw his brand right on the metal shell.
Curious about side questions? Let’s clear them up.
FAQ: Quick Answers to Common Questions
Can I keep the old HDD alongside the new SSD?
Yes, if your laptop has a second bay or an optical-drive caddy.
What if my laptop only has one drive bay?
Clone the HDD to the SSD first, then swap. Use the old drive as external backup.
Do laptops need separate power cables for SATA SSDs?
No. The SATA combo cable handles both data and power for 2.5-inch SSDs.
All clear? Let’s wrap up and get you moving.
Conclusion
Upgrading with a SATA SSD takes a steady hand, a few tools, and the courage to lift that back cover. Measure twice, back up once, and keep screws in order. The payoff is instant speed, silent operation, and longer battery life.
Final checklist
- [ ] Backup complete
- [ ] Compatibility confirmed
- [ ] Tools ready
- [ ] SSD installed or cloned
- [ ] BIOS detects drive
- [ ] TRIM enabled
How MaidaTech can help
Need a hundred pre-imaged SSDs with your brand etched on top? Email me at vincent@maidatech.com. Our three production lines ship within a week, and we beat rival factory quotes by at least 10 %. Let’s make your next upgrade painless—and profitable.