
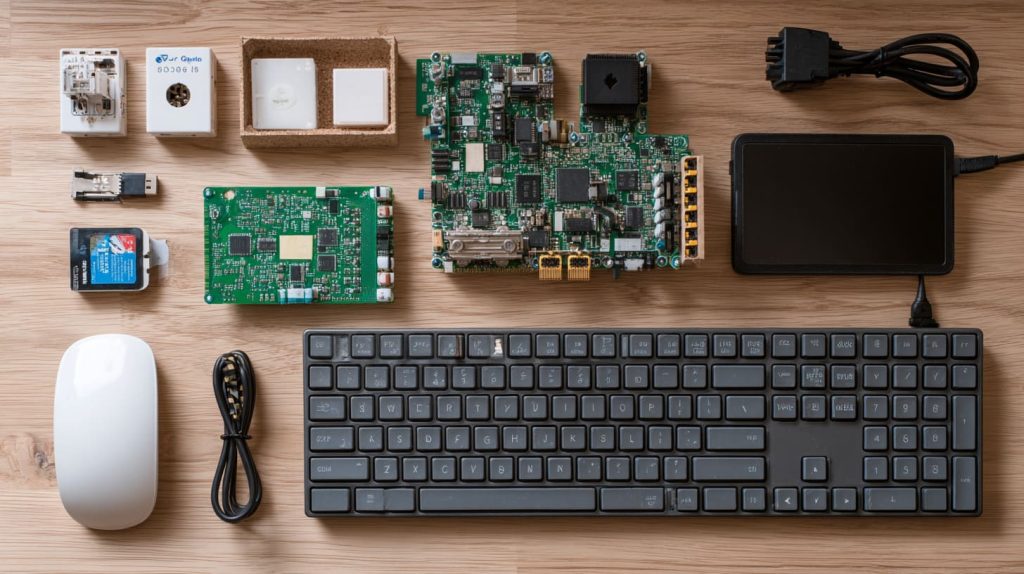
Staring at a Raspberry Pi for the first time feels exciting—until you don’t know where to begin.
Start by picking the right Pi model, learning what it can do, and setting it up with a few basic accessories.
This post is for anyone who's ever typed "Raspberry Pi beginner guide" and still felt stuck. I’ve been there, and I’ll help you through it step by step.
What Raspberry Pi should I get as a beginner?
When I first started, I was overwhelmed by all the versions—Pi 4, Pi 3, Zero, Compute Modules...
For most beginners, the Raspberry Pi 4 (2GB or 4GB version) is the best choice to start with.
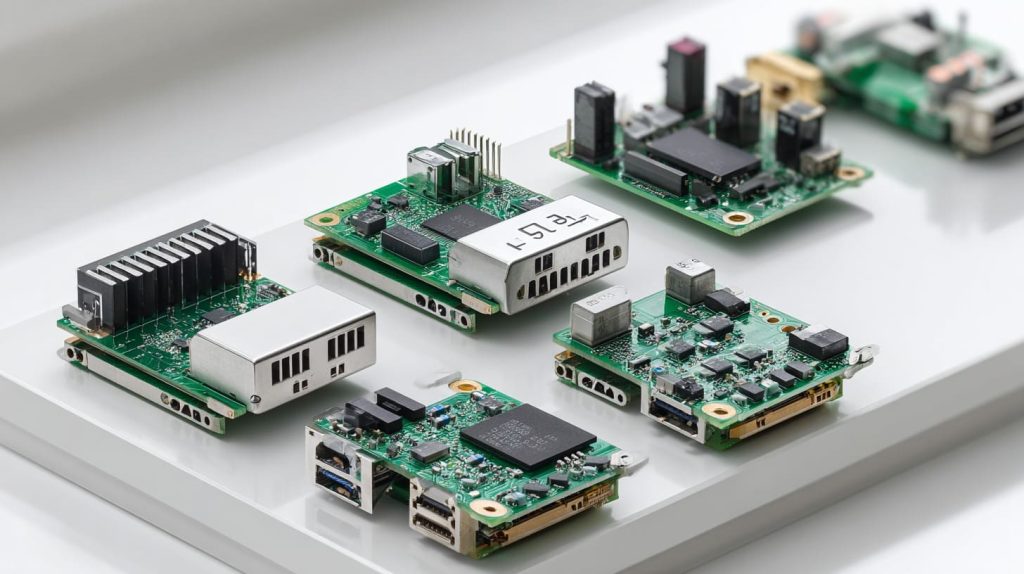
Why Raspberry Pi 4 makes sense
- It has enough RAM for most learning tasks
- It supports full desktop experience
- It’s well-documented and has tons of community support
Here’s a quick comparison:
| Model | RAM Options | Ports | Best Use Case |
|---|---|---|---|
| Pi 4 Model B | 2–8 GB | USB 3, HDMI | General use, coding, desktop |
| Pi Zero 2 W | 512 MB | micro USB | Low-power, compact builds |
| Pi 3 Model B+ | 1 GB | USB 2, HDMI | Lightweight projects |
| Compute Modules | Varies | Customizable | Advanced embedded systems |
If you want to plug in and start learning, go with the Pi 4. Don’t overthink it.
What can a beginner do with a Raspberry Pi?
I didn’t expect this tiny board to open so many doors.
Beginners can use Raspberry Pi for learning Python, running Linux, building DIY projects, or even making simple servers.

Beginner-friendly project ideas
- Personal weather station
- Retro gaming console (RetroPie)
- Simple file server
- Smart home automation using Home Assistant
- LED light controller
Each one teaches different skills—coding, networking, hardware tinkering. You’ll build confidence as you go.
Which Raspberry Pi model is best for beginners?
I get this question all the time from people starting out.
The Raspberry Pi 4 Model B strikes the best balance of performance, price, and support.
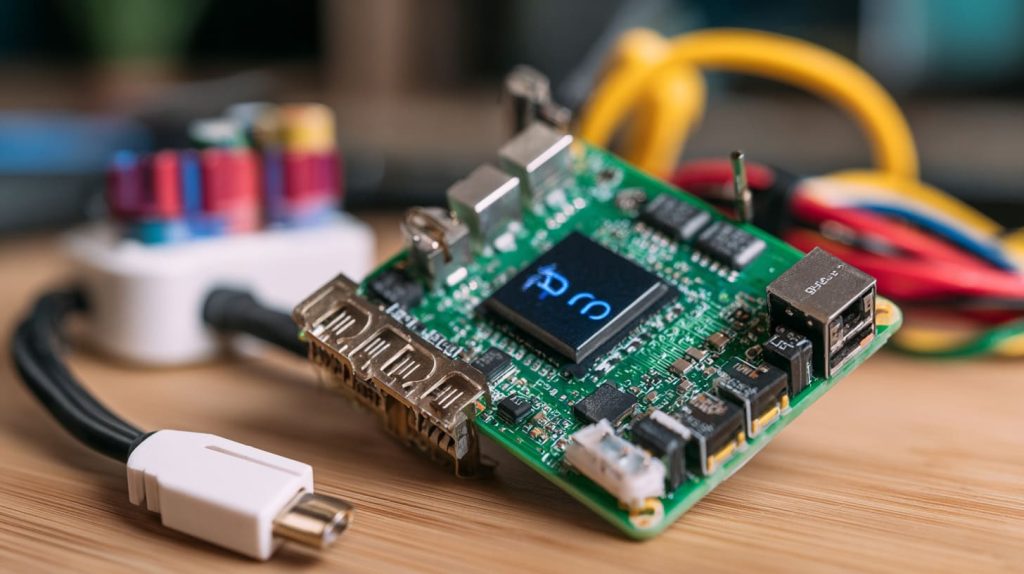
Why not start with something cheaper?
The Pi Zero may look attractive, but it’s limited in performance and connectivity. It’s great as a second or third Pi—not your first.
If you're learning or prototyping, the Pi 4 Model B (2GB or 4GB) gives you room to grow without frustration.
How do I set up Raspberry Pi for the first time?
Setup doesn’t have to be scary.
You’ll need a Raspberry Pi, microSD card, power supply, and monitor to start. Then flash Raspberry Pi OS and plug it in.
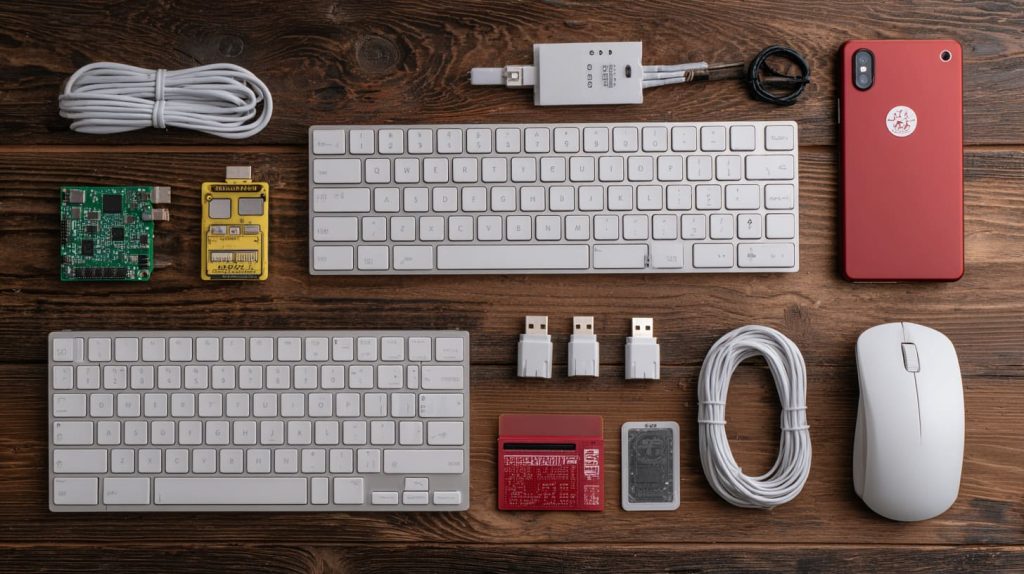
Quick start checklist
- Download Raspberry Pi Imager
- Flash Raspberry Pi OS onto a microSD card (16GB+ recommended)
- Insert the card, connect power, monitor, keyboard, and mouse
- Boot up and follow on-screen setup
From there, you’ll land on the desktop—like a mini computer ready for action.
Do I need accessories to start using Raspberry Pi?
You don’t need a drawer full of parts to get started.
At minimum, you need a power supply, microSD card, HDMI cable, and input devices like keyboard and mouse.
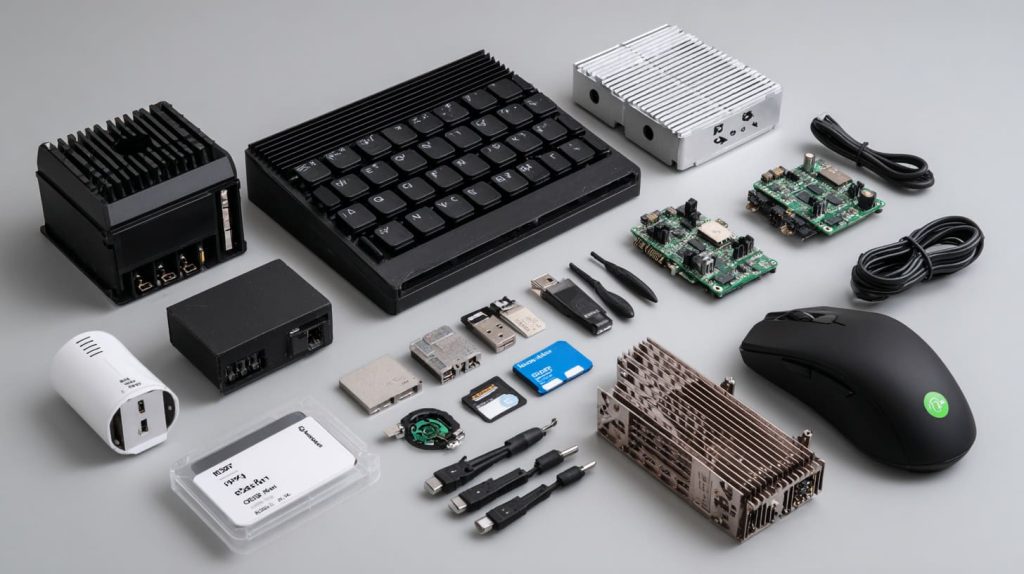
Essential vs optional accessories
| Item | Needed to Start? | Notes |
|---|---|---|
| Power supply (5V 3A) | ✅ | Don’t use a random phone charger |
| microSD card (16GB+) | ✅ | Class 10 or UHS-1 recommended |
| HDMI cable | ✅ | Use micro-HDMI for Pi 4 |
| Keyboard + Mouse | ✅ | Any USB ones will do |
| Case with cooling | 🔲 | Optional but protects and cools |
| Heatsink or fan | 🔲 | Helps under heavy use |
| USB storage | 🔲 | Great for backups or media |
A kit is the easiest way to get everything in one go.
Can I use Raspberry Pi for programming or learning Linux?
This is where it shines.
Raspberry Pi is one of the best platforms for learning Python, bash scripting, Linux basics, and real-world programming.
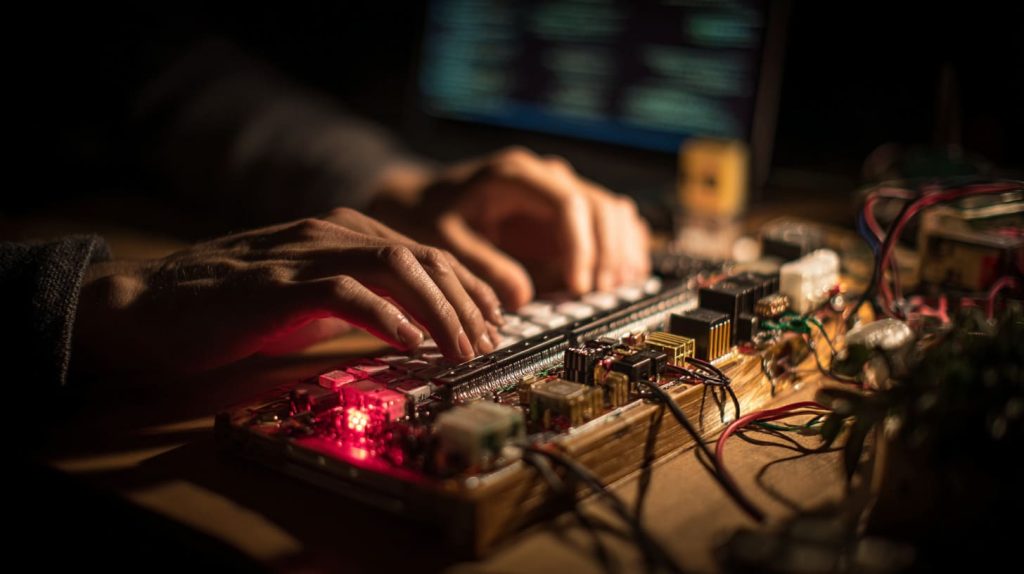
Programming paths you can try
- Python: Control LEDs, sensors, create scripts
- Scratch: Visual programming for kids and new learners
- Shell/Bash: Automate tasks, learn Linux commands
- C/C++: Build low-level projects and real-time apps
Linux teaches you how computers work. Raspberry Pi makes it accessible, affordable, and hands-on.
Is Raspberry Pi good for small business or retail projects?
I’ve worked with clients who built entire POS and signage systems on Pi.
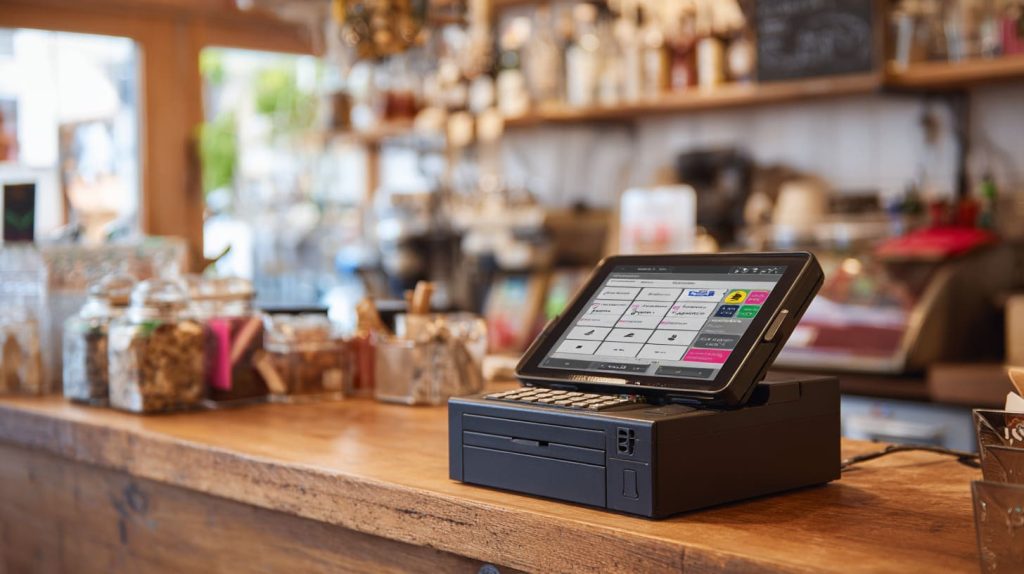
Yes. Raspberry Pi is often used in kiosks, signage, barcode scanning, IoT sensors, and other low-cost business solutions.
Real-world examples
- A retail store using Pi for digital price tags
- Cafés running a custom touchscreen POS system
- Remote temperature monitors for greenhouses
- Inventory trackers using barcode scanners
It’s budget-friendly, reliable, and flexible—ideal for scaling small business tech.
Where can I buy Raspberry Pi kits with custom branding?
This one hits close to home—because I help businesses do exactly that.
You can order Raspberry Pi kits with custom logo printing, engraved cases, and branded packaging from suppliers like MaidaTech (that’s me).
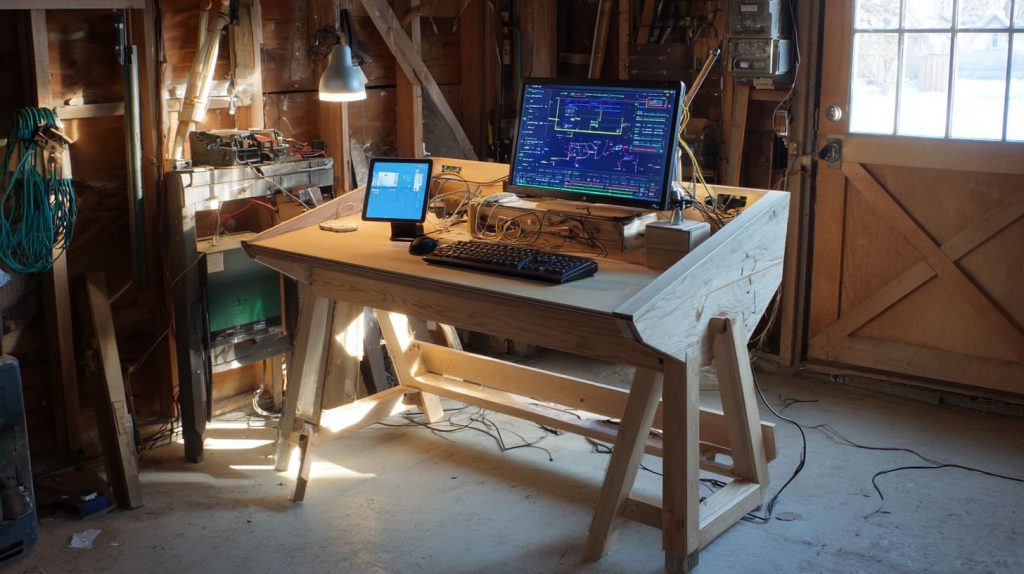
What branding options do I offer?
- Laser engraved or UV printed logos on Pi cases
- Custom colors and shell materials
- Label sticker application service
- Branded retail packaging
- Bulk stock for fast shipping
If you’re a re-seller like Jacky or Davide, branding your kits can add serious value and trust to your product.
How much does it cost to get started with Raspberry Pi?
People often assume it’s expensive—until they compare.
Basic Raspberry Pi kits for beginners start around $40–$60. Custom-branded kits cost more, based on quantity and features.
| Kit Type | Estimated Cost |
|---|---|
| Basic Pi 4 Kit (2GB) | $50–$60 |
| Full Kit w/ Case + Fan | $60–$80 |
| Custom-branded Kit | $70–$100+ |
Factor in shipping, accessories, and MOQ if you’re buying wholesale.
What are the most common Raspberry Pi beginner mistakes?
I’ve made most of these myself. Don’t be me.
Common mistakes include using bad SD cards, underpowered adapters, overheating, or skipping proper shutdown.
Avoid these as you start:
- Buying a Pi but forgetting the SD card
- Using random phone chargers
- Not using a case—heat buildup is real
- Pulling the plug instead of shutting down
- Expecting it to work like a Mac or Windows PC
Learning from others’ pain points saves your time and money.
Can I use Raspberry Pi without a monitor or keyboard?
Yes—and once you learn how, it’s a game changer.
You can set up Raspberry Pi headless via SSH or VNC, meaning no monitor or keyboard is required after initial setup.
Quick Headless Setup:
- Use Raspberry Pi Imager
- Enable SSH in “Advanced options”
- Add Wi-Fi credentials
- Insert SD, power it up
- Use terminal to access remotely (
ssh pi@raspberrypi.local)
Great for compact builds, remote setups, or running Pis in odd corners of your space.
Conclusion
Start simple, stay curious—and let the Pi guide your learning.




