

When you’re building a project around a Raspberry Pi, the OS choice doesn’t just sit in the background—it shapes everything.
From how you interact with your board, to what software runs smoothly, to how stable things feel six months down the road.
That’s why so many makers and small brands are turning to Ubuntu.
It’s not because it looks fancy or feels trendy. It’s because Ubuntu brings a full Linux experience that works across desktop, server, and automation setups. It speaks the same language your clients or team might already use on the cloud—or in production.
Whether you’re running a local Amazon shop with custom-branded kits, or designing a completely new board for an industrial controller, knowing how to set up Ubuntu properly matters.
In this guide, I’ll walk you through everything. No skipped steps. No vague assumptions.
Just a clear path—from choosing the right version to dealing with that one time the screen stayed black after boot.
What You Need Before Installing Ubuntu on Raspberry Pi

Most problems do not come from Ubuntu itself.
They come from poor preparation.
I learned this after answering too many messages that started with, “It doesn’t boot.”
Supported Raspberry Pi Models
Not every Raspberry Pi feels the same with Ubuntu.
I usually explain it like this:
| Model | My real feeling | Good for |
|---|---|---|
| Raspberry Pi 4 | Stable and proven | Most projects |
| Raspberry Pi 5 | Fast but still young | Heavy tasks |
RAM also matters more than people admit.
| RAM | My advice |
|---|---|
| 2GB | Server only |
| 4GB | Safe minimum |
| 8GB | Desktop comfort |
Ubuntu runs, but it reacts to limits fast.
Hardware Requirements
Storage choices change the whole experience.
| Storage | Speed | Risk |
|---|---|---|
| MicroSD | Slow | High wear |
| USB SSD | Fast | Low |
| NVMe | Very fast | Needs Pi 5 |
Power and cooling are not optional.
I’ve seen “software bugs” disappear after adding a fan.
Checklist I always follow:
- Official or strong power supply
- Heatsink at minimum
- Airflow inside the case
- Wired network if possible
Software & Files Required
Ubuntu gives options. Too many, sometimes.
You will see:
- Ubuntu Desktop
- Ubuntu Server
- Ubuntu Imager
- Raspberry Pi Imager
Desktop looks nice. Server feels serious.
Choosing wrong does not break things, but it slows you down.
Once hardware is clear, the next question always comes up.
Which Ubuntu should I even install?
Which Ubuntu Version Should You Choose?

This choice looks simple.
It is not.
I’ve watched people restart full projects because of it.
Ubuntu Desktop vs Ubuntu Server
This is not about taste. It is about purpose.
| Version | What I use it for |
|---|---|
| Desktop | Testing, demos, light office |
| Server | Production, Docker, headless |
Desktop uses more RAM. Server feels empty but powerful.
If you plan to SSH most of the time, Desktop is just extra weight.
Ubuntu LTS Versions Explained
I always choose LTS. Always.
Why?
- Fewer surprises
- Long updates
- Stable packages
| Version | Support style |
|---|---|
| 20.04 | Old but solid |
| 22.04 | My default |
| Newer | Only for testing |
In business projects, stability beats novelty.
ARM Compatibility and Limitations
Ubuntu on Raspberry Pi is ARM.
That changes things.
ARM64 is better now, but not perfect.
Some software:
- Installs fine
- Runs slower
- Or needs workarounds
This is normal.
Knowing it early saves frustration.
Now let’s get our hands dirty and actually install it.
How to Install Ubuntu on Raspberry Pi (Step-by-Step)

This is the part people rush.
I prefer calm and clean steps.
Step 1: Download Ubuntu for Raspberry Pi
I only trust official sources.
My rule:
- Match model
- Match version
- Avoid random mirrors
If the file feels wrong, it probably is.
Step 2: Flash Ubuntu to SD Card or SSD
You have choices here.
| Tool | Why I use it |
|---|---|
| Raspberry Pi Imager | Simple |
| Ubuntu Imager | Ubuntu-first |
| Balena Etcher | Reliable |
Common mistakes I see:
- Pulling card too early
- Flashing wrong architecture
- Using bad SD cards
Slow down. It saves hours.
Step 3: Configure Basic Settings Before First Boot
This step feels boring. It is not.
I always set:
- Username
- SSH
- Wi‑Fi (if headless)
- Keyboard layout
Doing this later is harder.
Step 4: First Boot and Initial Setup
First boot is slow.
That is normal.
I wait. I watch LEDs.
Then I log in and run updates.
That first update tells me if the system is healthy.
Once it works with a screen, many people ask the same thing.
Can I do this without a screen at all?
Headless Ubuntu Installation on Raspberry Pi

I run most of my Raspberry Pi units headless.
No monitor. No keyboard.
It feels clean.
What Is Headless Installation?
Headless means:
- No display
- No mouse
- Remote access only
This fits servers and automation well.
Headless Setup Using Raspberry Pi Imager
The Imager hides power features.
I enable:
- SSH
- Wi‑Fi
- Country code
Most headless failures come from Wi‑Fi errors.
Connecting via SSH
Finding the IP is the real challenge.
I usually:
- Check router
- Use network scan
Security matters here.
I change passwords fast. Always.
Once headless works, speed becomes the next obsession.
That’s where SSD and NVMe enter the chat.
Installing Ubuntu on Raspberry Pi with SSD or NVMe

After using SSD once, SD cards feel painful.
Why Use SSD Instead of SD Card
Real talk:
| Factor | SD Card | SSD |
|---|---|---|
| Speed | Low | High |
| Stability | Medium | High |
| Lifespan | Short | Long |
For any serious work, SSD wins.
Booting Ubuntu from USB SSD
This works well on Pi 4 and Pi 5.
Watch out for:
- Cheap adapters
- Power draw
A weak power supply ruins everything.
Booting Ubuntu from NVMe (Raspberry Pi 5)
This feels like a mini PC.
But:
- Firmware must be updated
- NVMe hat quality matters
When done right, it is fast and smooth.
Even then, things can still go wrong.
Let’s talk about those moments.
Common Problems and How to Fix Them
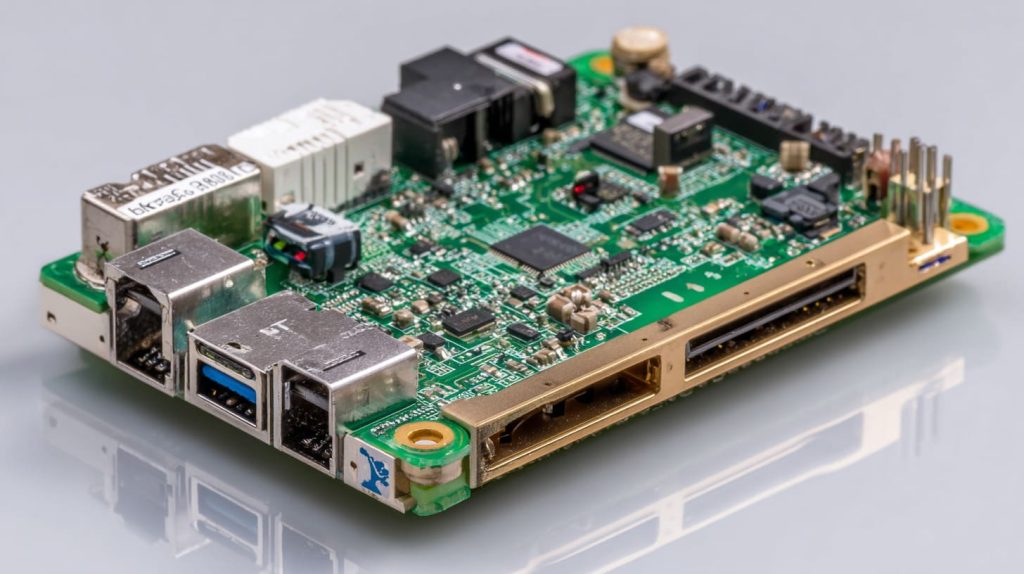
I’ve seen these issues repeat for years.
Raspberry Pi Not Booting Ubuntu
Most causes are boring:
- Power
- Storage
- Bad image
Start there. Always.
Black Screen or No Display Output
This scares beginners.
Usually it is:
- Wrong HDMI port
- Monitor resolution
Try HDMI 0 first.
Slow Performance Issues
Ubuntu reacts fast to heat.
Common causes:
- No cooling
- Low RAM
- Too many services
Cooling solves more “bugs” than code.
Network and Wi‑Fi Problems
Ethernet is boring.
Ethernet is stable.
Wi‑Fi fails more often than people admit.
Once issues are fixed, optimization becomes fun.
Optimizing Ubuntu Performance on Raspberry Pi

This is where Ubuntu starts to feel right.
System Updates and Package Management
I keep systems clean.
I remove:
- Unused services
- Heavy apps
Less clutter means fewer problems.
Desktop Performance Tweaks
If you use Desktop:
- Turn off animations
- Reduce startup apps
Small changes add up.
Thermal and Power Optimization
I treat cooling as design, not repair.
Good case airflow changes everything.
Stable power prevents silent crashes.
Now comes the classic question.
Ubuntu or Raspberry Pi OS?
Ubuntu vs Raspberry Pi OS: Which Is Better?

There is no winner.
Only context.
Performance Comparison
| Area | Ubuntu | Pi OS |
|---|---|---|
| Boot | Slower | Faster |
| Tools | Rich | Simple |
| Server | Strong | Limited |
Software Ecosystem Differences
Ubuntu feels professional.
Pi OS feels friendly.
Both have value.
When Ubuntu Makes More Sense
I choose Ubuntu when:
- Using Docker
- Building servers
- Running business tools
For learning, Pi OS is still great.
Once the OS is chosen, the real fun begins.
Use Cases for Ubuntu on Raspberry Pi

Ubuntu unlocks serious use cases.
Development and Programming
I often use:
- Python
- Node.js
- Java
Cross‑platform work feels natural.
Server and Self-Hosting Projects
Ubuntu shines here:
- Web servers
- NAS
- Containers
It feels reliable.
Commercial and ODM Projects
This is where I see growth:
- Embedded systems
- Control units
- Custom hardware
Ubuntu gives structure and scale.
All of this leads to one final thought.
Conclusion
Installing Ubuntu on Raspberry Pi is not hard.
But doing it right matters.
Prepare your hardware.
Choose your version with intent.
Avoid rushing.
For re‑brand sellers and ODM builders, Ubuntu offers stability and flexibility.
Test small. Optimize early. Scale with confidence.
That mindset saves time, money, and patience.




