Skip to content
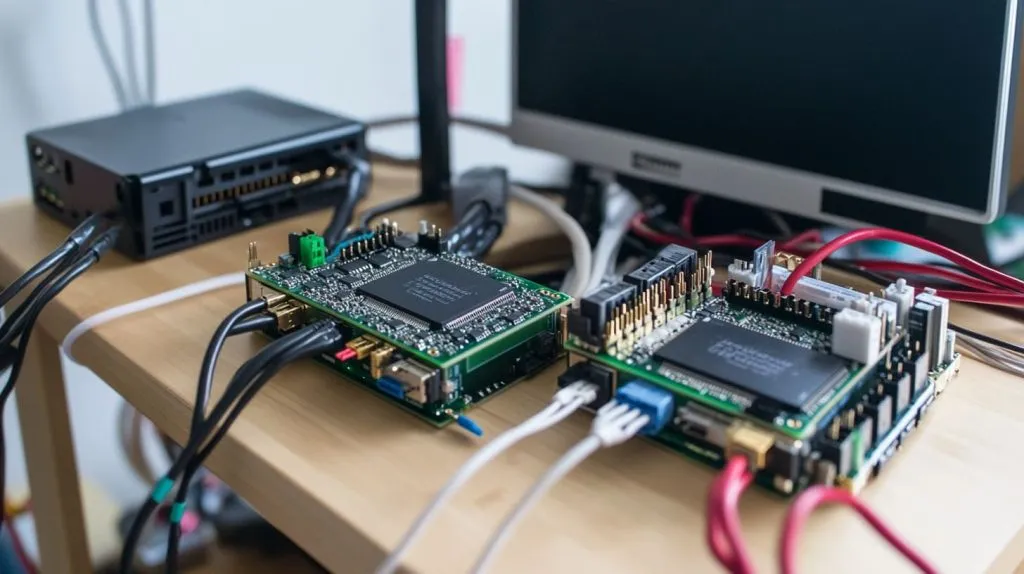
I remember the first time I tried to organize my overflowing photo collection on a single device. I thought a basic external drive would be fine, but I soon realized I needed something more robust. That’s how I stumbled upon using a Raspberry Pi as a NAS (Network Attached Storage). It felt like a small adventure back then—one that combined my love for tinkering with my passion for having all my cherished data in a safe place.
Overview of Raspberry Pi as a NAS Solution
When I first considered a Raspberry Pi for NAS, I weighed its compact form factor against its capabilities. I discovered that with the right setup, it can serve as a central repository for family photos, music files, or even business documents. From a critical perspective, this tiny board’s adaptability is remarkable, but it also has limitations like USB bandwidth constraints. So I realized it’s essential to understand the Pi’s strengths before diving in. Some of my friends preferred dedicated NAS devices for simplicity, but I wanted a flexible project I could shape on my own terms.
Benefits of Building a NAS with Raspberry Pi
The more I researched, the more perks I found. Cost-efficiency stood out immediately. I didn’t have to spend a fortune on a specialized NAS box. Then there was the joy of customization. I could pick my own operating system, my favorite software, and stack multiple hard drives. However, I also saw potential bottlenecks in areas like power supply. I learned that good planning goes a long way in reaping the Pi’s advantages while minimizing complications.
Purpose and Scope of This Guide
I wrote this guide to share my experiences and help you avoid the pitfalls I encountered. I’ll walk through choosing the right gear, setting up the software, handling security, and a whole lot more. Think of this as a friendly conversation about both successes and challenges. We will explore multiple sides of each topic so that you can decide what works best for you.
I got hooked on how something so small could handle so many tasks. Let’s keep that excitement alive as we move on.
(Let’s shift gears and check out the hardware details that make this possible.)
Hardware Requirements and Setup
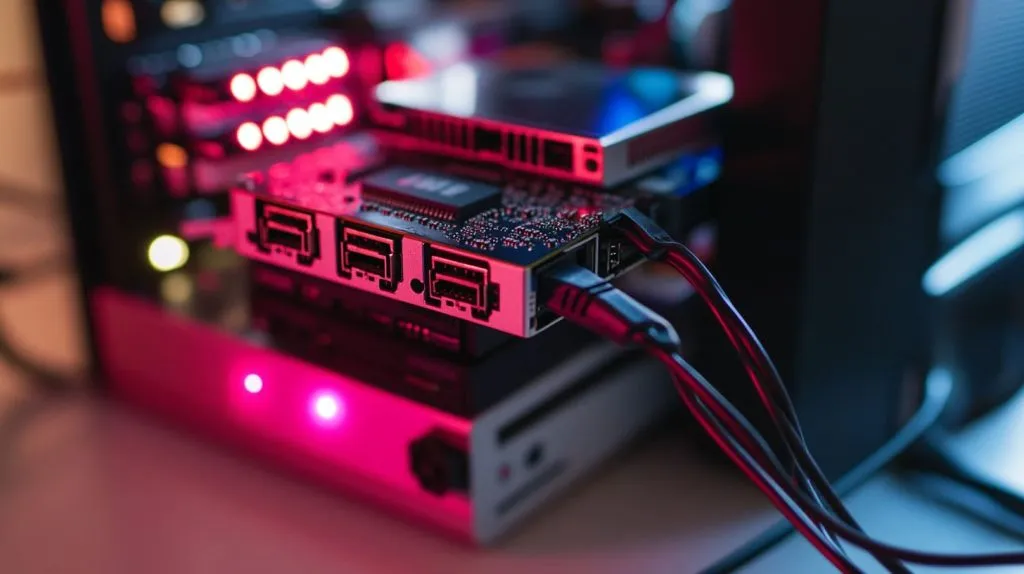
I found that the hardware you pick can make or break your Raspberry Pi NAS experience. Early on, I underestimated the power requirements for multiple drives. That taught me the importance of doing some background checks on all the components before plugging everything in.
Choosing the Right Raspberry Pi Model
When I started, I had an older Pi lying around. It worked, but it showed its age when I attached two large hard drives. On one hand, a Raspberry Pi 4 with more RAM would handle heavier workloads better. On the other hand, if you only want to store modest personal files, a Pi 3 might suffice. From a critical standpoint, weigh your storage needs carefully. Look at your budget too. You might not need the most powerful model, but you also want enough muscle to handle simultaneous file requests without lag.
Here’s a quick comparison I found handy:
| Raspberry Pi Model | Recommended Use Case | RAM Options |
|---|---|---|
| Pi 3 | Light Home Storage | 1 GB |
| Pi 4 | Media Server, Heavier Usage | 2 GB, 4 GB, 8 GB |
Power Supply Considerations for Multiple HDDs
I once tried running everything off a single power adapter. That did not go well—my drives spun down repeatedly. So I learned that external drives can draw more power than the Pi can handle through its USB ports. You might use a powered USB hub if your drives don’t have their own power adapters. For multiple HDDs, don’t overlook this element. Consider the Pi’s built-in limitations and ensure your power solution meets the sum of all devices plugged in.
Connecting Multiple HDDs: USB Hubs, SATA Adapters, and Cables
I used to think any random cable would do. But then a friend pointed out that subpar cables or hubs can drop speeds significantly. From various angles, it’s about more than just hooking things up. It’s about stable data transfer, minimal latency, and secure connections. That’s why investing in good-quality USB-SATA adapters can save you from frustrating moments later.
Additional Accessories: Cases, Cooling Solutions, and Mounting Options
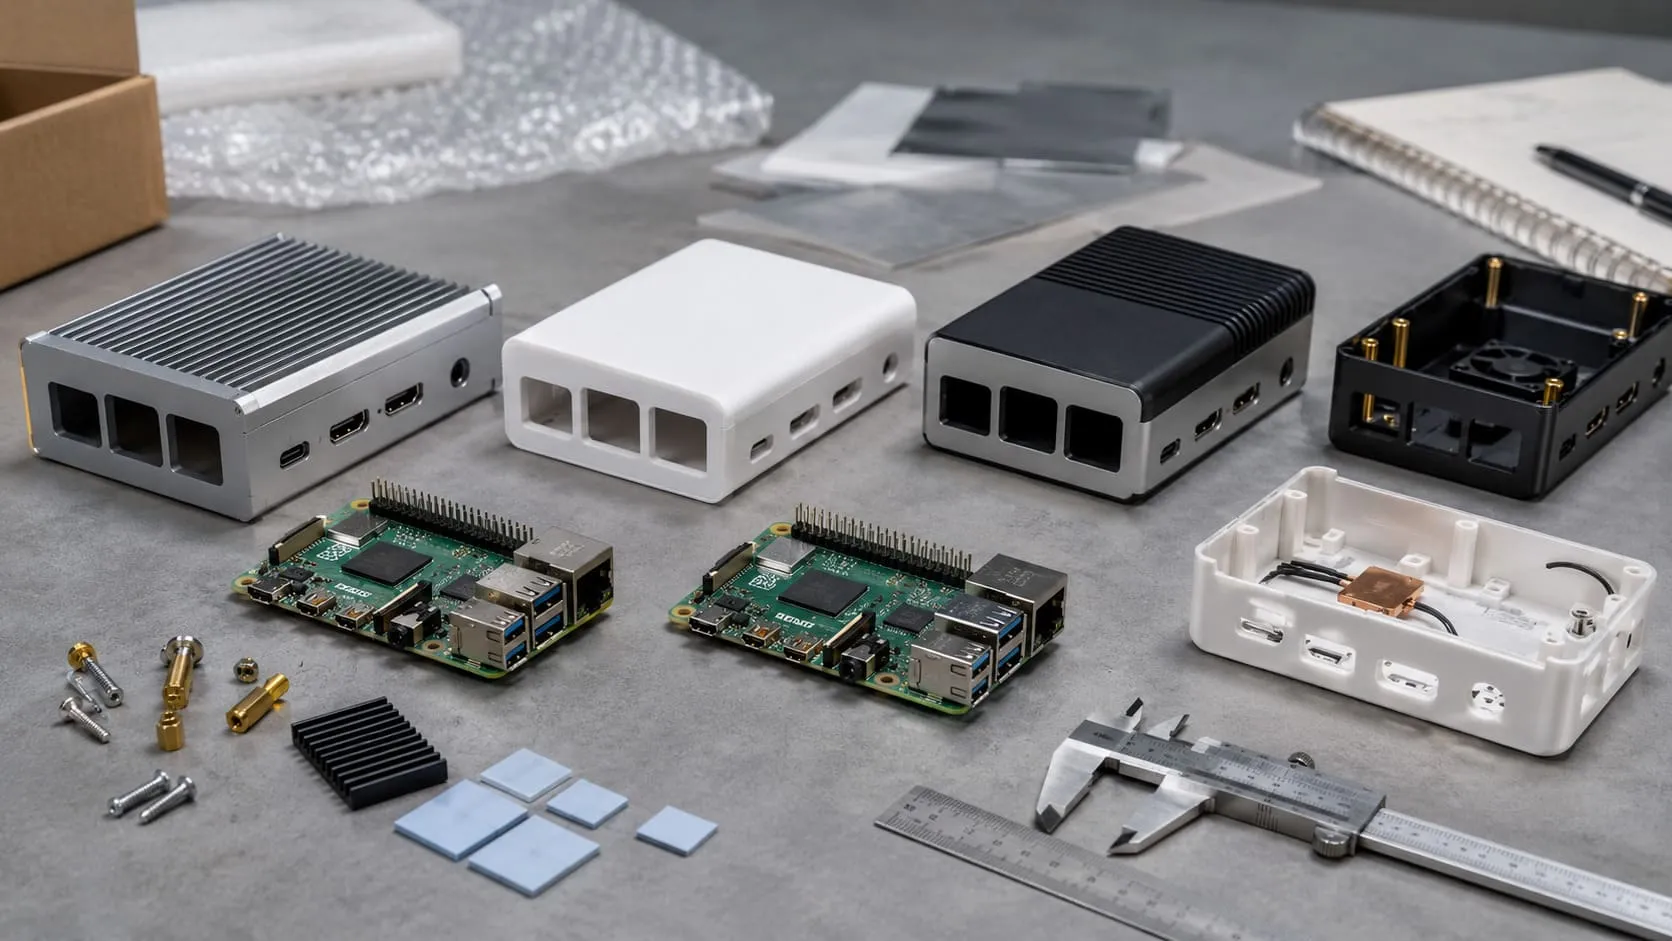
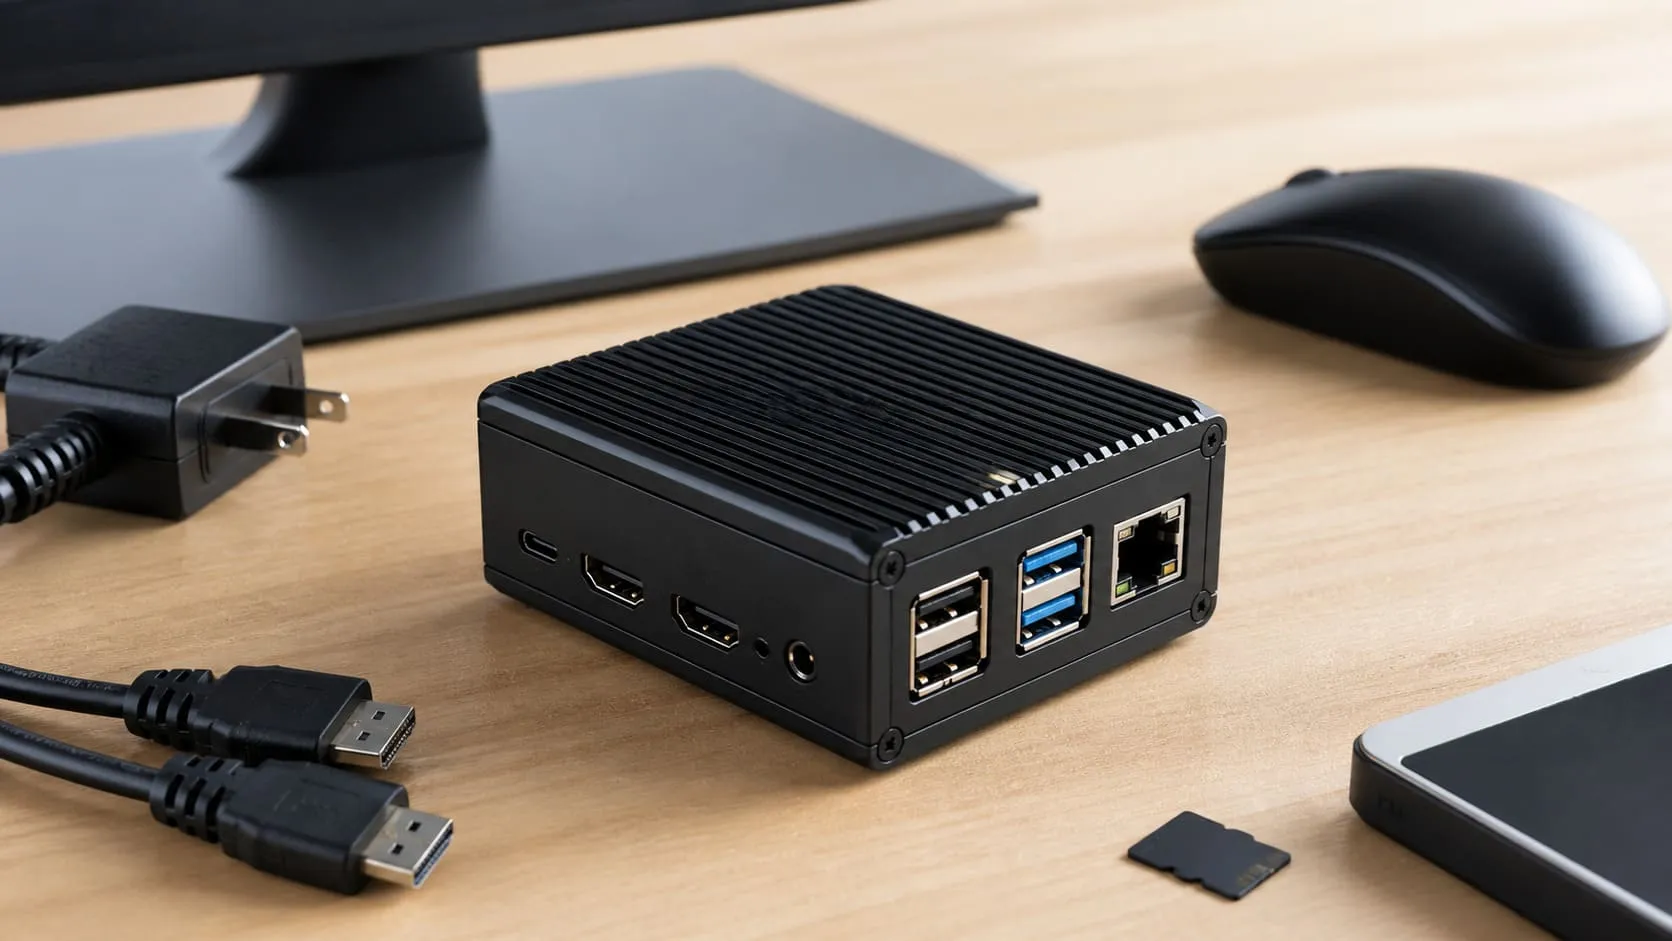
I’m a big fan of protecting my Pi in a sturdy case because it keeps dust out and looks neat. I also discovered that active cooling or heatsinks can help during prolonged file transfers. In a busy environment, the Pi can run hot, which may cause throttling. Different folks have different preferences, but if you’re like me, you might want to consider a combination of a well-ventilated case and small fans. It’s also worth thinking about cable management and drive mounts for a cleaner setup.
That wraps up the basics of the hardware side.
(By the way, if you’re feeling excited about hooking all these pieces together, just wait—setting up the software can be just as fun. Let’s head there next.)
Software Options and Installation
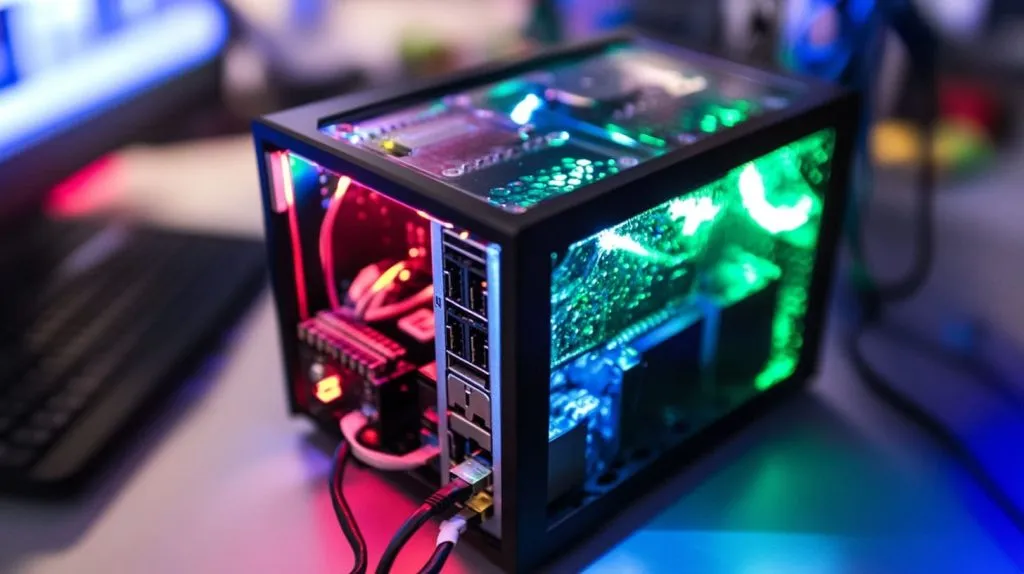
I’ve tried various software setups, and each time I learned something new. It’s not just about installing an operating system; it’s about aligning it with your goals. Some folks prefer an all-in-one solution, while others piece together different software components for total control.
Selecting the Operating System: Raspberry Pi OS vs. NAS-Focused OS
In my early projects, I used Raspberry Pi OS because it felt familiar, and it allowed me to install specific packages. Later, I tried specialized solutions like OpenMediaVault. Each has upsides and downsides. Raspberry Pi OS offers versatility, but you might have to manually configure shares. NAS-focused operating systems streamline the process but sometimes have steeper learning curves. When evaluating these from multiple angles, it’s about balancing user-friendliness with customization potential.
Overview of NAS Software Options (e.g., OpenMediaVault, Samba, NextCloud)
I once used Samba on Raspberry Pi OS. It was simple enough for sharing files among Windows devices, but I wanted more features later. OpenMediaVault gave me a full NAS management interface. I’ve even played with NextCloud for personal cloud storage. Each tool can cater to a different need. For instance, NextCloud suits those who want easy document collaboration and remote file access, but Samba might suffice for home media streaming.
Step-by-Step Installation of the NAS Software
I learned the importance of reading the official documentation thoroughly. You download your chosen OS, flash it to an SD card, and go through the guided setup. For OpenMediaVault, you can install it on top of Raspberry Pi OS or use a dedicated image. Then you log into the web interface to configure shares and user permissions. At times, I faced hiccups like missing dependencies or user privileges issues. Patience and a methodical approach often fix these.
Configuring Initial Settings and Network Parameters
My best advice is to start simple. Assign a static IP so you always know where to find your NAS on the network. Then, gradually add services like SMB or NFS. Balancing performance with security can be tricky, so I found it helpful to gather feedback from friends testing my setup. A critical viewpoint here: it’s easy to overlook small details like permissions and port settings. Double-check them so you don’t lock yourself out or allow unwanted access.
Next, let’s transition into how to configure your NAS once everything’s installed, because that’s where the real magic begins.
Configuration and Network Setup

Getting the software installed is a victory, but the next steps define how smoothly your NAS will run day to day. This is the moment when I realized I could fine-tune everything to meet my exact needs. It’s also where I discovered potential pitfalls if I rushed configurations.
I tested SMB for Windows and NFS for Linux-based systems. I found that each protocol offers certain advantages, depending on your environment. For example, SMB is quite universal, but NFS can offer better performance in Linux setups. Instead of sticking to a single protocol, consider which devices you own and plan accordingly. It’s wise to think ahead. Could there be a scenario where macOS, Windows, and Linux all coexist on your network? A critical stance would be to look at how different protocols handle speed, security, and compatibility issues.
Configuring RAID and Disk Management for Multiple HDDs
At first, I didn’t bother with RAID. Then my second drive failed unexpectedly. RAID isn’t bulletproof, but it can offer extra data protection. Software RAID can handle mirrored or striped setups, although it may not match hardware RAID in performance. Another angle is cost: you may need more drives for RAID mirrors. But if you value peace of mind, it’s worth exploring. Remember that RAID isn’t a substitute for actual backups. It’s just one layer of data safety.
Establishing Network Connectivity and Remote Access
Nothing beats the convenience of remotely accessing your NAS. However, I once opened too many ports on my router, which introduced security risks. Balance convenience with caution. Setting up SSH is generally straightforward. For remote access, a VPN could add a layer of security. Critically, keep in mind that exposing your NAS to the internet demands strong credentials and possibly additional firewall rules. Always consider worst-case scenarios. If someone gained access, how protected would your data be?
It’s fascinating how many possibilities open up once your network is configured.
(Next, I want to share some ways I managed to speed up my system’s performance. I’m a bit of a speed fanatic, after all.)
Performance Optimization

When I first got my NAS running, I was thrilled. But then I started copying files and realized my transfer speeds were slower than I’d hoped. That’s when I went on a mission to squeeze out every bit of performance I could.
Overcoming USB Bandwidth and Power Limitations
I initially used a basic USB hub. When I transferred large files across two drives simultaneously, I faced bottlenecks. The Pi shares a common USB bus, so you’ll see slowdowns if you’re pushing a lot of data through multiple HDDs. One approach is to connect drives that aren’t in use simultaneously, or consider a powered hub that supports better throughput. A critical reflection: it’s often a matter of balancing practical needs with cost constraints.
Cooling and Heat Management Strategies
A friend once told me, “Heat is the silent killer.” And it’s true. Prolonged high temperatures can cause performance dips due to CPU throttling. I tested different cooling solutions, from small fans to larger heat sinks. If your NAS works round the clock, these choices can affect longevity. It’s also about noise levels—some solutions are whisper-quiet, while others buzz like a drone. Weigh your comfort against your performance goals.
System Tweaks for Enhanced Data Transfer Speeds
I got into the nitty-gritty of adjusting network buffer sizes and optimizing Samba configurations. Some of these tweaks gave me a slight boost. But I also realized that too much tinkering can cause instability. So always back up your configurations. Try incremental changes and watch how your system reacts. This thoughtful approach ensures you’re not blindly throwing changes at the system, only to end up with new issues.
Of course, what’s the point of speed if your NAS isn’t secure?
(Let’s consider the next layer: guarding our data and ensuring only trusted folks can access it.)
Security and Data Protection
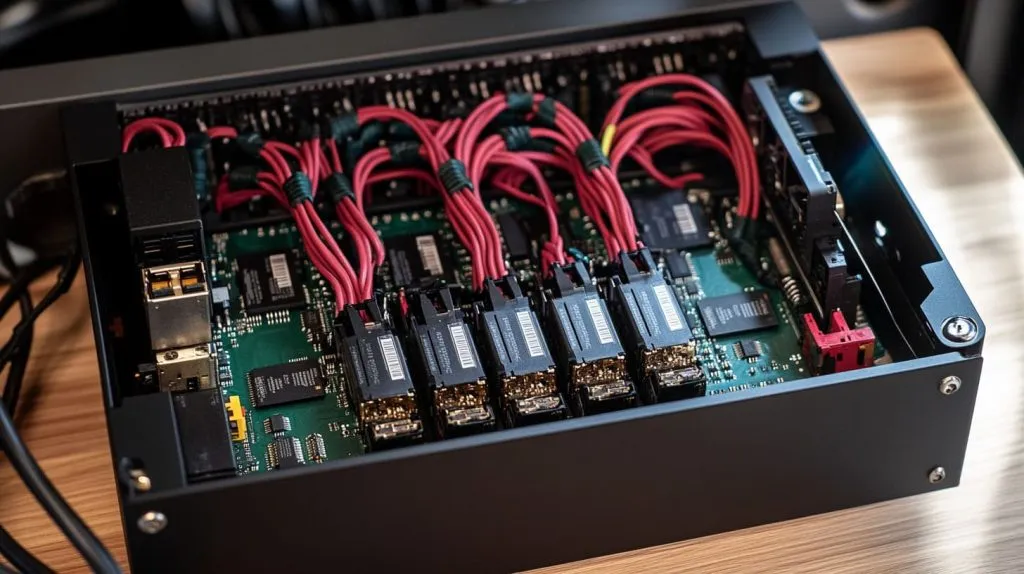
One day, I heard rumors about potential data breaches in a home network. It made me realize that a casual attitude toward security could invite trouble. So I dove into learning how to protect my own setup.
Implementing User Authentication and Access Controls
By default, some NAS configurations grant wide-open permissions. I made that mistake once. It was easy to share everything across my home network, but also risky if someone gained unauthorized access. Setting up user accounts and password protection is a strong start. You can even segment who can see certain folders or drives. From a critical perspective, it can be more time-consuming to manage user credentials, but the security tradeoff is worth it.
Setting Up Firewalls and Secure Remote Connections (VPN, SSH)
I love being able to grab a document from my NAS when I’m traveling. But I also don’t like the thought of someone snooping. Setting up a basic firewall and restricting SSH access to key-based authentication made me feel safer. A VPN adds another layer, although it involves some additional steps. This approach demands a bit more patience, but I’ve never regretted the extra effort.
Strategies for Data Backup and Redundancy
Even if you set up RAID, that doesn’t save you from accidental deletions or hardware failures. I learned this the hard way. Off-site backups or cloud backups can be life-savers. I now back up my most precious files to an external drive every month. Another approach could be automated backups using rclone or rsync to a cloud service. This is not about paranoia; it’s about having a safety net.
Implementing security measures always gave me peace of mind.
(Moving on, let’s talk about keeping our system humming along for the long haul.)
Maintenance and Troubleshooting
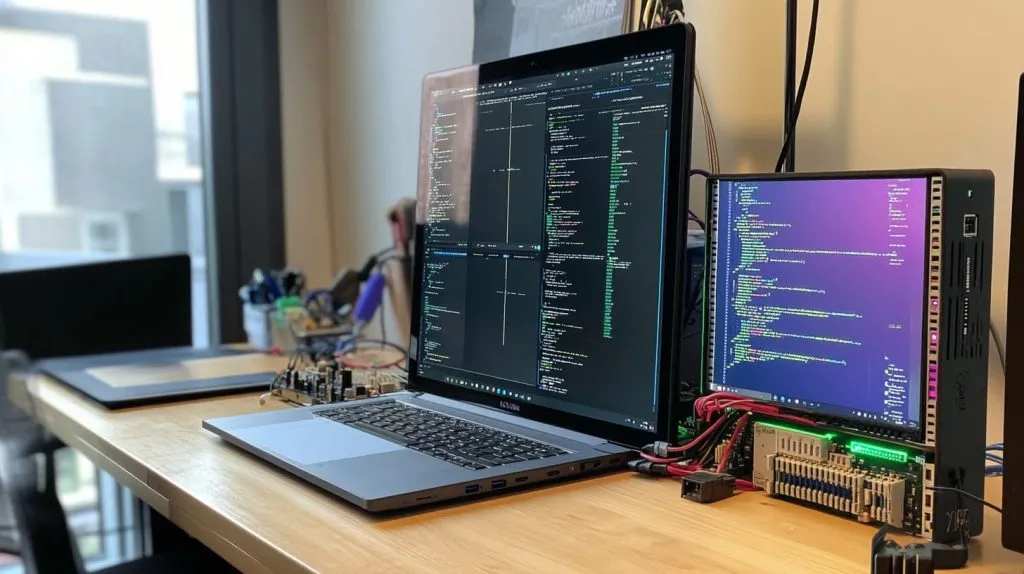
I quickly learned that once you have a NAS set up, the story isn’t over. Regular maintenance and the ability to troubleshoot problems is crucial.
Monitoring System Health and HDD Status
I rely on system monitoring tools for CPU usage, memory consumption, and disk health checks. Tools like SMART for HDDs can warn you if a disk is failing. By consistently reviewing these metrics, I prevent small issues from exploding into big problems. From a practical angle, this does require discipline—setting reminders to run checks or having an automated script helps a lot.
Regular Software and Firmware Updates
I recall ignoring a few updates because I was afraid of breaking things. Later, I realized that outdated firmware can be a security risk. Also, some updates improve performance or fix annoying bugs. I now see updates as essential. Still, I approach them cautiously. I always keep backups and read release notes. This balanced approach ensures I’m not rushing or postponing updates indefinitely.
Common Issues and Step-by-Step Troubleshooting Tips
Some of my common headaches included drives not mounting on reboot or random network dropouts. My go-to process is to check system logs, search for error messages, and isolate possible causes. I also keep a small notebook of the weird solutions I’ve found, because you never know when that knowledge will come in handy again. This habit of keeping track fosters a more analytical approach whenever something goes wrong.
With a bit of upkeep, your NAS can serve you for years.
(Still, it’s exciting to see how we can push beyond the basics. Let’s explore some advanced ideas and see where else we can take this project.)
Advanced Configurations and Use Cases
There’s a whole universe of possibilities once you have a stable Raspberry Pi NAS. Some folks integrate cloud services, while others extend their setup for specialized projects.
Integrating Cloud Services and Remote Management Tools
I experimented with syncing my NAS to online drives. This approach gave me off-site backups with minimal effort. You can also integrate remote management tools to handle your NAS from a phone or tablet. Analyzing from multiple perspectives, it’s a balancing act. You gain convenience, but you increase complexity. I decided to keep my system as lean as possible, focusing on just the features I actually use.
Customizing Storage Solutions for Specific Projects
A friend of mine used a Pi-based NAS to host game servers. Another set it up as a media streaming hub for the entire family. You can even host code repositories if you’re into software development. Each scenario calls for a slightly different setup—like additional packages, specialized drives, or unique file systems. Thinking critically, it’s best to outline your needs in detail before jumping in so you don’t end up with resource conflicts.
Scalability: Expanding Storage Capacity and Adding Functionality
It’s surprisingly straightforward to add more drives later. You can mount them and integrate them into your existing shares. But always ensure your Pi and power supply can handle the extra load. Some expansions might demand a bigger enclosure or more advanced RAID configurations. From my standpoint, planning for growth early saves a lot of headaches. Keep in mind the cost, space, and potential heat issues as you go bigger.
And that brings us to the end of this journey. Let’s pull it all together.
Conclusion

Recap of Key Steps and Best Practices
Building a Raspberry Pi NAS with multiple HDDs taught me about balancing hardware needs, picking the right software, and planning for security and performance. Each piece of the puzzle—from power requirements to user permissions—plays an essential role.
Final Thoughts on Building a Reliable Raspberry Pi NAS with Multiple HDDs
I still feel a spark of excitement every time I open my file manager and see that Pi-based server up and running. It’s not just about storing data; it’s about creating something that feels personal. And sure, I had my share of hiccups, but that made the final success feel even sweeter. I hope my journey—and the lessons I’ve shared—guide you toward a NAS that fits your style and needs. If you’re as curious as I was, you’ll find ways to keep improving and experimenting. Let the Pi’s spirit of exploration lead the way.