I once struggled with expensive hardware for simple image tasks. It felt frustrating to break the bank for basic processing. Then I found Raspberry Pi, and everything changed.
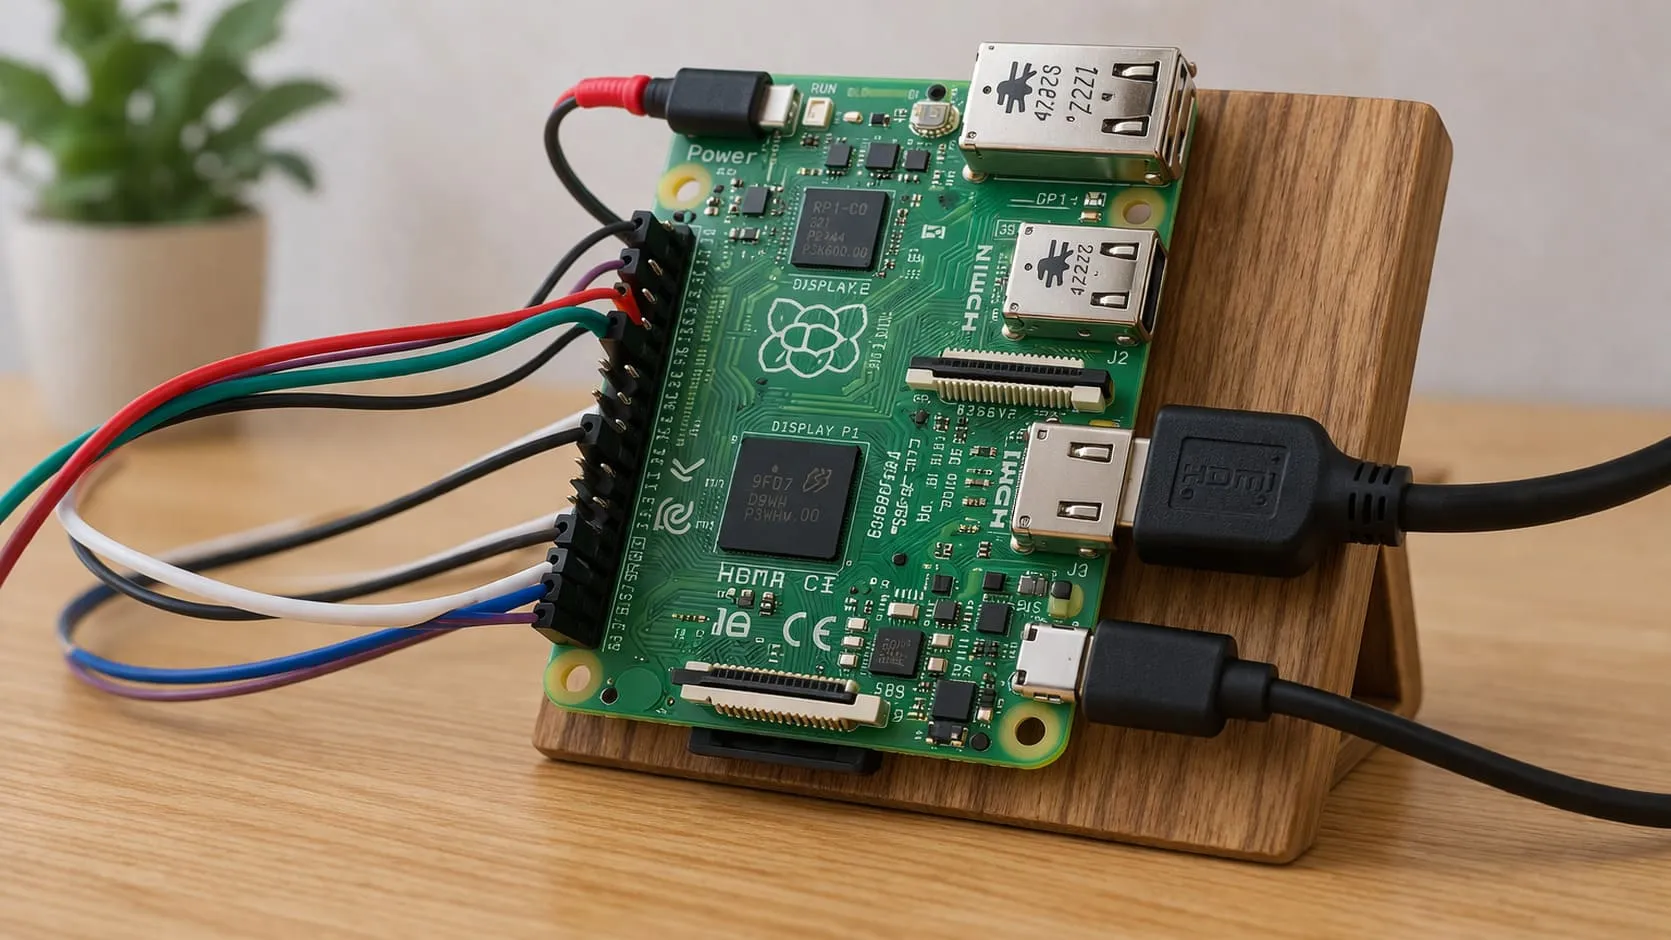
Yes, a Raspberry Pi can handle image processing for many single-board computing fundamentals tasks. It works well for projects like object detection or basic computer vision. While not a powerhouse, it is a budget-friendly choice.
I remember the first time I tested a Pi for face recognition. I was unsure if it could keep up. The results surprised me, and that personal success story keeps me fascinated by this tiny board.
Can You Run Processing on a Raspberry Pi?
I have often asked myself if “Processing,” the creative coding environment, could run on a Pi. I discovered it works well, especially for basic graphics and interactive sketches.
Yes, it is possible to run Processing on a Raspberry Pi. You only need to install the ARM-compatible version of Processing, set up the environment, and ensure your Pi has enough memory to handle your creative projects.
I tested Processing on my Pi while tinkering with an interactive art installation. My Pi struggled with very large file sizes, but simpler sketches ran flawlessly. That balance helped me realize how vital memory allocation is.
Resource Allocation for Processing
| Key Factor | Impact on Performance | Suggested Approach |
|---|---|---|
| RAM Usage | Can limit running big sketches | Use a Pi with higher RAM |
| GPU Acceleration | Speeds up Processing visuals | Enable experimental drivers |
| Background Processes | Drains Pi’s performance | Close unneeded tasks or services |
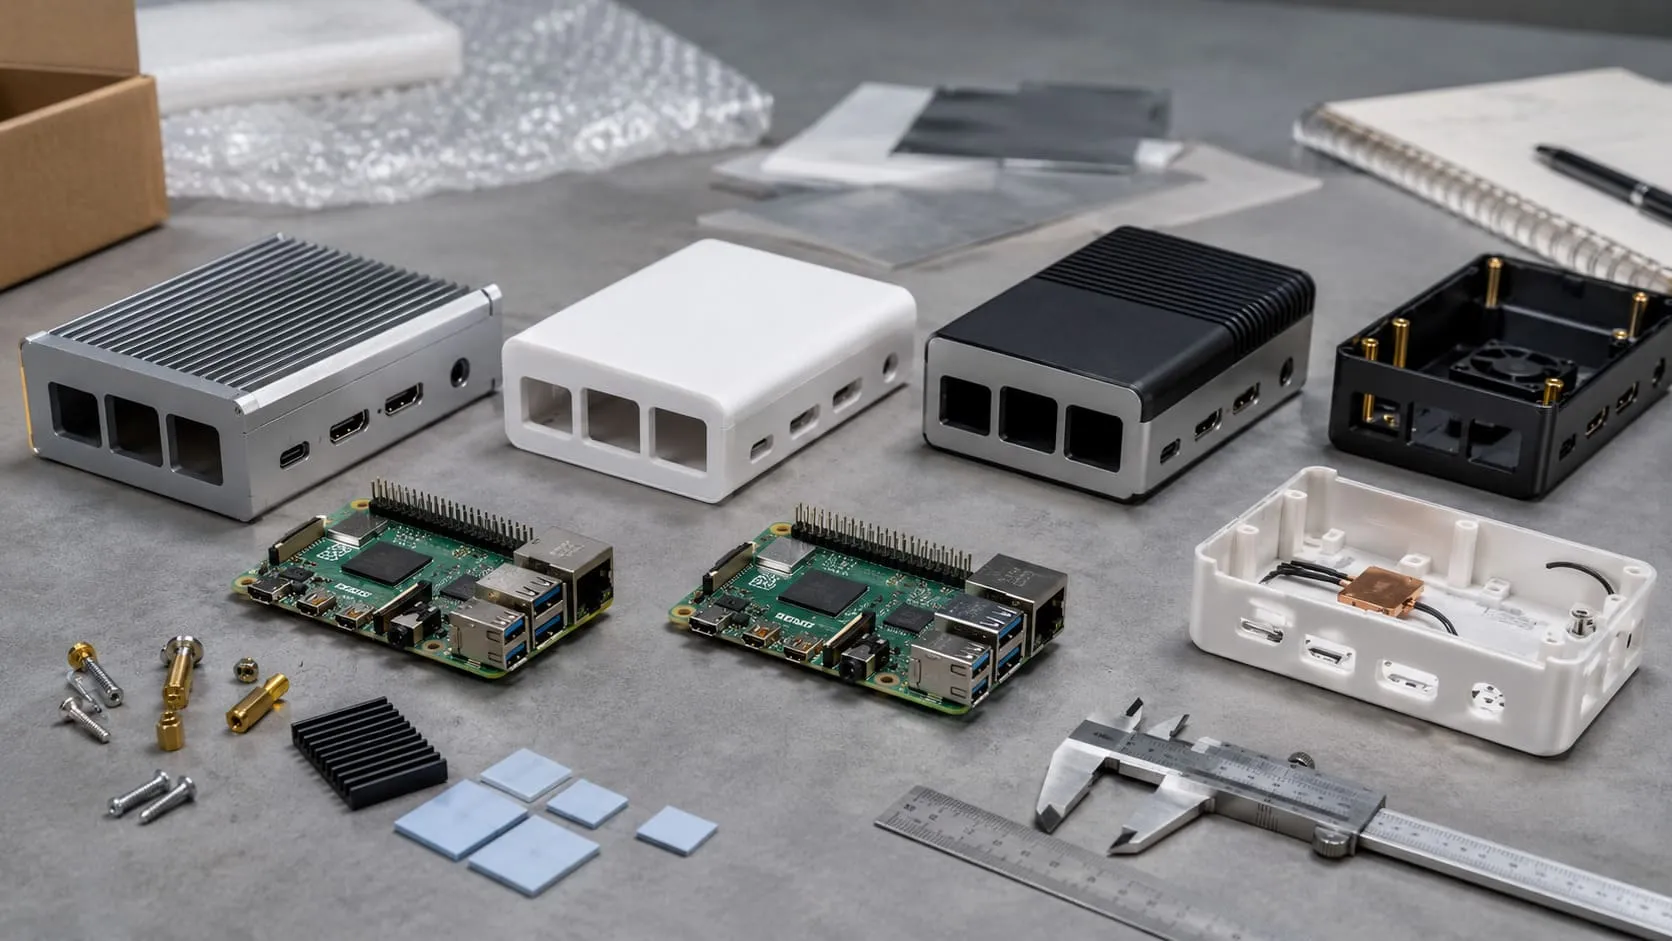
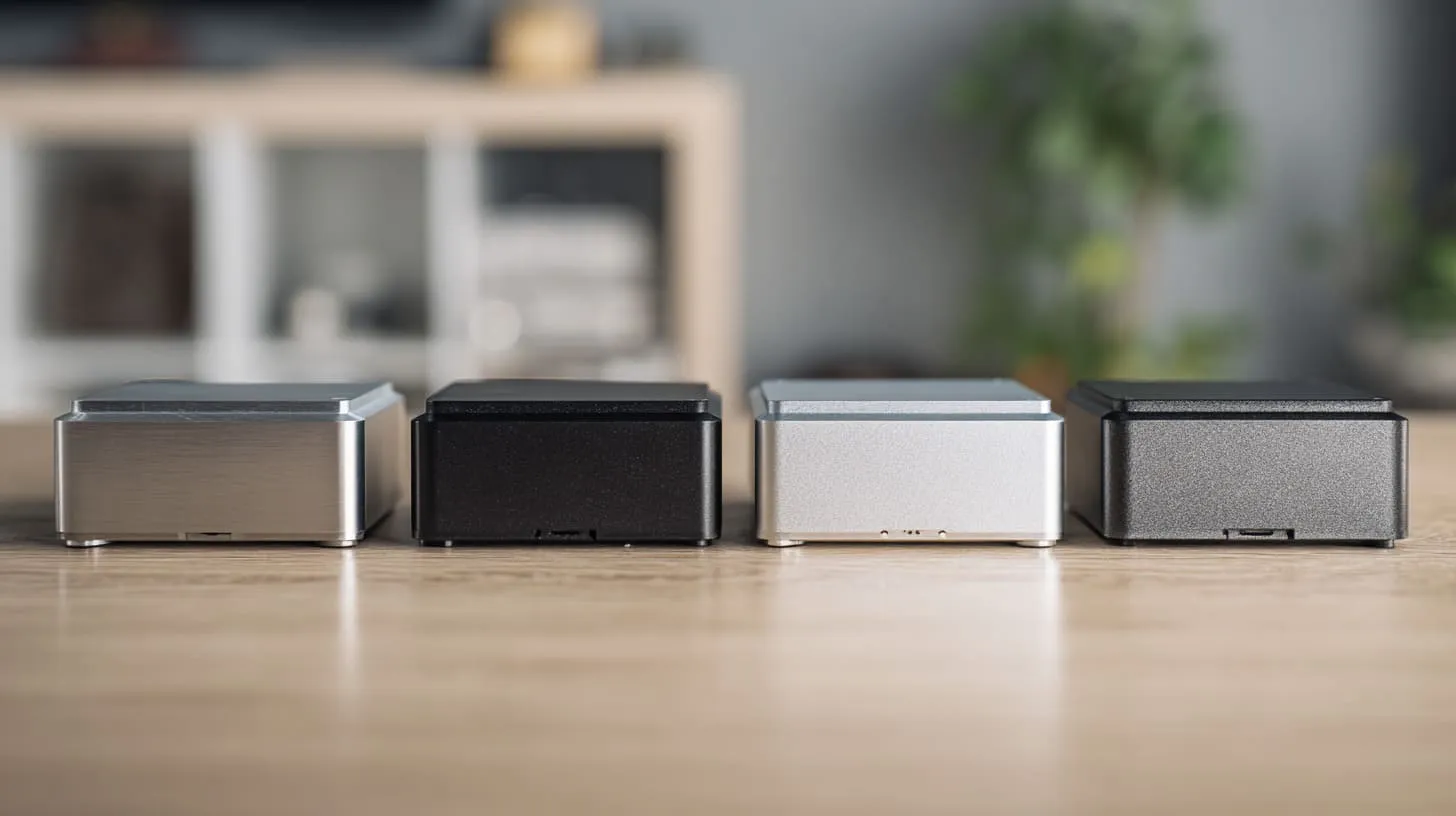
I run a small factory in China, MaidaTech, where I customize Raspberry Pi cases. My team often sees clients who need a tidy enclosure for their creative installations using Processing. It’s always exciting to see how folks combine art with Pi tech.
What Is the Disadvantage of Raspberry Pi?
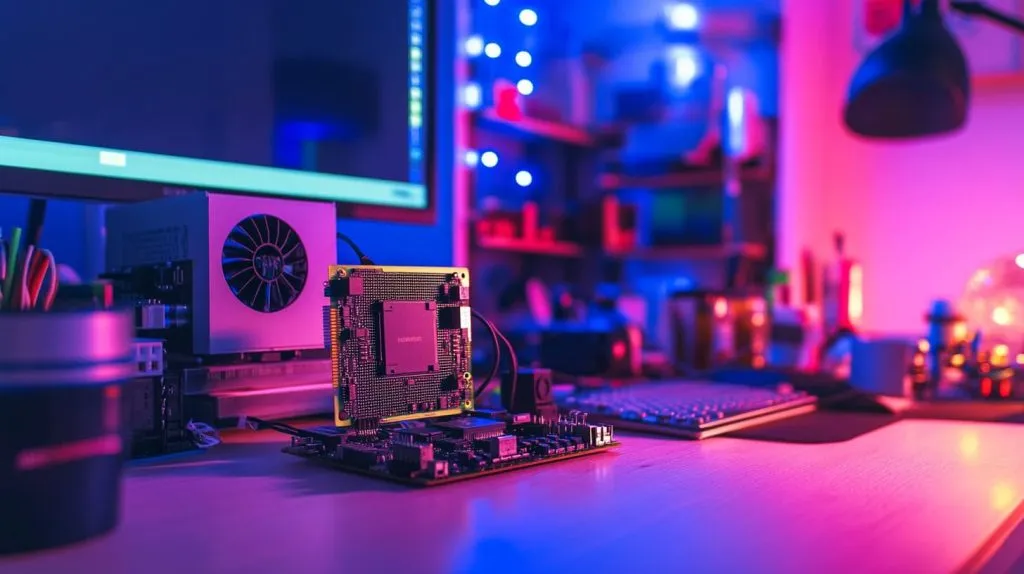
I’ve encountered a few frustrations. The Pi’s limited power and lack of an onboard fan sometimes pose challenges for tasks that require heavy lifting or continuous high performance.
One disadvantage is the Raspberry Pi’s reliance on modest hardware. It can throttle under intense loads without advanced cooling or abundant CPU power. Additionally, it only offers limited storage and memory expansions compared to full-fledged desktops.
When I introduced a Pi-based project to a client, they got excited until they realized the Pi couldn’t handle prolonged, processor-intensive tasks without potential overheating. This required adding a reliable fan or heat sink solution.
Comparison with Traditional PCs
| Aspect | Raspberry Pi | Traditional PC |
|---|---|---|
| CPU Clock Speed | Up to ~1.8GHz | 3GHz+ |
| Expandability | Limited GPIO | Multiple PCIe |
| Cooling Setup | Passive/Heatsink | Fans, Liquid |
Despite these downsides, most people accept a Pi’s constraints because of its small footprint. My clients, especially those who run B2B operations like I do, often weigh these limitations against its cost-effectiveness.
How Powerful Is Raspberry Pi Processor?
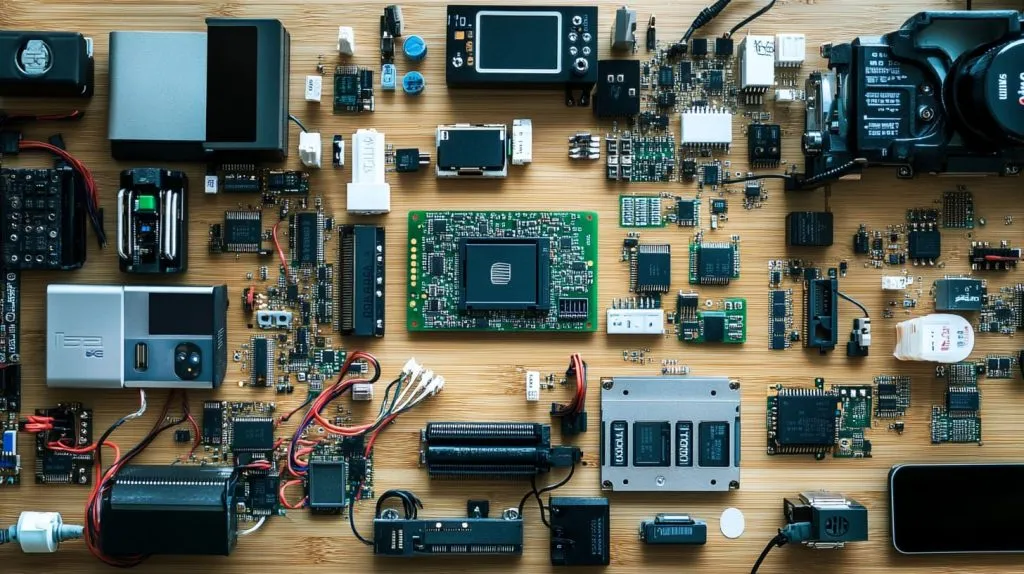
I find the Pi’s processor surprisingly strong for everyday computing, IoT tasks, and moderate image processing. It balances affordability, power, and efficiency, making it a go-to option for quick prototypes.
Raspberry Pi processors range from single-core models to quad-core setups that can comfortably handle lightweight image analysis. They aren’t server-level CPUs, but for moderate tasks—like color detection or edge detection—they’re typically fast enough.
When I first tried object detection, my Pi’s CPU performed better than I anticipated. Running a basic Python script with OpenCV took a bit longer than on a standard laptop, but it stayed within an acceptable range for small-scale projects.
CPU Generations
| Model | CPU Type | Approx. Speed |
|---|---|---|
| Raspberry Pi 3 Model B+ | Quad-core Cortex-A53 | 1.4 GHz |
| Raspberry Pi 4 Model B | Quad-core Cortex-A72 | 1.5 GHz |
| Raspberry Pi 5 Model | Quad-core, improved core | ~1.8 GHz |
I usually advise clients to gauge their performance needs carefully. If their image processing tasks demand consistent power, they should budget for a bigger cooling solution or even consider multiple Pi boards.
What Is the Maximum CPU Speed of a Raspberry Pi?
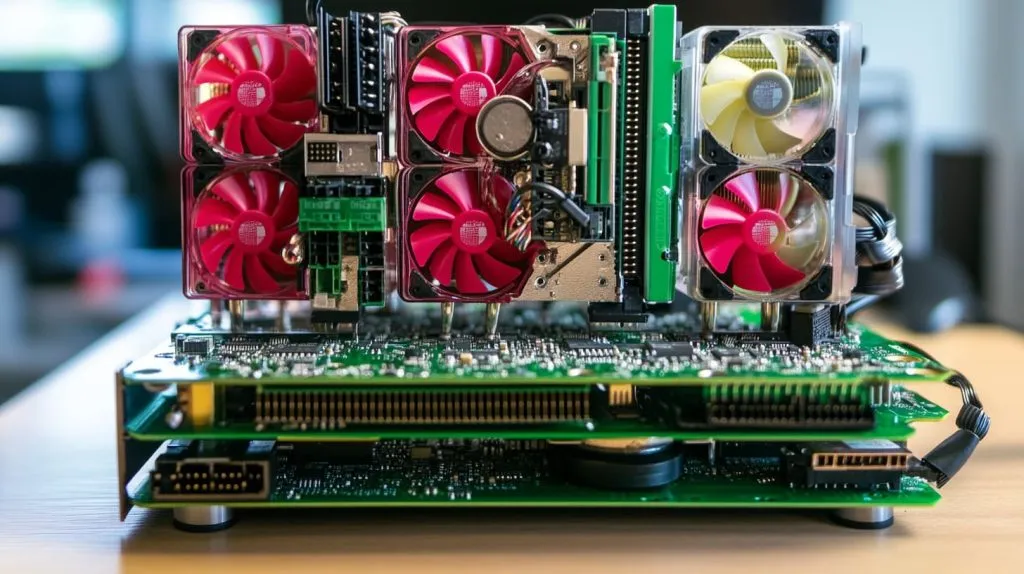
I’ve always been curious about pushing the Pi to its limits. Officially, newer models can hit around 1.8GHz, though stable overclocking can tweak that further, depending on thermal management.
Most stock Raspberry Pi units clock around 1.2–1.8GHz, depending on the model. Overclocking above 2.0GHz is possible with proper cooling, but it’s risky without adequate heat dissipation. Always balance performance gains with safe operating temperatures.
Over the years, I’ve dabbled in overclocking. I once pushed my Pi 4 to 2GHz for an hour just to see if it could handle a heavy image-processing script. It succeeded, but I needed a robust heatsink to keep it from throttling.
What Are the Best Raspberry Pi Models for Image Processing Tasks?
I get this question weekly from new distributors. Performance, RAM, and connectivity matter most. Typically, Raspberry Pi 4 and Raspberry Pi 5 stand out for moderate to advanced tasks.
Raspberry Pi 4 and Raspberry Pi 5 are top choices for image processing. They offer stronger CPUs, more memory options, and better thermals than earlier models. If your workload is large, pick the one with higher RAM capacity.
In my factory, clients order cases specifically designed for Pi 4 or Pi 5 boards because they want extra airflow or to fit large cameras. Many of them appreciate that these newer models handle tasks like face detection or custom filters with smoother performance.
Detailed Model Benefits
| Model | Memory Options | Graphics Support | Recommended Use Case |
|---|---|---|---|
| Pi 4 | Up to 8GB | Improved VideoCore VI | Moderate image tasks |
| Pi 5 | Up to 8GB+ | Enhanced GPU | Advanced tasks, bigger datasets |
How Can I Set Up OpenCV on a Raspberry Pi for Image Processing?
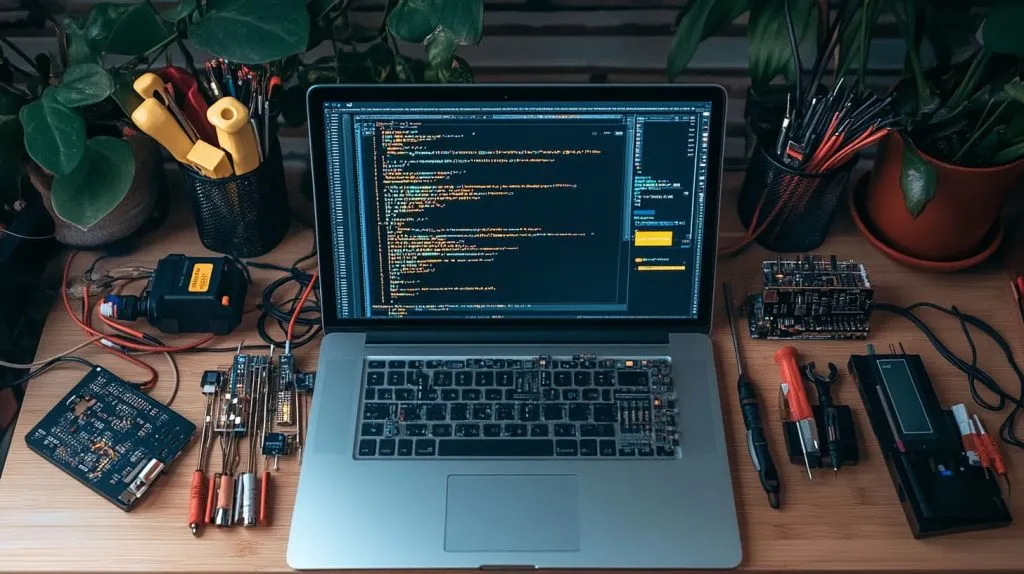
I remember my first OpenCV setup: it felt complicated. But with the right approach, installing and configuring OpenCV becomes straightforward on a Pi running Raspberry Pi OS.
Start by updating your Pi, installing dependencies like Python 3, and building tools. Download the OpenCV source, compile it, and test sample scripts. If you prefer a simpler route, use pip to install a pre-built version.
When I taught a small workshop, participants feared the compile time. Some used the pip install method, while others insisted on building from the source to unlock advanced modules. Either path works, but building from the source grants more customization.
Setup Steps Overview
sudo apt-get update && sudo apt-get upgrade- Install dependencies:
sudo apt-get install python3-dev python3-pip cmake git - Download OpenCV and OpenCV contrib from GitHub.
- Configure build with CMake, then compile.
If everything goes well, your Pi transforms into a mini image analysis workstation.
What Are Common Applications of Image Processing Using Raspberry Pi?
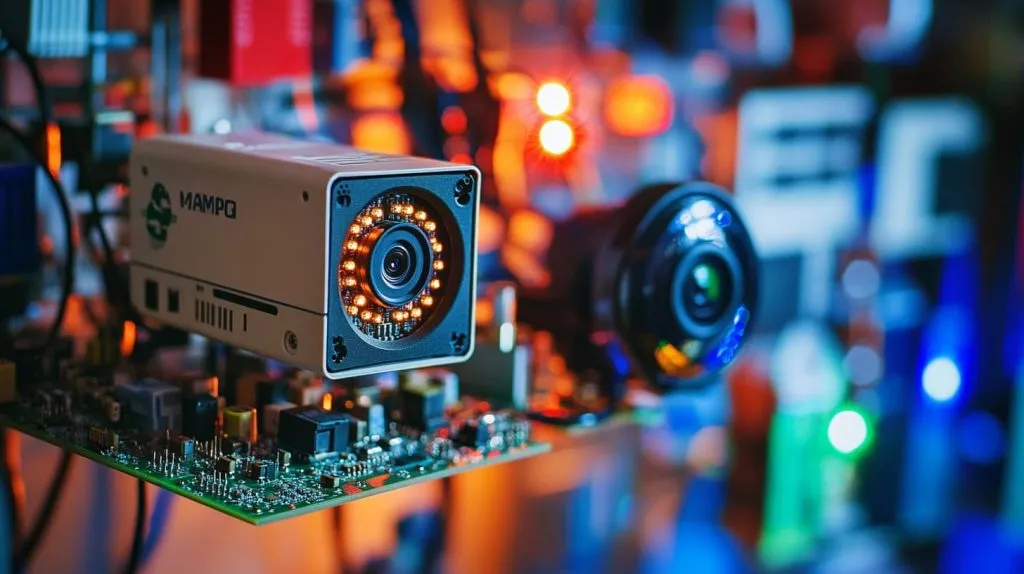
I’ve seen myriad projects, from basic object detection to measuring real-time traffic flows. The Pi opens up creative doorways for hobbyists, educators, and businesses alike.
Common applications include face detection, license plate recognition, color-based tracking, security camera systems, and even artistic filters. With OpenCV or similar libraries, these tasks can run efficiently on a Pi, although not at ultra-high-end speeds.
At MaidaTech, I’ve helped clients build custom AI cameras for warehouse monitoring. Others craft novelty photo booths for events. Some even develop insect recognition for environmental research. Raspberry Pi’s flexibility helps us all dive into these niche applications.
How Does the Raspberry Pi 5's Hardware Improve Image Processing Capabilities?
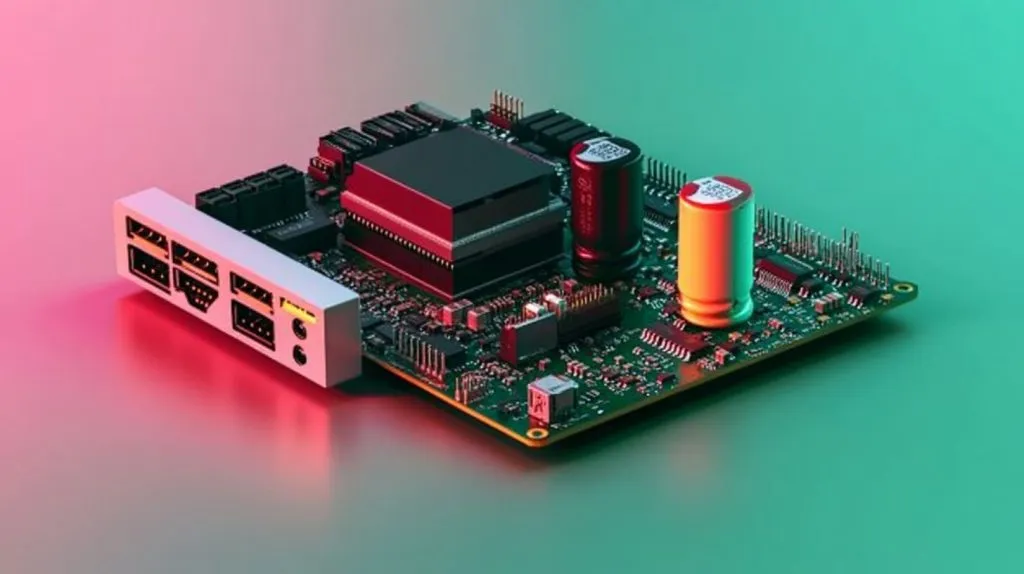
I looked forward to Pi 5 for its refined CPU cores and improved GPU. The bigger RAM options also offer a noticeable boost in processing speed for computationally heavier tasks.
Raspberry Pi 5’s upgraded CPU core architecture accelerates pixel-based operations. It supports enhanced memory throughput and advanced GPU features. Together, these changes offer smoother video analytics, quicker object detection, and more stable performance during sustained image processing loads.
I tested a simple motion-tracking program on Pi 5. Scenes that stuttered on my older Pi 3B+ now ran more fluidly. That extra speed can help professionals who need reliability for real-time tasks.
Raspberry Pi 5 Hardware Highlights
| Improvement | Benefit for Image Processing |
|---|---|
| Faster CPU | Reduced processing times |
| More Memory | Smooth handling of bigger frames |
| Enhanced GPU | Better video and 3D performance |
What Are the Limitations of Using Raspberry Pi for Real-Time Image Processing?
I love Raspberry Pi’s versatility, but real-time demands can push it to its edge. Frame drops, or latency can appear when tasks get too intense, especially with large image resolutions.
Real-time image processing on Raspberry Pi is possible, but you may face slowdowns with high-resolution video or complex neural networks. Limited CPU power, memory constraints, and heat buildup often pose hurdles for continuous, low-latency image analysis.
I remember working on a small robotic car that tracked objects in real time. After a few hours of continuous use, the Pi slowed down noticeably. Adding a fan helped, but that experience highlighted that Pi boards do have their thresholds.
Conclusion
Raspberry Pi is great for image processing, with a few constraints. Pick the right model, manage heat, and remember to keep tasks practical for Pi’s limited resources.