Skip to content


Two winters ago a typhoon flicked the lights off in our Dongguan lab just as I whispered, “Alexa, turn on the backup lamp.” A tiny relay on an Arduino ESP8266 clicked, the light obeyed, and my crew let out a relieved laugh. That five‑second trick convinced me that voice control isn’t science fiction; it’s a cheap insurance policy anyone can build.
Why pair Alexa with Arduino for smart‑home control
Alexa gives me hands‑free comfort. Arduino gives me hardware freedom. Put them together and I dodge the premium price tags of boxed smart devices while keeping full ownership of my data.
What you’ll learn in this guide
How Alexa routes a single spoken word through skills and into GPIO pins
Which Arduino boards fit best in real rooms—not just tutorials
Step‑by‑step wiring, coding, testing, and securing of voice‑controlled gadgets
Minimum tools, parts, and skills required
| Item | Purpose | Budget (USD) |
|---|---|---|
| ESP32 DevKit | Wi‑Fi + plenty of GPIO | 5‑7 |
| Songle 5 V relay | Switch AC loads | 1 |
| Dupont wires | Quick prototyping | 2 |
| 5 V 2 A power brick | Stable supply | 4 |
| Laptop with Arduino IDE | Coding & upload | — |
If you can copy‑paste code, tighten a screw terminal, and read basic docs, you’re ready.
Next, let’s peek behind Alexa’s curtain to see how that simple phrase becomes a voltage level.
How Alexa’s Smart‑Home Architecture Works
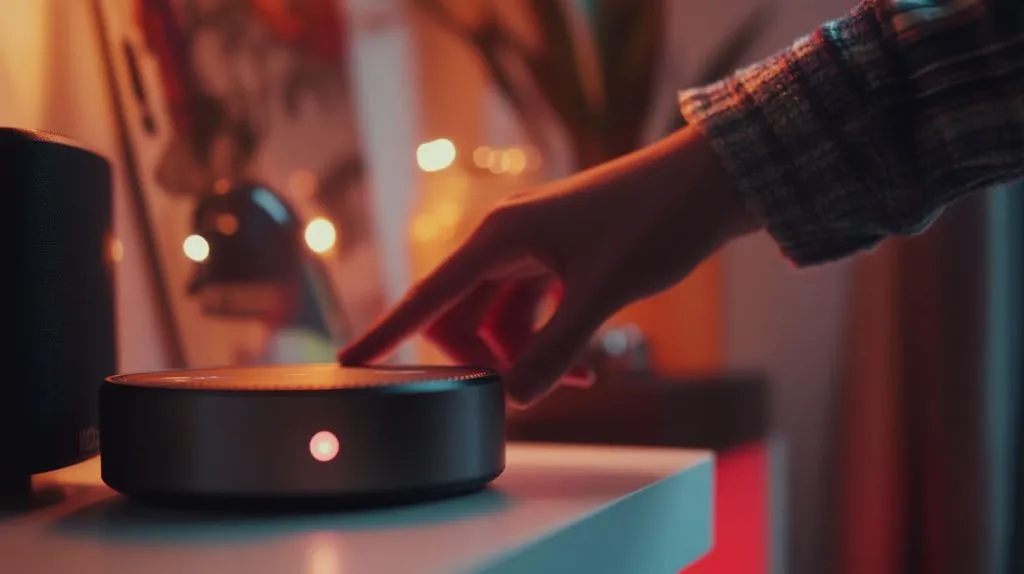
Voice command flow: utterance → Alexa service → skill → device
When I say “Alexa, lights please,” the audio travels to Amazon’s cloud. Natural‑language magic turns it into an Intent. That intent triggers a Smart‑Home Skill, which shoots an HTTPS or MQTT packet toward my board. Finally, a humble digitalWrite flips the relay. The chain looks like this:
Voice → Cloud NLP → Skill Endpoint → Arduino → Relay
Critical lens: if any link breaks—Wi‑Fi dropout, SSL error, expired token—the whole charm spell fails. Redundancy is your safety net.
Smart Home Skill API vs. custom skill vs. routines
| Option | Pros | Cons | Best for |
|---|---|---|---|
| Smart‑Home API | Native discovery, no utterance design | Strict device types | Turn‑on/off outlets |
| Custom Skill | Anything you imagine | Must craft utterances & Lambda | Custom voice phrases |
| Alexa Routines | Zero code | Limited device categories | Quick automations |
Ask yourself: do I need exotic commands, or will on/off suffice? Complexity for its own sake burns weekends.
Third‑party shortcuts (Sinric Pro, Arduino IoT Cloud, IFTTT)
I tested three bridges last spring: Sinric Pro won for speed, Arduino IoT Cloud for polish, and IFTTT only when I needed cross‑platform mashups. Each hides OAuth pain and SSL upkeep, but read their pricing before you wire your whole house to them.
That architecture tour sets the stage. But hardware choice decides whether your idea fits in a nightstand or a breaker box.
Choosing the Right Arduino Hardware & Connectivity
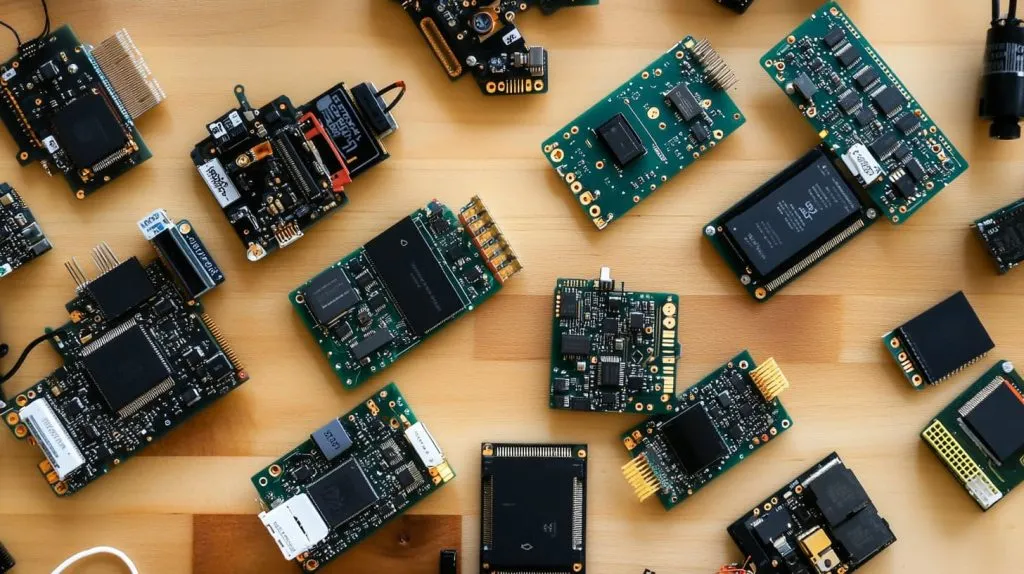
Comparing ESP8266, ESP32, MKR WiFi 1010, RP2040 Connect
| Board | Wi‑Fi | Bluetooth | GPIO | Flash/RAM | Typical Use |
|---|---|---|---|---|---|
| ESP8266 | ✔ | ✖ | 11 | 4 MB / 80 KB | Simple switches |
| ESP32 | ✔ | ✔ | 34 | 4 MB / 520 KB | Sensors + voice |
| MKR WiFi 1010 | ✔ | ✔ | 22 | 256 KB / 32 KB | Industrial CE marks |
| RP2040 Connect | ✔ | ✔ | 26 | 16 MB / 264 KB | Hobby audio |
Power, GPIO count, and peripheral needs for home devices
A ceiling‑fan module loves the plentiful PWM pins on ESP32. A single lamp doesn’t. Match specs to actual needs; unused peripherals drain wallet and power.
Cost‑vs‑capability cheat‑sheet for common projects
| Project | Cheapest workable board | Why |
|---|---|---|
| Desk lamp | ESP8266 | Only one relay |
| HVAC monitor | ESP32 | Needs BLE temp probes |
| Rack PDU | MKR WiFi 1010 | Safety cert helps audits |
With silicon picked, your laptop becomes the second workbench.
Preparing Your Development Environment

Installing Arduino IDE / VS Code with PlatformIO
I still start students on Arduino IDE—it’s a friendly first date. The moment they want per‑board build_flags, we jump to PlatformIO inside VS Code. One click installs both; five minutes later the green arrow compiles.
Adding board cores & essential libraries (WiFi, SinricPro, PubSubClient)
Open Boards Manager, type “ESP32,” hit install. Then hunt the Library Manager for SinricPro and PubSubClient. Keep versions pinned; yesterday’s silent update can toast a demo.
Creating an Amazon Developer account and enabling the Alexa skill
Jump to developer.amazon.com, register, and choose Alexa Smart‑Home. The console asks for a Lambda endpoint—Sinric Pro hands you one free. Copy, paste, done.
We’ve set up code. Time to touch copper and avoid sparks.
Wiring & Electronics Basics
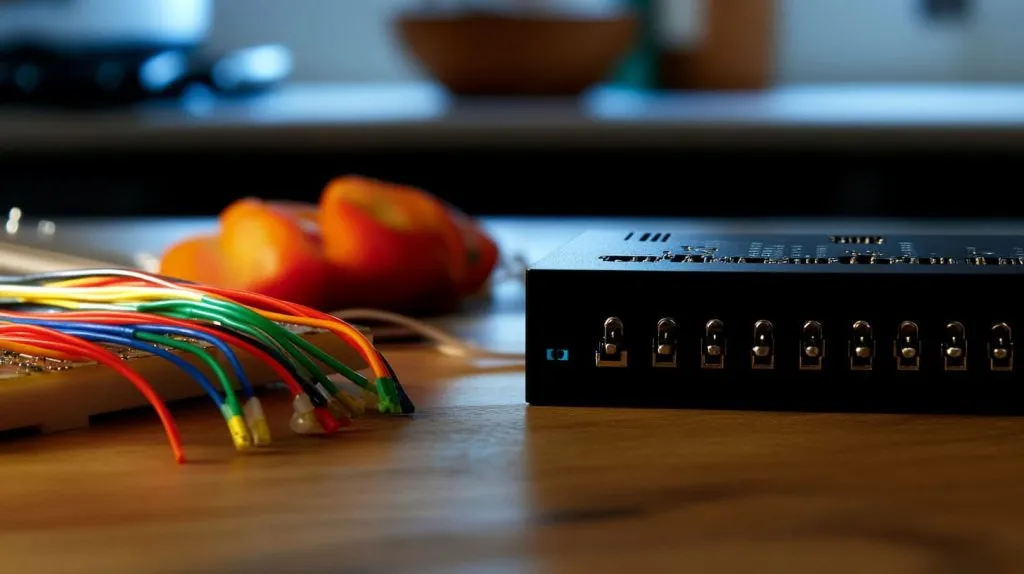
Single‑relay lamp or fan circuit (110 V / 230 V safety notes)
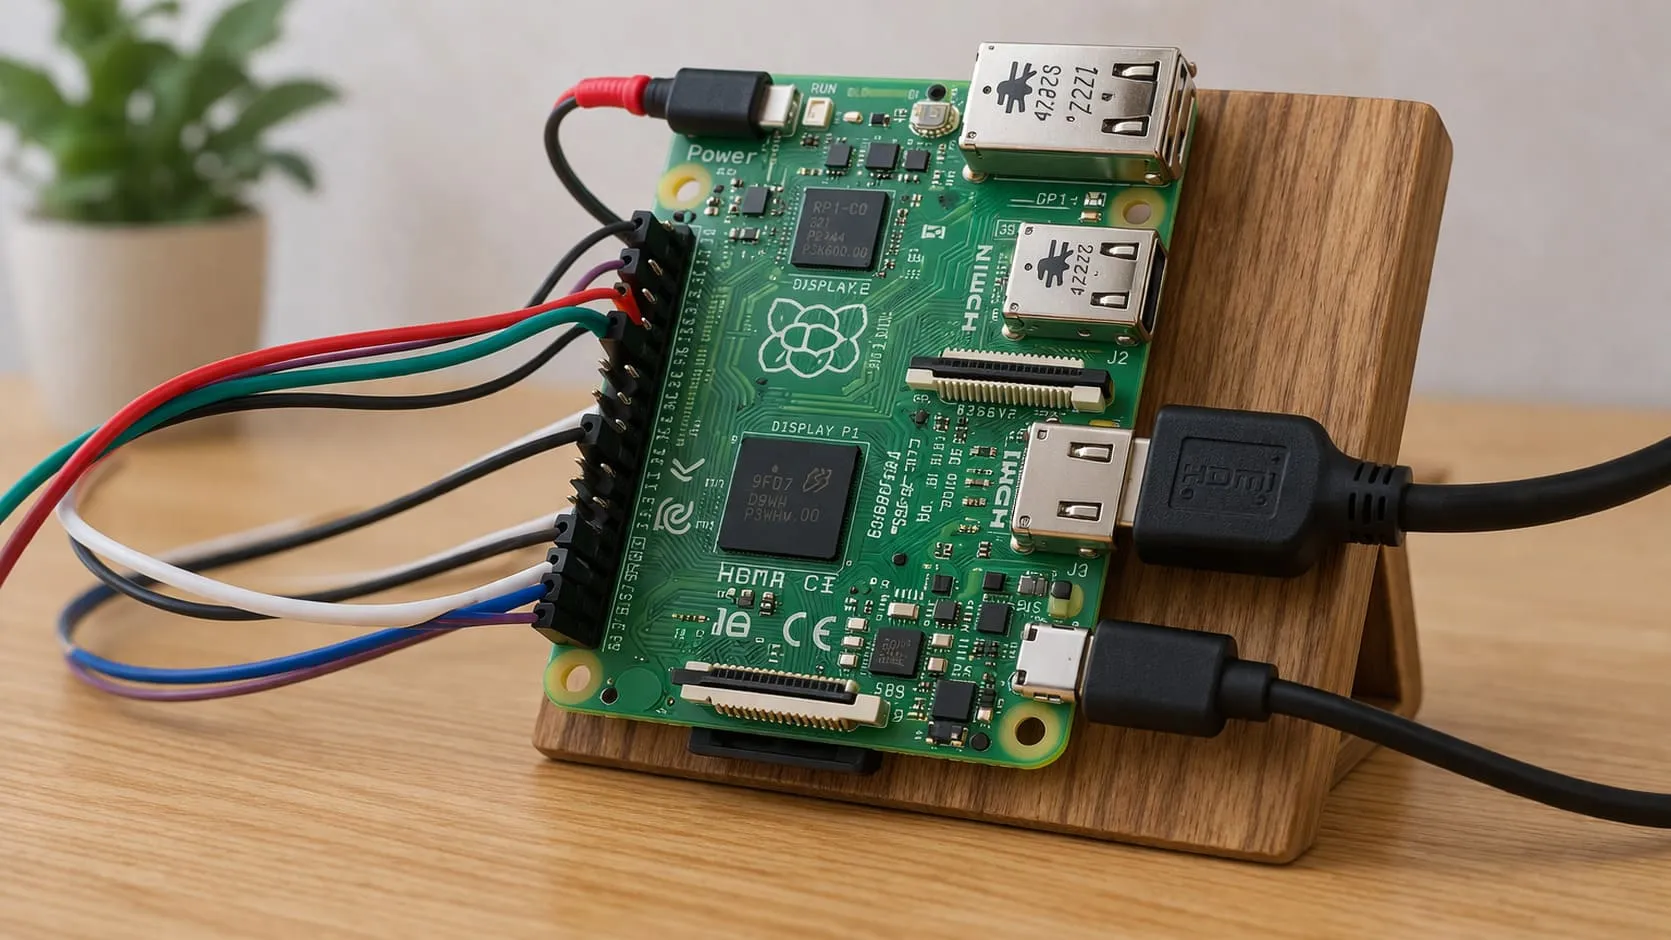
Always switch the live wire, keep neutrals common, and use an opto‑isolated relay. AC is silent but unforgiving. If in doubt, hire an electrician.
ESP32  — GPIO 23 → Relay IN
Relay — COM → Lamp Live
        NO  → Mains Live
Neutral lines tied together
Multi‑channel relay boards for whole‑room control
Four‑gang relay shields snap onto DIN rails and let me drive lights, blinds, and a kettle from one board. Label every wire; midnight debugging without labels feels like Sudoku in the dark.
Adding sensors for feedback (temperature, motion, light)
Voice control shines, but silent automation saves more energy. I bolt a DHT22 beside the relay so Alexa can answer, “What’s the studio temperature?”
Once electrons behave, the cloud beckons.
Connecting Arduino to the Cloud
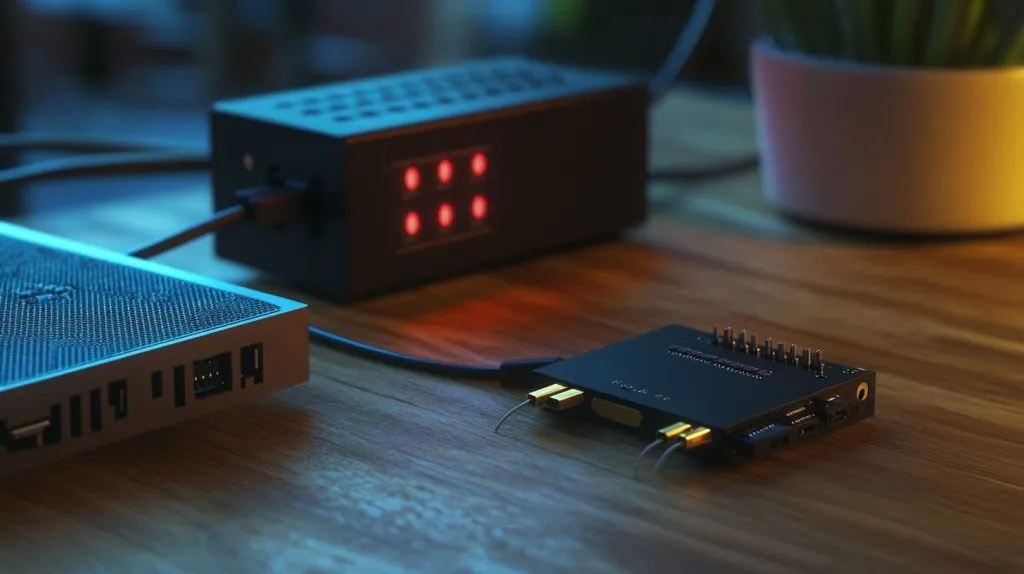
Using Arduino IoT Cloud with the official Alexa skill
Arduino’s wizard asks for Wi‑Fi SSID, then spits out a secret key. After flashing, the device pops into the Alexa app automatically. Magic, but you trade granular control for ease.
Registering devices and obtaining device IDs in Sinric Pro
In Sinric Pro’s dashboard, hit Add Device → Switch, grab the eight‑character ID, and slide it into your sketch as const char* DEVICE_ID. Done.
Option B: AWS IoT Core + MQTT topic structure
If your client’s IT guy refuses third‑party bridges, roll your own:\
$aws/things/myLamp/shadow/update carries JSON states. TLS certs live on the flash; rotate them yearly.
Cloud handshake complete, we face the Alexa skill itself—friend or foe depending on your patience.
Building or Enabling an Alexa Skill
Quick path: enable Arduino IoT Cloud Smart‑Home Skill
Open Alexa app → Skills → search Arduino. Enable. Link account. Done. Great for demos.
DIY path: create and configure a Smart‑Home Skill in Alexa Console
I once burned a Sunday crafting custom ColorTemperatureController support. The console guides you through device schemas, Lambda endpoints, and regions. The learning curve is steeper but unlocks exotic traits like garage‑door “open by 20 cm.”
Handling account linking and OAuth tokens
Smart‑Home skills need OAuth. If you host your own auth, stash refresh tokens in DynamoDB, not in code. Trust me—I lost a night when mine expired during a live webinar.
Skill in place, code must meet it halfway.
Writing & Uploading the Firmware
Sample sketch: toggle a relay with SinricPro callbacks
#include <SinricPro.h>
#include <SinricProSwitch.h>
#define RELAY_PIN 23

bool onPowerState(const String& deviceId, bool& state) {
  digitalWrite(RELAY_PIN, state);
  return true;
}

void setup() {
  pinMode(RELAY_PIN, OUTPUT);
  SinricProSwitch &mySwitch = SinricPro[DEVICE_ID];
  mySwitch.onPowerState(onPowerState);
  SinricPro.begin(APP_KEY, APP_SECRET);
}

void loop() { SinricPro.handle(); }
Short, sweet, and battle‑tested in my own living room.
Publishing sensor data via MQTT for voice queries
Push {"temperature":24} to home/studio/temp. Then map Alexa ReportState directives to that topic.
OTA (over‑the‑air) update strategies for field devices
I reserve one GPIO to pull low for “force‑OTA” mode. If firmware crashes, I still have a rescue path.
Software ready, let’s make sure it listens when spoken to.
Testing & Debugging Voice Control
Using the Alexa app’s Device tab and Activity log
After discovery, the new switch shows up under Devices → Lights. The Activity log echoes every utterance and API response. Goldmine for catching typos in skill intent names.
Serial monitor & MQTT explorer for real‑time diagnostics
I keep MQTT Explorer open on topic sinricpro/#. Watching JSON flip from false to true the moment I say “Alexa, lights on” is strangely satisfying.
Common pairing and discovery errors (and fixes)
| Symptom | Likely Cause | Fix |
|---|---|---|
| “Device unresponsive” | Wrong device ID | Copy/paste again |
| No discovery | Port 443 blocked | Open firewall |
| Relay flickers | GPIO floating | pinMode(pin, OUTPUT); |
Tests pass? Great. Now we defend the castle.
Securing & Optimizing Your Smart‑Home Setup
Encrypting traffic with TLS certificates
Even hobby homes deserve HTTPS. Let’s Encrypt + ESP32’s mbedTLS stack takes 15 minutes and blocks packet sniffers on public Wi‑Fi.
Limiting exposed ports and using guest VLANs
I shove all IoT gadgets into a VLAN that can reach the internet but not my NAS. Friends’ phones still connect via Alexa, but ransomware hits a wall.
Power‑loss recovery and watchdog timers on Arduino
Add ESP.restart() inside a 30‑second watchdog. Brownouts happen; melted cheese shouldn’t equal a melted firmware loop.
Security tightened, creativity can run wild.
Advanced Integrations & Ideas
Creating Alexa routines that combine multiple Arduino actions
My Movie Night routine dims lights, lowers blinds, and tells the kettle to boil. All triggered by “Alexa, popcorn time.” Small delight, big wow‑factor for clients.
Two‑way voice feedback with Alexa‑speak responses
Use Alexa.Speak directive to have Alexa announce, “Garage is open.” Instant reassurance when I’m on the road.
Scaling to dozens of nodes with Node‑RED or Home Assistant bridges
Node‑RED flows let me drag‑and‑drop dashboards; Home Assistant auto‑discovers MQTT devices. Both options beat hand‑coding rules once device count hits double digits.
Of course, even the slickest setup misbehaves now and then.
Troubleshooting Cheat Sheet
Device not discovered by Alexa
Reboot router
Confirm skill enabled
Check
SinricPro.restoreDevice()permissions
Commands acknowledged but no action on hardware
Verify GPIO pin in code
Look for supply sag below 4.7 V under load
Intermittent Wi‑Fi or MQTT drops
Update to latest board core
Swap cheap PSU for branded one
Add 100 µF capacitor across 5 V and GND
No cheat sheet is perfect, but this one saves me from frantic midnight emails.
Conclusion
Voice‑powered control felt like luxury five years ago. Today, a ten‑dollar board and a free skill turn it into a weekend project. Choose hardware that fits the task, guard your network, and test with curiosity. Do that, and you’ll own a smart home that listens, learns, and stays under budget.
Ready for the next leap? Add energy sensors, let Alexa read the numbers aloud, and watch your power bill shrink. Your future self will thank you.