Skip to content

What Are the First Steps to Take With a Raspberry Pi?

My first time with a Raspberry Pi? I stared at the tiny board for a full minute, unsure if I had just bought a toy—or a ticket to a whole new world.
To begin with a Raspberry Pi, you need to choose the right model, gather essential accessories, install an OS on a microSD card, connect peripherals, boot it up, and configure basic settings.
I’ve walked many first-time users through this setup—some excited, some lost, some frustrated by tiny HDMI ports or missing power supplies. Let’s make it smooth for you.
What to do with Raspberry Pi for beginners?
So you’ve got a Raspberry Pi and you’re wondering, “Now what?”
Start simple—turn your Pi into a mini computer, media center, or home automation brain.
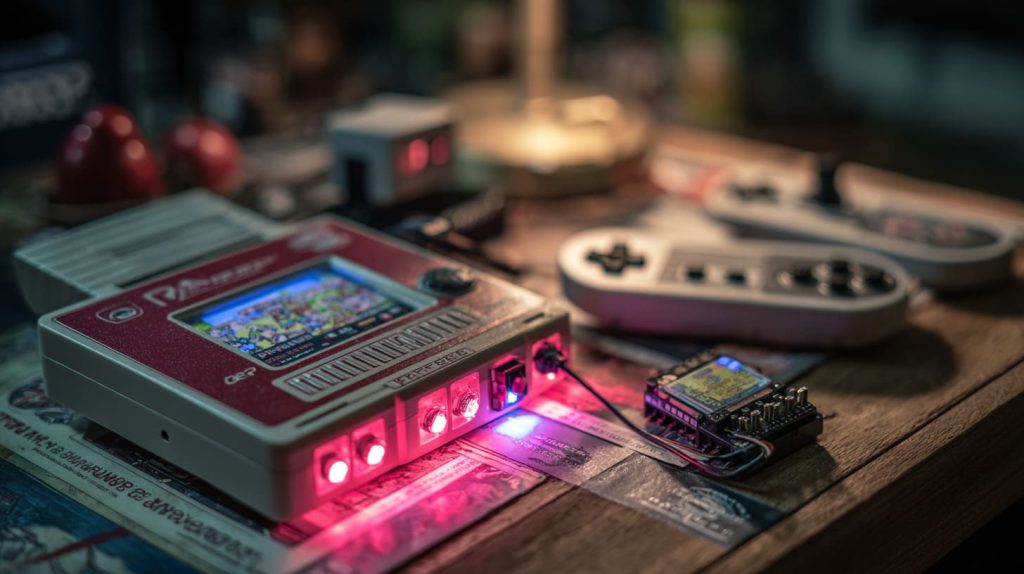
There’s no need to build a robot on day one. I started with retro gaming, and it turned into a weekend obsession.
5 beginner-friendly ideas
| Project | Description | Skill Level |
|---|---|---|
| RetroPie | Play classic games from NES/SNES | Easy |
| Pi-hole | Block ads for every device at home | Medium |
| Home Assistant | Smart home control hub | Medium |
| Media Center | Stream content using Kodi or Plex | Easy |
| Weather Station | Connect sensors to track environment | Medium |
How to start up a Raspberry Pi?
The first boot can feel intimidating—but it’s easier than it seems.
Just flash the OS to an SD card, plug in peripherals, power up, and follow the setup wizard.

I still remember the moment my Pi’s green LED blinked for the first time—I wasn’t even sure I had done it right.
Basic startup checklist
- Flash Raspberry Pi OS using the Raspberry Pi Imager
- Insert the microSD card
- Connect keyboard, mouse, HDMI display
- Plug in the power supply
- Wait for setup screen and follow prompts
How to initially connect to Raspberry Pi?
Wired, wireless, or invisible—it all works.
You can connect your Raspberry Pi using an HDMI monitor or remotely over SSH.

The first time, I used a borrowed monitor. Later, I ditched screens altogether and set it up headless from my laptop.
Connection options explained
| Method | Best For | Pros | Cons |
|---|---|---|---|
| HDMI + keyboard/mouse | Beginners | Easy to see GUI | Needs monitor |
| SSH (headless) | Remote users | Portable, no monitor | Needs prep |
| VNC | GUI access remotely | Full desktop feel | Slower over Wi-Fi |
What is needed to setup a Raspberry Pi?
It’s not just the board—you need the right supporting cast.
You’ll need a microSD card, power supply, display (optional), input devices, and network access.
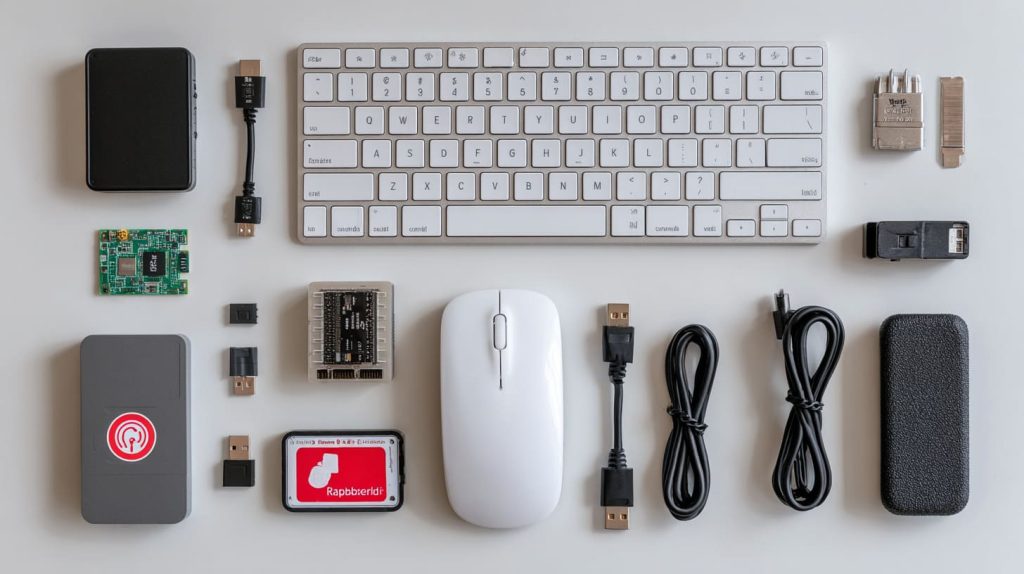
I’ve seen people excited to boot their Pi, only to realize they forgot the microSD card. Don’t be that person.
Essentials vs. Optional
| Item | Essential? | Why it matters |
|---|---|---|
| MicroSD Card (16GB+) | ✅ | Stores the OS |
| Power Supply (5V 3A) | ✅ | Prevents crashes |
| HDMI Cable | ✅ | Connect to screen |
| USB Keyboard + Mouse | ✅ | Input for setup |
| Ethernet/Wi-Fi | ✅ | Internet access |
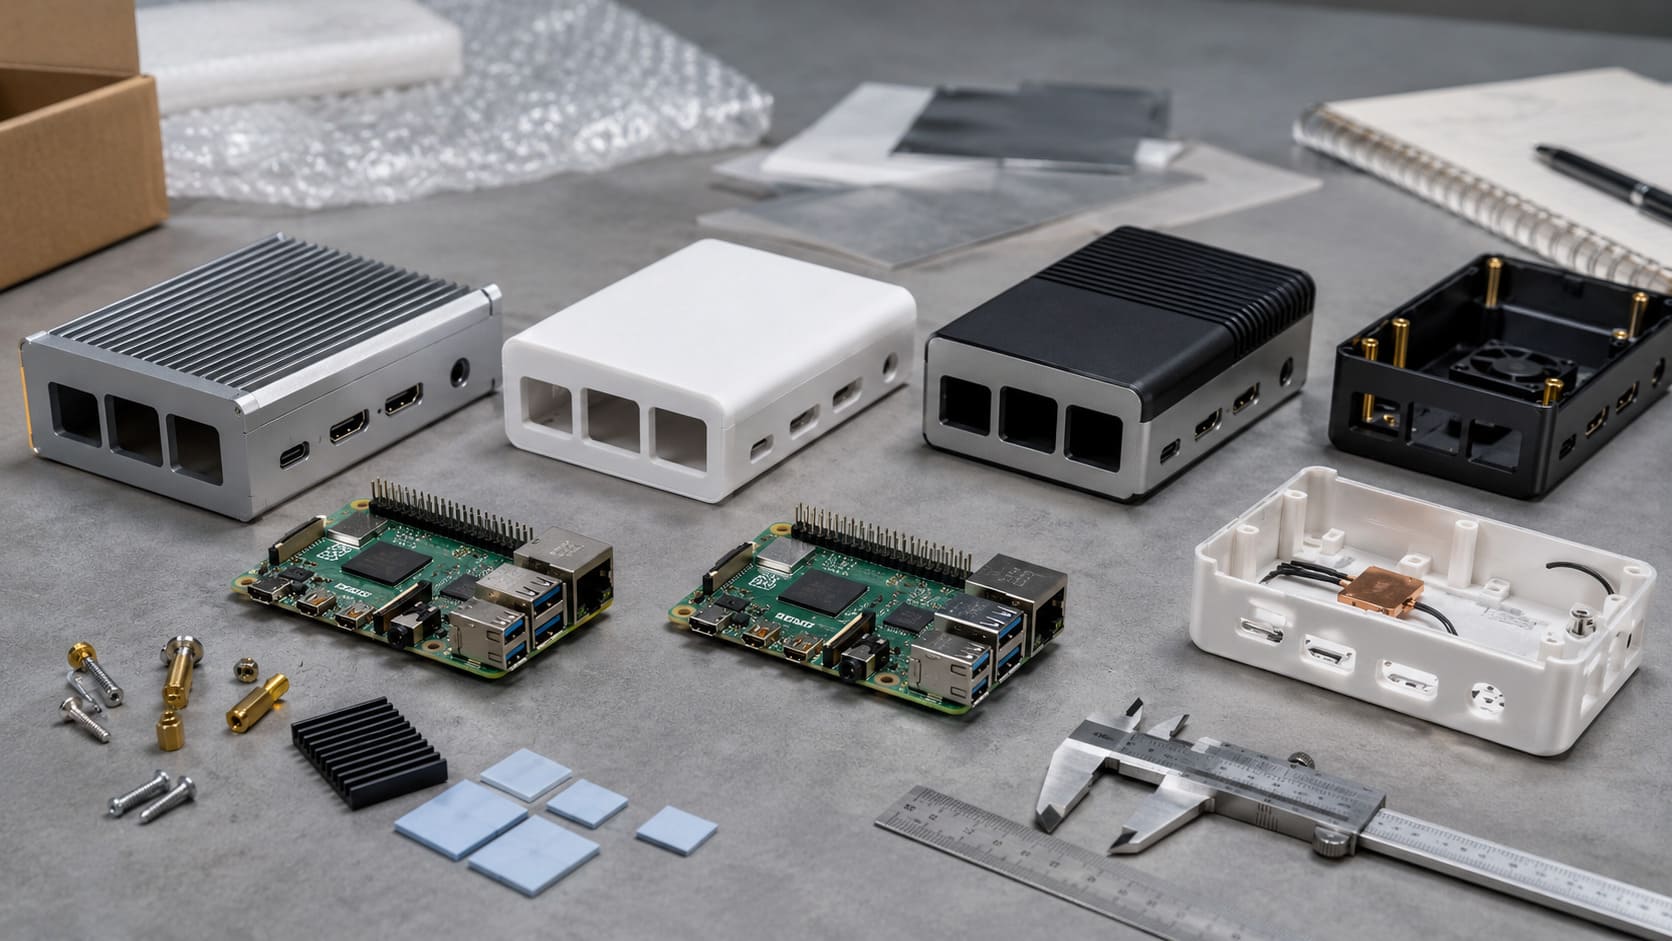
| Case | 🔁 | Protects the board |
| Heatsink/Fan | 🔁 | Cooling under load |
Which Raspberry Pi model should I choose first, and why?
Not all Pis are created equal. Start smart.
The Raspberry Pi 4 Model B (2GB or 4GB) is best for beginners due to its balance of performance and price.
I started with the Pi 3. It was fun, but the 4 felt like a real desktop. Everything just ran smoother.
Model comparison table
| Model | Best For | RAM Options | Ports |
|---|---|---|---|
| Pi 4 B | Everyday use | 2/4/8 GB | 2x micro HDMI |
| Pi 3 B+ | Retro projects | 1 GB | 1x HDMI |
| Pi Zero 2 W | IoT/small projects | 512 MB | Mini HDMI |
| Pi 400 | All-in-one keyboard | 4 GB | 1x micro HDMI |
What accessories do I absolutely need before powering up a Raspberry Pi?
Some extras aren’t optional.
You must have a microSD card (Class 10), proper power supply, and a way to see or access the Pi (screen or SSH).

One time I tried booting with a low-power charger. The Pi kept restarting. Lesson learned—power matters.
Should I use headless mode (SSH) or GUI mode for first-time setup? What are the pros and cons?
It depends on how hands-on you want to be.
Use GUI mode if you're a visual learner. Use headless SSH if you're comfortable with remote setups.
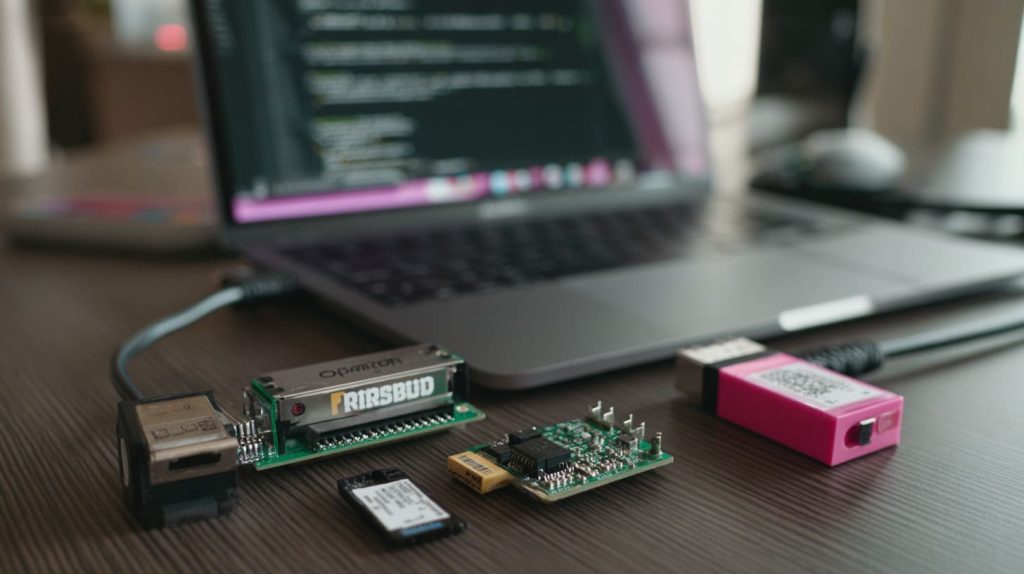
For my friend Jacky in Belgium, SSH was a lifesaver—he runs multiple Pis for customers and never plugs in a monitor.
GUI vs. Headless SSH
| Feature | GUI Mode | Headless Mode (SSH) |
|---|---|---|
| Setup ease | ✅ Plug & play | ❌ Needs pre-config |
| Resource usage | ❌ Heavier | ✅ Lighter |
| Control style | Desktop | Terminal |
| Ideal for | Beginners | Advanced or remote setups |
What are the safe first configurations to do right after first boot?
Before diving into projects, lock in the basics.
Update your system, set the correct locale, enable SSH if needed, and change your hostname.
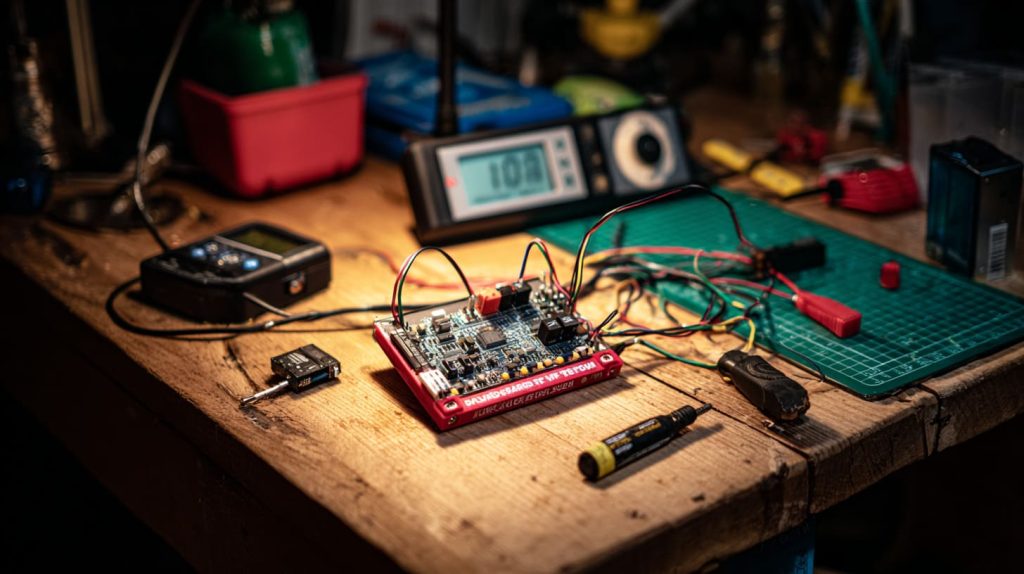
I always change the hostname first. Makes life easier when managing multiple Pis on one network.
First boot checklist
- Update OS:
sudo apt update && sudo apt full-upgrade - Set time zone, language, keyboard layout
- Enable SSH via raspi-config
- Change password
- Rename hostname:
sudo hostnamectl set-hostname newname
How do I test and verify my Raspberry Pi hardware is functioning correctly?
It’s good to know everything works before diving deep.
Run diagnostics from raspi-config or check system logs to spot any errors.
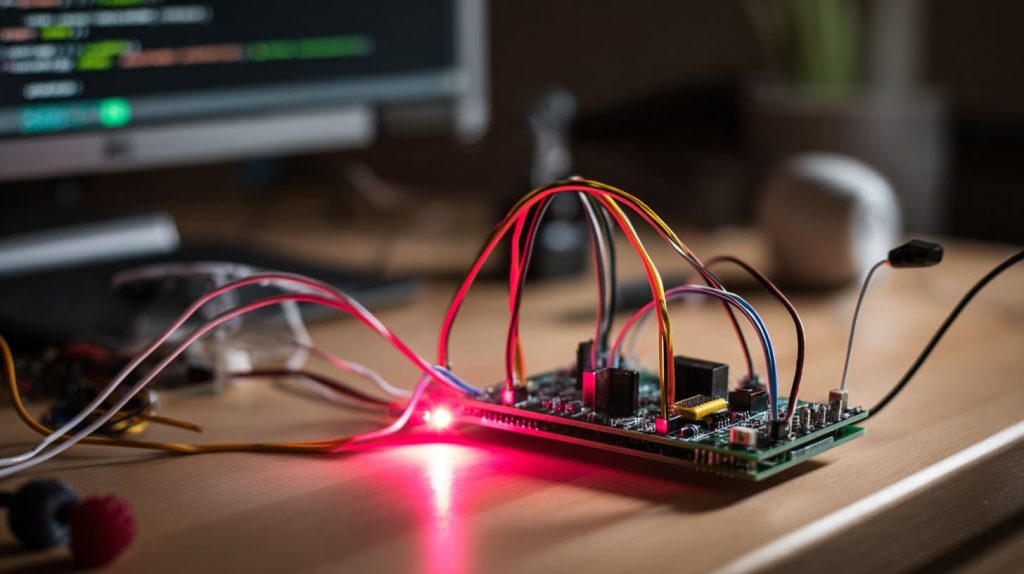
I’ve had a Pi that wouldn’t detect Wi-Fi. Turns out the antenna connector was loose.
Quick health checks
- Run
vcgencmd get_throttledto check for power issues - Use
dmesgto view boot logs - Try
raspi-config→ Performance → Stress test
Which beginner projects should I try right after setup to build confidence?
Hands-on is the best teacher.
Start with a blinking LED, media center, or retro gaming station. They’re fun and hard to mess up.
Lasle from Hungary once built a smart mirror with his first Pi. He didn’t stop there.
What common mistakes do beginners make with Raspberry Pi first setup?
Everyone makes a few. But we can skip the painful ones.
Don’t use cheap power supplies, skip updates, or ignore thermal cooling. These cause most issues early on.
I’ve seen projects fail just because of a bad SD card brand.
Mistake prevention table
| Mistake | What happens | How to avoid |
|---|---|---|
| Low-quality SD card | Crashes, data loss | Use SanDisk/Kingston Class 10 |
| Underpowered charger | Random reboots | Use official 5V 3A PSU |
| No cooling | Overheating | Use heatsinks or fan |
| Skipping update | Bugs, broken tools | Always update first |
| Wrong image flash | Boot failure | Use official Imager |
Conclusion
Start slow, stay curious—and your Pi will take you far.