
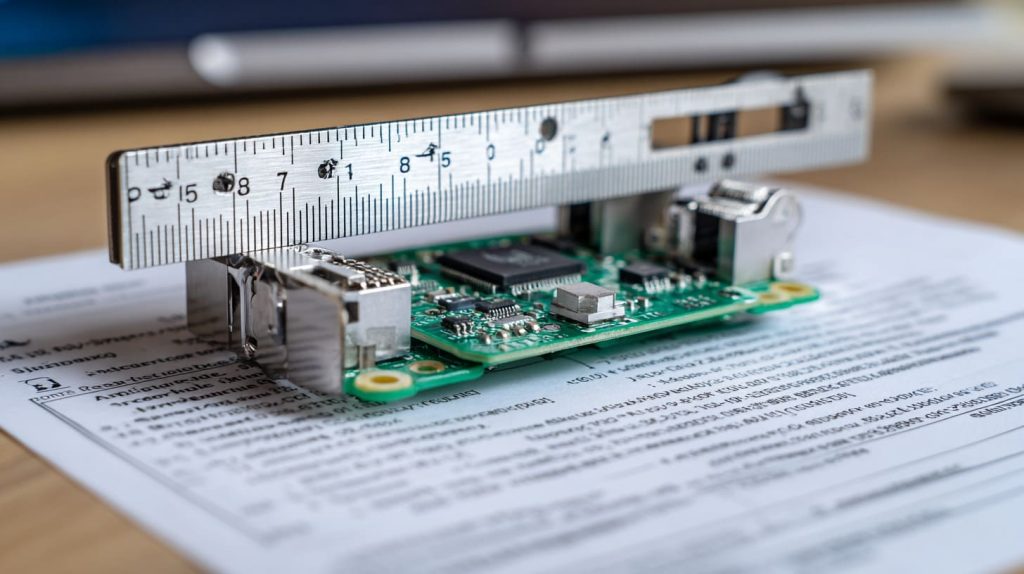
The tiny board sits on my desk — green, quiet, and full of possibilities. Around it, a small pile of cables, heatsinks, and connectors waits like puzzle pieces. I pick it up, look at the edges, and immediately start imagining how it could look inside a case made just for it — something that feels precise, personal, and built with purpose.
That’s the beauty of customizing a Raspberry Pi case. It’s not just about putting a board in a box. It’s about shaping an identity — your logo on the top, the exact ports you need, a design that fits your project perfectly. When you 3D print your own case, you’re no longer limited by what’s available online. You decide everything — the curves, the airflow, the color, even how it clicks together.
In this guide, I’ll share how I approach designing and producing a custom 3D‑printed Raspberry Pi case — the same process I use at MaidaTech when helping clients turn their ideas into finished products that look and feel truly theirs.
1. Planning & Requirements Gathering
1.1 Understand the Raspberry Pi (or target board)
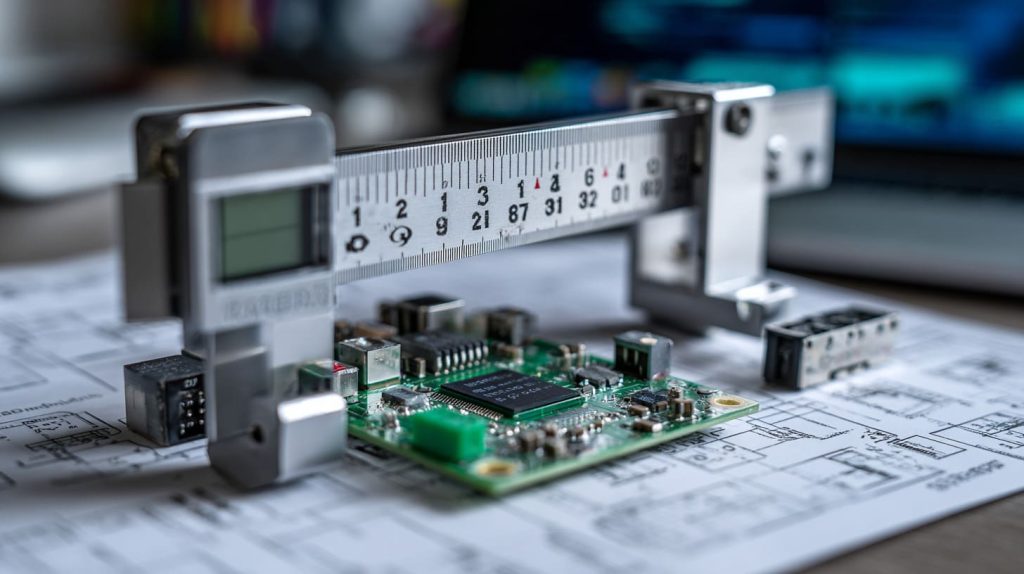
Every design starts with understanding what you’re building around. I’ve seen many first‑time makers forget small details — like the height of the HDMI connector or how far the SD card sticks out. One millimeter off can ruin a whole print.
When I design, I start by reviewing the official board datasheet. I check these points carefully:
| Part | Why it matters |
|---|---|
| USB & HDMI ports | Cutouts must align perfectly |
| Mounting holes | Used to fix the board securely |
| GPIO header | Needs clearance for jumper cables |
| SD slot | Must be accessible without disassembly |
If you ignore any of these, you’ll spend hours sanding or reprinting.
1.2 Define your custom requirements
Once you know the Pi, you can start thinking about your personality — your brand. Some clients want something sleek and modern, while others go for bold textures or engraved patterns.
Here are a few choices I usually discuss:
- Branding: Printed or engraved logo on the top shell
- Cooling: Add vent holes or a fan mount if you expect heat buildup
- Assembly: Snap-fit for convenience, screws for durability
- Material: Smooth matte or glossy transparent look
Every option affects how the case feels in your hand and how it fits into your workflow or your customers’ products.
1.3 Create or find a reference 3D model
If you’re new to CAD, you don’t have to start from zero. Download an existing Raspberry Pi CAD model from official or open‑source libraries, then verify it with your caliper. I always test‑fit a physical board before I move forward.
Sometimes I rebuild the board in Fusion 360 to add small details — like support posts or USB frame outlines. It takes extra time, but it saves you frustration later.
Before you jump into designing, remember: every great model starts with a clear plan — and patience.
Next, let’s talk about how to turn that plan into a printable design.
2. Designing the 3D Case Model

2.1 Choosing the software / CAD tool
Your software choice shapes your design freedom. Personally, I use Fusion 360 for most projects — it’s powerful and precise. But if you just want something quick and easy, Tinkercad is surprisingly capable.
| Software | Best For | Skill Level |
|---|---|---|
| Fusion 360 | Complex mechanical design | Intermediate |
| FreeCAD | Open-source flexibility | Intermediate |
| Tinkercad | Fast, beginner-friendly work | Beginner |
If you plan to scale designs or offer different versions for clients, parametric modeling is your friend — change one value and the whole model adapts.
2.2 Basic structure: walls, standoffs, top & bottom
I start by sketching the board outline and building the base shell around it. Wall thickness around 2.5–3 mm usually works best. Then, add standoffs at each mounting hole — it’s a simple step, but it defines whether your board sits snugly or rattles.
A good rule of thumb:
- Clearance: Add 0.5 mm around ports
- Tolerance: Leave at least 0.2 mm for fitting
Then, split your model into top and bottom halves. A clean split line makes it easier to assemble later.
2.3 Cutouts & port openings
This is where precision matters. Each port — USB, Ethernet, HDMI, power — needs to line up exactly. I’ve printed dozens of test pieces just to get a single connector to sit right.
Use chamfers around cutouts for easier cable insertion. I also avoid deep overhangs; they tend to sag during printing.
2.4 Ventilation & cooling features
When your Pi runs heavy processes, it gets warm. So, I often integrate air vents or mesh patterns into the design. A simple honeycomb pattern not only helps airflow but also looks stylish.
If your client’s project needs high cooling performance, plan space for a small 30mm fan or heatsink mount.
2.5 Adding branding & customization
This is my favorite part.
Some of my clients send vector files of their logos. I convert them into raised or engraved surfaces directly on the case. The effect is subtle but adds a professional touch — especially if you later paint or polish the surface.
You can even turn the logo into a ventilation pattern — practical and aesthetic.
2.6 Assembly features & fasteners
Here, balance convenience with durability.
- Snap‑fit clips are perfect for DIY kits.
- Screw bosses are better for frequent assembly.
- Sliding lids are neat for access ports.
I once designed a sliding top cover for a client who needed fast SD card swaps. He said it cut his assembly time in half.
2.7 Design for manufacturability (DfM) & printability
Design isn’t just art — it’s engineering.
Avoid thin edges that warp. Orient parts to minimize supports. Think about the direction of print layers; it affects strength.
| Feature | Recommendation |
|---|---|
| Minimum wall | 2 mm |
| Overhang angle | < 45° |
| Support clearance | 0.2–0.3 mm |
| Layer orientation | Match load direction |
Now that your model is ready, let’s make sure it prints perfectly.
3.1 Exporting & checking the model
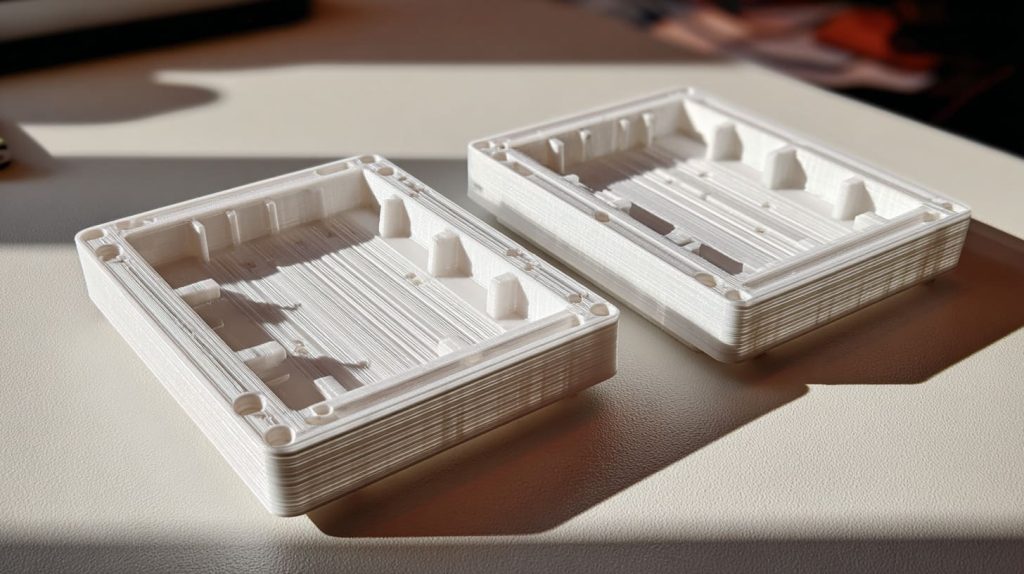
Export your model as STL. Before printing, I always run it through Meshmixer or Netfabb to check for non‑manifold edges. A single broken face can ruin an overnight print.
3.2 Slicing settings & printer considerations
Your slicer decides how your model becomes reality.
For prototypes, I use:
- Layer height: 0.2 mm
- Infill: 25%
- Shells: 3
These give a balance between quality and speed. Use supports only where needed; they can damage the surface during removal.
3.3 Material selection
Choosing the right filament changes everything.
Here’s a quick table I often show to clients:
| Material | Pros | Cons | Best Use |
|---|---|---|---|
| PLA | Easy to print, smooth | Weak to heat | Simple prototypes |
| ABS | Strong, durable | Warps easily | Industrial use |
| PETG | Flexible, glossy | Slight stringing | Transparent cases |
| ASA | UV resistant | Expensive | Outdoor devices |
| Nylon | Very strong | Hard to print | Heavy-duty projects |
If you need a matte professional look, I recommend PETG or ASA. They handle heat better and look clean out of the box.
3.4 Test prints & iterations
Never expect the first print to be perfect.
I usually print just one half or a corner to check the fit before committing to a full case.
Once I printed ten variations for a single customer who wanted “the perfect click” when closing the lid. That’s the beauty of 3D printing — fast iterations without new molds.
Now that your prints are ready, it’s time to polish them into something truly professional.
4. Post-Processing & Assembly
4.1 Cleaning & finishing
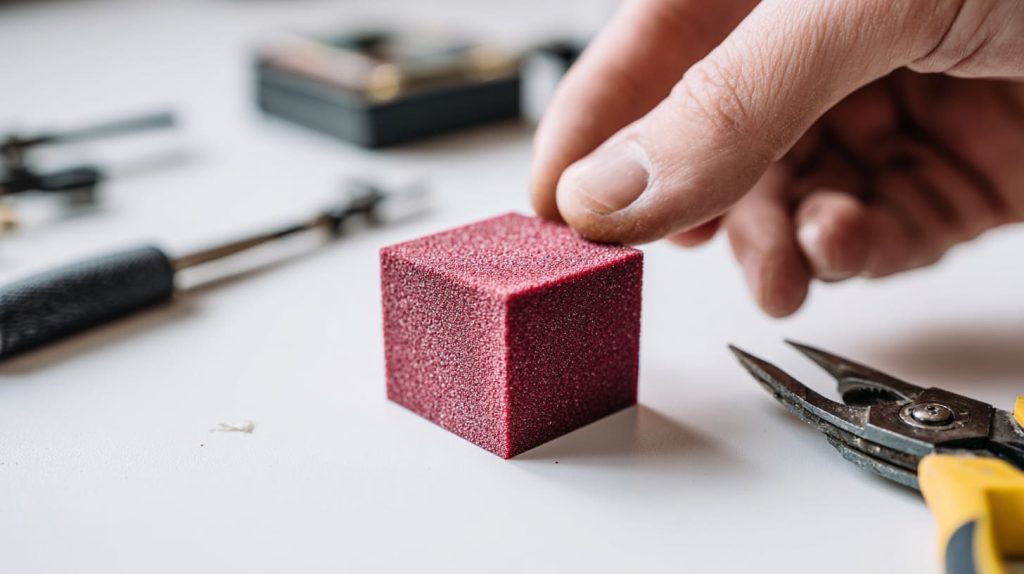
Remove supports gently — I use small pliers and 400‑grit sandpaper. For ABS, acetone vapor gives a smooth, glossy finish. For PLA or PETG, wet sanding works great.
You can even paint the case to match your branding. A light primer coat followed by matte spray paint gives a premium look.
4.2 Installing threaded inserts, nuts, or hardware
If you want your case to last through many assemblies, add heat‑set inserts. They allow screws to grip firmly without cracking plastic.
| Insert Type | Usage |
|---|---|
| Heat-set | Strongest and reusable |
| Press-fit | Fast, no heat required |
| Captive nut | Ideal for large cases |
4.3 Assembly of parts
Once everything is clean, assemble the case. Check port alignment and board mounting. I always make sure every screw feels firm but not tight — you don’t want to strip the threads.
4.4 Thermal / cooling enhancements
Before shipping, I test temperatures with and without fans. If you plan to enclose high‑load devices, use thermal pads or ventilation holes. A few small design tweaks can drop temperature by 5–10°C.
Now that your prototype looks and feels great, the next challenge is scaling it up.
5. Quality Check, Testing & Validation
5.1 Fit & clearance verification
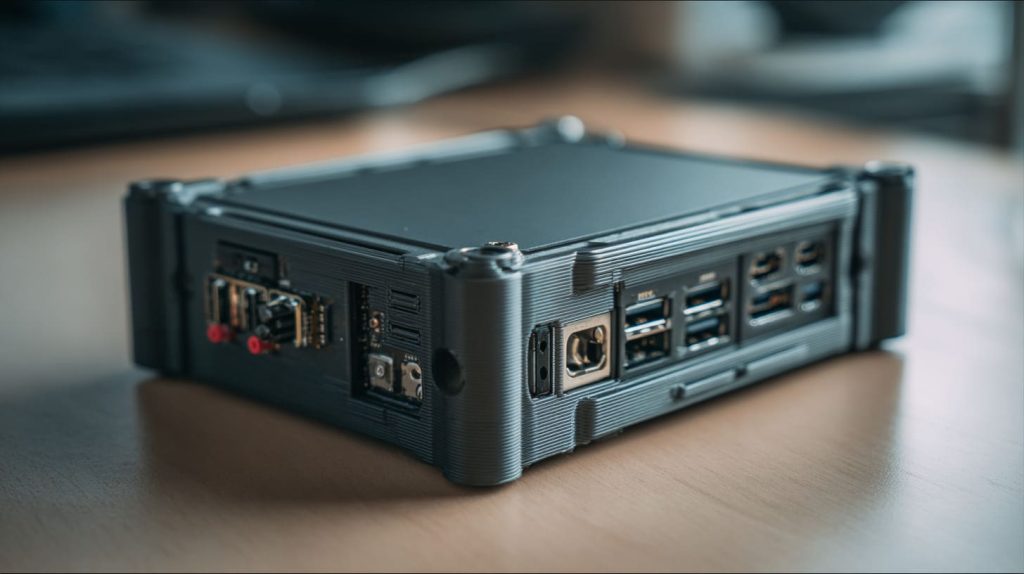
Double‑check everything. I plug in every cable, insert every card, and even tilt the board to test stability. If something sticks or rubs, that’s a sign to adjust the tolerance.
5.2 Mechanical strength & durability
To test durability, I simulate stress by gently twisting or dropping the prototype. You’ll be surprised how much insight a few tests can reveal. A small radius on edges often prevents cracking.
5.3 Thermal performance
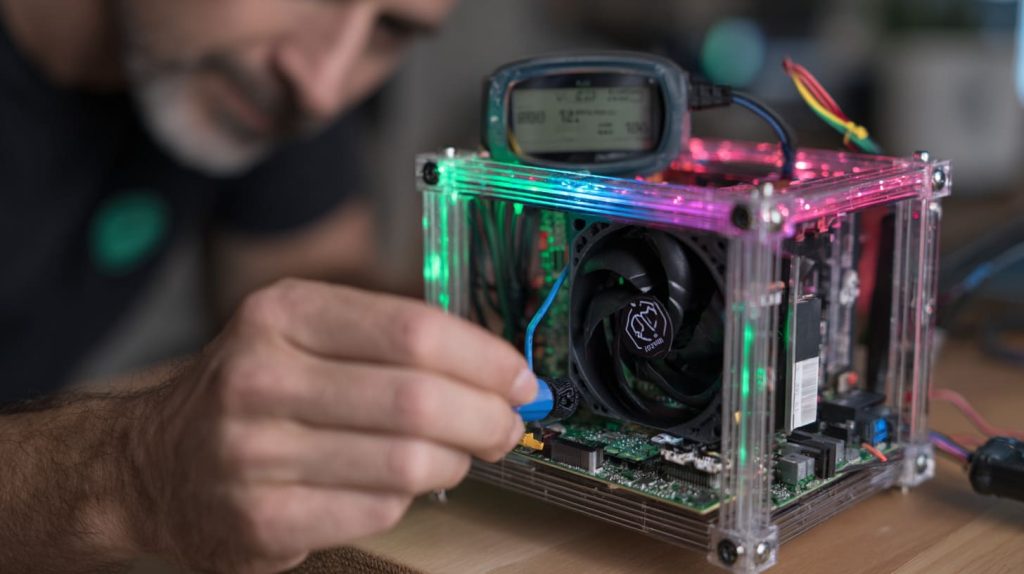
Under heavy CPU load, Raspberry Pi can easily hit 70°C. I use a small sensor to monitor internal temperature. If the reading stays under 60°C, I know my ventilation design works.
5.4 Long-term use & reliability
Cases that stay in sunlight or near machines need UV‑resistant material. Also, remember: snap‑fits wear out with time, so consider hybrid designs if longevity matters.
Testing is where good designs become reliable products. Once your case passes, you’re ready for production.
6. Scaling Up: From Prototype to Production
6.1 Design finalization & version control
Once you’ve locked the final version, name it clearly — I usually keep a folder with all revisions, drawings, and notes. Clear documentation avoids confusion later, especially when sharing with clients.
6.2 Batch printing / small-scale production
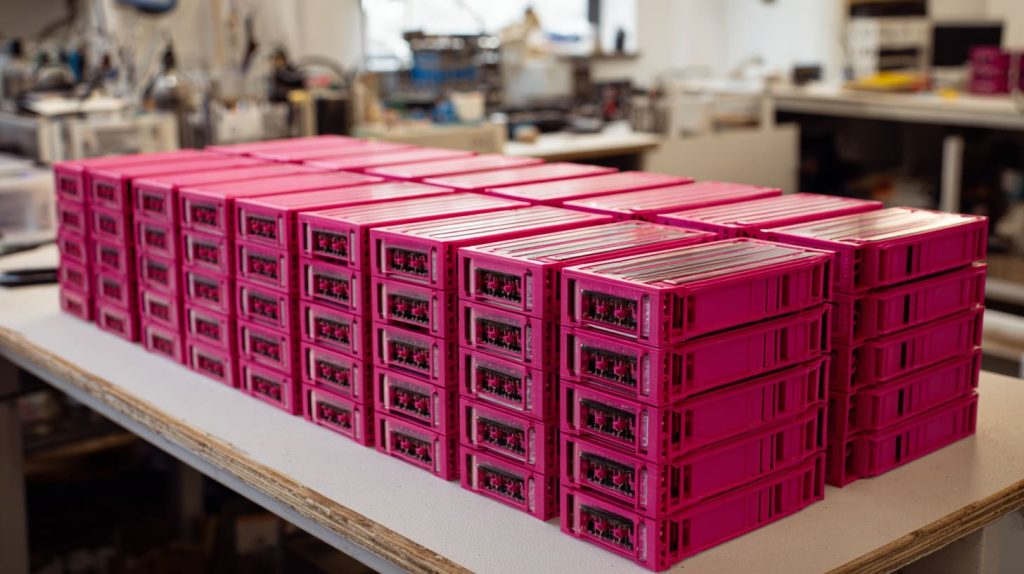
If you plan to sell small batches, you can use a local print farm or your own 3D printers. Keep track of filament batches, temperature settings, and layer heights — consistency matters.
| Production Scale | Best Method |
|---|---|
| 1–50 pcs | Desktop 3D printer |
| 50–500 pcs | Print farm |
| 500+ pcs | Injection molding or CNC |
6.3 Transitioning to injection molding or CNC if needed
At some point, 3D printing becomes too slow for large orders. I’ve helped clients turn their 3D‑printed prototypes into CNC or molded versions. This step saves cost per unit and improves surface quality.
The key is designing early with manufacturing in mind — smooth walls, proper draft angles, and uniform thickness.
6.4 Custom order & client interaction considerations
When clients send logo files or design requests, I confirm everything — dimensions, font, and color — before production. Miscommunication costs time and trust, especially across time zones.
To streamline, I suggest this process:
- Receive logo or design brief
- Send 3D preview for approval
- Confirm lead time and packaging
- Ship final product
At MaidaTech, we’ve used this system for years to keep overseas projects running smoothly.
And now we’re almost there — from concept to full‑scale production. Let’s wrap this up.
Conclusion
Designing a custom 3D‑printed Raspberry Pi case is more than a technical task — it’s a creative journey. From planning and modeling to polishing and scaling up, every step teaches you something new about precision, patience, and design thinking.
I’ve worked with countless clients — from Davide in Belgium who wanted his logo engraved on every unit, to Lasle in Hungary who needed a redesigned enclosure for his robotics project. Every project reminded me that customization isn’t just about looks; it’s about building something that truly fits someone’s vision.
So if you’re ready to bring your own Raspberry Pi case idea to life — whether for your brand, your project, or your clients — start small, test often, and never stop improving.
And if you ever need support turning your idea into reality, you know where to find me — vincent@maidatech.com.
Let’s build something remarkable together.




