
A Raspberry Pi board, a pile of stepper drivers, and a tangle of wires on my workbench—that’s where this whole CNC case obsession began. The setup worked, technically. But after a few hours of milling, the Pi’s temperature shot up, the cables slipped out of place, and the whole thing looked like a science project gone wild.
That moment made something very clear: the case isn’t just an afterthought. It’s a critical part of any serious CNC build. It keeps things cool, organized, protected—and if you’re reselling or building for clients, it shows your brand means business.
Raspberry Pi is a favorite in the CNC world for good reason. It’s small, affordable, and surprisingly capable. But if you want your build to be reliable—or sellable—you need to think beyond the bare board.
This guide is for anyone who’s moved past the “just make it work” phase. Whether you're a maker looking for better airflow, a re-branding reseller like Davide, or an ODM innovator like John trying to scale a product idea—this deep dive into custom Raspberry Pi CNC cases is built for you.
1. Choosing the Right Raspberry Pi for CNC Projects

1.1 Which Raspberry Pi model is most suitable for CNC projects?
Let’s break it down:
| Model | Pros | Cons |
|---|---|---|
| Raspberry Pi 4 | High performance, multiple USB ports | Higher heat output |
| Raspberry Pi 3 | Stable and energy-efficient | Slightly slower |
| Compute Module 4 | Industrial use, flexible I/O options | Requires custom carrier board |
If you're planning real-time control, Pi 4 is ideal. But for compact projects or energy efficiency, Pi 3 might be just enough.
1.2 Can I use Raspberry Pi CNC cases for 3D printing projects?
Absolutely. Both CNC and 3D printers need similar features: access to GPIO, USB, and solid cooling. The key difference? 3D printing setups often need more airflow, while CNC cases may require better shielding.
So, yes—you can design a universal enclosure. Just watch out for port layout differences.
One Raspberry Pi case does not fit all. Let's explore how materials play a role in making or breaking your CNC setup.
2. Materials and Construction of CNC Cases

2.1 What materials are best for building a Raspberry Pi CNC case?
Here’s a quick comparison:
| Material | Pros | Cons |
|---|---|---|
| Acrylic | Clear, affordable, lightweight | Scratches easily, brittle |
| ABS Plastic | Strong, flexible | Not transparent, low heat resistance |
| Aluminum | Excellent heat dissipation | Expensive, needs grounding |
| Steel | Strong, EMI-resistant | Heavy, harder to machine |
2.2 Is acrylic or metal better for a custom Raspberry Pi CNC enclosure?
Depends on what you value:
- Transparency? Acrylic wins.
- Durability & cooling? Metal wins.
I’ve had customers like Davide who prefer laser-engraved clear acrylic with LED effects, while others in industrial settings want all-metal enclosures to protect from dust and heat.
2.3 How to choose between aluminum, steel, and acrylic for CNC cases?
Think of it like this:
| Use Case | Best Choice |
|---|---|
| Home or educational | Acrylic |
| Heavy-use workshop | Aluminum |
| Harsh industrial | Steel |
Example: One of our clients building 24/7 milling machines chose aluminum with internal fans. Another built a STEM classroom setup with colored acrylic enclosures.
2.4 How do I make my Raspberry Pi CNC case dust-proof and durable?
A few tricks I’ve learned:
- Use silicone gaskets for panel edges.
- Add fine mesh filters for airflow points.
- Opt for screw-tight designs instead of snap-fit.
This matters most in dusty environments—like workshops or factories—where even a tiny gap invites trouble.
So you’ve chosen the material—now how do you bring your idea to life? Let’s get to the design table.
3. Design and Modeling a Custom CNC Case
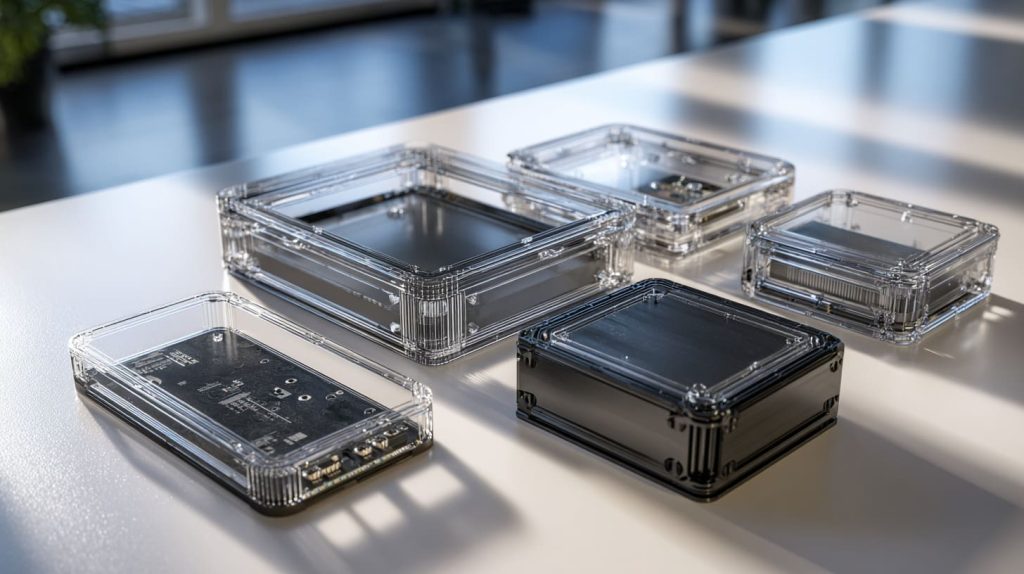
3.1 How do I design and 3D model a custom Raspberry Pi CNC case?
I usually start in Fusion 360 or SolidWorks. For beginners, FreeCAD works too.
Steps I follow:
- Start with Raspberry Pi board measurements.
- Plan port positions.
- Design airflow and mounting.
- Export STL or DXF files.
- Create a prototype using 3D print or laser cut.
3.2 What size should a Raspberry Pi CNC case be for stable performance?
- Leave at least 5mm clearance around the board.
- Plan for airflow, not just tight aesthetics.
- If you add fans, keep internal height >25mm.
3.3 What ports and cutouts should a CNC case include for Raspberry Pi?
Don’t just include what you use today. Think ahead:
- USB, HDMI, Ethernet (for general use)
- GPIO, CSI, DSI (for camera and display)
- Optional: MicroSD and Power Cutouts on both sides
3.4 Can I design a modular CNC case for multiple Raspberry Pi boards?
Yes. We’ve made cluster cases that hold 3–10 Pis.
Use:
- Aluminum frames
- Stackable acrylic panels
- Separate cooling zones
Modularity lets users add more boards as their project grows.
3.5 What’s the difference between DIY CNC cases and factory-made ones?
DIY cases = flexible, fast prototype.
Factory-made = branding, consistency, better finish.
| Type | Best for |
|---|---|
| DIY | Testing, prototypes |
| Factory-made | Mass production, resale |
Next, let's keep things cool—literally.
4. Cooling and Power Management

4.1 What cooling solutions are needed for a Raspberry Pi CNC case?
| Cooling Type | Pros | Notes |
|---|---|---|
| Passive | Silent, no moving parts | Needs open vents or metal shell |
| Active | Powerful cooling | Needs fan control |
| Heatsinks | Inexpensive, easy to add | Best when paired with fans |
4.2 How do I add fans or liquid cooling to a Raspberry Pi CNC case?
I’ve added 30mm fans to sidewalls before. Keep airflow front-to-back. For advanced users: Yes, you can try liquid cooling, but it’s overkill unless you run AI tasks or 24/7 loads.
4.3 How can I integrate power supply and wiring into a CNC case?
Use a 5V 3A power module with built-in USB-C or micro USB cable.
Tips:
- Add strain relief holes.
- Route wires behind the board.
4.4 What’s the best way to manage cables inside a CNC enclosure?
Don’t let cables dance around.
- Use cable ties and cable clips.
- Add EMI shielding if you're near motors.
Now that power and cooling are under control, let’s talk about how to connect the whole thing to your CNC system.
5. Connectivity and Integration with CNC Systems
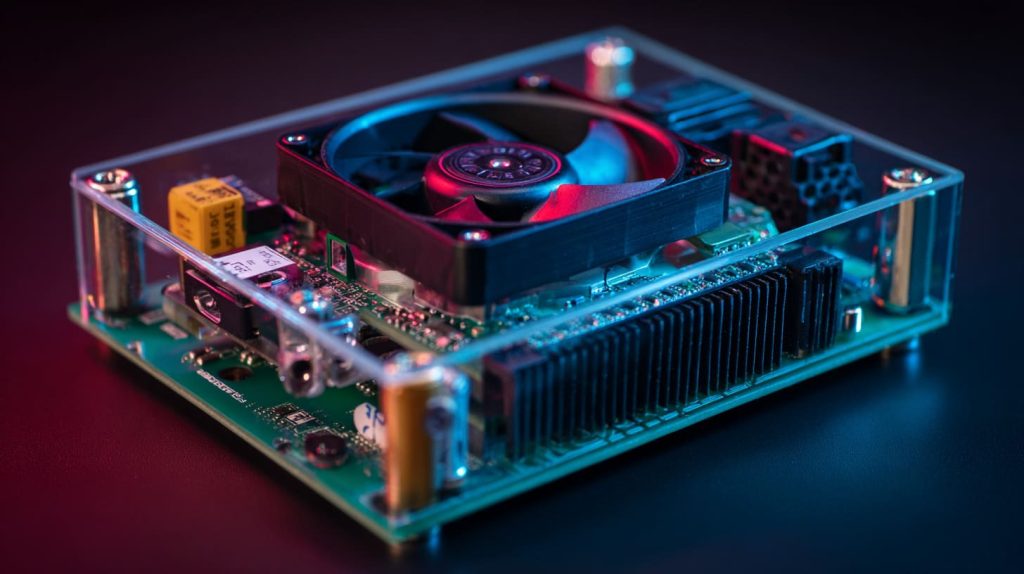
5.1 How do I connect a Raspberry Pi to a CNC controller board?
Options include:
- USB: easiest
- GPIO: for direct control
- SPI/I2C: advanced integration
Check your CNC board’s documentation. Most GRBL boards work great over USB.
5.2 What CNC software works best with Raspberry Pi cases?
| Software | Strengths | Weaknesses |
|---|---|---|
| CNC.js | Web-based, lightweight | Needs Node.js |
| bCNC | Powerful, Python-based | UI feels dated |
| LinuxCNC | Very powerful, real-time | Steep learning curve |
5.3 How do I ensure EMI protection for a Raspberry Pi CNC case?
- Use metal cases with grounding wires.
- Keep motor wires separate from GPIO cables.
5.4 How can I mount a Raspberry Pi CNC case on a machine frame?
Try:
- VESA mounts
- Corner brackets
- Clamp-on holders
Industrial setups often bolt cases directly to aluminum extrusions.
What if you want your case to represent your brand? Let’s talk logos.
6. Branding and Customization
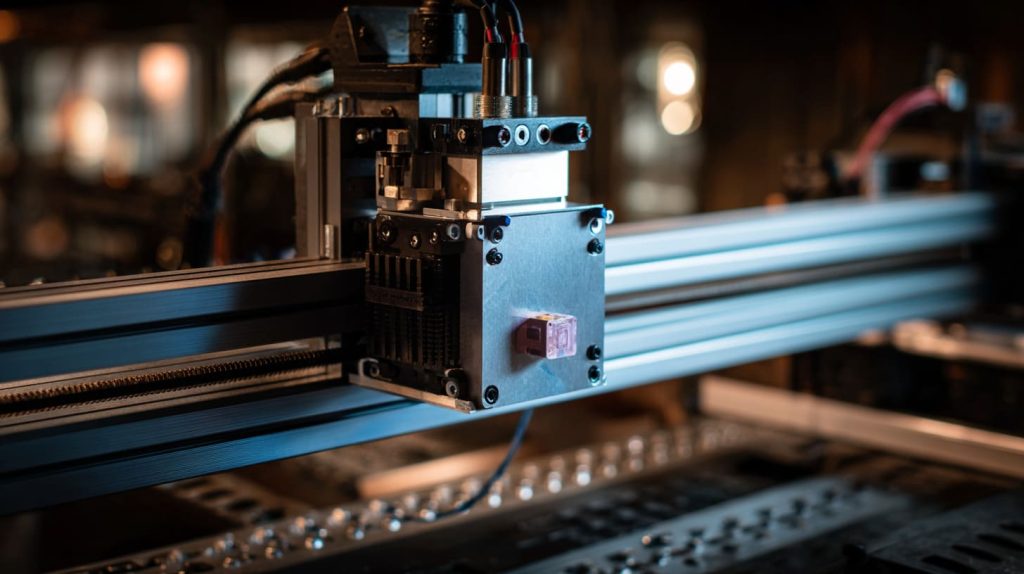
6.1 How do I add branding or custom logos to a Raspberry Pi CNC case?
You’ve got 3 options:
- Laser engraving (permanent)
- UV printing (colorful)
- Stickers (cheap and easy)
Make sure logo placement doesn’t block airflow or ports.
6.2 What tools and software do I need to fabricate a CNC case?
Essential tools:
- Laser cutter for acrylic
- CNC router for aluminum
- 3D printer for prototyping
Use CAD software with high tolerance accuracy (0.1–0.2mm ideal).
6.3 What are common mistakes when building a Raspberry Pi CNC case?
Mistakes I’ve seen:
- No space for GPIO wires
- Cutouts don’t align with ports
- Fan holes too small
- Hard-to-open cases
6.4 How do I make a Raspberry Pi CNC case that’s easy to assemble and disassemble?
Use:
- Snap-fit designs for acrylic
- Screw-based panels for metal
Avoid glue—makes repairs a nightmare.
Let’s get real about budget and timelines next.
7. Practical Buying and Project Considerations

7.1 What’s the cost difference between DIY and wholesale CNC cases?
| Option | Approx. Cost per Unit | Notes |
|---|---|---|
| DIY | $5–$10 | Time-consuming |
| Wholesale | $2–$6 (MOQ: 100 pcs) | Branding included, faster |
7.2 How fast can custom CNC cases be produced and shipped?
- Stock items: 3–7 days
- Custom designs: 15–25 days (with logo & packaging)
7.3 What should re-brand buyers check before ordering CNC cases?
- Confirm cutout alignment
- Test cooling performance
- Approve logo samples and stickers
- Confirm MOQ and shipping method
Conclusion
Custom Raspberry Pi CNC cases aren’t just about looks. They affect performance, durability, branding—and your project's reputation.
If you’re a reseller like Jacky, or a project leader like Lasle, it pays to invest in quality case design from the start. Plan your layout, choose the right material, cool it properly, and don’t forget your logo.
You’ve now got the blueprint. Let’s make it real.




