Skip to content

When your laptop takes longer to boot than your phone takes to download an entire TV episode, something feels off. That was the case with my HP ENVY x360. I’d press the power button, then sit back and watch the slow dance of a hard drive waking up. The system worked—but it didn’t flow. Especially on days packed with supplier calls, shipment planning, and label printing, that kind of lag felt like death by a thousand cuts.
Swapping the hard drive for an SSD didn’t just solve the delay—it changed the entire rhythm of my day. Now it boots in seconds, opens spreadsheets instantly, and stays cool and quiet while I multitask through a dozen tabs. If you're wondering whether your own ENVY x360 can make the jump, the answer is almost always yes—and it's easier than most people think.
This guide walks you through the whole process, from figuring out your laptop’s upgrade potential to picking the right SSD and installing it with minimal fuss.
A spinning disk may hold memories, yet speed often wins. Let’s peek inside the chassis and see what storage you really have.
1. Understanding Your HP ENVY x360’s Storage Architecture
Model matrix: 2.5-inch SATA bay vs. M.2 slot vs. soldered storage
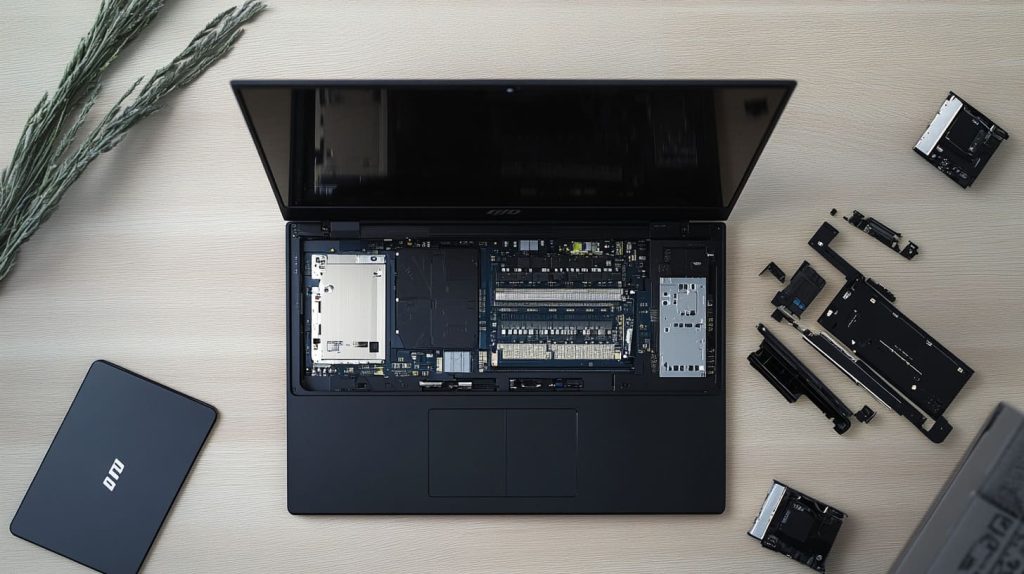
Before ordering parts, match your laptop to the right bay. Newer 15-inch units sometimes include both a 2.5-inch bay and a vacant M.2 slot, while many 13-inch variants rely on a single M.2 connector. A few budget trims come with soldered eMMC—you can’t upgrade those at all.
| ENVY x360 Year | Screen Size | 2.5" SATA Bay | M.2 Slot | Upgrade Notes |
|---|---|---|---|---|
| 2021–2023 | 15" & 14" | Yes | Yes | Choose either form factor |
| 2022–2024 | 13" | No | Yes | M.2 only; check length key |
| 2025 AMD Gen | 14" | No | Yes (PCIe 4.0) | Watch for thermal pads |
| Budget EDU | 13" | No | Soldered | Not upgradeable |
SATA III vs. PCIe NVMe: interface, speed, and keying
A SATA drive tops out near 550 MB/s. A PCIe NVMe stick on the same machine can burst above 3,500 MB/s. That is the difference between blink-and-you-miss-it app launches and coffee-break load screens. Check the notch on the M.2 slot: B-key often means SATA; M-key or B+M can mean NVMe.
How to confirm what your specific unit supports
I open the HP service manual first, then double-check in BIOS (F10 on boot) under Storage > Device Configuration. Windows also reveals clues: Device Manager → Disk Drives, then Properties → Volumes. If it lists “Bus Type NVMe,” you already own a fast stick and may simply swap capacities.
Short checks save long headaches. Next, why bother with the swap at all?
2. Benefits of Upgrading to an SSD
Boot-time and application launch speed improvements
My old 1 TB HDD took 68 seconds to reach the sign-in screen. An entry-level NVMe now does it in 12. Programs snap open. Large spreadsheets that once stuttered now scroll like silk.
Lower power draw and quieter operation
An SSD sips power. My battery meter gained almost 40 minutes during a typical sales-call day. The fan spins less, and the clicking platter noise is gone—silence is golden during video demos.
Shock resistance and longer drive lifespan
I travel between factory floors and show booths. One accidental bump used to equal a scary crash sound. SSDs have no moving parts, so they shrug off jolts that would send a hard disk to the recycling bin.
Speed thrills, but preparation keeps those thrills from turning into chaos.
3. Pre-Upgrade Preparation
Back-up and cloning options
- Windows Backup—simple, built-in.
- Macrium Reflect Free—my choice for block-level clones.
- EaseUS Todo—friendly wizard UI.
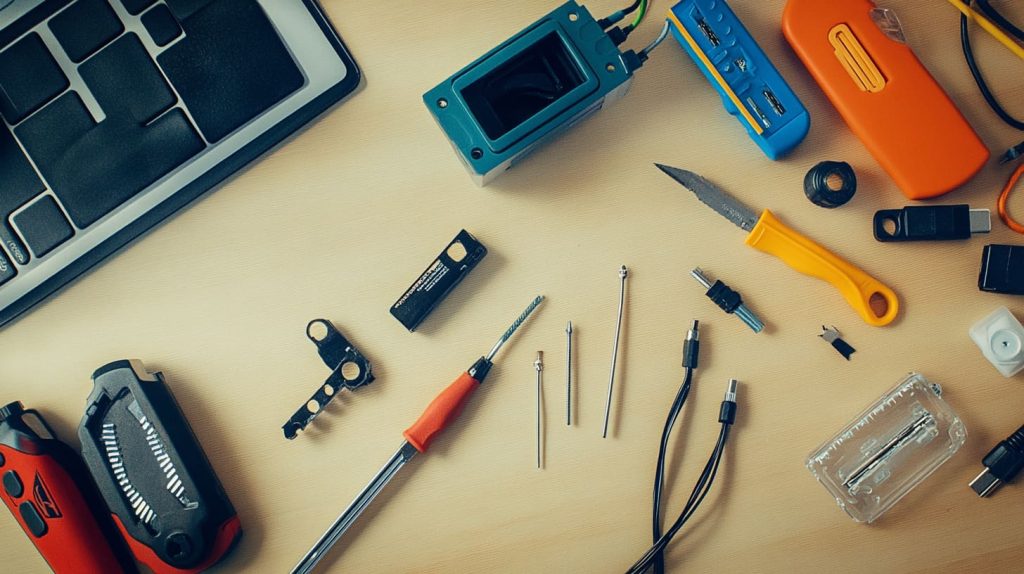
Required tools and parts
| Tool | Why you need it |
|---|---|
| T5 & T8 Torx drivers | Bottom-panel screws |
| Plastic spudger | Lift clips without marring aluminum |
| Anti-static wrist strap | Ground yourself; boards hate static |
| USB-to-SATA or NVMe enclosure | Clone before removal |
| 32 GB USB stick | Windows install media |
Download drivers, BIOS, and Windows media in advance
Grabbing drivers before you swap saves you from a Wi-Fi scavenger hunt later. I store them on the same USB drive as the Windows ISO.
Tools in hand, it’s time to choose your new drive.
4. Choosing the Right SSD
2.5-inch SATA SSD: capacity, thickness (7 mm) and caddy considerations
If your ENVY still has the metal caddy, verify screw holes align with a 7 mm thick SSD. Older 9.5 mm caddies need a shim.
M.2 2280 SATA vs. PCIe NVMe: speed tiers and thermal behavior
| Type | Max Speed (Seq. Read) | Heat Level | Use-case |
|---|---|---|---|
| M.2 SATA | ~550 MB/s | Cool | Budget, still drastic vs. HDD |
| NVMe Gen 3 | ~3,500 MB/s | Warm | Everyday users |
| NVMe Gen 4 | ~7,400 MB/s | Hot | Pros editing 4K on the go |
Endurance ratings, DRAM cache, and firmware support
Look for at least 300 TBW on a 1 TB drive. DRAM-less sticks throttle earlier in heavy workloads—fine for light web duties, risky for video exports. Firmware update utilities (Crucial Storage Executive, Samsung Magician) keep performance steady.
Reputable brands and warranty comparison
Crucial and Samsung often carry 5-year warranties. WD and Kingston trail close behind. Cheaper off-brands may omit software support—fine for a kid’s laptop, not for a production device.
Picking done, let’s open the lid.
5. Step-by-Step Hardware Replacement
Power down, disconnect battery, and discharge static
I shut down, remove the AC adapter, hold the power button 15 seconds, then clip my wrist strap onto a desk hinge.
HP loves rubber strips that hide Torx screws. Warm them slightly with a hair dryer, peel gently, and keep adhesive clean—re-use saves glue.
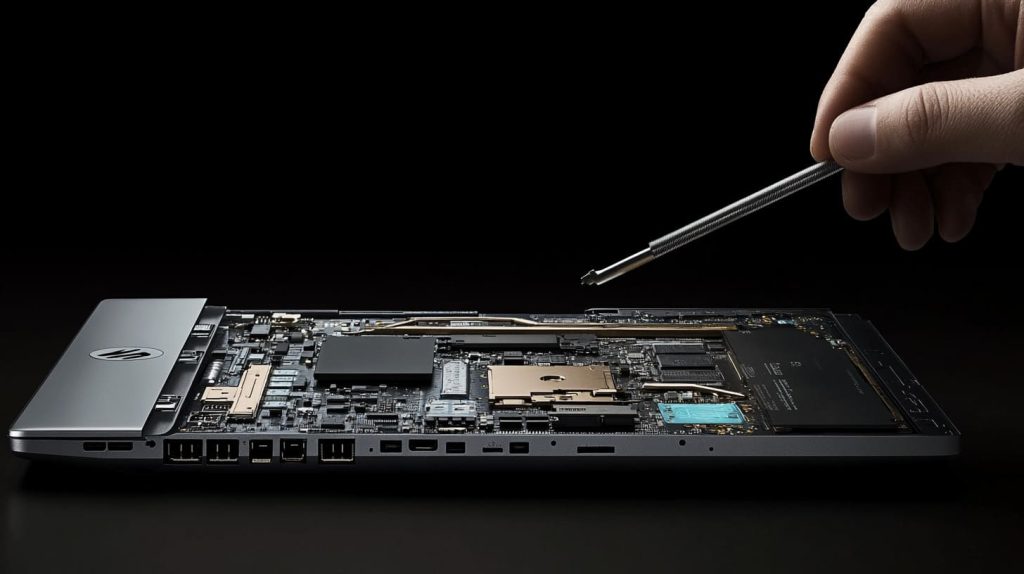
Locate and extract existing HDD; transfer brackets/caddy if required
Slide the HDD toward the connector, lift at the tab, and move any rubber rails to the SSD.
Install and secure the new SSD; double-check connections
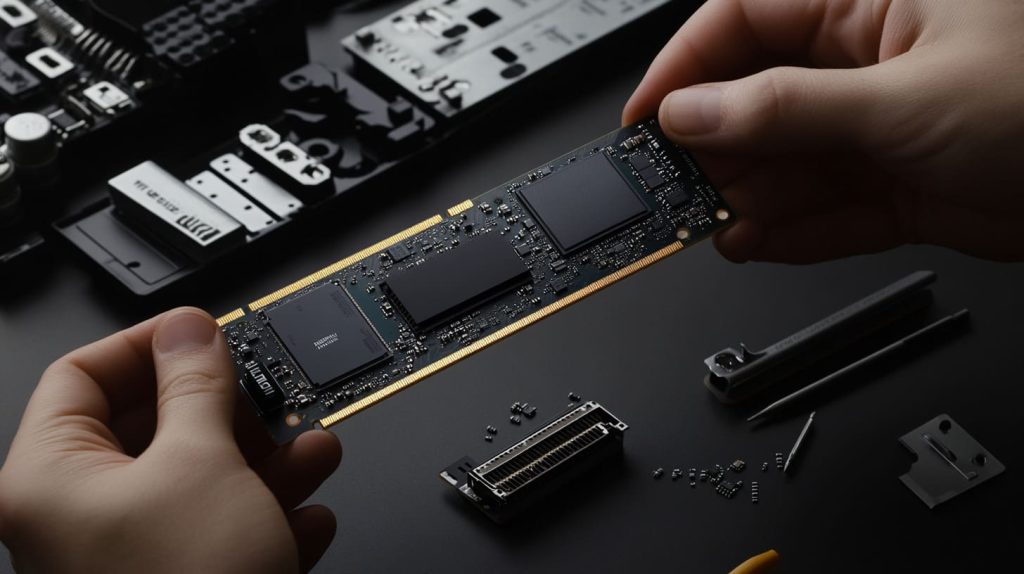
M.2 sticks lie flat—don’t overtighten the tiny retention screw. A 2.5-inch drive needs firm yet gentle SATA seating.
Reassemble and perform an initial boot test
Before reinstalling every screw, flip the laptop, power on, and enter BIOS. If the new drive shows up, you’re golden.
The drive is in, but data is still on the old platter. Time to move bits.
6. Operating System & Data Migration
Option A – Clean Windows install
I reboot from the USB stick, delete old partitions, and let Windows handle drivers. HP’s Recovery Manager can also rebuild the factory image if you need bundled software.
Option B – Clone old drive to new SSD and expand partition
Macrium Reflect clones in about 15 minutes for 250 GB of data. After booting the SSD, I open Disk Management, extend C:\ to fill the fast space.
BIOS checks: boot order, UEFI vs. Legacy, Secure Boot
Set the SSD as #1 in the boot list. Keep Secure Boot on unless you dual-boot Linux. Legacy mode only hinders NVMe speed.
Smooth boots feel great, yet extra tuning squeezes every millisecond.
7. Post-Upgrade Optimization

Enable TRIM, verify alignment, and turn on write-caching
Windows 10/11 does this automatically, but I run winsat formal in PowerShell to confirm 4 KB alignment and TRIM schedules.
Update SSD firmware and HP BIOS
I once fixed random freezes on a Crucial P5 Plus with a single firmware patch. HP’s Support Assistant handles BIOS updates in two clicks.
Windows tweaks: disable scheduled defrag for SSD, adjust indexing
Search Defragment and Optimize Drives, make sure “Optimize” shows Solid State Drive and that defrag is off. I also trim down Windows Search indexing to Users and Start Menu to reduce writes.
Even with tweaks, things can go wrong. Let’s prepare for hiccups.
8. Troubleshooting & Pitfalls

SSD not detected in BIOS or Windows
Check seating first, then toggle Legacy/UEFI. Some HP BIOS versions need RST mode disabled.
Blue-screen errors after cloning
Run sfc /scannow and chkdsk /f. If errors persist, reinstall clean.
Thermal throttling and how to add thermal pads or firmware updates
Stick a 0.5 mm graphite pad on an NVMe to bridge to the bottom cover. A BIOS update may also raise fan curves.
Warranty implications and HP support channels
Replacing storage does not void warranty under HP’s service manual, but damage during disassembly can. Photograph every step.
The fix list is short, the gains long. But what does the math say?
9. Cost, ROI, and Performance Benchmarks
| Capacity | Street Price (USD) | Cost per GB | Boot-time Before | Boot-time After |
|---|---|---|---|---|
| 500 GB NVMe | $40–$50 | $0.08 | 68 s | 14 s |
| 1 TB NVMe | < $50 on sale | $0.05 | 68 s | 13 s |
| 2 TB NVMe | $85–$110 | $0.04 | 68 s | 13 s |
Tom’s Hardware found 1 TB drives dipping below $50, with 2 TB models around $90 during sales. :contentReference[oaicite:0]{index=0} TechSpot notes overall prices have stabilized after 2024’s climb, so waiting may not yield huge extra savings. :contentReference[oaicite:1]{index=1}
For me, a $45 1 TB upgrade paid for itself in one missed coffee line—projects load faster, quotes go out sooner, and downtime drops to near zero.
Numbers convince the budget side of the brain. Questions convince the cautious side.
10. Frequently Asked Questions

Can I keep the old HDD as an external drive?
Yes. Slip it into a $10 USB 3.0 enclosure and use it for backups.
Does replacing the drive void my HP warranty?
No—HP labels the drive as a Customer Replaceable Unit. Just avoid damaging other parts.
Can I add a second SSD instead?
If your 15-inch model has both bays, absolutely. Use the NVMe for OS and a larger SATA SSD for bulk storage.
What if my ENVY x360 has soldered eMMC?
Sadly, you’re stuck. Consider an external NVMe via Thunderbolt as a partial workaround.
Big questions settled, let’s wrap up.
Conclusion

Upgrading an HP ENVY x360 from a hard drive to an SSD is a straightforward afternoon project with outsized rewards: instant boots, silent runs, and longer battery life. Gather the right tools, check your bay, clone or reinstall, and tweak for peak speed. When you next hit the power button, the desktop greets you before the kettle boils—and that extra time is win enough for any busy maker.