Skip to content
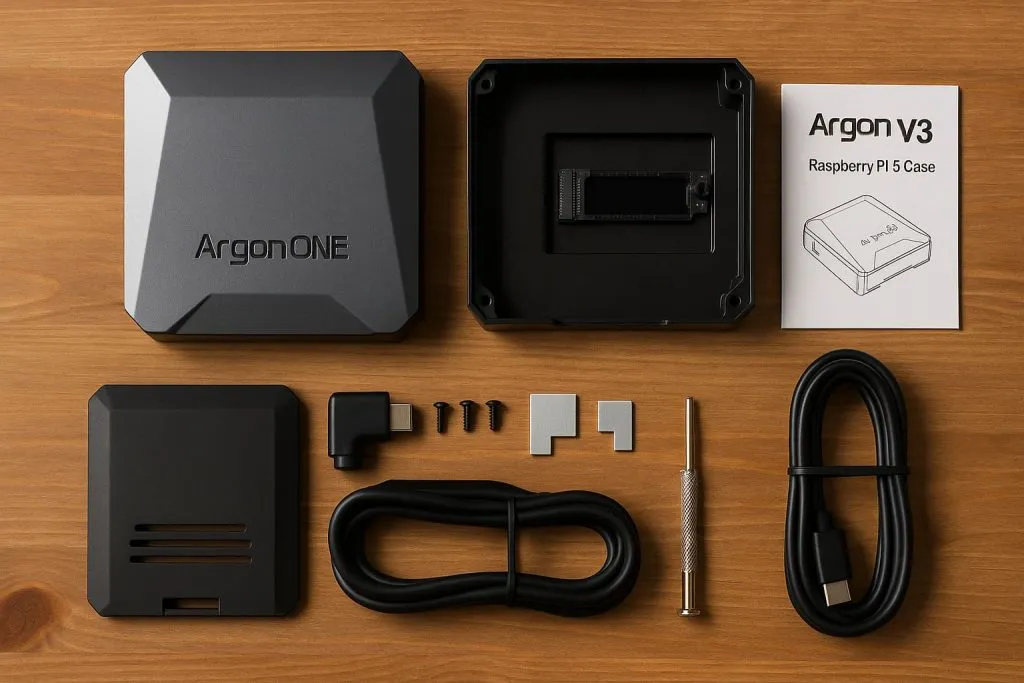
You take the lid off the box, and right away it feels different. The Argon ONE V3 isn’t trying to look flashy—it’s trying to solve problems. It’s heavier than most Pi cases, cool to the touch, and feels like it could survive a drop off the workbench (though hopefully it won’t have to). I had it on my table just last week, helping a client build a compact home server setup with native NVMe boot. Things got interesting fast.
If you’re into Raspberry Pi 5 projects and you care about speed, thermal performance, or just keeping things tidy with an all-in-one case, this guide is for you. I’ll walk you through everything—how to prep your board, connect the NVMe SSD, tune the fan, and get the system booting from your drive like a mini workstation. Whether you’re a maker, a product reseller, or an OEM buyer looking to scale, this case has something to offer. Let’s get started.
Argon ONE V3 M.2 NVMe PCIe Case at a Glance
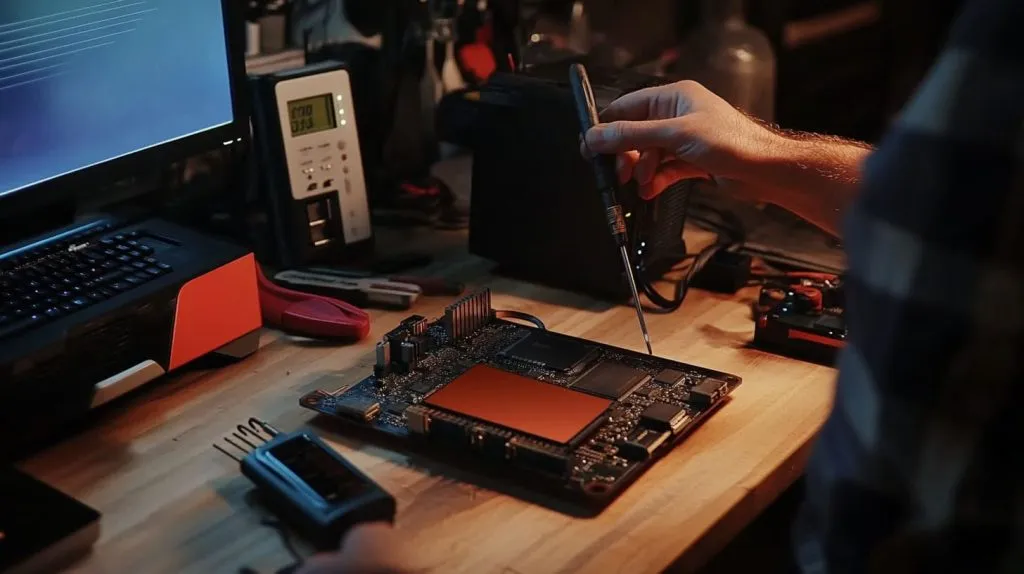
Key hardware features & specs
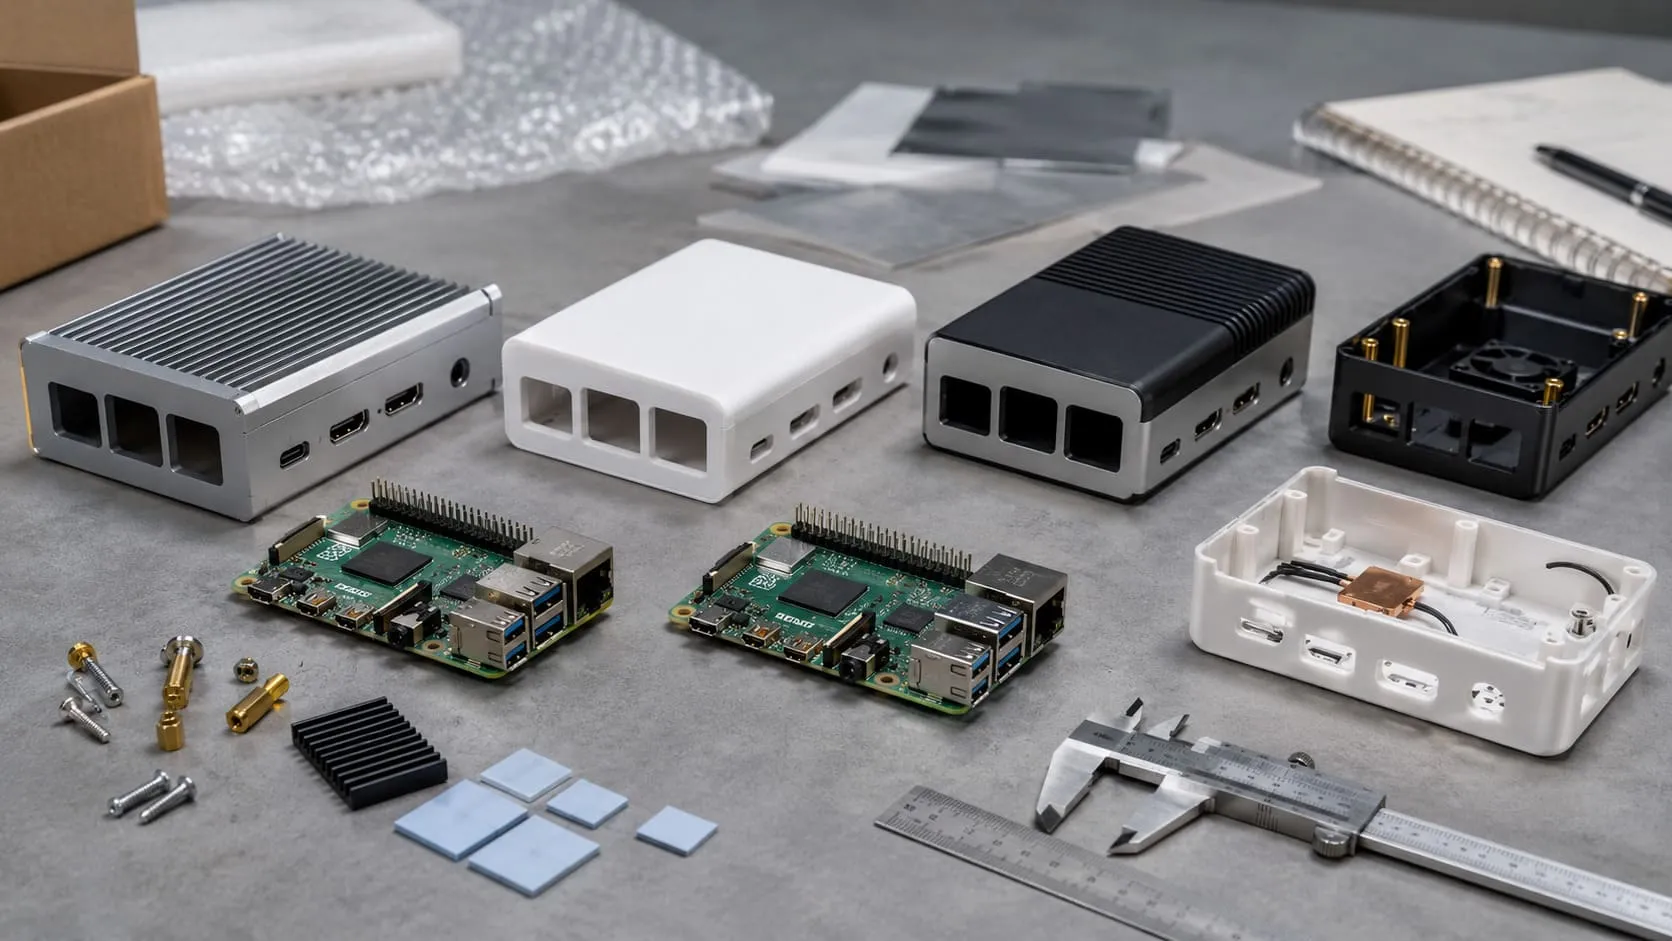
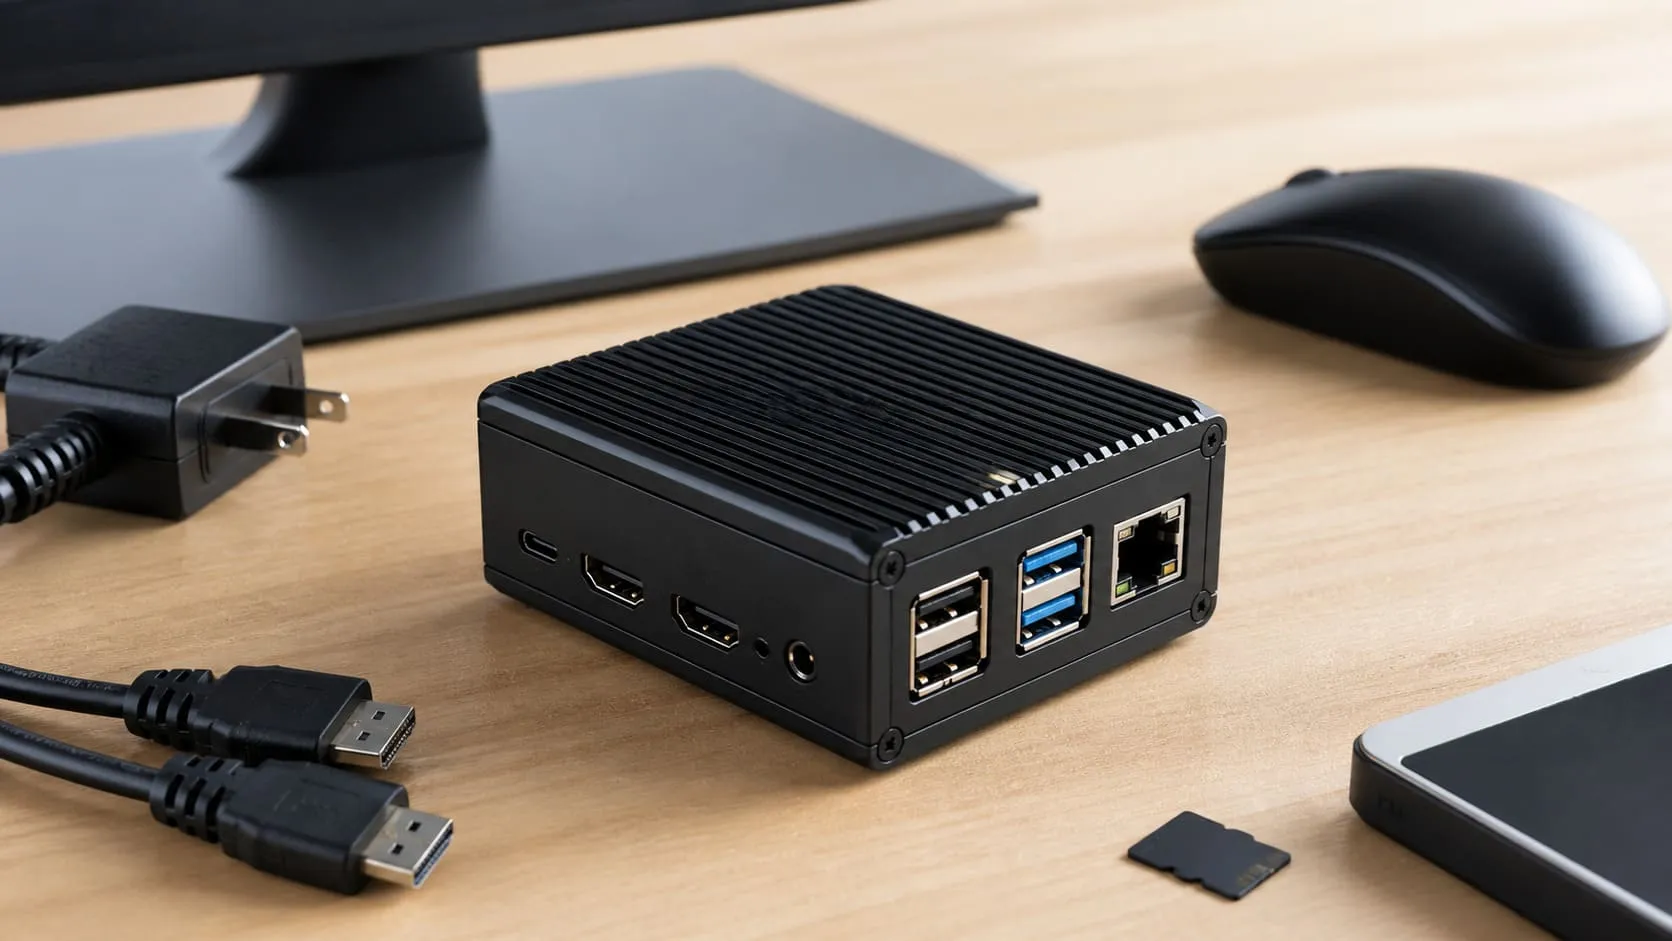
CNC-milled aluminum shell with integrated heatsink fins
PCIe 2.0 x1 M.2 key-M slot (2230/2242/2260/2280)
Dual full-size HDMI, USB-C power passthrough, power button & IR receiver
Active cooling: 30 mm PWM fan, magnetic top cover
What’s new vs. V2
| Feature | V2 | V3 | Why it matters |
|---|---|---|---|
| Storage | SATA + USB bridge | Native PCIe 2.0 NVMe | Up to 8× faster I/O |
| GPIO | 40-pin angled | 40-pin low-profile hat | Easier cable routing |
| Thermals | 0.8 mm pad | 1 mm graphite pad | Better heat spread |
Unboxing checklist
Main case body & top lid
HDMI-power board with pogo pins
Thermal pads (CPU + PMIC)
Screws × 6, rubber feet × 4
Quick-start leaflet
That’s the hardware snapshot. Now let’s prep your Pi so nothing blindsides us later.
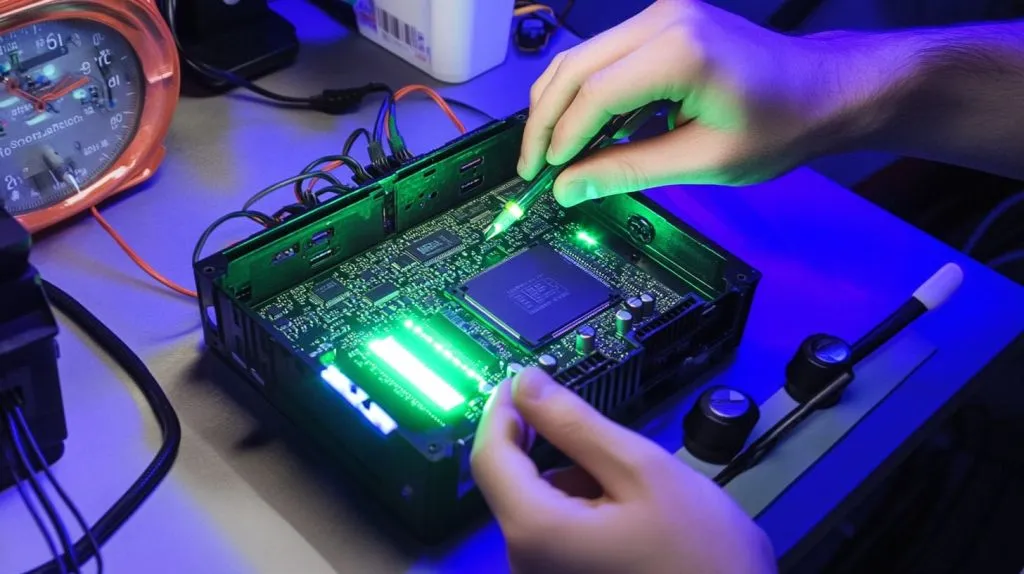
Preparing Your Raspberry Pi 5 for the Case
Required firmware & bootloader
Make sure your Pi 5 EEPROM is dated 2024-03-14 or newer. An older build may refuse to enumerate the NVMe link.
Choosing a compatible NVMe SSD
| Model | Idle Draw | Peak Draw | Endurance | Notes |
|---|---|---|---|---|
| WD SN740 1 TB | 30 mW | 3.8 W | 600 TBW | Stays cool under sustained writes |
| Samsung 980 500 GB | 45 mW | 5.1 W | 300 TBW | Needs solid airflow above 45 °C |
| Kingston NV2 250 GB | 25 mW | 2.8 W | 120 TBW | Budget-friendly, good for prototypes |
Tip I avoid DRAM-less drives bigger than 1 TB; the Pi’s single PCIe lane becomes a bottleneck anyway.
Power supply & cables
USB-C PD 5 V / 5 A brick recommended.
Use a 30 AWG or thicker USB-C cable ≤ 1 m.
If you chain peripherals, budget an extra 1 A headroom.
A solid foundation built—time to grab that mini Phillips and dive in.
Step-by-Step Hardware Assembly
Installing thermal pads, heatsink, and top shell
Peel the blue film off the graphite pad.
Center it over the CPU; align the smaller pad with the PMIC.
Lower the aluminum shell—gravity does the pressing.
Mounting the Pi 5 to the HDMI-power board
Four standoffs, finger-tight first, then an extra quarter-turn. Over-torque cracks traces; I learned that lesson on a late night build for a client demo.
Seating and securing the NVMe drive
Slide at 30°, press flat, and lock with the tiny screw supplied.\
If the PCB flexes, add the included spacer under the tail.
Closing the enclosure & final checks
Before the lid snaps on:
Fan cable clipped?
Pogo pins aligned?
GPIO ribbon clear?
Transitional tease (32 words): The lid clicks shut, but the real magic happens when electrons flow—let’s power up and teach the firmware some new tricks.
First Boot & System Configuration
Updating EEPROM & enabling PCIe/NVMe
sudo apt update && sudo apt full-upgrade
sudo rpi-eeprom-update -a
Reboot, then confirm:
vcgencmd bootloader_versionEditing config.txt for PCIe lanes
Add:
dtparam=pciex1Optional but wise:
dtparam=pciex1_gen=2Verifying NVMe detection
ls /dev | grep nvme
sudo hdparm -I /dev/nvme0 | head
If you see “missing opcode” warnings, double-check the SSD’s firmware.
Firmware’s happy? Good. Let’s give the drive an operating system to chew on.
Installing the Operating System on NVMe
Flashing with Raspberry Pi Imager
Pick Raspberry Pi OS 64-bit.
Under Storage, select the NVMe (not the micro-SD).
Enable SSH and set hostname while you’re there.
Migrating an existing micro-SD install
sudo rpi-clone -f -e sda nvme0n1Pull the SD; the board should boot from NVMe automatically.
Testing boot speed & reliability
| Medium | Cold-boot to CLI | Power draw (peak) |
|---|---|---|
| micro-SD A1 | 34 s | 3.1 W |
| USB 3 SATA SSD | 22 s | 3.5 W |
| NVMe | 12 s | 4.1 W |
Those numbers usually grab attention during customer demos—speeds and feeds never get old.
Managing Fan, Power Button & IR Features
Running the setup script
curl https://download.argon40.com/argon1.sh | bashIt drops a service into /etc/systemd/ and a config at /etc/argononed.conf.
Customizing fan curves
Default table:
| Temp (°C) | Fan (%) |
|---|---|
| 55 | 10 |
| 60 | 55 |
| 65 | 100 |
I bump the first trigger to 50 °C in warm offices.
Short press: graceful shutdown
Double tap: reboot
Hold 3 s: forced off
IR codes sit in argon1-ir.conf. I once mapped mine to the mute key of a spare TV remote—lazy, yes, but effective during presentations.
A cool board is a happy board, yet numbers tell the story best—let’s benchmark.
Performance & Thermal Benchmarks
SSD read/write vs. USB 3
| Test | USB 3 SSD | NVMe |
|---|---|---|
fio randread 4k | 42 MB/s | 105 MB/s |
fio randwrite 4k | 38 MB/s | 98 MB/s |
CPU temps
| Scenario | V3 Case | Bare board |
|---|---|---|
| Idle | 38 °C | 47 °C |
| 4-core stress-ng 10 min | 63 °C | 82 °C (throttling) |
Real-world gains
Nextcloud page loads: 1.8× faster
4K Plex transcode: plays smooth, no dropped frames
LibreOffice launch: 3.5 s vs. 8.9 s
Benchmark charts look great on slides, but what if things go sideways?
Troubleshooting & FAQs
NVMe not detected
Reseat the drive; ensure standoff matches length.
Check
pcie_aspm=offincmdline.txtfor picky controllers.
HDMI board alignment
If one HDMI port blacks out, loosen the four mount screws, reseat, tighten diagonally.
Fan noise
A whine at low RPM often means loose top lid; a tiny dab of silicone pad under the magnet cures resonance.
Boot-loop after EEPROM update
Hold the power button 15 s to clear BOOT_ORDER. Re-flash a known-good EEPROM via SD recovery.
A fix in the field often seals a customer relationship. But why stop at fixing? Let’s talk tailoring.
Customization Tips for OEM / ODM & Wholesale Buyers
Adding logos or accents
Laser engraving: matte silver, 0.05 mm depth—works on small runs.
Silk-screen: full-color, needs 300-piece MOQ.
Anodized color lid: black, space gray, or custom Pantone.
Bulk packaging & bundles
| Bundle | Contents | Target buyer |
|---|---|---|
| Starter | Case + 128 GB NVMe + 5 A PSU | Edu kits |
| Pro | Starter + aluminum VESA mount | Edge compute |
| Retail | Branded sleeve, QR setup guide | Amazon / FB shops |
MOQ, lead-time, QC
Standard MOQ: 200 units
Sample lead-time: 7 days
Mass production: 18–22 days with 100% functional test & 10% burn-in
Customization talks often spark bigger ideas—clusters, camera rigs, even car dashboards.
Conclusion
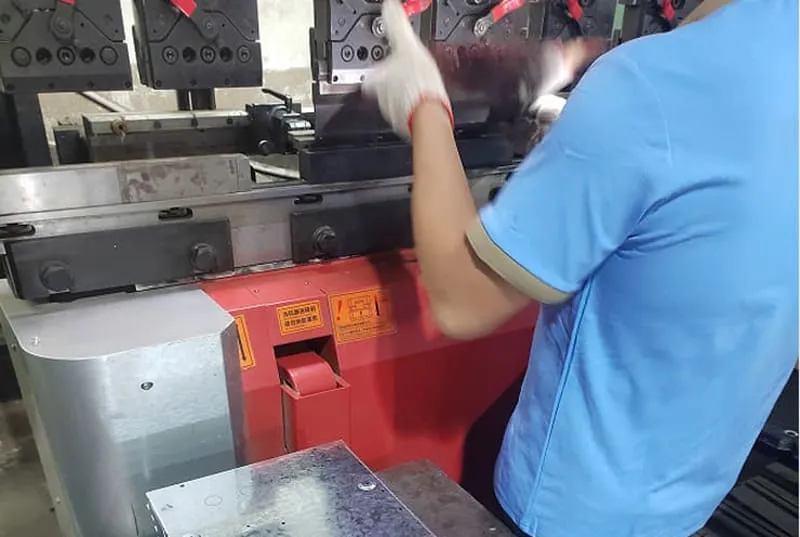
You’ve installed the hardware, tweaked the firmware, and seen the numbers that prove the effort pays off. From my desk in Dongguan to your bench in Brussels—or wherever your workshop lives—the Argon ONE V3 turns the Pi 5 into a snappy, silent micro-server. Tinker further with overclocking, build a three-node cluster, or sketch your own lid design and drop me a line at [vincent@maidatech.com](). My team at MaidaTech is ready to mill, print, or anodize your next idea into reality. See you on the factory floor—or in the inbox.