Skip to content


Why connect a custom domain to your Raspberry Pi?
You’re working on a project—maybe it’s a home dashboard, a small web app, or even a self-hosted portfolio. It runs great on your local Raspberry Pi. But as soon as someone outside your home network asks to see it, everything gets awkward. “Just type in this long IP address…” or “Hold on, let me figure out the port.” That’s the moment you realize—what you really need is a proper domain name, one that feels legit, easy to share, and built for reliability.
Whether you're setting up a remote-access dashboard for a client or simply want your ownname.com to point to your Pi-hosted site, connecting a custom domain changes the game. It makes your work feel real.
Overview of available methods (Dynamic DNS, Cloudflare Tunnel, Self-Hosted DNS)
When I map a domain, I usually choose between three routes:
Dynamic DNS – quick, cheap, but needs router tweaks.
Cloudflare Tunnel – no ports exposed, works behind ugly NATs.
Self-Hosted DNS – full control, zero third-party reliance, more upkeep.
Choosing the right approach for your network and security needs
I ask myself three simple questions:
Is my ISP friendly to port forwarding?
Do I want to hide my real IP?
How much time can I spend on maintenance?
My answers steer the rest of the setup.
Forty words to hook you for the next section: Before we dive in, let’s grab the right tools so you don’t stall halfway.
Prerequisites

Hardware and network requirements
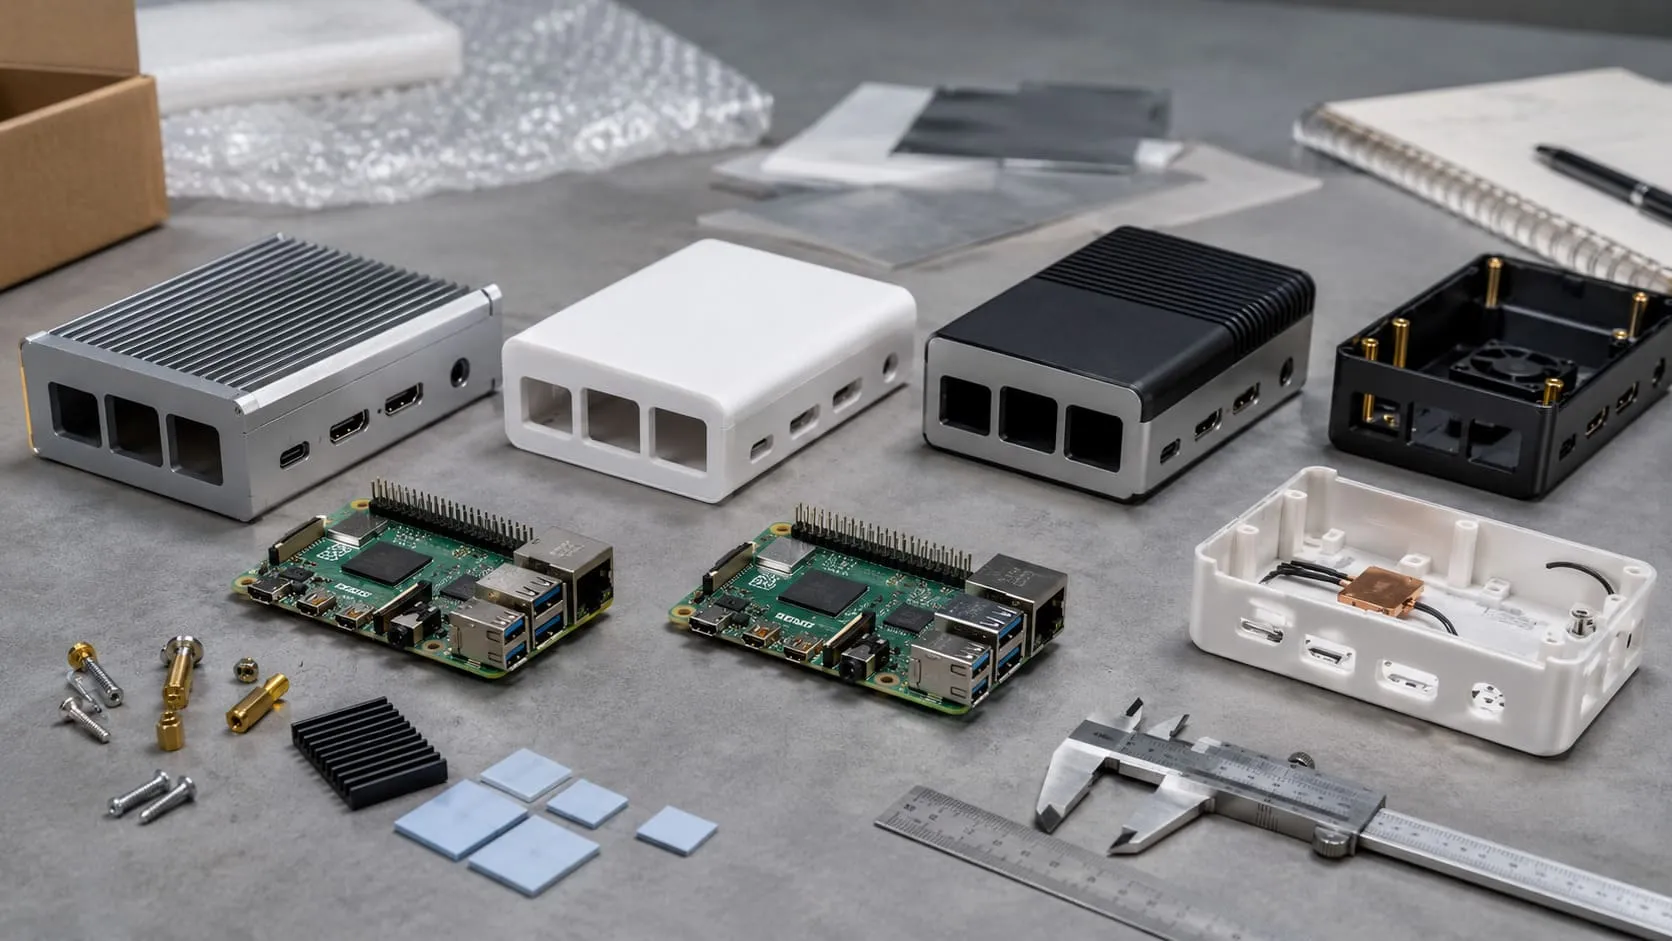
You need one Raspberry Pi (any model with Ethernet or Wi-Fi), a reliable power supply, and a router you can administer. If you plan heavy traffic, add a passive heatsink. I keep spare micro-SD cards, too—clones save nerves.
Registering or owning a domain name
Buy a domain from a registrar that supports either custom nameservers or Dynamic DNS updates. Namecheap, Google Domains, and Cloudflare all work. I stick to .com or .io because clients remember them.
Understanding static vs. dynamic public IP addresses
Most home lines use dynamic IPs. They change without notice. A static IP costs more but feels solid. Whichever you have shapes the method you choose later.
Basic Linux skills and access to your router
If you can ssh pi@raspberrypi.local, edit a text file with nano, and open your router’s admin page, you’re already set.
| Item | Why it matters | My quick check |
|---|---|---|
| Public IP type | Decides Dynamic DNS vs. static A record | Look up curl ifconfig.me twice a day |
| Router control | Needed for port forwarding | Ensure you know the admin password |
| Domain registrar | Must allow API or nameserver edits | Read their docs before purchase |
Thirty-three words to glide onward: Gear collected? Great. Let’s tackle the oldest—and still popular—Dynamic DNS plus port forwarding combo.
Method 1: Dynamic DNS + Port Forwarding

Step 1 – Reserve a static local IP for the Pi
On the router, bind your Pi’s MAC address to 192.168.1.x so it never shifts. A fixed LAN IP stops endless re-editing of port rules.
Step 2 – Enable port forwarding on your router
Forward port 80 (HTTP) and 443 (HTTPS) to the Pi. On odd projects—say, a custom MQTT broker—I forward 1883 as well. Keep the list tight.
Step 3 – Sign up for a Dynamic DNS provider
I like DuckDNS (free, four sub-domains) for hobby sites. No-IP offers 30-day free hosts if you confirm by email. Google Domains DDNS stays under your main brand.
| Provider | Free tier | Update interval | Notes |
|---|---|---|---|
| DuckDNS | Yes | 5 min | Simple token auth |
| No-IP | 1 host | 5 min | Email confirm monthly |
| With domain | 1 min | Works only on Google domains |
Step 4 – Install & configure DDNS update client on Raspberry Pi
sudo apt install -y cron curl
echo "*/5 * * * * curl -s 'https://www.duckdns.org/update?domains=myhomepi&token=YOURTOKEN&ip=' >/dev/null" | crontab -
That tiny cron keeps your record fresh.
Step 5 – Request and auto-renew free SSL certificates with Let’s Encrypt
I use Certbot with the --standalone flag first, then shift to a simple renew timer:
sudo certbot certonly --standalone -d myhomepi.duckdns.org
sudo systemctl enable --now certbot.timer
Step 6 – Harden your exposed service (UFW, Fail2ban)
sudo apt install ufw fail2ban
sudo ufw allow 80,443/tcp
sudo ufw enable
Fail2ban ships with an nginx jail. Turn it on, tweak bantime, and you’re done.
Thirty-five words, quick breath before next option: Dynamic DNS works, yet some ISPs block inbound ports—or your office firewall refuses to play along. That’s when I reach for Cloudflare Tunnel.
Method 2: Cloudflare Tunnel (Zero Port Forwarding)

What is Cloudflare Tunnel and why use it?
Cloudflare spins an outbound tunnel from your Pi to their edge. No open ports. Free SSL. DDoS shielding. I like it when I travel and tether through 4G NAT.
Step 1 – Add your domain to Cloudflare and change nameservers
Point your registrar’s nameservers to the pair Cloudflare gives. DNS propagation can take one hour; grab a coffee.
Step 2 – Install cloudflared on Raspberry Pi
sudo apt install -y cloudflared
sudo cloudflared --version
Confirm you’re above v2024.5.1 for long-term support.
Step 3 – Authenticate and create a tunnel
cloudflared tunnel login
cloudflared tunnel create mypi
Step 4 – Map subdomains to local services via Ingress Rules
cloudflared tunnel route dns mypi pi.example.com
nano ~/.cloudflared/config.yml
Example rule:
ingress:
  - hostname: pi.example.com
    service: http://localhost:80
  - service: http_status:404
Step 5 – Enforce HTTPS & Access policies
Turn on “Always Use HTTPS” and, if Davide needs private access, add Cloudflare Access with one-time links.
Step 6 – Monitoring and automatic updates
cloudflared tunnel run mypi --metrics localhost:9090 streams Prometheus data. I schedule apt upgrade cloudflared weekly.
Thirty-three words to pivot again: If you crave ultimate ownership—no middlemen, total DNS autonomy—let’s boot our own nameserver right on the Pi.
Method 3: Self-Hosting Authoritative DNS on the Pi

When self-hosting DNS makes sense
I use this path for internal clusters and for clients who distrust third parties. It shines when you control both registrar glue records and on-prem infrastructure.
Step 1 – Install & configure BIND9
sudo apt install bind9 bind9utils
sudo systemctl enable --now bind9
Step 2 – Create zone files and records
sudo nano /etc/bind/zones/db.example.comAdd A, AAAA, and CAA records. Keep TTLs modest at first (300 s) for debugging.
Step 3 – Register glue / NS records with your registrar
Set ns1.example.com and ns2.example.com as authoritative. Provide their IPs—this is the “glue.”
Step 4 – Secure and monitor your DNS server
Enable
ufwto allow only port 53.Use
rndcwith keys for remote control.Hook logs into Fail2ban to block abnormal queries.
Thirty-nine words to keep you scrolling: Multiple apps on a single domain? No need for dozens of IPs. A reverse proxy brings order—let’s configure that next.
Routing Multiple Services Behind One Domain
Using Nginx (or Caddy) as a reverse proxy
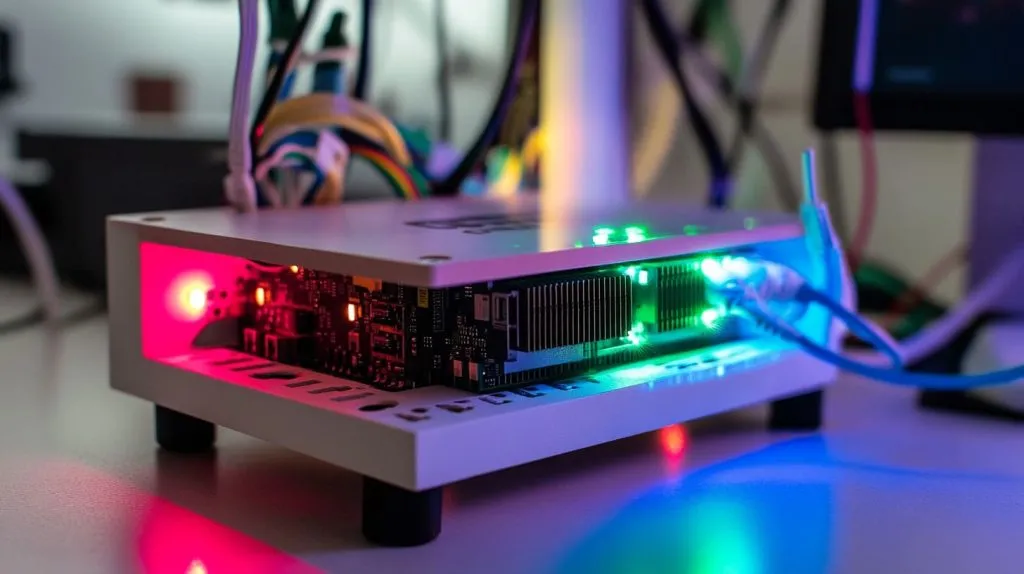
Nginx maps incoming hostnames to internal ports. Caddy does the same and fetches SSL automatically. I pick Caddy when I’m lazy, Nginx when I crave fine-tuning.
Virtual hosts for subdomains and paths
blog.example.com can serve Ghost on port 2368 while /api/ proxied to Node-RED at 1880. Clean, isolated, simple.
Handling SSL certificates for each host
Nginx needs a server_name block per domain. Caddy’s Caddyfile can shrink to two lines. Either way, certificates should renew without manual clicks.
Load balancing and caching considerations
Nginx’s upstream distributes traffic to multiple Pi nodes. For read-heavy dashboards, I tack on proxy_cache_path for a quick speed boost.
| Scenario | Reverse-proxy pick | Why |
|---|---|---|
| Many small sites | Caddy | less config, auto SSL |
| Heavy tuning | Nginx | granular directives |
| HA cluster | Nginx + Keepalived | VRRP failover |
Thirty-one words, onward to safety: A live site means nothing if hijacked. Let’s lock down the box before we celebrate.
Security Best Practices

Keep the OS and packages updated
sudo apt update && sudo apt full-upgrade -y in a weekly cron keeps CVEs away.
Use SSH keys and disable password login
Edit /etc/ssh/sshd_config, set PasswordAuthentication no, and restart SSH. Store keys in a password manager.
Configure UFW/iptables firewall
Block every port except the ones you explicitly need:
sudo ufw default deny incoming
sudo ufw allow 22,80,443/tcp
Implement Fail2ban for brute-force protection
Default jail rules cut most bots. I lower maxretry to 3. It’s strict but saves bandwidth.
Regular backups and disaster recovery plans
I rsync /etc, /var/www, and my database dumps to an off-site VPS every night.
| Measure | Tool | Check frequency |
|---|---|---|
| Patch management | Unattended-Upgrades | Weekly |
| Intrusion detection | Fail2ban | Real-time |
| Backups | Rsync + Cron | Nightly |
Thirty-five words to transition: We’ve locked the doors, but things still break. Knowing how to test and debug saves weekend headaches.
Testing & Troubleshooting

Checking DNS propagation (dig, nslookup, DNSChecker)
dig +trace pi.example.com shows each hop. Online tools help when you’re on mobile.
Verifying open ports (nmap, canyouseeme.org)
Run nmap -Pn your.ip.add.ress from an external VPS. If port 443 is closed, double-check firewall or router rules.
Reviewing logs (systemd, Nginx, cloudflared)
journalctl -u nginx tells me when certificates mis-match. cloudflared tunnel logs reveals connection drops.
Common pitfalls and fixes
| Symptom | Likely cause | Quick fix |
|---|---|---|
| ERR_CONNECTION_TIMED_OUT | Router not forwarding | Re-save port rule |
| SSL mismatch | Wrong server_name | Edit Nginx block |
| DNS NXDOMAIN | Record typo | Re-enter at registrar |
Thirty-two words to keep momentum: Once things run, they should stay that way—let’s automate the dull bits and add visibility.
Maintenance & Monitoring

Automating certificate renewal
Let’s Encrypt renews at 60 days. I add a health check URL so Uptime Robot screams if it lapses.
Scripted DDNS updates
A five-line Bash script beats forgetting a token. I log the public IP to /var/log/ip.log for audits.
Using uptime monitors and webhooks
Uptime Robot pings every five minutes. When it fails twice, it sends a webhook to Slack. Cheap insurance.
Planning for hardware failures and scaling
Keep one spare SD card, one spare Pi, and a tarball of your config. Cloning the card with rpi-clone cuts restore time to minutes.
| Asset | Backup medium | Restore time |
|---|---|---|
| SD card | Extra SD | <10 min |
| Config files | Git repo | Instant |
| Database | Daily dump | 5 min |
Thirty-six words closing the loop: With the groundwork maintained, you’re free to build new services—or finally sleep easy. Time to wrap up our journey.
Conclusion

Recap of connection options and their trade-offs
Dynamic DNS – fast, cheap, but needs open ports.
Cloudflare Tunnel – zero ports, free SSL, slight vendor lock-in.
Self-Hosted DNS – full control, higher upkeep.
Recommended path for beginners vs. advanced users
If you’re new, start with Cloudflare Tunnel—less router pain. Seasoned network folks may enjoy Dynamic DNS for its raw transparency. Control freaks like me sometimes roll BIND9 on spare Pis.
Final tips on security and ongoing maintenance
Patch weekly, back up nightly, and monitor always. A domain is easy to point, but trust is hard to win back after downtime. Treat your Pi like production gear, and it will serve you like one.