 Skip to content
Building a laptop with a Raspberry Pi 4 Model B? It might sound like a challenge, but trust me, it’s one of the most fun and educational projects you can take on. Not only will you get to dive into hardware assembly, but you'll also get to play around with software configuration and make a laptop that’s uniquely yours. In this guide, I’ll walk you through everything you need to know—from gathering the essential components to assembling them into a working device, and finally, setting up the software to bring it all to life. Let’s get started!
1. Essential Components
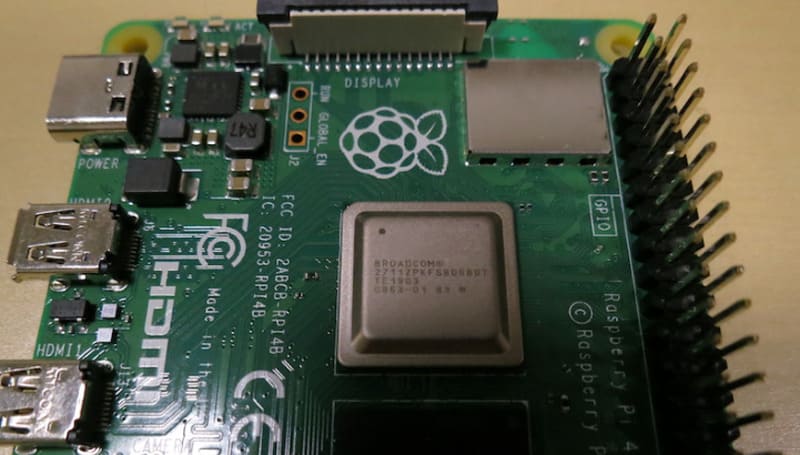
1.1 Raspberry Pi 4 Model B
The heart and soul of your custom laptop: the Raspberry Pi 4 Model B. It’s compact, but packs a punch. Offering up to 8GB of RAM, it’s more than capable of running everything from light productivity software to media players. I’ve personally used this model for various DIY projects, and I can vouch for its power and versatility. It’s perfect for turning into a portable computer.
1.2 Display
Next, you’ll need a display. I recommend a 7-inch touchscreen. Why? Well, it’s small enough to keep the device portable but large enough to give you a comfortable working area. It’s also crucial to make sure the display is compatible with your Raspberry Pi’s GPIO pins for a smooth integration. Think of it as choosing the perfect canvas for your masterpiece.
1.3 Keyboard and Touchpad
A compact keyboard and touchpad are essential to making your laptop functional. You can go for a mini wireless keyboard, or if you’re feeling creative, you could even build your own setup. The goal is to keep things small and portable but still comfortable to use. I know the struggle of trying to type on a tiny, cramped keyboard—trust me, don’t make the same mistake I did and choose wisely.
1.4 Power Supply
A laptop isn’t much use if it’s not portable, right? That’s why you’ll need a reliable power source. I recommend using a lithium-ion battery pack for easy mobility. The PowerBoost 1000C is a great option for managing your power needs, and it can also handle the charging for your battery, so you don’t need to worry about plugging in every time you use it.
1.5 Enclosure
Now that you’ve got all your components, you’ll need an enclosure to house them. Whether you go for a 3D-printed case or repurpose an old device, make sure it fits your components securely. The last thing you want is for your Pi or screen to get damaged during use. I’ve used repurposed cases from old laptops in the past, and they’ve worked like a charm!
2. Assembly Steps
2.1 Preparing the Raspberry Pi
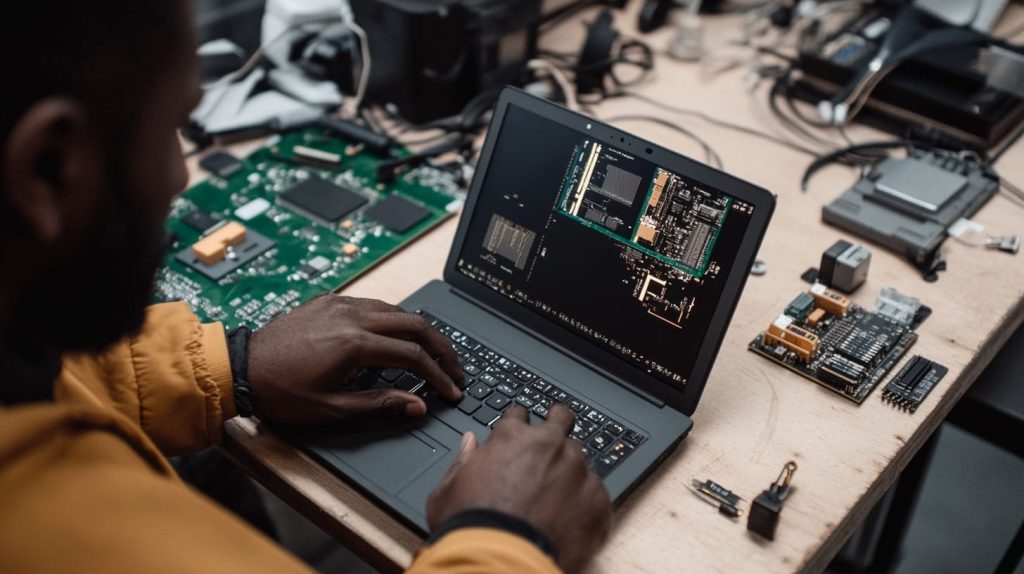
Before you even think about putting everything together, you need to prep your Raspberry Pi. This involves installing the Raspberry Pi OS on a microSD card, setting up your Wi-Fi, and configuring some initial settings. Trust me, don’t skip this step—getting your Raspberry Pi ready will save you a ton of time later on.
2.2 Integrating the Display
Once your Pi is set up, it’s time to get your display connected. The touchscreen needs to be linked up to the Pi’s GPIO pins. You’ll also need to tweak the config.txt file to make sure the display works properly. It can be a bit tricky at first, but I promise it’s not as hard as it sounds. Take your time, and if something’s not working, don’t panic—there are plenty of online forums to help you troubleshoot.
2.3 Setting Up Input Devices
Now, let’s talk about input devices. Connect your keyboard and touchpad, whether it’s via USB or GPIO. If you’re using wireless devices, don’t forget to pair them properly! Once connected, you’ll need to configure the settings to ensure they work seamlessly with the Raspberry Pi.
2.4 Power Management
Getting the power supply hooked up is crucial. Make sure you’re providing the right voltage and current to your Raspberry Pi. The PowerBoost 1000C can help you manage everything, so you’re not constantly worrying about running out of battery. I always recommend adding a power switch as well—just makes everything a little more convenient.
2.5 Assembling the Enclosure
Once all your components are ready to go, it’s time to put them in their home: the enclosure. If you’re using 3D-printed parts, make sure they fit snugly. You don’t want any wiggle room. And don’t forget ventilation! Raspberry Pis can heat up during use, so ensuring there’s proper airflow will keep your laptop running smoothly.
3. Software Configuration

3.1 Installing the Operating System
The next step is to install the Raspberry Pi OS onto your microSD card. Raspberry Pi Imager is the easiest way to do this—just select your operating system, hit write, and you’re done. I also recommend enabling SSH and VNC at this point so you can remotely access your Raspberry Pi if needed.
3.2 Configuring Display Settings
Once the OS is installed, it’s time to get your display set up. Adjust the resolution to match your touchscreen’s specs, and make sure it’s oriented correctly. It’s a small tweak, but it makes a big difference in usability.
3.3 Setting Up Input Devices
With everything else in place, now’s the time to make sure your keyboard and touchpad are working. If they don’t work right off the bat, you may need to install additional drivers. But don’t worry, it’s a straightforward process. Test everything and make sure it’s responsive before you move on.
3.4 Power Management Software
Finally, don’t forget about power management software. You’ll want to monitor your battery status to make sure you don’t run out of juice too quickly. There are several apps available for this, so pick one that suits your needs.
4. Testing and Troubleshooting

4.1 Initial Testing
Before you get too excited, it’s time to test everything. Power on the device, and check that the display, input devices, and power supply are all working. If something doesn’t work, don’t worry—it’s usually an easy fix.
4.2 Troubleshooting Common Issues
It’s normal to run into some issues along the way. If your display isn’t powering on, or your keyboard isn’t responding, don’t stress. I’ve had my fair share of troubleshooting sessions, and it’s all part of the process. The key is to stay patient and methodically work through the problem.
Conclusion
Building a laptop from a Raspberry Pi 4 Model B is a rewarding project. Not only do you get to create a device that’s entirely your own, but you’ll also gain valuable experience with hardware and software integration. By following the steps in this guide, you can create a fully functional laptop that’s portable and customizable. Happy building!




