Skip to content
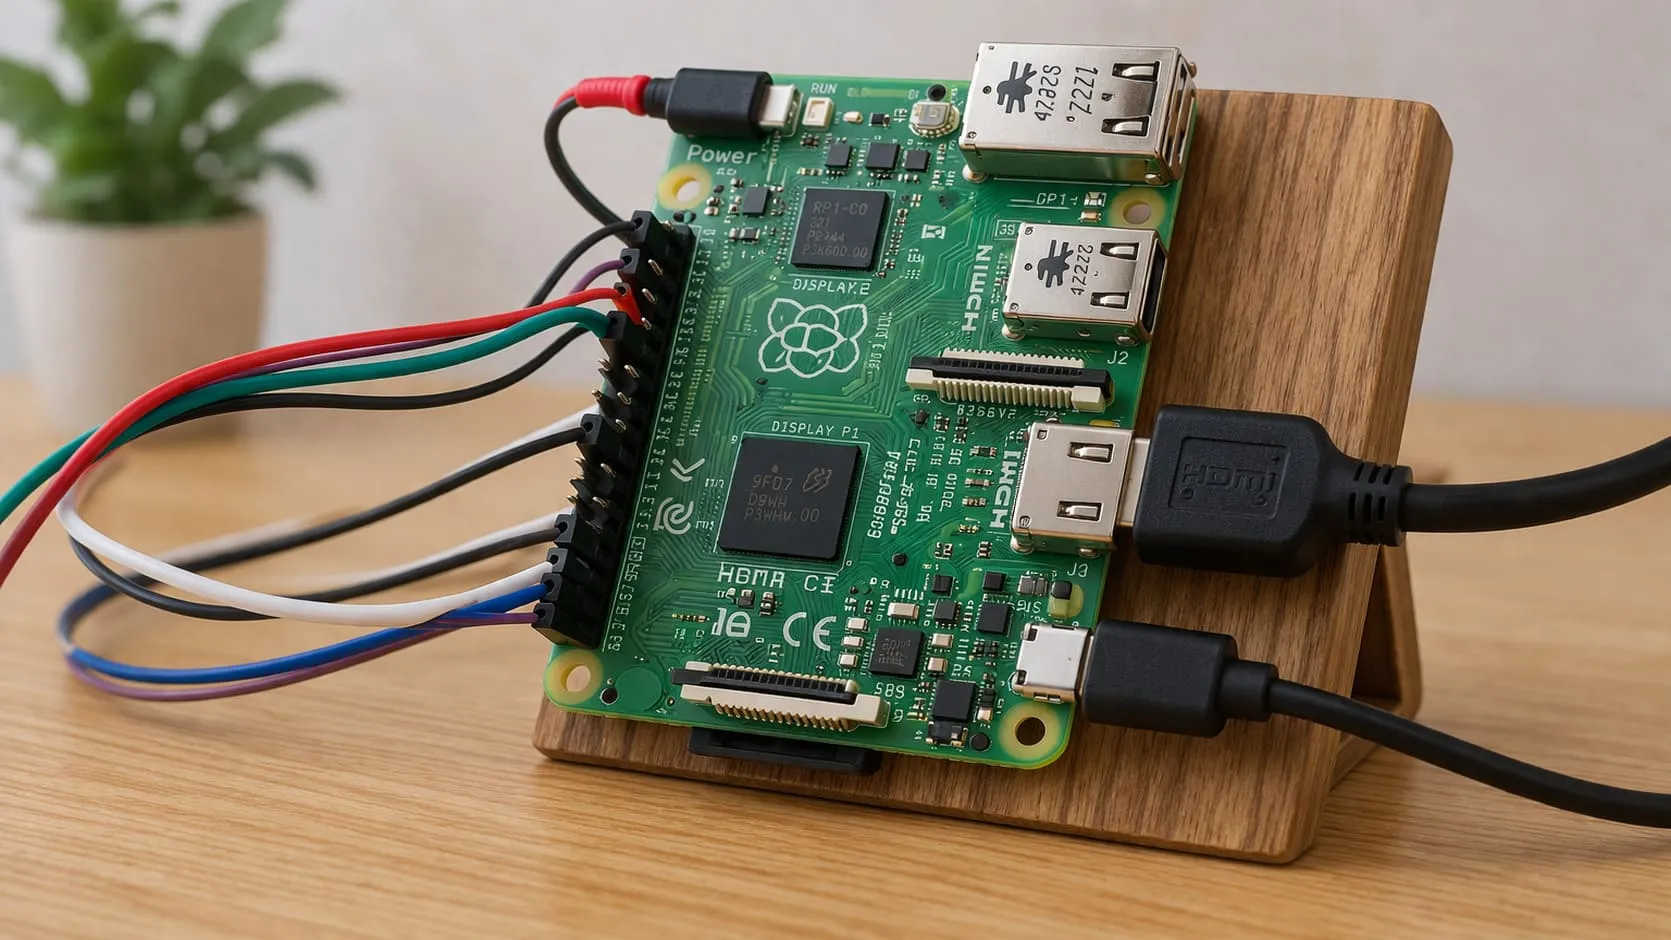
Custom Raspberry Pi cases created from toolless plastic offer superior protection for your unit. In addition, they present your Raspberry Pi in a clean, artful, and efficient style.
These cases have been designed for the simplest assembly possible with no tools required, so they are suitable for any level of maker. Manufactured with strong materials, their custom designs offer excellent airflow and full access to all ports while looking incredibly clean.
Whether you’re outfitting a home project or a robust commercial installation, these elegant cases bridge the gap between form and function to make your Raspberry Pi truly shine.
Why Choose a Custom Case?
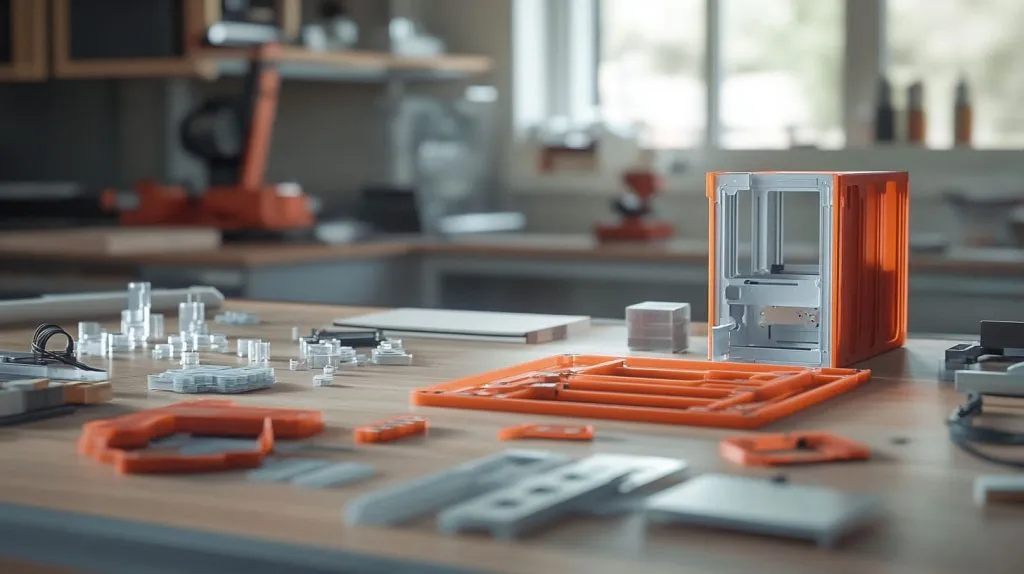
A custom Raspberry Pi case offers bespoke benefits that standardised cases simply can’t match. This tailored strategy not only enhances functionality but also addresses unique project requirements, ensuring quality custom plastic enclosures that improve durability and aesthetics – a win-win for everyone! Let’s take a closer look at each of these advantages.
Protect Your Raspberry Pi
Custom cases offer better overall protection by filling in the gaps that generic cases leave exposed. Creating a barrier between your Raspberry Pi and the outside world, an intelligently designed case protects it from debris, humidity, and unintended bumps. Features like sealed edges and rugged materials like polycarbonate or ABS plastic can help keep harmful particles out.
This is particularly important for industrial or outdoor deployments, where environmental exposure may damage sensitive electronic components. Overheating is an especially big worry. Custom cases usually have a built-in cooling system or vented panels to improve thermal management.
By allowing for airflow to keep your Raspberry Pi inside cool, these cases almost double the life of any common Raspberry Pi, as well as providing cooled performance. A customized fit is important to protect the internal equipment from unexpected movement or breakage while on the road. Custom designs fit to the exact measurements of your equipment providing you with accuracy and assurance that generic options can’t compare to.
Personalize Your Project
Custom plastic enclosures break the mold, inspiring creativity and opening new doors to design an eye-catching custom plastic case that makes a statement about your individuality or company. From custom-cut shapes and vivid color printing to laser-engraved brand logos, the options are limitless. Customization increases visibility, especially when creating quality custom plastic enclosures tailored for specific applications.
For example, companies frequently use custom enclosures to enhance their branding, making their products eye-catching as well as functional. This approach is already embraced by 90% of North American and European businesses, demonstrating its effectiveness in creating a professional, standout impression.
Custom cases make for better presentations too — be it a science fair entry, a prototype or a manufactured consumer product. A well-crafted case with custom textures, materials, or lighting elements can enhance your project, leaving a lasting impact on your audience.
Optimize Functionality
On top of appearances, custom cases are built for pure function. They can include integrated features such as cooling fans and special access ports for GPIO pins. Next to that, they provide room for even more accessories like cameras or displays.
This level of flexibility provides the ability to accommodate non-standard port configurations or other special unique setups. This leads to improved airflow and thermal management making one of the other main benefits.
In a case made with the tightest engineered precision imaginable, like CNC machining/laser cutting, a lackluster performance can lead to damage or breakage. High-volume production with third-party certification further guarantees consistent quality, making custom cases a smart choice for businesses or hobbyists seeking both form and function.
Understanding Toolless Plastic Design
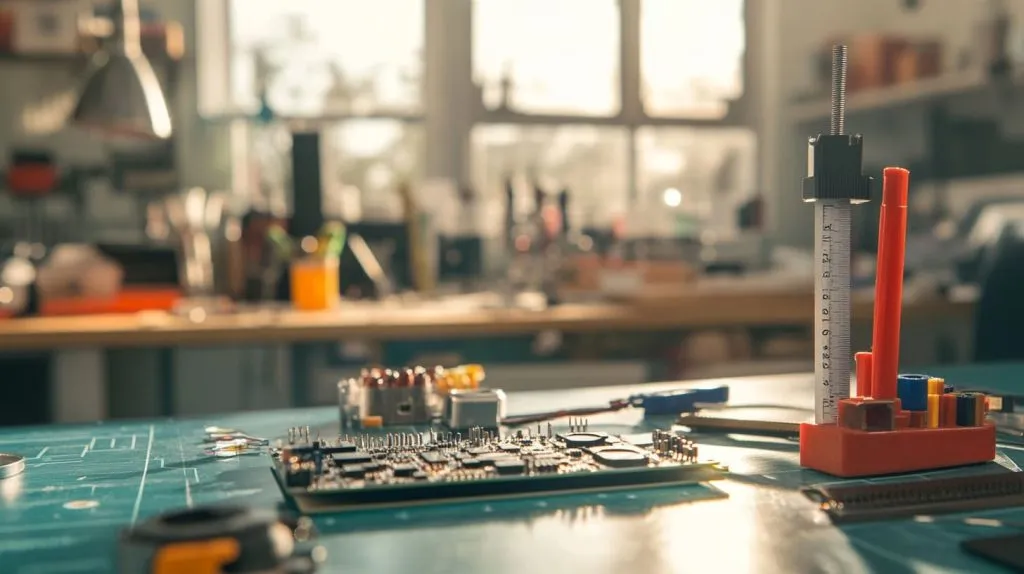
Toolless plastic design provides an efficient approach to producing custom, built-to-spec Raspberry Pi cases. It removes the requirement of conventional molds or tooling. This process focuses on very tight tolerances in industrial manufacturing using CNC (Computer Numerical Control) machining.
It eliminates the expense and lead time of making molds. First, you choose an appropriate thickness and color of plastic sheets. Next, you route the design straight into the material. For one, it saves time in production and assembly.
Customization is possible on the fly with no delays. As an advanced Raspberry Pi user, you have the opportunity to design a premium quality enclosure that meets your exact fit, form, and function requirements. This saves you time and money in the process.
Benefits of Toolless Assembly
The first, and perhaps best, element of toolless assembly is its ease. Assembly is no longer tool dependent, opening up the assembly process to end-users who might not have a technical background. Snap-fit connections, a signature of toolless design, provide a user-friendly, snap-together assembly that ensures robust performance without the assembly line. This approach is particularly beneficial for custom plastic enclosures, as it allows for a seamless integration of components.
For the manufacturers, this new method saves time on production, cutting down on the extra time created by the cumbersome nature of older processes. For instance, the entire process from quoting to tooling to production lead times for quality custom plastic enclosures can be as low as 3-4 weeks, and that’s not at the expense of quality.
Toolless designs make post-modification customization easy during the assembly process. Changing them is simple if changes are required. Thanks to the design’s inherent flexibility, you can easily change where internal components are located, making it ideal for applications like electronic enclosures, industrial enclosures Raspberry Pi.
This flexibility makes it well-suited for prototyping or small-scale production, where alterations may happen regularly. Custom plastic case designs can adapt to various needs, ensuring that the final product meets specific requirements efficiently.
Suitable Plastic Materials
Material selection is an important factor in the final look, feel, suitability and durability of a Raspberry Pi case. With its most popular grade known for its impact resistance and affordability, ABS is a practical option for everyday use.
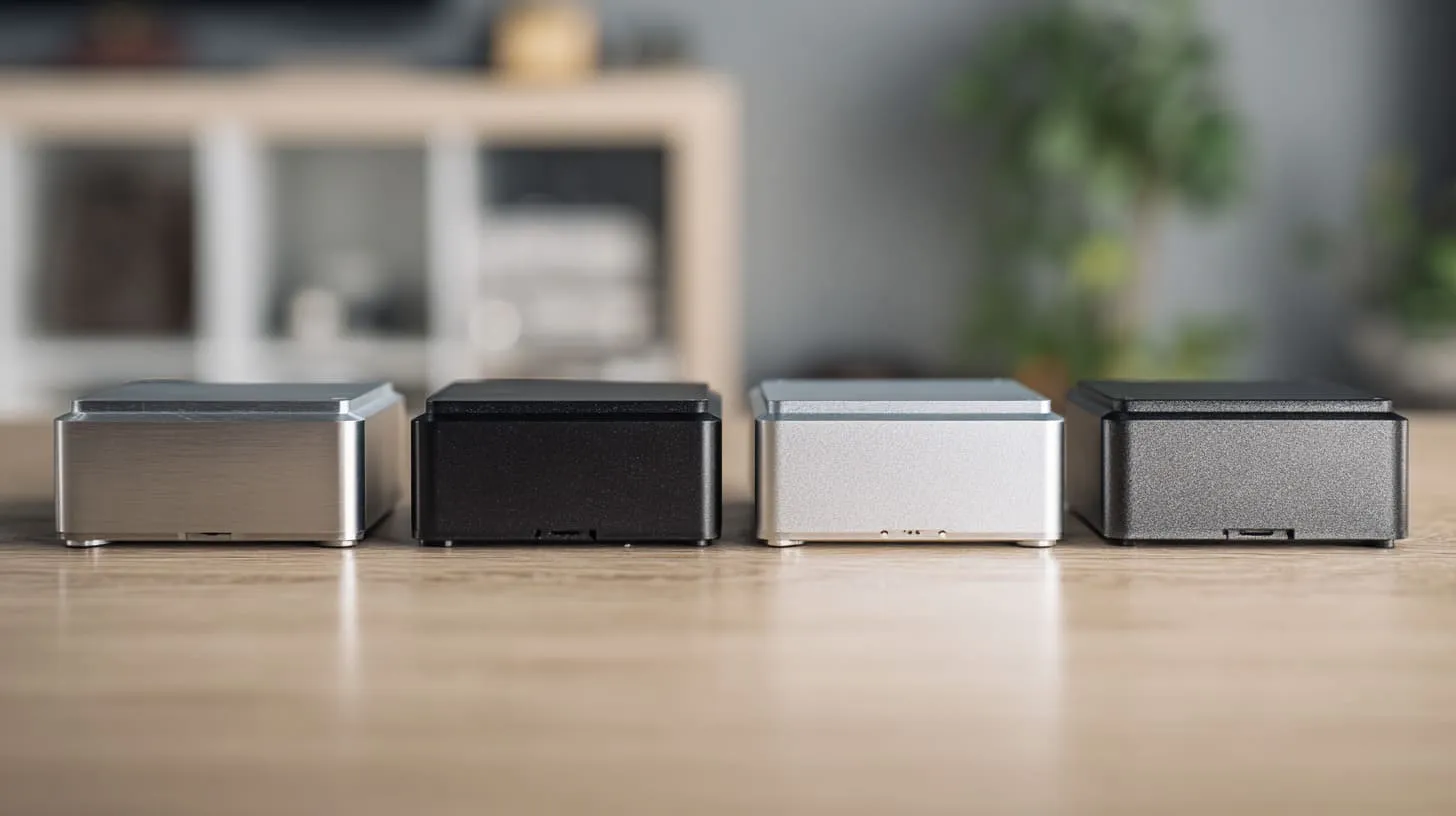
Acrylic produces a consistent, seamless, high-gloss finish, making it a perfect choice for consumers looking for a more attractive look. Aluminum is another alternative, offering good strength and thermal efficiency, but likely at a higher cost than plastics.
The material selected has a direct impact on the performance of the enclosure. Materials such as ABS and acrylic can provide lightweight, attractive alternatives to bulky metals.
Ensuring Secure Snap-Fit Connections
Snap-fit connections are a vital aspect of toolless designs, providing a simple and ergonomic solution during assembly and disassembly. A thoughtfully designed snap-fit makes sure that every piece snaps securely into place, fasteners not required.
To make this happen, design elements such as interlocking tabs and tight tolerances in the plastic design are critical. CNC machining allows for fine-tuning to exact tolerances.
When an error is identified, the CNC operator has to collaborate directly with the CAD designer to adjust the design. This simple, iterative process makes for a snug and secure, confidence-inspiring fit, leading to improved function and lifespan of the case.
Target Raspberry Pi Model Selection
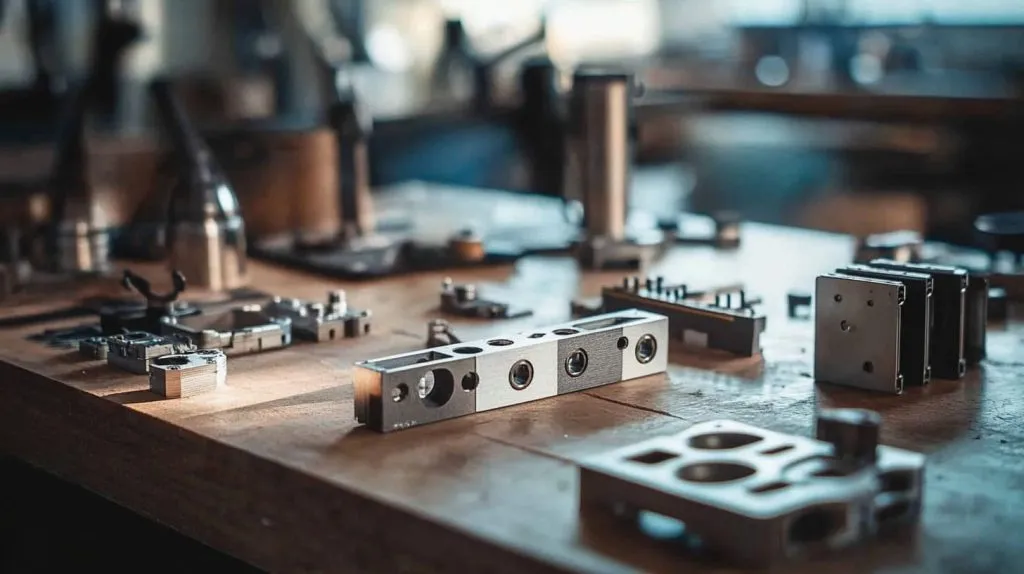
Choosing the perfect Raspberry Pi model is an important first step in designing a specialized custom plastic enclosure. Every project has its own special needs, driven by the model’s size, port configuration, and thermal characteristics. Understanding these details will ensure your new custom plastic case fits and functions seamlessly, meeting all your project requirements!
Consider Pi Model Dimensions
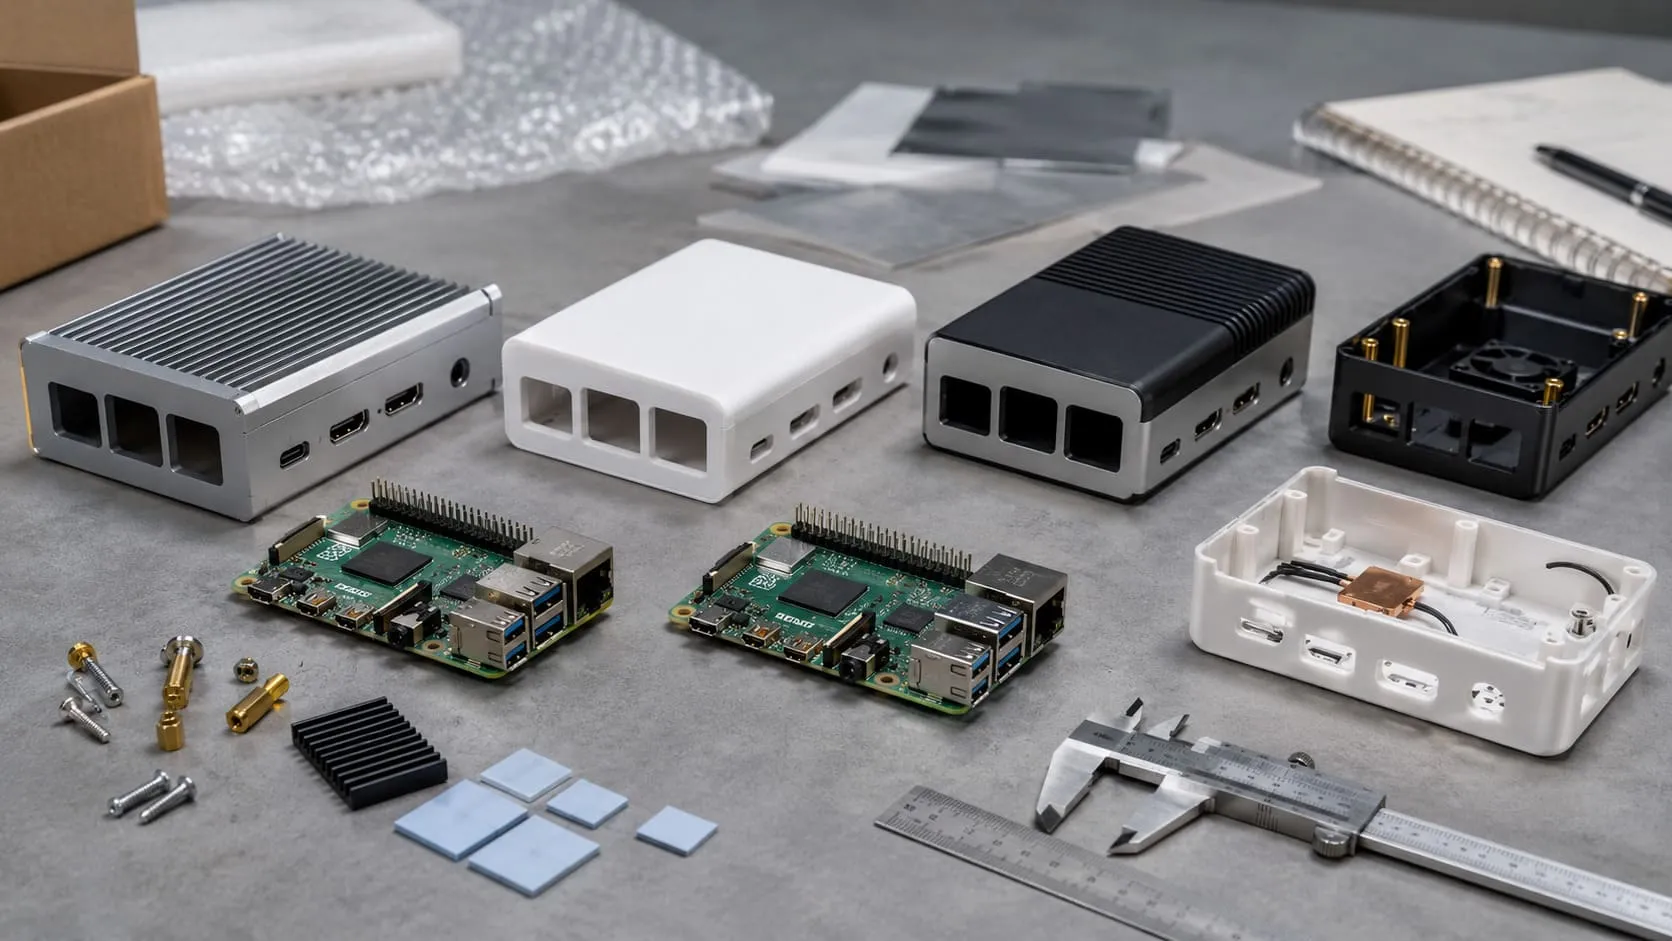
Raspberry Pi models are available in various physical footprints, with considerable variation between versions. For instance, the Raspberry Pi 1, 2, 3, and 4 all have different dimensions. To ensure a perfect fit, it's essential to find the length, width, and height of your targeted board in inches. This step is crucial for successful custom plastic enclosure design.
For example, the Raspberry Pi 4 is about 3.37 inches long and 2.22 inches wide. Having these accurate measurements prevents design miscalculations when the actual assembly phase starts. To start, we need to get the measurements.
Next, design files must be generated that adequately represent the model’s proportions and scale. This is the place where that precision really matters. Dimensional checks, which should be done early, can help avoid this and other alignment issues down the line.
To create our custom plastic cases, we utilize 3mm (0.12 inches) thick black ABS plastics. This material provides a secure fit, ideal for our electronic housings.
Assess Port Accessibility Needs
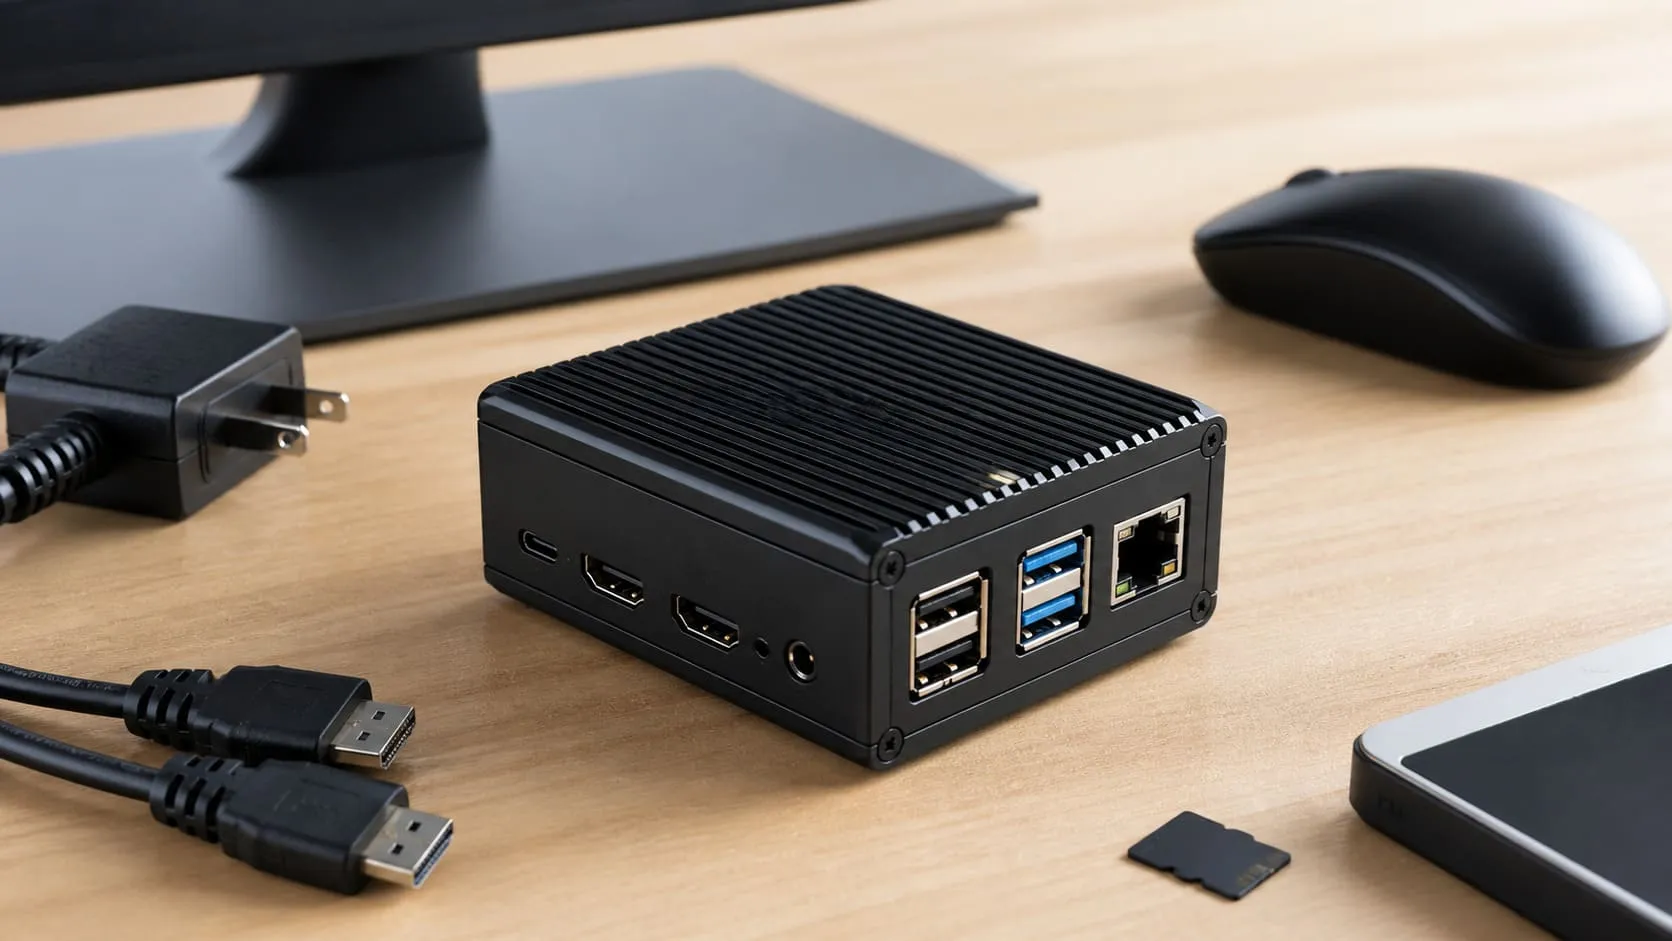
Note that every model of Raspberry Pi has a different port layout. Discovering what ports require accessibility first is crucial to effective implementation. USB, HDMI, and power ports are the most frequent access points, though many projects will need GPIO pin access too.
If your project features peripherals like an external display or keyboard, you’ll need to produce accurate cutouts. Make sure you have the measurements down correctly for the HDMI and USB ports. Our process creates cutouts that playfully preserve usability while creating a unique language and identity that connects to the aesthetic.
We always try to cut these cutouts so that they’re exactly in between connector pads. That attention to detail makes the case look pretty good too. This last step is critical if your application will be using the ports frequently.
Evaluate Thermal Management Requirements
Thermal management is based on which model will be producing more heat. Take the Raspberry Pi 4, for example, which runs hotter compared to most previous models. Best thermal solutions are adding ventilation slots for natural airflow or built-in passive heatsink.
For more demanding applications, you can use fan mounts to boost cooling. These factors help make sure your Raspberry Pi performs smoothly, even with demanding tasks.
Key Design Considerations
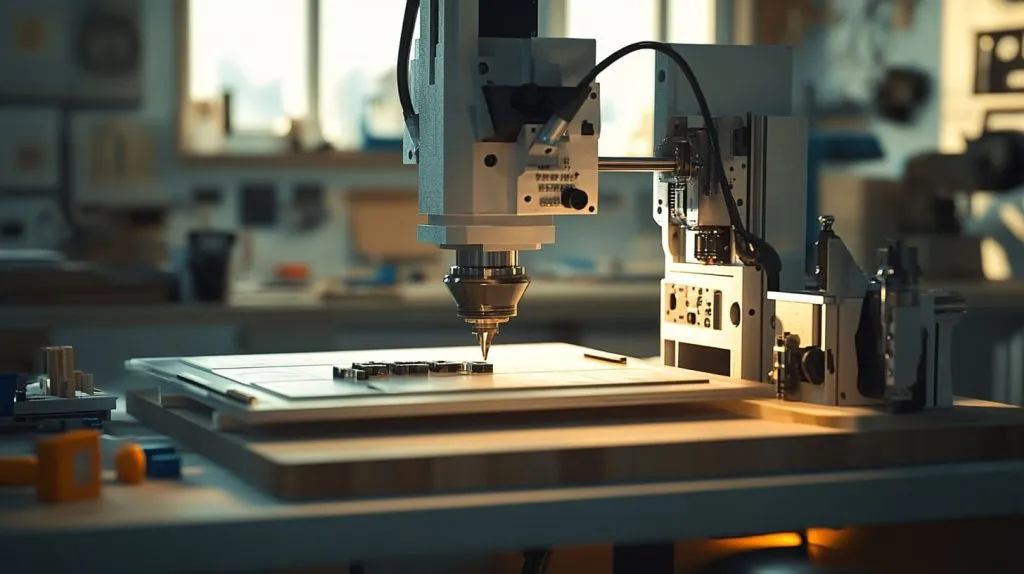
When designing a custom Raspberry Pi case, attention to detail transforms a simple enclosure into a highly functional and visually appealing product. It’s a delicate dance between aesthetics and functionality, a need for strong vision and planning, and realizing technical requirements to make them work properly.
Here, we take a closer look at some important features that make up a good Raspberry Pi case design.
1. Plan for Ventilation and Cooling
Proper cooling is imperative to get the most out of the Raspberry Pi’s peak performance. Incorporating ventilation holes or grills into the design ensures air can flow freely, stopping key components from overheating.
For instance, to prevent bottlenecks in heat dissipation, designers will locate vents around the CPU and power supply unit. Incorporating additional cooling components like small fans or heat sinks can create even more effective thermal management.
It’s important to test prototypes for thermal performance. Use advanced tools such as thermal imaging and modeling to anticipate and rectify potential heat-related problems before the design is set in stone.
2. Design for Easy Access
Fortunately, accessibility, usability, and future maintenance follow. Proper cutouts for USB, HDMI, GPIO pins, and other ports help you get the most from the Raspberry Pi.
Say goodbye to wasting time and the stress of pop through alignments. For instance, designing movable or removable access panels can make installation and replacement of components easier.
Fun user-friendly details such as tool-free assembly and thumb screws cement an enjoyable holistic experience. This makes the case attractive for both hobbyists and enterprise professionals.
3. Account for Mounting Options
Smart mounting designs protect stability and prevent damage during vigorous use. Including internal mounting points for the Raspberry Pi board and external options like wall mounts or VESA brackets allows versatility across applications.
For example, cases intended for use in industry might require extra reinforcement, while projects in residential locations may need to focus on saving space.
4. Choose the Right Plastic
This consideration is rapidly becoming critical. Material selection directly influences durability, cost, weight, and thermal resistance.
Alternative high-strength plastics like ABS or polycarbonate are widely used for their toughness and low cost. In such applications where the weight is a primary concern, PLA currently provides an attractive alternative – particularly when leveraging the capabilities of 3D printing.
Each and every material should be considered for its merits towards accomplishing the project's unique goals.
5. Design for Snap-Fit Assembly
Snap-fit assembly allows for fast, tool-free assembly made possible with snap-fit features. Utilizing CAD software to simulate these mechanisms provides an opportunity to make accurate adjustments, ensuring the tunnel connections are reliable and long-lasting.
We would recommend that all prototypes go through some kind of stress test to ensure the integrity of these joints long-term.
6. Consider Wall Thickness
Wall thickness increases strength but decreases thermal insulation. For example, a 0.08-0.12” thickness can provide the right balance of durability while preventing excessive bulk.
Strong analysis tools can provide the new generation of designers with answers to questions related to the best thickness for structural integrity without sacrificing portability.
7. Prototype and Test Your Design
Prototyping is essential to test and confirm designs. Technologies such as 3D-printing easily accommodate iterations at low cost using materials like PLA or ABS.
Performance tests—airflow efficiency evaluations and durability tests—make sure that the design can accomplish its functional objectives. Collecting user feedback helps with prioritization and refinement, setting the stage for developing the polished final product.
Design Software and Techniques
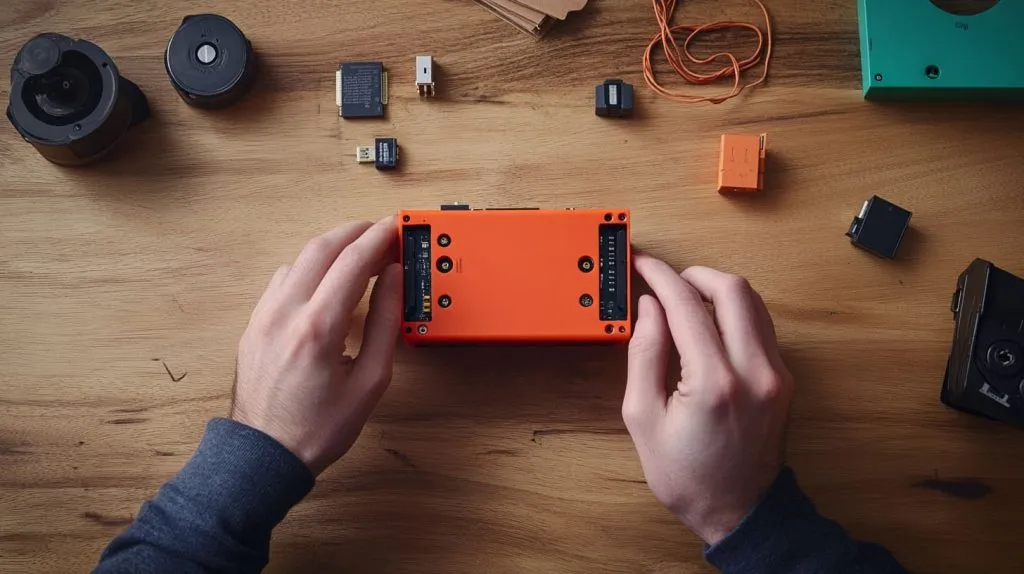
Creating a fully custom Raspberry Pi housing using toolless plastic fabrication techniques involves a fair amount of preparation and very, very specific tools. It all begins with choosing the best design software.
Next, take a deep dive into how techniques and processes are used to achieve proper assembly, including simulation of performance to ensure optimal functionality. Every step is important to creating a long-lasting, well-fitting custom-made enclosure that’s specifically designed for your application.
When you merge creative innovation with powerful design software, you can turn a basic circuit board into a purpose-built system.
CAD Software Options
Selecting the best CAD software lays the groundwork for your design. Products ranging in complexity and flexibility from Autodesk Fusion 360, SolidWorks, TinkerCAD, and other widely available Design Software make this work doable.
Parametric designs. Fusion 360 is well-suited for detailed parametric designs. SolidWorks is built for professional-grade engineering capabilities. Conversely, TinkerCAD offers a more user-friendly experience for beginners who are just getting started with more basic designs.
When selecting Raspberry Pi cases, consider aspects like 3D modeling precision and strong assembly capabilities. Make sure designs are 3D printer friendly to set them up for success.
Trying out various design software will lead you to the right one that fits your capabilities and the demands of your project. For instance, Fusion 360 has simulation tools built into the software that are incredibly helpful when you’re testing out snap-fit mechanics.
SolidWorks’ extensive component library makes it easy to add predefined Pi mounting points so you can be sure your Raspberry Pi will fit right into your design.
Designing for Snap-Fit Mechanisms
Snap-fit designs simplify manufacturing. Snap-fit designs are a primary design tactic to achieve tool-free assembly. Start by establishing appropriate clearances and tolerances within your CAD design so that parts can be assembled with a snug fit, but not requiring undue pressure.
A tolerance of .01–.02 inches would generally be appropriate for the majority of plastic materials. Instead, aim for thoughtful designs of interlocking tabs and slots that come together nicely in assembly.
Some of those best practices are avoiding sharp corners or edges that can create stress concentrations and being careful to design enough flexibility into plastic parts. For example, designing tapered snap-fit hooks can increase assemblability and still provide a robust locking feature.
Being able to test these features virtually will save valuable time and material while working through a prototype.
Simulating Assembly and Stress
Simulation tools, such as those in Fusion 360 or SolidWorks, enable you to test how your case will perform under real-world conditions. Typically, stress analysis can highlight problem areas in the design so you can modify it before going into production.
For example, running accelerated service simulations on snap-fit tabs would provide data to support the claim of durability after 10,000+ uses. Virtual testing further reduces waste so your first physical prototype is as close to the final product as possible.
Manufacturing the Custom Enclosure
Behind the production of custom Raspberry Pi enclosures is a complex and highly coordinated manufacturing process that requires the perfect blend of artistry, technology, and precision. We take meticulous precautions with each process to guarantee that each custom enclosure fulfills the specified design, functional, and visual requirements. This thoughtful method ensures an impeccable result.
The manufacturing process starts with the CAD designer working to visualize the layout and aesthetics of the enclosure. This detailed design then becomes the production template, including CNC milling, precision sawing, and final assembly. You can begin in as little as 3-4 weeks! This process is ideal for short-run production runs or prototype development, and there are no minimum quantities needed.
CNC Milling Process
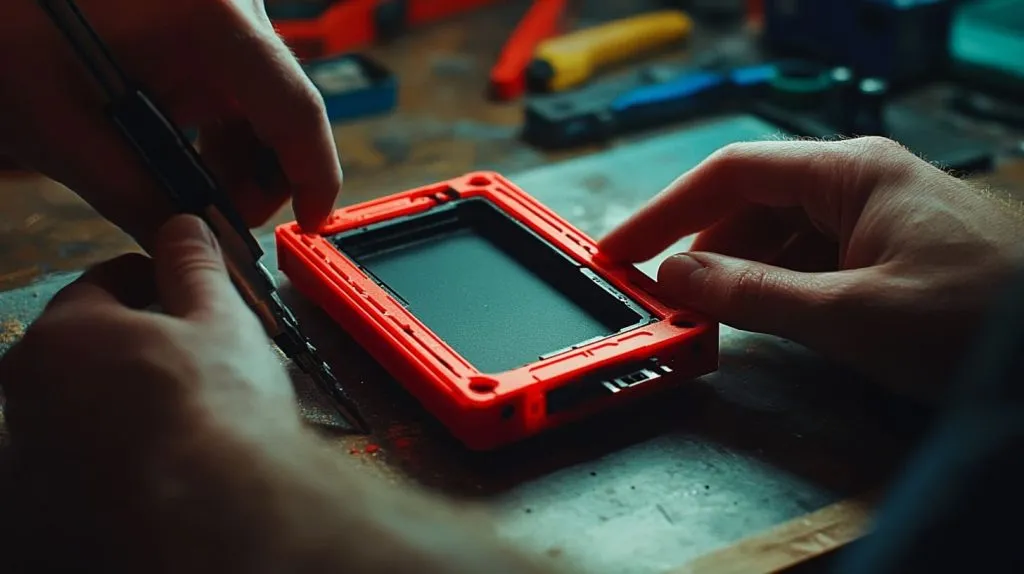
As the backbone of the manufacturing process, CNC milling brings Michiana to life. From there, the CNC operator selects a plastic sheet that will best match the finished enclosure’s color and thickness requirement. Then, they load it onto one of their seven CNC machines.
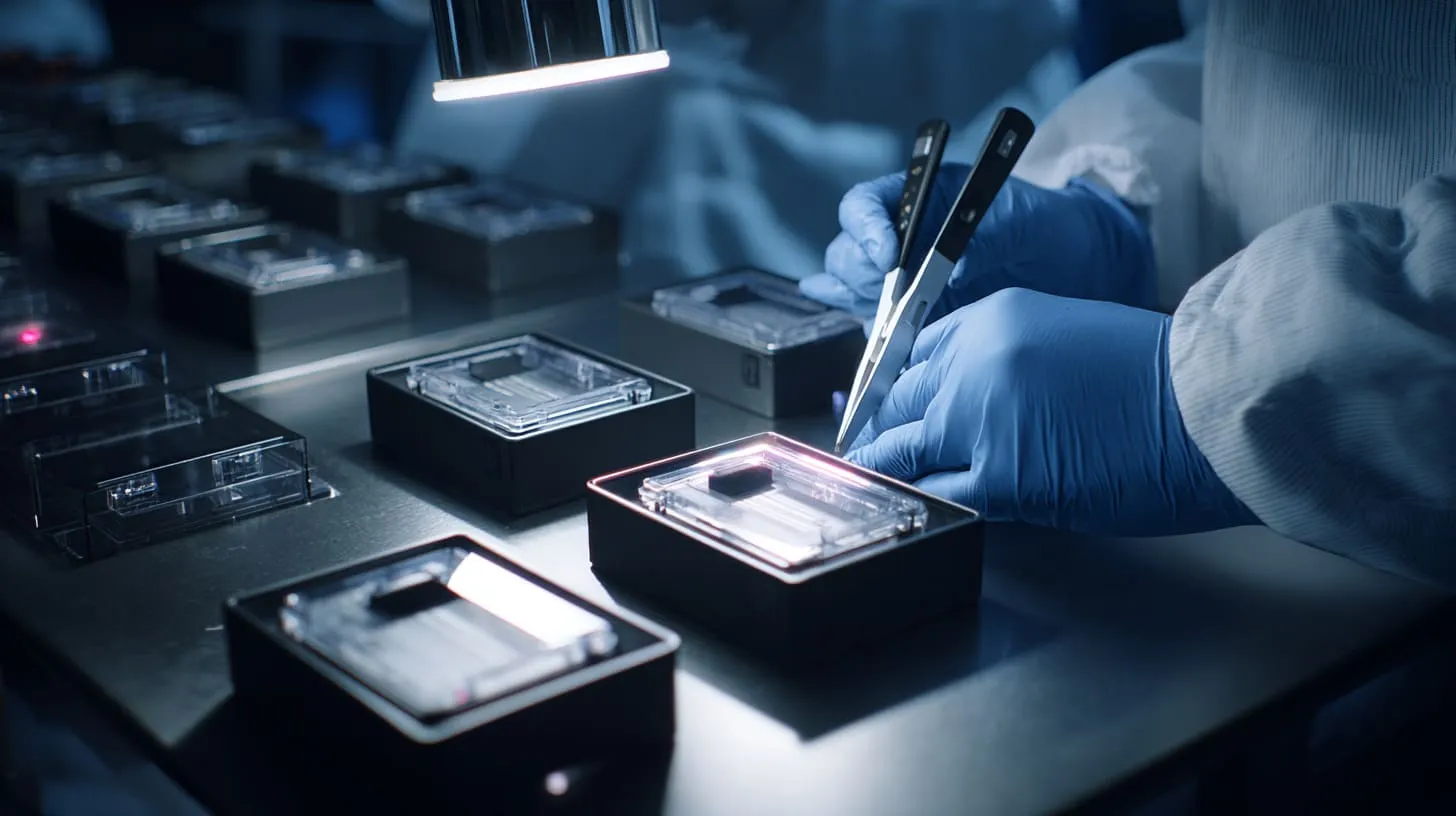
The milling process cuts the thick sheet into exact parts, following CAD design specs and tolerances to the letter. The first step for the operator is to mill an initial piece. Then they test it for correctness, verifying dimensions like length, width, hole diameters, and recess depths. After verification, the operator then mills one or more parts needed.
The advantages of CNC machining are significant. In addition to superior surface finishes, it delivers unmatched precision with every part. By programming the machine with the most specific of directions, even the most complex designs are produced with little margin for error.
To optimize performance, the operator ensures the machine is calibrated correctly and uses sharp cutting tools to achieve clean edges and precise cuts.
3D Printing Options
When it comes to rapid prototyping, 3D printing has no equal. It enables innovations in design, including supporting complex geometries that are challenging to produce using traditional manufacturing processes. Common materials for 3D printing include PLA, ABS, and PETG, which balance durability, print-based finish, and cost in different ways.
For example, PLA is best for aesthetic enclosures, while ABS offers higher levels of impact protection. The layer-by-layer approach of 3D printing ensures intricate design elements are faithfully reproduced, enabling creative freedom for unique enclosures.
Plastic Bending Techniques
Bending plastic adds another level of customization by transforming standard flat sheets into complex three-dimensional shapes. Techniques like heat bending require precision in temperature and pressure to prevent undesirable results like cracking or warping.
With the right tools, such as heating strips, uniform heating is predictable, and even curves can be created seamlessly. Producing quality results demands careful measuring and marking of the bend locations in advance and/or providing bending force in a controlled manner to produce clean edges.
Assembly Strategies
The last step is assembling the case, but doing so in a methodical manner will help you avoid any gaps in your enclosure. Tethering is important. Before the show, it’s imperative to prep tools and lay out components ahead of time to maximize efficiency.
Frequent dimensional checks during production minimize the need to make allowances during subsequent assembly. Implementing techniques such as snap-fit joints or screws along the production cycle creates reliable, secure connections, leading to a long-lasting and effective custom enclosure.
Overcoming Design Challenges
Designing an original Raspberry Pi case without any tools involves a unique design process to create something that not only looks great but is functional and realistic. Each step in the creative process has required overcoming various design challenges—from achieving the right ability to stretch and breathe to addressing limitations imposed by production.
Addressing these challenges with a systematic approach ensures a durable and efficient enclosure tailored to the needs of your setup.
Avoiding Common Pitfalls
When designing custom plastic enclosures, it's often the little things that can lead to trouble. One common challenge is not measuring port size and shape correctly, which can result in misaligned cuts or threaded openings. To prevent this, always measure ports and add 0.04 to 0.08 inches of clearance for an easier fit.
An increasingly frequent oversight is not addressing cable management. Featuring routing channels—preferably 0.3 to 0.4 inches wide—retains control of wires, providing guidance that alleviates stress on the connections. Cutting corners by bypassing the first few test prints will result in lost detail or improper tolerances.
By printing small sections of your tests, you can confirm realistic dimensions before committing to the entire design. This iterative approach allows for necessary adjustments, ensuring quality custom plastic enclosures.
Keeping an eye on the end-user needs is just as important. As an example, maintaining adequate case ventilation directly impacts case performance. A protective, well-designed case can reduce internal temperatures by 46 to 54°F in regulated environments.
We can improve cooling even more by introducing vents where possible or by placing thermal pads between the CPU and the case. It's essential to test early and often. This helps you identify potential design challenges, such as overly tight tolerances or insufficient airflow, before you begin the manufacturing process.
Addressing Manufacturing Constraints
An equally important factor in custom case design is manufacturing process constraints. Selecting the appropriate material type is critical. For high heat applications, PETG and ABS filament deliver the best heat resistance, and PLA filament is great for low-use applications.
For 3D-printed cases, a default layer height of 0.008 inches is a good starting point as it achieves high detail without sacrificing too much time. Design flexibility is extremely important to handle all material thicknesses from 0.08 to 0.5 inches.
Collaborating with manufacturers early in the process helps identify practical solutions for producing around 100 units efficiently.
Validating Design Durability
Durability testing guarantees the case holds up under extensive use. Establish protocols whereby extreme heat, stress, and environmental conditions are recreated. Use test results to improve material selection and strengthen vulnerable areas.
For instance, orienting components to minimize support material usage not only optimizes the design for strength, it saves time and cost in printing. Testing outcomes often highlight areas where added features, such as thicker walls or reinforced mounts, can enhance the final product.
Optimizing User Experience
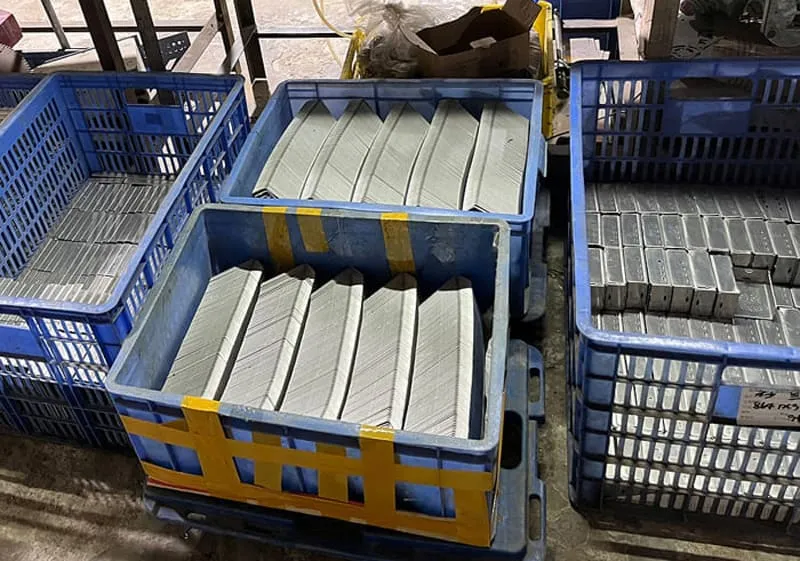
Building a personalized Raspberry Pi case is about more than just purpose. It’s an opportunity to enhance user experience, enrich accessibility, and raise beauty to levels that suit your specific context. We just scratch the surface.
There’s so much more that goes into making a great user experience, even just for the numerous projects out there to the professional use. From the smallest thing to the biggest thing—everything counts. The ease of installation and clean aesthetic design make this case both functional and beautiful.
Ease of Installation
A good Raspberry Pi case is all about how easy it makes installing things. The entire process should be easy, too, like a puzzle made up of interlocking pieces that come together without the need for specialty tools.
For instance, snap-fit designs do away with screws or adhesives, reducing assembly time. Adding in straightforward, step-by-step instructions makes the setup even easier, particularly for novices who might not be as attuned to the hardware.
Prototype, repeat, and reiterate through testing assemblies to dial in the easiest assembly procedure. In this manner, the end-user will get a great installation experience with no headache.
When 3D printing cases, maintain a minimum layer height of 0.08 inches. This practice allows us to create seamless, intricate fits and results in a finely sculpted final piece.
Accessibility and Functionality
Accessibility is an important consideration in any design of a custom Raspberry Pi case. The device remains completely operational without having to take off the protective casing.
You have easy access to ports such as USB, HDMI, and GPIO pins. These moments of interaction can be designed around through thoughtful cutouts or removable panels without compromising the case’s protection.
Designers often gather user feedback to identify overlooked areas, such as improving airflow efficiency for effective cooling, which is critical for performance. Functionality needs to match the specific needs of the project, finding a harmony between ease of use and longevity.
For small businesses, personalized branding provides functional value with a balance of helpfulness and professional appearance.
Aesthetics and Customization
Aesthetic design has a powerful influence on the way users expect a product to work. The options of custom cases provide the freedom to add colors, textures and patterns that suit individual tastes or company branding.
A matte finish combined with a big, clean logo increases brand recognition for companies on the go. At the same time, fresh colors and interesting textures make it easy for makers to customize their laptop case to their project’s palette.
Prototyping several designs allows us to find a perfect balance of visual appeal with optimized airflow and product usability. Approximately 90% of businesses take advantage of these layouts to set themselves apart in highly competitive markets.
That’s so true because it highlights the need to combine utility with beauty.
Assembly and Finishing Touches
Designing your own Raspberry Pi case involves a lot more than just assembling ingredients. You need to obsess over functionality, durability, and getting that pro finish. Being diligent and thoughtful in the assembly and finishing touches can take your project from good to great and make it even more effective and user-friendly.
With an approach that’s logical yet creative, it’s possible to take unrefined materials and mold them into a high-end yet functional enclosure.
Preparing Parts for Assembly
Begin by laying out all parts and materials on your bench. This is not just the plastic sheets and screws, but the optional thermal pads, fans, or LED modules. Things like a mini-Dremel tool, small files, or double stick tape on hand make the final assembly much more efficient.
Prior to moving forward, examine every piece for flaws or oddities. For instance, if you’re using a 3D-printed case, look for jagged edges or out-of-place dimensions. A simple checklist can help confirm readiness: verify that port openings for USB, HDMI, power, and GPIO pins are appropriately designed and free from obstructions.
Assembling the Case
Start the assembly process with a patient, step-by-step mindset to prevent any misalignment. Attach the base 1) making sure all four corners are square/flush. Assemble side panels little by little and nail on top cover.
Check that all joints are secure and that the enclosure allows convenient access to ports. If your design includes cooling features like a 30mm or 40mm fan, ensure that mounting points are properly aligned with the fan screws.
To make sure you get top thermal performance, make sure to use thermal pads between the CPU and the case. Once you’ve got all the pieces together, do a final check. Make sure the assembly is robust and the air leakage pathways support the intended direction of airflow.
With proper case ventilation, CPU operating temps can stay under 113°F at full load, so you can push your system to its limits.
Adding Finishing Details
Adding finishing touches enhances the space’s beauty and practicality. Deburring with fine sand paper, followed by a clear coat spray, gives an attractive finished surface to the plastic parts, making them even more difficult to detect.
Creative detailing, such as labels or textures, can bring a narrative flourish to the design, and coatings for protection can help ensure longevity. Match these intricate logistics and elements to the original design intention and conduct consistent QC audits.
Hardware and Checks
Ensure your custom plastic enclosures for display mounts and camera modules are attached tightly. These features greatly increase project versatility and have proven to be incredibly popular and successful.
Conclusion

Designing a custom Raspberry Pi case with a toolless plastic design provides a functional and imaginative answer. This allows for greater control over the size, shape, and features of your design and keeps the whole process simple and efficient. With the right design software and clear goals, you can build something that fits your needs and enhances your Pi experience. The toolless feature helps cut assembly time and eliminate the inconvenience and frustration of additional tools, resulting in seamless, effortless assembly.
Whether you’re addressing thermal management, port access, aesthetics, or all of the above, each decision you make gets your custom design one step closer to realizing its potential. Step up to making your own custom case. It’s such a fun, tangible, unique approach to personalizing your Pi setup. Get to work and find out how far your creativity can take you!