

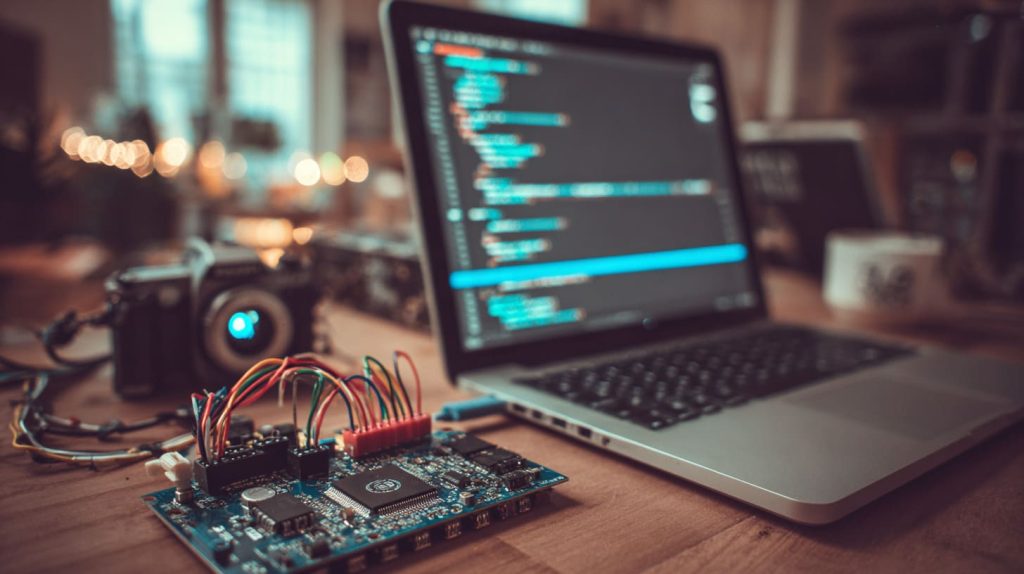
The desk is crowded with wires, a small Arduino board blinking quietly in the corner, and a camera module waiting to be connected. Anyone who has worked with microcontrollers knows this scene well. The idea of giving a simple board “eyes” is exciting, but it raises a lot of questions.
People use camera modules with Arduino for many different reasons. Some want a budget-friendly way to build a home security system. Others use it to explore object detection or robotics. The interest is universal, from hobbyists testing weekend projects to engineers exploring prototypes.
In this guide, I’ll show you how to choose the right camera module, connect it properly, and write the code to make it work. The process isn’t always straightforward, but once you capture that first image, you’ll see how much is possible with just a few components.
What Camera Modules Work with Arduino?

I’ve tested a few camera modules over the years. Some were easy to set up; others were a nightmare.
Common Compatible Modules
- OV7670 camera module – Cheap, popular, but needs extra effort to configure.
- ArduCam Mini series – More expensive but well supported with libraries.
- Serial JPEG camera (UART-based) – Simple to wire but slower image transfer.
I once ordered a no-name module online. It had no documentation, and the pin labels were faded. I learned the hard way—always buy modules with solid support and libraries.
Key Factors to Consider
- Resolution support: Higher resolution means more data to process.
- Frame rate limits: Most Arduino boards can’t handle high-speed video.
- Connection interface: SPI, I2C, UART, or parallel—all require different wiring.
When choosing a module, I weigh cost, support, and how much image quality I actually need. Most people don’t need HD on Arduino.
After you pick the camera, the next step is making sure your board can handle it.
What Hardware Do You Need?

Back when I started, I assumed any Arduino could run any camera. Not true.
Core Components
- Arduino board types: Uno is common but limited; Mega has more memory; Nano is small but tight on resources; ESP32 is a good alternative with more power.
- Camera module selection: Pick based on resolution and library support.
- Supporting modules: SD card reader for storage, TFT display for preview.
I keep a small table like this on my workbench:
| Board | Pros | Cons |
|---|---|---|
| Uno | Cheap, easy to find | Limited RAM |
| Mega | More pins, more memory | Bigger size |
| ESP32 | Built-in Wi-Fi, more power | Different code base |
Power Supply & Wiring
- Most camera modules run on 3.3V or 5V. Check before wiring.
- Some modules draw more current than Arduino’s pins can supply. Use an external supply if needed.
I once fried a brand-new module by giving it the wrong voltage. Double-check power before connecting.
Now that you have the parts, wiring comes next.
How to Connect the Camera Module to Arduino

This is where many people mess up. I’ve done it too—wrong pin, no image.
Wiring Basics
- Map each pin from the camera to the correct Arduino pin.
- For OV7670: connect SDA/SCL to I2C pins, XCLK to clock, D0-D7 to data pins.
- For ArduCam: SPI pins (MOSI, MISO, SCK, CS) to Arduino SPI pins.
Step-by-Step Connection
- Place the camera module on a breadboard.
- Use jumper cables to connect each pin carefully.
- Double-check with the module’s datasheet before powering up.
When I teach workshops, I tell people: print the wiring diagram and tick off each pin as you connect it. It saves headaches.
Once you see the wiring is stable, the next thrill is loading code.
How to Program the Arduino for Camera Use
Programming felt like the fun part for me. It’s where you see life on your screen.
Required Libraries
- ArduCam library: The go-to for ArduCam modules.
- Adafruit or third-party camera drivers: Some community libraries work for OV7670 or Serial JPEG cameras.
Install these libraries from the Arduino IDE Library Manager. They handle the heavy lifting.
Sample Code
- Capture a single image: The library has ready-made examples.
- Store image on SD card: Use SD library to write files.
- Send image to PC via serial: For debugging or quick viewing.
I remember the first time my Arduino took a picture. It felt like magic—even though it was a grainy 320x240 image.
But then comes the big question—can Arduino process these images?
Can Arduino Handle Camera Image Processing?

Here’s where reality hits.
Arduino Limitations
- Limited RAM and flash mean you can’t do complex image recognition.
- Real-time video is nearly impossible on standard boards.
I tried to run an edge-detection algorithm on an Uno. It froze instantly.
Workarounds
- Use Arduino to capture + transfer images to a PC for processing.
- Pair Arduino with ESP32 or Raspberry Pi if you need more power.
Sometimes the smartest move is knowing when to offload the heavy work.
And once you know your board’s limits, you can plan projects better.
What Are Practical Applications?

I love seeing what people build after learning the basics.
Beginner-Friendly Projects
- Motion-triggered camera: Great starter project.
- Basic time-lapse camera: Capture frames every few seconds.
Intermediate Projects
- DIY security camera with SD storage: Store images locally.
- Remote monitoring with serial output: View images on a PC.
Advanced Projects
- Arduino + external processor for image recognition: Split tasks smartly.
- Robotics vision integration: Add “eyes” to your robot.
I once helped a student build a time-lapse camera for plant growth. It worked on an Arduino Uno with an SD card. Simple but effective.
But not everything runs smoothly—troubleshooting is part of the game.
Troubleshooting Common Issues

I’ve seen people give up because of small mistakes. Don’t.
Connection Errors
- Wrong wiring or loose pins cause most problems.
- Check voltage with a multimeter.
Software Issues
- Missing or outdated libraries cause compile errors.
- Memory overflow during capture stops your code.
Image Quality Problems
- Blurry or distorted images come from unstable wiring or noise.
- Low-light performance is limited by the module itself.
I keep a checklist taped to my wall. It saves time when debugging.
Sometimes, though, the best solution is not Arduino at all.
Alternatives Beyond Arduino

If you’re hitting walls with Arduino, you’re not alone.
ESP32-CAM Module
- Built-in camera + Wi-Fi makes setup easier.
- Better for streaming to a phone or PC.
Raspberry Pi with Camera Module
- Full image processing and video recording.
- Ideal for advanced projects like machine vision.
I switched to ESP32-CAM for a project once and finished in half the time. Sometimes upgrading tools is the smartest choice.
Conclusion

Connecting a camera module to Arduino taught me patience and precision. You start by choosing the right module, wiring it carefully, and loading tested code. Then you learn what Arduino can and can’t do.
Arduino is great for small image capture projects and learning. But if you need streaming video or real-time recognition, consider ESP32 or Raspberry Pi.
If you’re just starting, don’t be afraid to experiment. The first grainy photo might not look like much, but it’s the first step into a bigger world of DIY vision projects.




