
I remember the first time I unpacked a Raspberry Pi 3. I had a big smile on my face, thinking about how this tiny board could power all sorts of home projects. Over the years, I experimented with different software setups, but eventually I realized I needed more control—right down to the operating system itself.
Purpose of the Article
I want to show you the possibilities of building your own OS for the Raspberry Pi 3. This topic can feel overwhelming. I’ve been there, staring at lines of code and asking myself if I was nuts to even try it. Let’s break it down step by step. Let’s see what’s truly involved.
Overview of Raspberry Pi 3
The Raspberry Pi 3 is a compact and budget-friendly computer. It fits well into my own projects at MaidaTech, where we customize Raspberry Pi cases and accessories for large-scale buyers. But beyond hardware design, the Pi 3 has enough power to handle a surprising variety of applications.
Why Consider Building a Custom OS?
I once needed a custom OS to remove bloat and include only the essentials for a project. I realized it was worth doing because I could optimize speed and ensure I had total control over security updates. If you ever feel like you want to tailor your Pi 3 to the exact specs of your project, building your own OS could be an answer.
I know that might sound a little intimidating. But if you stick with me, I’ll walk you through the critical details.
Understanding the Raspberry Pi 3 Hardware
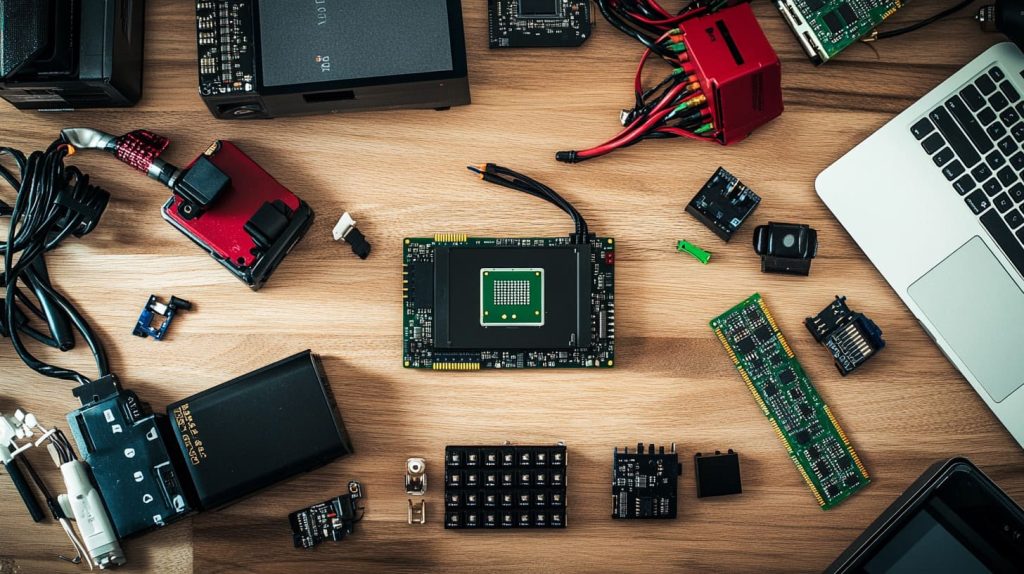
I like to imagine the Raspberry Pi 3 as a puzzle. Each piece of hardware is a critical puzzle piece that connects to form a complete picture. Let’s see how these pieces fit together.
Key Hardware Components
The Pi 3 includes a CPU, GPU, memory, and an array of pins for external connections. When I first studied these components, I realized how many ways they could be combined for different projects. Here’s a simple table to illustrate the main parts:
| Component | Description |
|---|---|
| CPU (ARM Cortex) | Handles processing tasks and calculations |
| GPU (VideoCore) | Manages graphics output and rendering |
| RAM | Temporary storage for running applications |
| GPIO Pins | Inputs/outputs for sensors and external modules |
From my perspective, understanding each piece is like speaking the Pi’s native language.
Performance Specifications and Limitations
The Pi 3 runs at around 1.2 GHz. That means it can handle moderate workloads, like multimedia apps or basic coding projects. However, you won’t be using it to edit massive video files or run advanced 3D graphics. It’s a small board, not a powerhouse PC. I had to remind myself of this reality when I first tried to compile large programs directly on the Pi—it’s possible, but it can be slow.
Comparison with Other Raspberry Pi Models
I’ve worked with the Pi 4, and it’s faster and has more RAM. But the Pi 3 still holds its charm. It’s a balance of performance and cost. Some folks even prefer older models because of certain GPIO layouts or price points. It all depends on your needs, but for a custom OS, the Pi 3 is a sweet spot of capability and simplicity.
When I moved from Pi 2 to Pi 3, I noticed improved Wi-Fi and Bluetooth. Those upgrades saved me from juggling dongles and extra adapters.
Overview of Operating Systems on Raspberry Pi
Sometimes, just reading about different OS options feels like an endless buffet. I get excited. But then I wonder, “Which dish is actually right for me?” That’s where critical thinking comes in. Let’s explore the landscape.
Popular Pre-built OS Options
Most people start with Raspberry Pi OS (formerly Raspbian). It’s light, user-friendly, and backed by a huge community. Ubuntu Core and Arch Linux ARM are also popular. I once tested an IoT-focused OS that stripped out the graphical interface for a tight, efficient system. Each OS brings pros and cons, so you need to look at your personal goals and weigh them.
Open-Source Contributions and Community Projects
Raspberry Pi thrives on open-source collaboration. Projects like community forum often help me debug driver issues or figure out random quirks. Volunteers share custom images with specialized software, so you can find pre-baked solutions. I respect these contributors because they push the boundaries of what the Pi can do—whether for classroom learning or advanced robotics.
Custom OS vs. Pre-built OS: Pros and Cons
When I tried a pre-built OS, life was simpler. I had a system up and running in minutes. But the moment I wanted to customize the kernel, I hit walls. A custom OS gave me the freedom to include or exclude certain components. It takes more effort, though, because you manage every layer of the software stack. This balancing act is crucial to grasp before you jump in.
Feasibility of Building a Custom OS
Let’s pause for a moment. If you’re new to system development, the idea of building an OS might feel like climbing a giant mountain. I had my doubts, too. But let’s think through what this really means.
What Does “Building an OS” Entail?
You start by choosing a kernel or base. Then, you decide which libraries, drivers, and interface options you want. Picture it like assembling a puzzle where you decide which pieces exist in the first place. You’ll handle updates, patches, and any new features you want to add.
Required Technical Skills and Knowledge
You’ll need to know some programming basics, especially in C or C++. I learned quickly how important it is to understand cross-compiling and debugging on a separate development environment. Having a Linux background also helps you navigate command-line tools and system structures. If you’re not familiar with these things, some extra learning is recommended first.
Available Tools and Frameworks (e.g., Buildroot, Yocto Project)
I experimented with Buildroot and the Yocto Project on my earliest custom Pi builds. They both streamline the creation of minimal Linux-based systems. Buildroot is more straightforward, while Yocto is more flexible for large-scale or commercial products. Either way, these frameworks reduce a lot of manual work. They set the stage for you to focus on customizing, not reinventing the wheel.
Step-by-Step Process to Build an OS

If you’ve made it this far, it tells me you’re still curious (or bold). I respect that. Let’s walk through the typical steps so you can see how things fit together in practice.
Planning and Requirement Analysis
I learned the hard way that jumping in without a plan can lead to wasted hours. You want to map out everything you need—drivers, software packages, and memory constraints. Ask yourself questions like: Do I need a GUI? Which communication protocols are crucial?
Setting Up the Development Environment
It’s often easier to develop on a Linux machine with cross-compilation tools. A typical setup involves tools that build for ARM architecture instead of your local system. You’ll also need debugging tools and a reliable SD card imaging process. I keep a stock of SD cards labeled for different phases of testing so I don’t overwrite important builds by accident.
Bootloader and Kernel Customization
The bootloader is like the stage manager, guiding the show from power-up to OS launch. Raspberry Pi boards typically use a GPU-oriented boot process. With a custom OS, you can tweak the kernel to load only necessary modules, or patch in unique drivers for specialized hardware. This step demands careful reading of documentation. But it’s also satisfying to watch your Pi boot the way you designed it.
Creating a Minimal System Image
After that, you bundle your kernel, essential binaries, and configuration files into a system image. When I first built a minimal image, I was shocked at how small it was—no fancy packages or window managers. Just the raw essentials.
Testing, Debugging, and Iteration
You’ll likely encounter bugs. Sometimes, your Pi might not even boot. That’s normal. I’ve spent hours fiddling with config files or logs to pinpoint errors. Testing is an ongoing process. Each time you fix an issue, you refine your OS until it’s stable enough for your needs.
Challenges and Considerations

Now, let’s address the elephant in the room. Building a custom OS isn’t all sunshine and rainbows. Being aware of the complexities helps you approach it with realistic expectations.
Hardware Compatibility and Driver Support
One day, I tried to integrate a camera module that didn’t have an official driver for my custom build. It felt like I was searching for a needle in a haystack. If your hardware lacks solid driver support, you might spend extra time coding or troubleshooting.
Performance Optimization
You can strip out unnecessary services to speed up boot times. That’s one reason I love custom OS builds. But optimization can take you down rabbit holes. You’ll be analyzing CPU usage, memory footprints, and kernel parameters. It’s a puzzle, but solving it can be very rewarding.
Security and Maintenance Issues
Maintaining security patches is on you once you diverge from mainstream distributions. This can be risky if you don’t stay on top of updates. I usually set reminders to check for kernel patches or newly discovered vulnerabilities. It’s not glamorous, but it’s essential.
Community Support and Documentation
With something like Raspberry Pi OS, help is a forum post away. With a custom OS, you rely on more scattered documentation and community groups. I advise building a strong network in open-source circles. Collaboration can save you from a ton of frustration.
Benefits of a Custom OS for Raspberry Pi 3

I believe the gains are worth the struggles if you need a specialized solution. Let’s dissect some main perks, keeping a critical eye on who really benefits.
Tailored Functionality for Specific Applications
I once designed a kiosk system that only ran a single app on top of a minimal environment. It was fast, stable, and had no extra clutter. This approach is golden for dedicated devices like digital signage or industrial controllers.
Enhanced Control Over System Resources
You can decide how the OS allocates memory or CPU time for processes. If you’ve ever felt frustrated by background services hogging resources, you’ll appreciate this level of control. It’s like having the master key to every locked room in your house.
Opportunities for Innovation and Learning
Building an OS taught me more about Linux internals in a few months than years of casual tinkering. You truly see how software and hardware interact. If you’re a tinkerer at heart, this can feed your curiosity and lead to more ambitious projects down the road.
Case Studies and Real-World Examples
Let me share a few brief stories. This helps keep it real. I’ve often found that real-world examples spark deeper thinking.
Successful Custom OS Projects on Raspberry Pi 3
Some industrial environments use minimal OS images for controlling robotic arms. They remove all user-interface libraries for speed and reliability. Others create portable gaming consoles with a custom interface. Each project highlights how the Pi 3 can serve very different purposes when the software is tuned for a specific goal.
Lessons Learned from Community Experiences
I’ve watched people in open-source groups try things I never would’ve imagined—like controlling large 3D printers or advanced chemical sensors. Most succeed through trial, error, and community collaboration. Their biggest lesson is to document everything. When you share that knowledge, you help the next person avoid the same pitfalls.
Future Trends in Raspberry Pi OS Development
I’ve gotten to see how quickly Pi development evolves. It’s exciting and a bit nerve-wracking, too.
Emerging Technologies and Tools
Build systems like Yocto Project keep refining. New cross-compilation toolchains appear. If you’re building a custom OS now, expect more powerful hardware and better frameworks in the near future. Staying updated can offer a real edge, especially if you’re in a competitive market.
Predictions for Custom OS Adoption and Use Cases
As IoT solutions spread, more developers and companies want control over the entire stack. I see an uptick in specialized OS images for robotics, smart home systems, and education. It’s not just for hardcore enthusiasts anymore. Businesses are catching on, too.
Conclusion
Recap of Key Insights
We’ve looked at the Pi 3’s hardware, the basics of building an OS, and the steps involved. We saw why it might be worth the time and energy, especially if you want a lean, purpose-built system.
Final Thoughts on Building an OS for Raspberry Pi 3
In my journey, building an OS was both challenging and deeply rewarding. I found more confidence in my skills, and I forged bonds with others in the Raspberry Pi community. If you decide to take on this adventure, prepare for some late nights and “aha!” moments.
Resources and Next Steps for Interested Developers
I suggest you explore the online communities and toolchains mentioned throughout this article. You might even consider partnering with a seasoned developer if you have bigger ambitions. Remember, the Raspberry Pi 3 is a friendly machine, but it rewards careful planning and a thirst for learning.




