Skip to content
I remember the first time I tried to boot my Raspberry Pi from a USB drive. I had read about speed advantages and fewer SD card failures, but I was lost in a sea of forum posts. Each guide said something a little different, and I had to piece everything together. Now that I’ve figured it out, I want to share my journey with you. I hope it saves you time and prevents any second-guessing.
What Is USB Boot on Raspberry Pi?
USB boot allows a Raspberry Pi to start up using an operating system stored on a USB drive. This process bypasses the need for a microSD card entirely. From a more critical angle, it is worth questioning if we’re shifting complexity from one storage medium to another. For example, you trade SD card fragility for the potential hassle of USB drive compatibility. Still, many people find the trade-off beneficial once they see how it simplifies storage management.
Why Boot from USB Instead of SD Card?
You might ask: is a USB drive always the better choice? In my experience, yes and no. USB storage can offer faster read/write speeds, and it may last longer under heavy use. On the flip side, I’ve met folks like Jacky, a re-brand buyer from Belgium, who wonders if it’s worth the learning curve. Sometimes, the simplest approach is what you already know. I like to remind people that USB boot is a great option, but you can still stick to SD cards if that feels right. This is a matter of preference, weighed against performance goals and the need for extra reliability in certain projects.
If you’re still with me, let’s see what else we need to consider before making the big switch.
Understanding Raspberry Pi USB Boot Capabilities
I had a conversation with Davide, one of our regular re-brand buyers at MaidaTech, about older Raspberry Pi versions. He asked, “Does my Pi Zero support USB boot?” That’s when I realized not everyone knows which models are ready for it. Sometimes we automatically assume every Pi can do it, but that’s not the case. Let’s check the facts.
Which Raspberry Pi Models Support USB Boot?
Not all Raspberry Pi boards offer native USB boot out of the box. The Pi 4 usually comes with this feature by default, while the Pi 3 may require a one-time firmware tweak. It’s worth challenging the assumption that newer models are always better. For instance, some older Pis run stable for specific embedded applications and do not need the extra step of updating the firmware for USB boot. It’s crucial to confirm your board’s capabilities before diving headfirst into the process.
Verifying Bootloader and Firmware Versions
Many Pi owners overlook the bootloader or firmware versions. They just assume it’s current. I like to pause and think: “When was the last time I updated anything?” This step matters because you’ll need the right version to support USB boot. Checking firmware is like verifying you have the right map before traveling. Without it, you’re heading out blind.
Pros and Cons of USB Boot
I used to think USB boot was a cure-all for every Raspberry Pi storage issue. However, I soon found out there’s a balance of pros and cons. On the positive side, you get more robust storage, potentially faster speeds, and easy swaps. On the flip side, older USB drives can consume more power, leading to voltage drops. There's also the chance some drives just don’t play nice with your Pi. I always recommend having a backup plan, particularly if you’re trying to keep a critical system online.
You might be thinking of jumping straight into how to prepare the USB storage device. Let’s do that together now.
Preparing the USB Storage Device
I once spent two days trying different USB drives, testing each one with a Raspberry Pi. If someone had told me to format properly and confirm compatibility first, I would have saved a ton of time. Let’s break it down.
Selecting the Right USB Drive
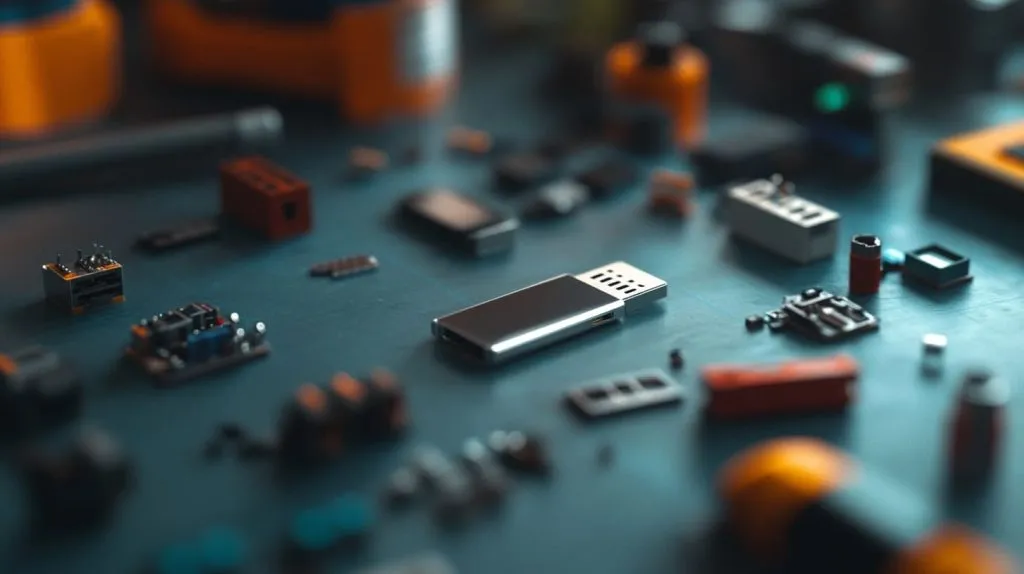
The drive you pick influences performance, reliability, and even power usage. I’ve tried many brands. Some are cheap but slow, some are fast but expensive. It’s worth having a critical eye here. Think carefully about speed ratings, read/write endurance, and reviews from Pi communities. You also want to ensure the drive size suits your intended purpose—too big and you might waste storage, too small and you might regret it later.
Comparison of USB Drive Types:
| Drive Type | Typical Speed | Power Usage | Best Use Case |
|---|---|---|---|
| USB 2.0 | Slow | Low | Basic IoT Applications |
| USB 3.0 | Fast | Moderate | Desktop-Like Performance |
| SSD | Very Fast | Higher | Heavy-Duty or Multimedia |
Formatting and Partitioning the Drive
I used to think formatting was just clicking “format” on my desktop. But in the Raspberry Pi world, you sometimes need a specific file system. FAT32 or exFAT is popular for initial boot configurations. If your distribution supports ext4, you might switch over later. This is about ensuring the Pi’s bootloader can read the partitions. Consider that if you partition your drive for multiple purposes—like extra data storage—it could complicate the boot process. So stay focused on what your Pi actually needs.
Choosing and Flashing the Operating System Image
I remember Davide once insisting on a custom OS image for his re-branded Pi cases. He wanted it pre-configured for his Amazon store’s product demos. That’s where you see the flexibility of Raspberry Pi OS or other specialized distributions. But you have to flash the OS image using tools like balenaEtcher or Raspberry Pi Imager. Double-check your version, confirm your USB is recognized, and watch out for any interruption that corrupts the install. Think of it like cooking: you need to gather the right ingredients and follow the recipe carefully.
We have everything ready. Let’s talk about configuring your Pi next.
Configuring Raspberry Pi for USB Boot
If you’ve ever tried to decipher bootloader settings, you know it can feel like reading a cryptic puzzle. I got frustrated more than once, so I fully empathize if you’re feeling unsure. This is where we roll up our sleeves.
Updating Raspberry Pi Bootloader (EEPROM)
For Raspberry Pi 4, an updated bootloader is often pre-installed. If not, you can install the latest via the Raspberry Pi OS. Think about it like changing the key fob battery in your car: if it’s dead, you can’t unlock the doors. Updating the bootloader helps the Pi recognize a USB drive during boot. It’s straightforward, but do confirm everything with official documentation.
Editing config Files and Enabling USB Boot Mode
We often hear about the “config.txt” file on the Pi, but there’s also “raspi-config.” You can run it from the terminal, then enable USB boot. People often forget to do both steps. Critical thinking tells us it’s usually better to check official references on this, because every Pi model can have slightly different commands. Take your time, step by step, to ensure you don’t skip anything. One missing line can lead to hours of confusion.
Verifying Boot Settings
I tend to verify boot settings by simply rebooting the Pi with no SD card. If the Pi doesn’t start, something went wrong. Another trick is to watch the Pi’s LEDs. A green LED blinking pattern might indicate a missing or inaccessible boot partition. On the Pi 4, you might also connect a monitor to see if it’s attempting to boot from USB. Being observant often speeds up troubleshooting.
Now that we’ve done our setup, let’s move into the actual boot process.
Step-by-Step Boot Process
I recall once telling Lasle, a creative buyer from Hungary, exactly how to do this. He was redesigning a custom case for an automation project, and time was of the essence. Let’s walk through each step.
Step 1: Inserting the USB into the Raspberry Pi
This is almost too simple, but it’s worth noting that physical connections can cause random problems. I’ve seen loose USB ports or poorly seated drives cause confusion. Gently insert the USB drive into the Pi’s USB 3.0 port if available, because it typically gives better performance.
Step 2: Connecting Power and Monitoring the Boot
Plug in your power supply, ideally one that delivers a stable 5V and sufficient amperage. Keep an eye on your Pi’s LEDs and any attached display. If the bootloader and firmware are correct, you’ll see the typical start-up process. If nothing appears on screen, don’t panic. Sometimes it takes a few extra seconds to recognize the USB drive.
Step 3: Initial Configuration and OS Setup
If you’re using Raspberry Pi OS, you should see the setup wizard or a login prompt. This is where you set your keyboard layout, time zone, and Wi-Fi credentials. Pay attention to any error messages. They can reveal missing drivers or problems with the flashed OS image.
Step 4: Confirming Successful USB Boot
The final check is making sure your system runs without an SD card in place. If everything works, you can celebrate. You’ve successfully booted from USB. If your OS is stable and reboots normally, you’re golden. Now it’s time to address any issues you might face along the way.
Let’s look at common troubleshooting tips.
Common Troubleshooting Tips
I’ve had moments of sheer panic when the Pi refused to boot. I’d worry I’d broken something. The truth is, issues like power supply or an outdated firmware can cause big headaches. Let’s cover the main trouble spots.
Dealing with Power Supply and Voltage Issues
Your Raspberry Pi needs a solid 5V supply. If you’re using a cheap or underpowered adapter, you might face random reboots or the infamous lightning bolt symbol on screen. It’s easy to blame the USB drive, but the root cause might be insufficient power. Sometimes, a simple upgrade of your power adapter solves all your woes.
Addressing Firmware Incompatibilities
Firmware updates can help, but mismatched versions can introduce new problems. I always remind myself that older firmware sometimes functions well enough. Don’t update just because it’s the newest version—update if you need a specific fix. Keep an eye on official release notes, because they usually highlight major changes or known issues.
Resolving USB Port or Drive Detection Problems
If the Pi isn’t detecting your drive, try different USB ports, cables, or even a powered hub. Occasionally, the Pi’s onboard ports might not deliver enough power to spin up certain drives. That’s when a powered USB hub becomes your best friend. Always question if the simplest fix—like switching ports—might solve the issue.
Resetting to SD Card Boot If Needed
I once had a scenario where I messed up the USB boot so badly I had to revert to the microSD. That’s okay. No need to feel embarrassed. You can pop in a working SD card that has a known OS, then fix your USB settings from there. It’s basically a fallback plan, and fallback plans can be lifesavers.
If you’ve conquered these snags, you’re probably curious about the performance side of USB boot. Let’s check that next.
Performance Considerations
Performance was my biggest motivation to shift to USB boot in the first place. Then I realized there’s more to it than raw speed. Let’s take a deeper look.
Comparing USB Speeds with SD Card Performance
USB drives often outperform standard SD cards, especially with random read/write operations. But not every USB drive is a winner. I’ve tested budget USB sticks that were slower than a decent SD card. It’s always wise to run a quick speed test to confirm you’re getting the throughput you expect. Don’t just rely on the labeled numbers on the packaging.
Quick Performance Overview:
| Storage Type | Typical Read Speed | Typical Write Speed | Overall Reliability |
|---|---|---|---|
| Standard SD Card | 20–40 MB/s | 10–20 MB/s | Moderately Reliable |
| High-End SD Card | 50–90 MB/s | 30–60 MB/s | Very Reliable |
| USB 3.0 Flash Drive | 80–150 MB/s | 40–120 MB/s | Mostly Reliable |
| External SSD | 200–550 MB/s | 200–500 MB/s | Highly Reliable |
Optimizing Read/Write for Better Results
You can optimize performance by choosing a drive with a solid controller, checking if TRIM is supported, and ensuring proper file systems. Sometimes, disabling swap can improve responsiveness. But if you’re running memory-intensive tasks, you might need swap. There’s no universal perfect setting. Critically think about your actual usage: is it frequent small file writes, large media files, or random database operations?
Long-Term Reliability and Maintenance
USB drives can fail just like SD cards if they’re constantly being written to. The real question is whether you have a backup or a routine to monitor drive health. I usually keep an extra drive on hand, especially for projects that can’t afford downtime. This is about being prepared, not just blindly trusting new hardware.
If you’re dealing with custom or re-brand projects, let me share a few specific tips next.
Additional Tips for Custom and Re-brand Projects
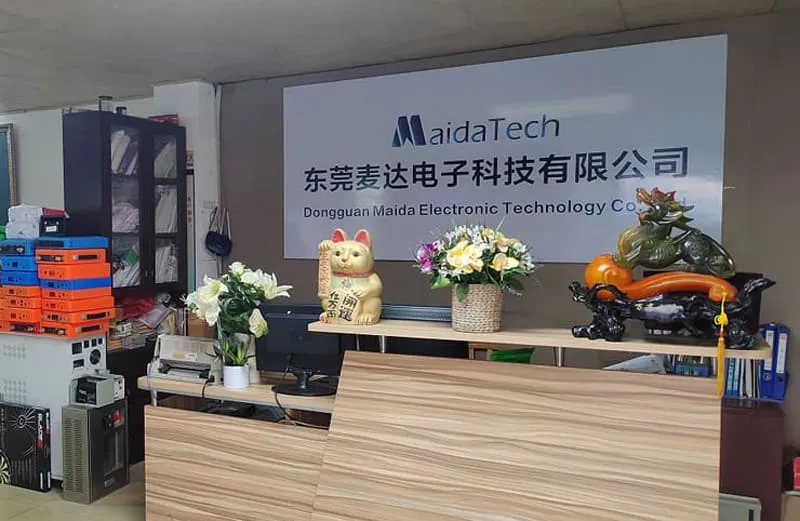
In my line of work at MaidaTech, I’ve met plenty of folks who want to personalize the entire boot experience. USB boot can be a part of that story. It can set your brand apart, especially if you’re distributing ready-to-run Raspberry Pi kits.
Customizing Bootloader Settings for Branding
One of our customers, Jacky from Belgium, requested a custom bootloader splash screen with his store’s logo. It added a professional touch to his re-branded Pi kits. You can modify bootloader files carefully to display your own message or graphic. This might be a small detail, but in a competitive marketplace, small details can signal higher quality.
Engraving or Labeling USB Drives with Your Logo
We’ve helped businesses print or engrave their logos on USB drives. This extra branding often matches the custom Raspberry Pi cases we make. It’s a neat way to create a consistent look. Just remember, going overboard might inflate costs. I always remind folks to weigh the marketing impact against the added expense.
Managing Bulk Orders and Logistics
If you plan to order custom cases and USB drives in bulk, think ahead about production timelines, shipping, and potential customs delays. Coming from a B2B factory perspective, I also suggest triple-checking your shipping addresses. I've seen small mistakes lead to big delays. It's always better to handle these details upfront. Consider the unique pain points: time zones, communication lags, and quality checks. Patience and clarity go a long way.
I trust these tips guide you if you decide to launch your own re-branded or custom Raspberry Pi project. Let’s finish by summarizing the entire journey.
Conclusion
I hope I’ve made the path to USB boot on the Raspberry Pi simpler. For me, learning these steps was like assembling a puzzle: once I found the right piece for each spot, everything just clicked. If you’re aiming for better performance or a custom approach, USB boot can open new possibilities—just be prepared for a bit of trial and error. Now that you’ve seen all the pieces, it’s your turn to create something amazing with your Pi.