Skip to content


Hook: Why Raspberry Pi keeps showing up on workbenches—from classrooms to production lines
When walk into a small workshop on the edge of Dongguan’s electronics district, and the story often begins the same way. A green PCB sits half-wired on a cluttered desk. To its left, a budget monitor flickers with terminal lines; to the right, a plastic case still smells like fresh-cut acrylic. Whether it’s a high schooler wiring an LED, or an engineer testing a smart retail display for mass rollout—there’s a Raspberry Pi at the center of it all.
This tiny board has quietly earned its place in factories, classrooms, home labs, and Amazon businesses. It’s not flashy. No startup sizzle. Just results—fast to prototype, affordable to scale, and flexible enough to power everything from a personal NAS to a smart coffee roaster.
Who this guide is for (students, hobbyists, and B2B product developers)
I wrote this for people who need to get moving without spending weeks decoding forums or guessing which cable goes where. Whether you're a student curious about Linux, a reseller like Davide looking to pre-load Pis for Amazon, or a custom project buyer like Lasle planning to integrate it into a product line—this guide gives you a clean starting point.
What you’ll achieve by the end (a booted Pi, a working project, and a roadmap for scaling)
You’ll set up a working Raspberry Pi, complete a simple hands-on project, troubleshoot with confidence, and walk away with a plan for scaling up—whether that means branding your own units or deploying a fleet in the field.
Let’s start with the big picture—what exactly makes Raspberry Pi so useful across so many different worlds?
Understanding the Raspberry Pi Ecosystem
What exactly is a Raspberry Pi?
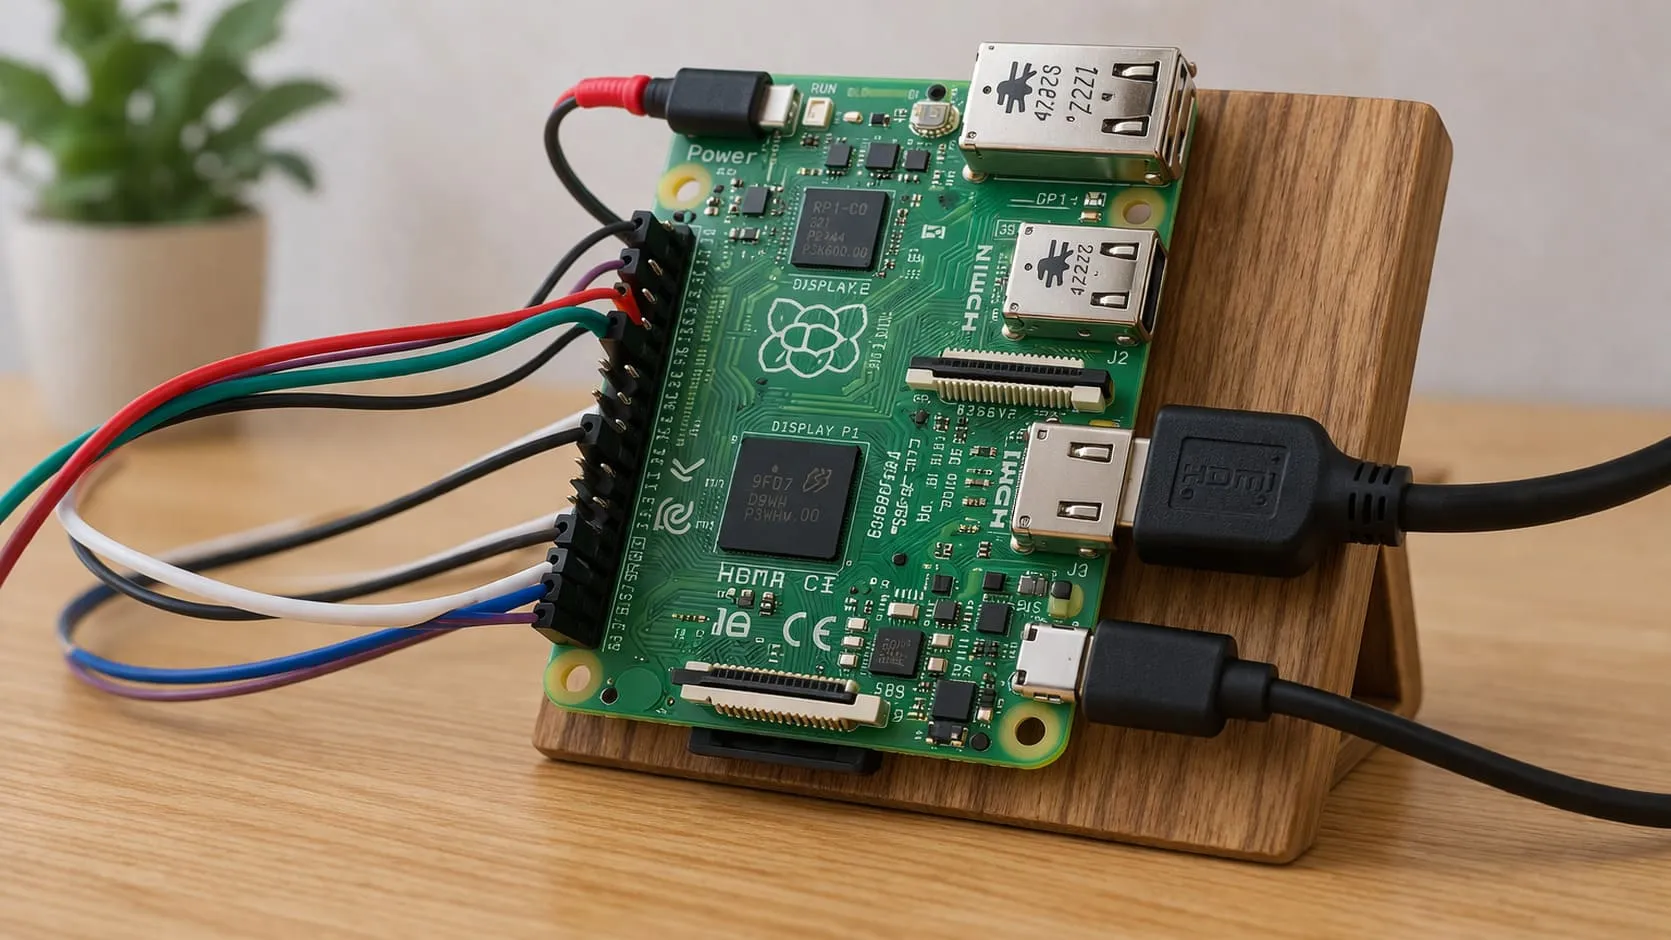
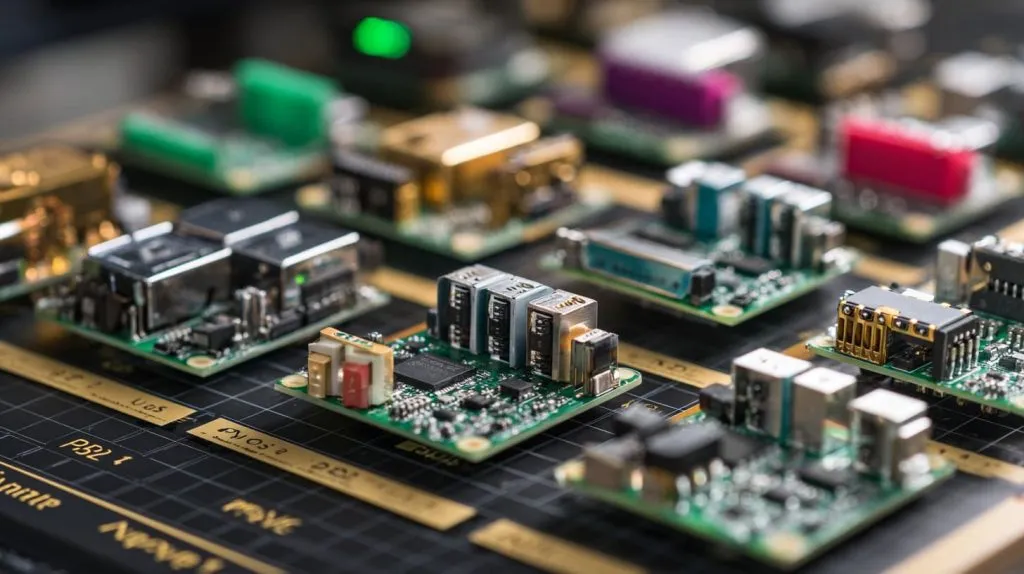
A single-board computer the size of a credit card. It runs Linux, speaks GPIO, and costs less than a team lunch. It isn’t magical—just a smart blend of ARM CPU, RAM, storage, and ports that squeeze into tiny spaces.
Key models and their differences (Pi 5, Pi 4, Pi Zero 2 W, Compute Module, Pico)
| Model | CPU | RAM Options | Best Fit | My Take |
|---|---|---|---|---|
| Pi 5 | 2.4 GHz quad-core | 4 GB / 8 GB | Heavy desktop tasks | Fan mandatory in hot workshops |
| Pi 4 | 1.5 GHz quad-core | 2–8 GB | Media servers, signage | Sweet spot for cost and power |
| Pi Zero 2 W | 1 GHz quad-core | 512 MB | IoT sensors, wearables | Skip if you need USB-C power draw |
| Compute Module 4 | Same as Pi 4 | 1–8 GB | Embedded products | Use when you design your own carrier board |
| Pico (microcontroller) | 133 MHz dual-core | 264 KB | Real-time control | Think of it as an Arduino on steroids |
Typical use cases—from learning Python to powering commercial kiosks
Classroom coding labs
3D-printed camera rigs
Retail display controllers
Edge AI inference boxes
Low-cost industrial PLC replacements
Critique angle: A Pi is not a miracle cure. If you need real-time deterministic control or aerospace certification, look elsewhere.
Curious which board earns a spot on your bench? Let’s narrow the options.
Choosing the Right Raspberry Pi Model for Your Needs

Performance-vs-price basics: CPU, RAM, I/O
More cores and RAM cut compile time, but double your thermal load. Ask: Will that speed bump pay back in saved labor? For student demos, Pi Zero 2 W is fine. For AI workloads, Pi 5 is the floor.
Connectivity factors: Wi-Fi 6E, Gigabit Ethernet, Bluetooth 5.x
Stable Wi-Fi saves hours of cabling, yet congested plants still prefer wired Gigabit. Prototype on Wi-Fi; deploy on Ethernet if downtime costs money.
Stock availability, lead-time, and import tips
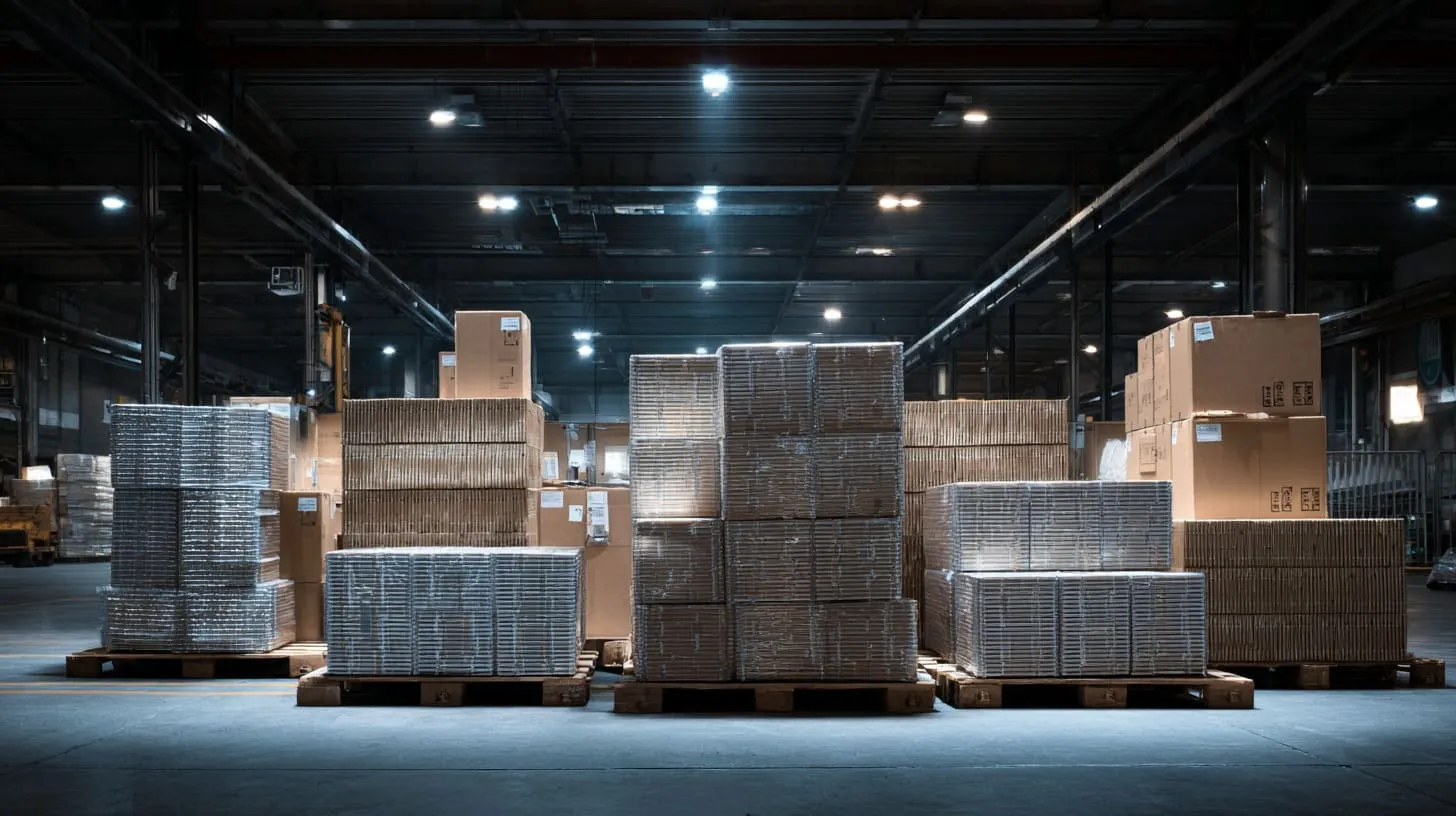
Chip crunches happen. Check regional distributors weekly and set restock alerts. Bulk buyers—book allocations three months ahead and split shipments.
Future-proofing: when to step up to Pi 5 or Compute Module 4
If your roadmap spans five years, skip the Pi 3 clearance bin. You’ll thank yourself when kernel updates keep rolling.
Parts chosen, but a board alone is like a car without wheels. Let’s gather the essentials.
Essential Hardware Checklist

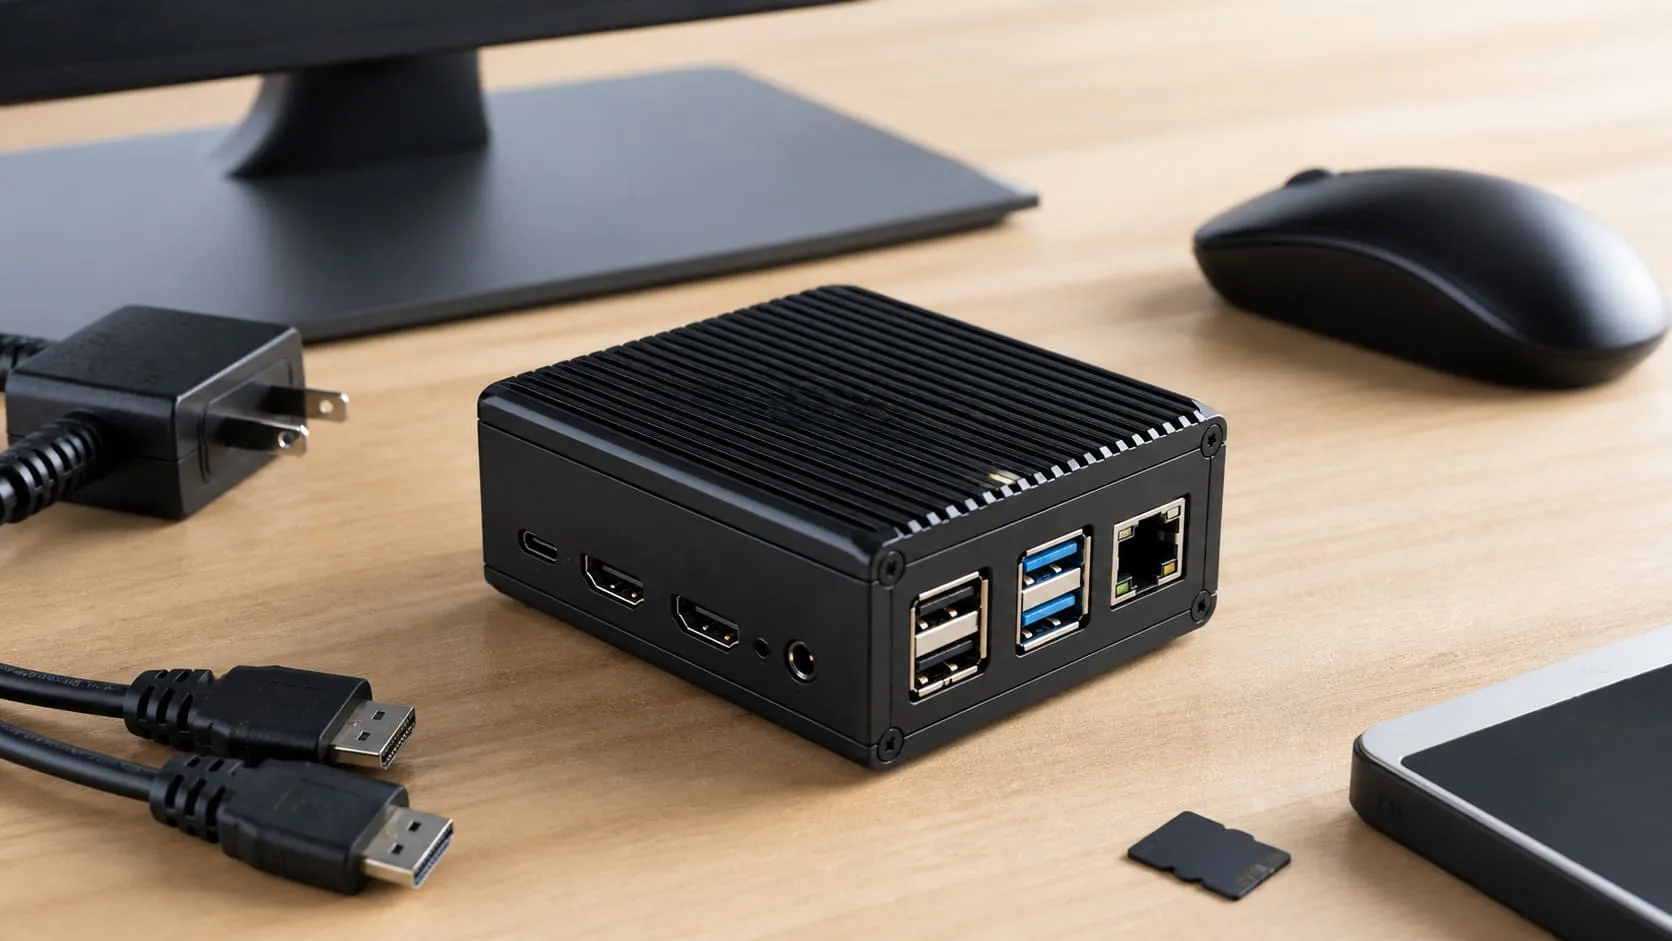
Core components: board, microSD (or SSD), 5 V/3 A-plus power supply
A high-endurance microSD beats a cheap one that dies mid-demo. For nonstop logs, use SSD via USB 3.0.
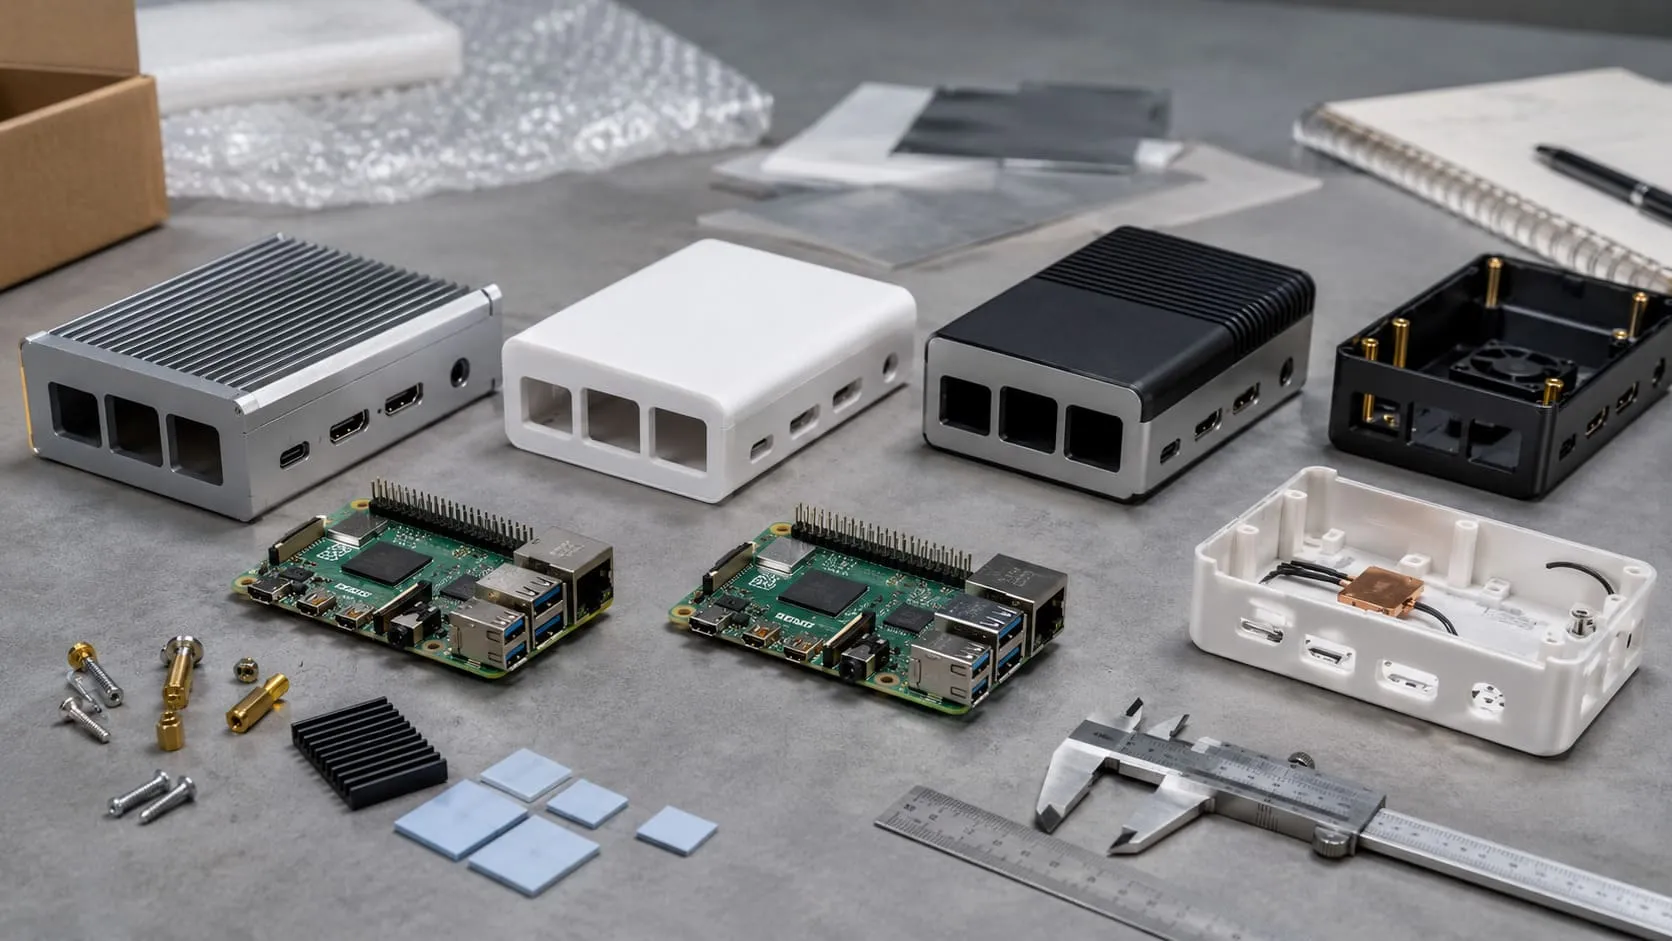
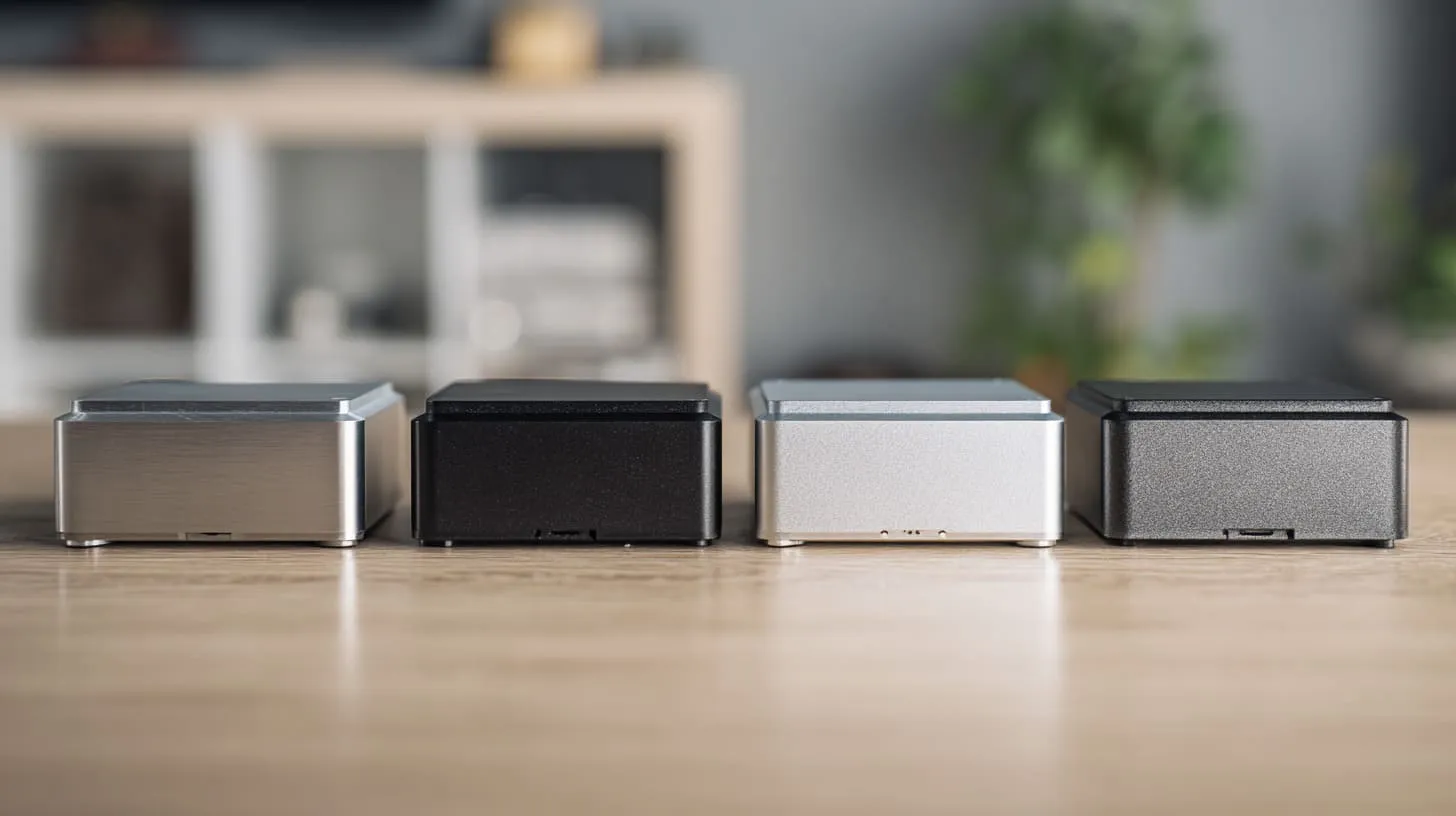
Recommended accessories: case, heatsink, fan, HDMI & USB-C cables
I keep a stack of MaidaTech cases—vents aligned with Pi 4’s hot-zones. Clip-on fans drop temps by 15 °C in summer runs.
Optional add-ons: camera, sensors, HATs, PoE hats
Add what the project needs—nothing more. Extra modules raise thermal and power budgets.
Sourcing options—retail vs. wholesale vs. OEM (where MaidaTech fits)
| Option | Qty | Lead Time | Branding | Unit Cost |
|---|---|---|---|---|
| Retail | 1-5 | Instant | None | Highest |
| Wholesale | 50-500 | 1-2 weeks | Label only | Medium |
| MaidaTech OEM | 500-5 000+ | 3-4 weeks | Engrave, custom case | Lowest |
Hardware boxed, now we feed the brain with an OS.
Preparing Your microSD Card

Downloading and installing Raspberry Pi Imager
Grab it from the official site, install, and open. Simple.
Choosing the right OS (Raspberry Pi OS, Ubuntu, LibreELEC, etc.)
Classroom code? Pi OS.
Kubernetes edge node? Ubuntu Server.
Home theater? LibreELEC.
Flashing the image step-by-step
Insert microSD.
Select OS.
Click Advanced to pre-set Wi-Fi and SSH.
Write. Wait. Breathe.
Enabling headless features (SSH, Wi-Fi credentials, hostname)
Use Imager’s advanced menu or drop an ssh file in /boot. Never ship with default pi/raspberry credentials.
Card ready. Let’s see some LEDs blink to life.
First Boot & Initial Configuration

Connecting peripherals or booting headless over SSH
HDMI + keyboard feels safe on day one. Soon you’ll trust headless—just remember the IP in your router table.
Running the setup wizard: locale, password, updates, interfaces
Change locale first; garbled symbols waste hours. Then run updates—bugs hide in old packages.
Expanding the filesystem & changing default user
Run raspi-config, option 6. Set your own user—makes auditors happy.
Joining Wi-Fi/Ethernet securely
Use WPA2 or better. Factory floors prefer VLAN-segmented Ethernet—one mis-cabled port can brick multiple lines.
Booted, but a neglected Pi ages like milk. Time to maintain.
Updating, Securing, and Maintaining Your Pi
Keeping packages and firmware current (sudo apt update && full-upgrade)
Schedule a weekly cron. No excuses.
Basic security hardening (SSH keys, firewall, fail2ban)
Disable password login, enable UFW, set fail2ban for persistent bots.
Backing up your microSD & cloning images for scale-out
rsync to NAS or clone with dd. I keep a golden image tagged with date and project name.
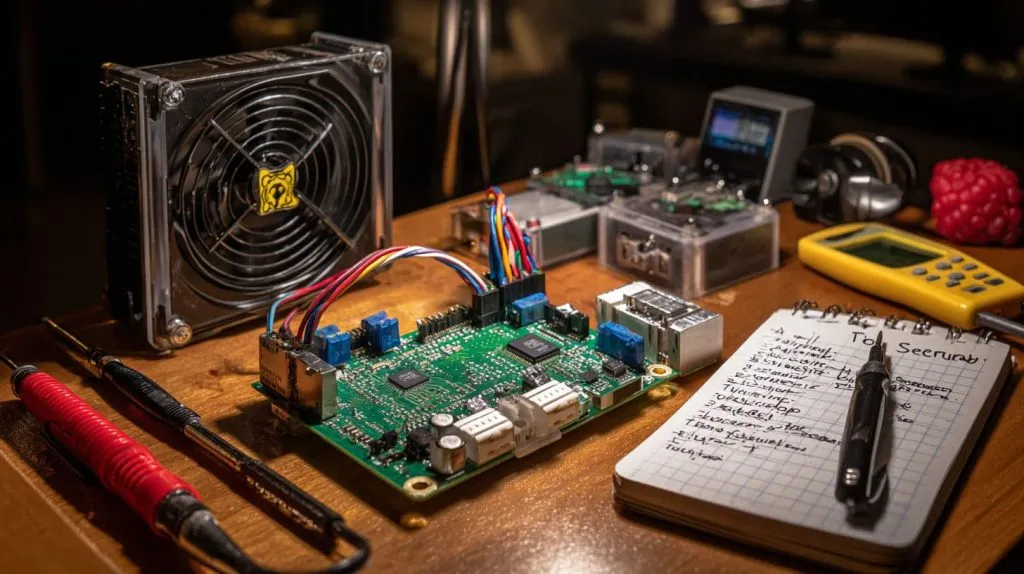
Monitoring temperature, voltage, and throttling
vcgencmd measure_temp. If you hit 80 °C, rethink cooling or workload.
Healthy Pi ready—let’s make it do something useful.
Your First Hands-On Projects

Blink an LED with GPIO (hardware “Hello World”)
Wire LED to GPIO 17 and ground through a resistor.
import RPi.GPIO as GPIO, time
GPIO.setmode(GPIO.BCM); GPIO.setup(17, GPIO.OUT)
for _ in range(10):
    GPIO.output(17, True); time.sleep(0.5)
    GPIO.output(17, False); time.sleep(0.5)
GPIO.cleanup()
A tiny light, but a huge confidence boost.
Build a plug-and-play media center with Kodi
Install LibreELEC, plug into TV, control by phone. Great for client demo booths.
Spin up a personal file server/NAS with Samba
Share folders across office laptops. Add SSD for speed.
Automate a daily task with a Python script & cron
I log workshop air quality every 15 minutes; a simple sensor plus script saved us from a fume mishap once.
Projects hum until something snaps. Let’s prepare for that.
Troubleshooting Common Beginner Issues

Pi won’t boot: LED codes & power checks
| LED Pattern | Meaning | Fix |
|---|---|---|
| Solid red, no green | No boot code | Reflash card |
| Red flashes 4 times | Power too low | Use 5 V/3 A supply |
| Green blinks 7 times | Kernel fail | Re-copy kernel.img |
No display or network: HDMI config & headless rescue
Try hdmi_safe=1 in /boot/config.txt. Or nmap your subnet to find the Pi.
Overheating and throttling: diagnostics & cooling fixes
If vcgencmd get_throttled returns 0x50005, you are throttling on heat and voltage. Mount heatsink and dedicated PSU.
GPIO pin-numbering confusion: Physical vs. BCM maps
Print both maps and tape them to your bench. Saves tears at 2 a.m.
Once stable, turn one success into a thousand units.
Scaling Up: From Prototype to Production
Selecting rugged cases & thermal solutions for 24/7 uptime
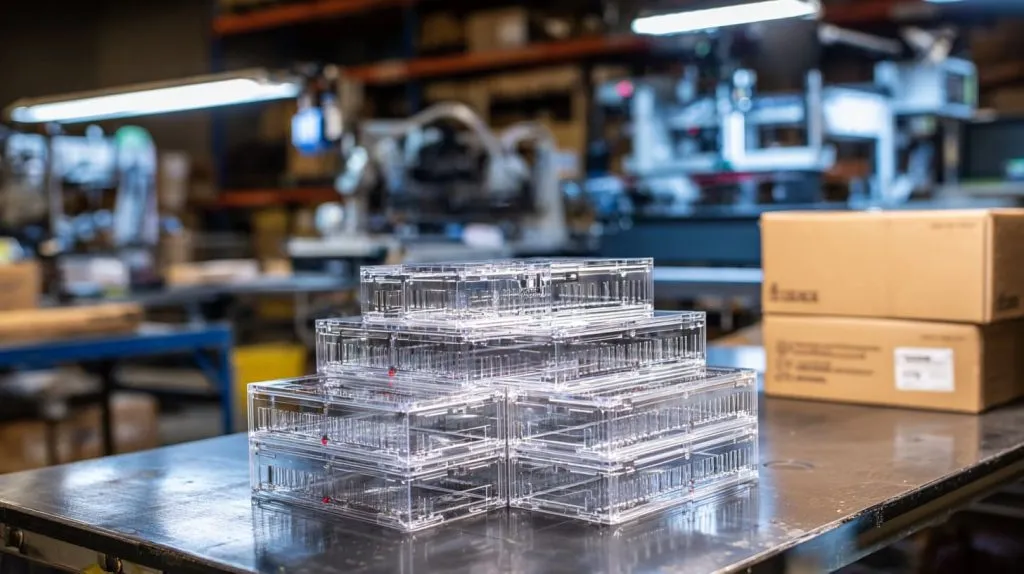
Fanless aluminum cases with heat-pipes shine in dusty plants. Plastic works in classrooms.
Managing fleets of Pis with Ansible, MDM, or PiCockpit
Automate updates, push configs, and track health from a single dashboard.
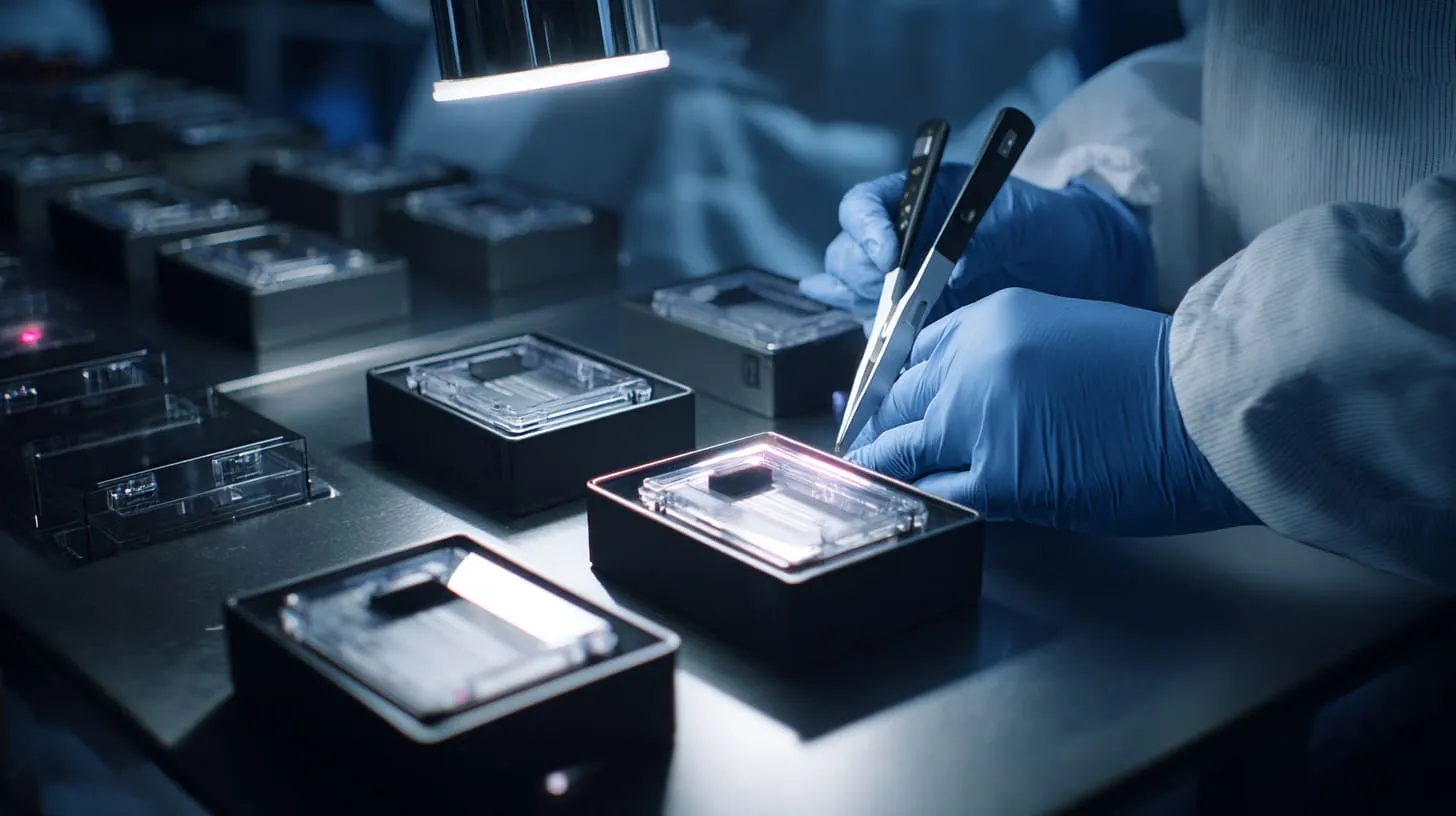
Custom branding & enclosure options (MaidaTech OEM/ODM services)
We laser-engrave logos, pre-install HATs, and ship units labeled and boxed—ready for Amazon FBA.
Bulk sourcing tips for resellers, distributors, and project buyers
Forecast demand in quarters, not weeks
Mix stock orders with drop-in replacements
Negotiate buffer inventory near shipping hubs
And just like that, the blinking board becomes a business tool.
Conclusion
Quick recap of your setup journey
You chose the right Pi, built a clean image, booted, secured, and stretched it from one LED to a fleet.
Next steps: advanced projects, community forums, official docs
Dive into camera ML, join the Pi forum, fork my GitHub setup scripts, and keep tinkering.
Invitation: Contact MaidaTech for custom cases, power supplies, and bulk orders
If your next step needs solid enclosures, pre-flashed cards, or a thousand units with your logo, drop me a line at [vincent@maidatech.com](). Let’s build something that blinks—and profits—together.