
When you're holding a bare circuit board in one hand and a mess of cables in the other, it hits you—this setup needs protection. Not just something to cover it, but something that looks right, feels solid, and won’t melt when things heat up. That’s where a proper plastic case makes all the difference.
A good electronics case isn't just about shielding components from dust or bumps. It's part of the product’s identity. It tells people how much care went into the build. It gives your brand a chance to show up—through texture, color, engraving, or even the way it clicks shut.
I’ve been through this journey many times, both for our own Raspberry Pi cases and for our clients’ custom designs. Some start with just a sketch, others with a 3D model in hand. Either way, the path from idea to real plastic case involves thoughtful design, smart material choices, testing, and more than a few decisions that affect cost and quality.
In this guide, I’ll walk you through the essentials—step by step. Whether you're designing your first plastic case or improving an existing one, this should help you build smarter, avoid common mistakes, and get to a finished product you’ll feel proud to deliver.
Design Considerations
Material Selection

When I pick materials, I always think: strength, look, cost. What follows are things I’ve learned and observed.
Types of plastics
- ABS (Acrylonitrile Butadiene Styrene): good toughness, low cost, common in electronics cases.
- PC (Polycarbonate): stronger, more heat resistant, more expensive.
- Acrylic: good clarity, often used for windows or see‑through parts.
- PET: lighter, recyclable.
Pros & cons (examples)
| Material | Strength / Durability | Cost | Appearance | Heat / UV stability |
|---|---|---|---|---|
| ABS | Good shock resistance | Low‑medium | Matte or semi‑gloss | Moderate heat, not best UV |
| Polycarbonate | Very strong, withstands impact | Higher cost | Can be glossy, clear, or colored | Good with heat, better UV than ABS |
| Acrylic | Rigid, clear | Moderate | High clarity, looks premium | Lower impact resistance, cracks easier |
Environmental / Safety Factors
- Fire rating / flammability: some plastics burn more easily.
- RoHS compliance: electronics markets often require it.
- Recyclability: using recycled plastics helps; also think of the case’s end life.
After material, I always check structure. It makes or breaks how durable and usable the case is.
Form & Structure Design
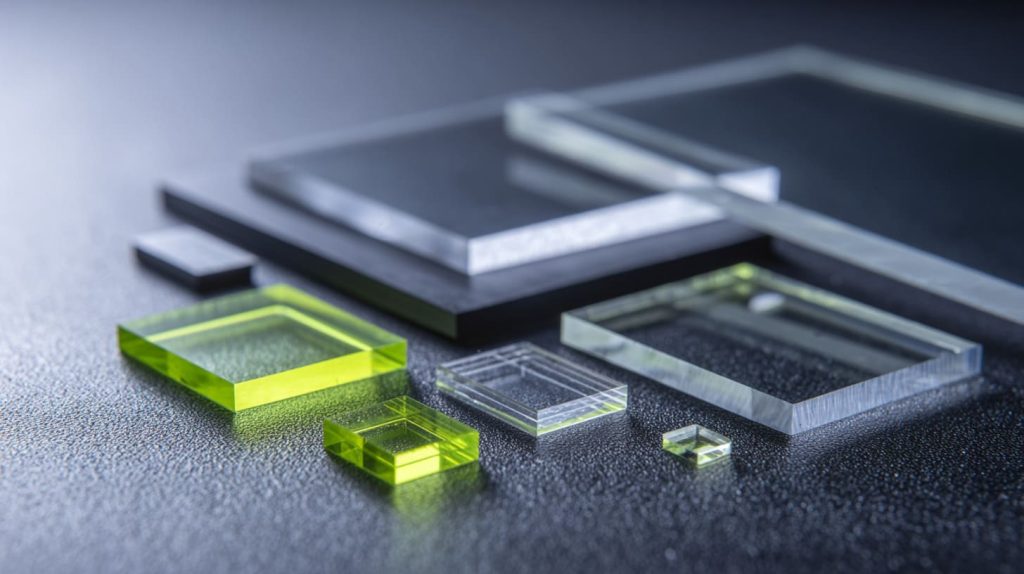
Getting the shape, walls, holes, all correct is harder than it looks. Tiny mistakes cost big later.
Size & dimensions
- Measure internal components accurately. Leave space for screws, wires, connectors.
- Think of tolerance: parts move, devices heat up, plastic expands somewhat.
Wall thickness, ribs, bosses
- Walls too thin → warp, weak. Too thick → cost, cooling issues.
- Ribs and bosses help strengthen without adding a lot of material. Also help for fastening screws.
Draft angles, fillets, radii
- If you’re making molds, draft angles help release the part. Without draft, the case may stick or damage.
- Fillets or rounded edges reduce stress concentrations. Corners with sharp angles often crack.
I once designed a case without enough draft; mold builder warned me the part would stick badly. I had to redesign. That cost me time. The lesson: think ahead in structure, not just look.
Thermal & Environmental Requirements
Electronics get hot. Environments vary. If you ignore these, case fails early.
Managing heat sources inside
- Use vents or louvers where needed.
- Add heat sinks. Maybe thermal pads to carry heat to case.
- Allow airflow paths if device generates heat.
Environmental exposure
- Moisture, dust: should you aim for IP rating (Ingress Protection)? Perhaps seal edges or use gaskets.
- Outdoor usage? UV light can degrade plastic. Might need UV‑stable grade.
UV, chemical, wear & aging
- Some plastics yellow with UV. Others degrade from chemical exposure (oils, cleaners).
- Wear: buttons, mounting points—choose reinforced areas.
I saw one of my cases outdoor in sunlight for months—it faded and got brittle edges. Switched to UV stabilized PC, problem reduced.
Aesthetic & Branding Features
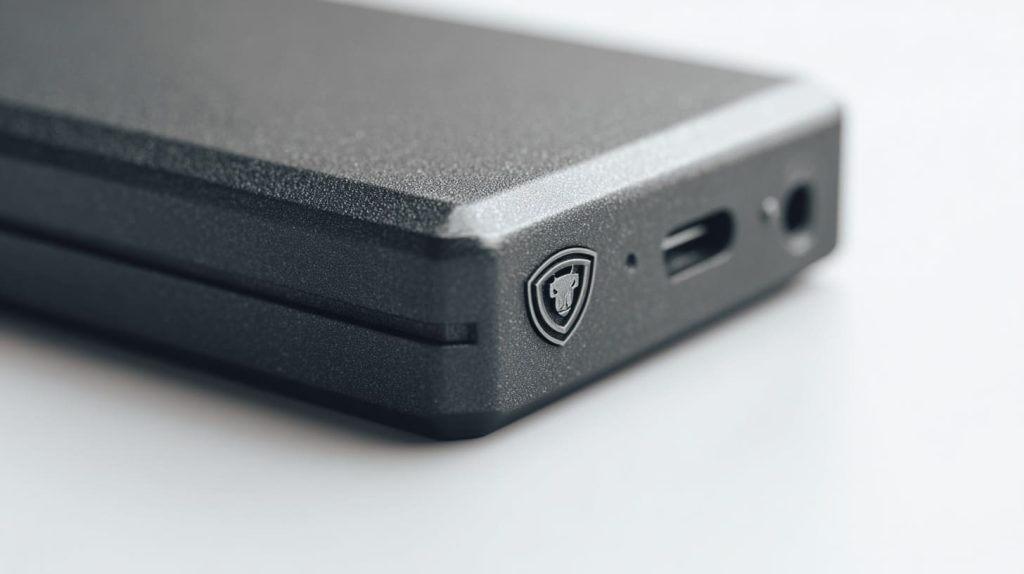
Looks matter. Your customers see the case first. Let’s make it speak your brand.
Surface finish, color choices
- Glossy, matte, textured finishes. Matte hides fingerprints; gloss shows them.
- Color matching: Pantone, or matching existing brand colors.
Logos / text: printing vs engraving vs embossing
- Printing: silk screen, pad print, UV print. Good for color and detail.
- Engraving / laser etching: permanent; can give a premium feel.
- Embossing / debossing: shape changes; needs mold or tooling.
Textures, gloss/matte finishes
- Textures hide scratches, fingerprints.
- Smooth glossy surfaces look premium but need more careful finishing.
I remember designing a case for a customer who wanted a textured “grip” on the side for better hold. The texture added small cost but made users love holding it.
Manufacturing Constraints / Cost Considerations

You may dream big, but cost & manufacturing realities tug you back sometimes.
Volume: prototype vs low volume vs mass production
- Prototypes: 1‑100 units. You can use cheaper tooling, flexible methods.
- Low volume: maybe 100‑1000. Some investment in tools; maybe small molds.
- Mass production: thousands and up. Tooling is expensive but per unit cost drops.
Tooling cost, mold lifetime, lead times
- Steel molds last longer, cost more. Aluminum molds cheaper, shorter life.
- Lead time: mold making takes weeks. If you rush, cost jumps.
Trade‑offs between upfront cost and per‑unit cost
- Spending more in design, better materials or tooling up front often saves you after many units.
- But if you produce very few, cheaper methods might be better.
To break into next steps: once design is solid, you need prototyping to test.
Prototyping Methods
3D Printing / Additive Manufacturing
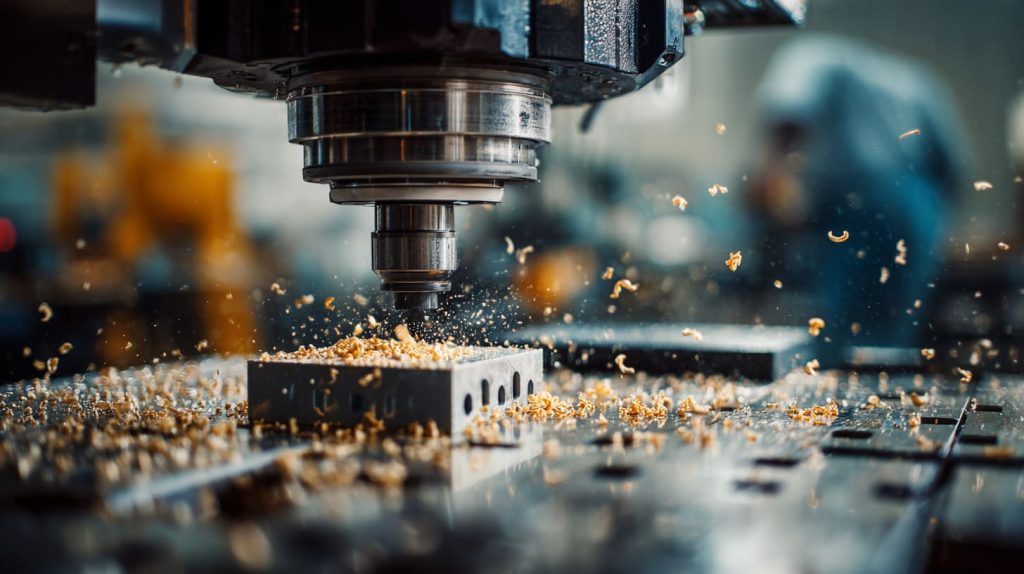
I love 3D printing. It lets me try ideas fast. But it has limits.
Types: SLA / resin vs FDM vs SLS etc.
- FDM: good, accessible. Layered finish; needs post work.
- SLA / resin: higher detail, smoother finish. Resin sometimes more brittle.
- SLS: powder based; good for complex, tough parts.
Strengths: fast iteration, low tooling cost, flexibility
- I can print a new lid design overnight.
- No expensive mold needed.
Limitations: surface finish, material properties, scalability
- Surface might show layer lines. Post‑processing needed.
- Material strength often less than molded plastics.
- Not cost‑efficient for large numbers.
When I was testing two lid designs, 3D prints saved me a lot of mold cost. But final production moved to injection mold—better strength and finish.
CNC Machining / Subtractive Processes
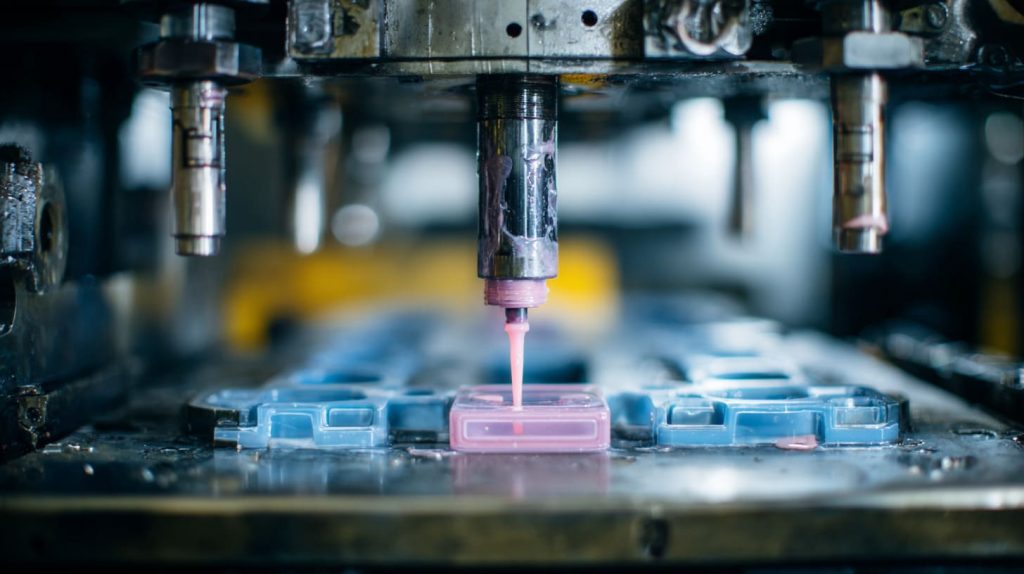
Good option when you need solid, quality parts fast.
Milling plastic sheets or blocks
- Blocks give more freedom of shape. Sheets are good for flat panels.
Creating molds or jigs for vacuum forming or injection
- Sometimes machining your mold is cheaper for low volume.
Pros / cons, costs
- Pros: strong parts, good finish, accurate.
- Cons: material waste, higher cost per piece.
Vacuum Forming / Thermoforming

If your design supports it, vacuum forming is interesting.
Process overview
- Heat a plastic sheet, pull vacuum to form over a mold.
Ideal shapes and limitations
- Works best for large shallow shapes, simpler geometry.
- Deep draws, holes, sharp undercuts cause issues.
Mold making for thermoforming
- The mold can be made from wood, aluminum, or 3D printed parts.
Silicone / Urethane Molding for Small Runs

When I only needed a few good units, this saved a lot.
Casting in silicone molds
- Make master mold, then cast parts in resin or urethane.
Low‑pressure / soft tooling methods
- Soft molds cost less, easier to change.
When this is suitable
- Prototypes, small batches, testing finishes, or small custom orders.
If you like, I can show you some real cases where these worked well. Meanwhile, mass production is next.
Mass Production Methods
Injection Molding
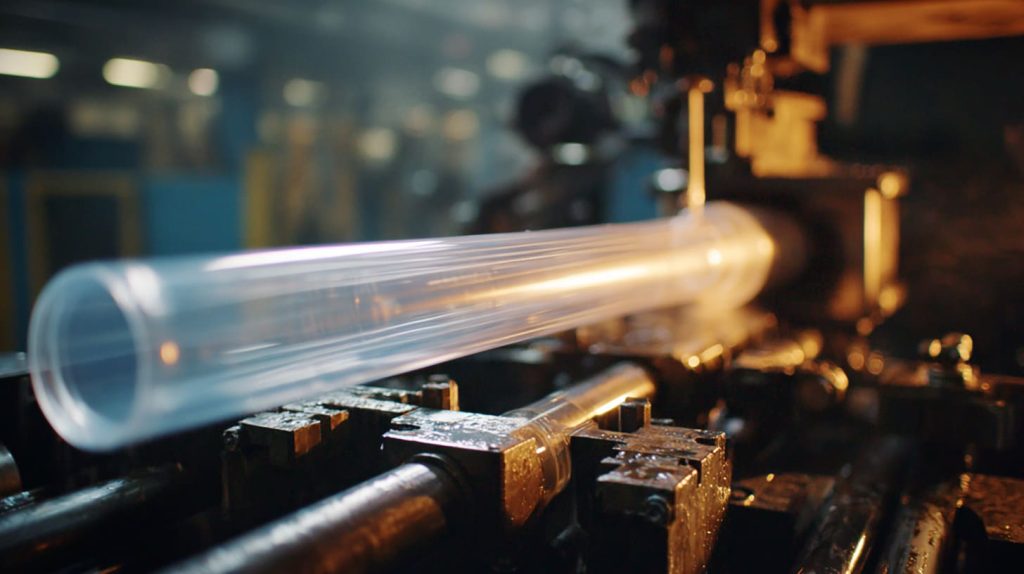
This is where things get serious. The standard for many electronics cases.
Process steps
- Mold design (with cooling channels, ejectors, etc.)
- Injection: melting plastic, injecting into mold
- Cooling & solidification
- Ejection of part
Tooling: steel vs aluminum molds; mold cost & maintenance
- Steel molds last longer, expensive.
- Aluminum cheaper, but wear out faster.
Efficiency in high volume
- Once mold is ready, units are fast and cheap.
Blow Molding / Extrusion / Insert Molding (if relevant)
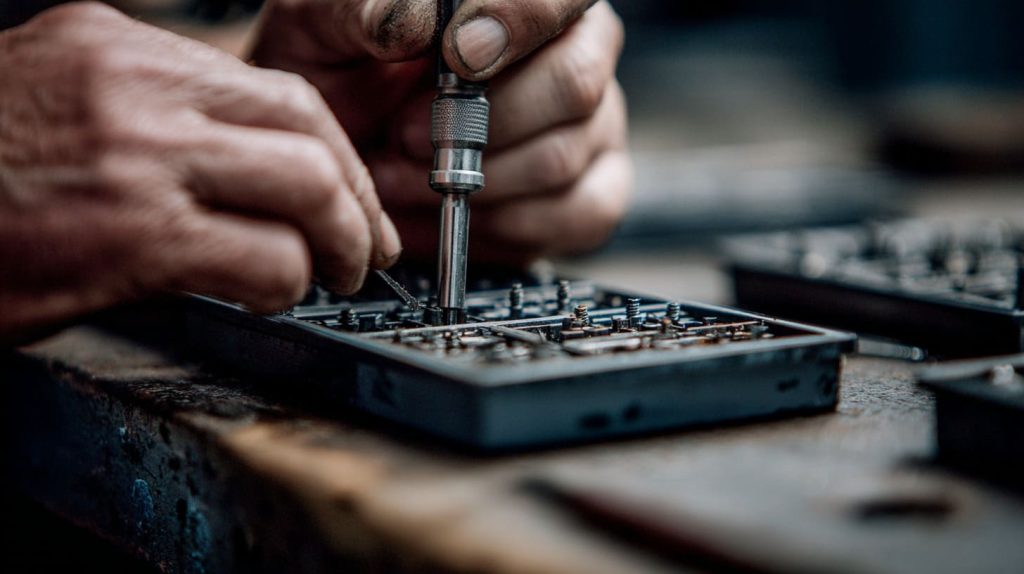
Other methods sometimes make sense.
Blow molding or extrusion for hollow or long parts
- Extrusion: profiles, tubes.
- Blow molding: hollow shapes (though less common for tight electronics cases).
Insert molding for combining metal or threaded inserts
- If the case needs metal threads, inserts, or reinforcement, this step saves labor later.
Now, even once you choose a method, getting from idea to perfect product involves a workflow and checks.
Manufacturing Workflow & Quality Assurance
From Design to Production
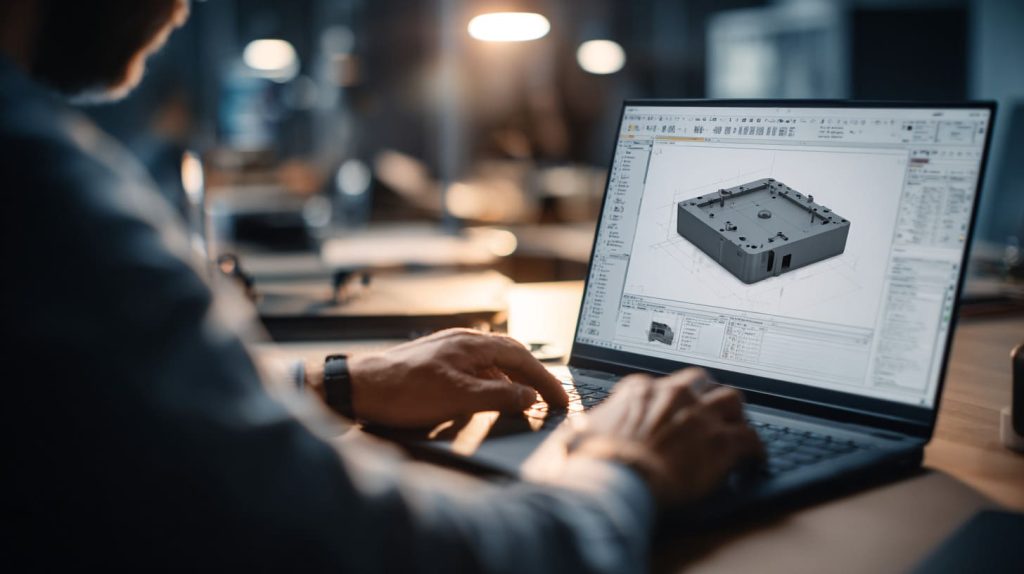
CAD modeling, prototyping, pilot production
- I always start with CAD. Then prototype. Then pilot run to test real conditions.
Design review, simulation (flow, cooling, warpage)
- Sim tools help catch issues early: will plastic warp? Will cooling be uniform?
Tooling & Mold Fabrication
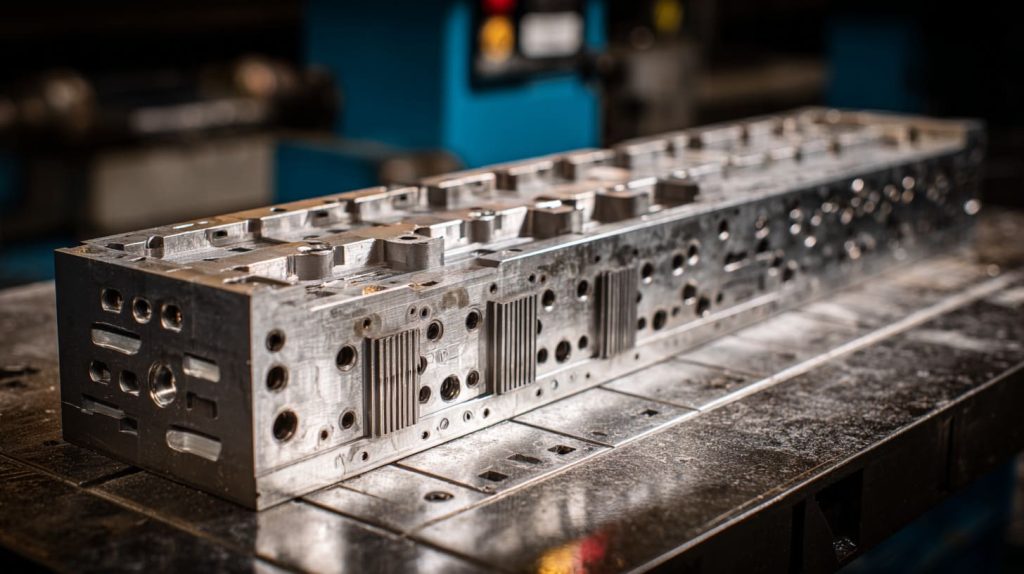
Choice of mold maker, mold material, mold design features
- Choose an experienced mold maker.
- Decide steel vs aluminum. Choose surface finish, features.
Mold inserts, cooling channels, surface finish of mold
- Inserts make changing small part features easier.
- Cooling channels reduce cycle time & reduce defects.
Testing & Quality Control
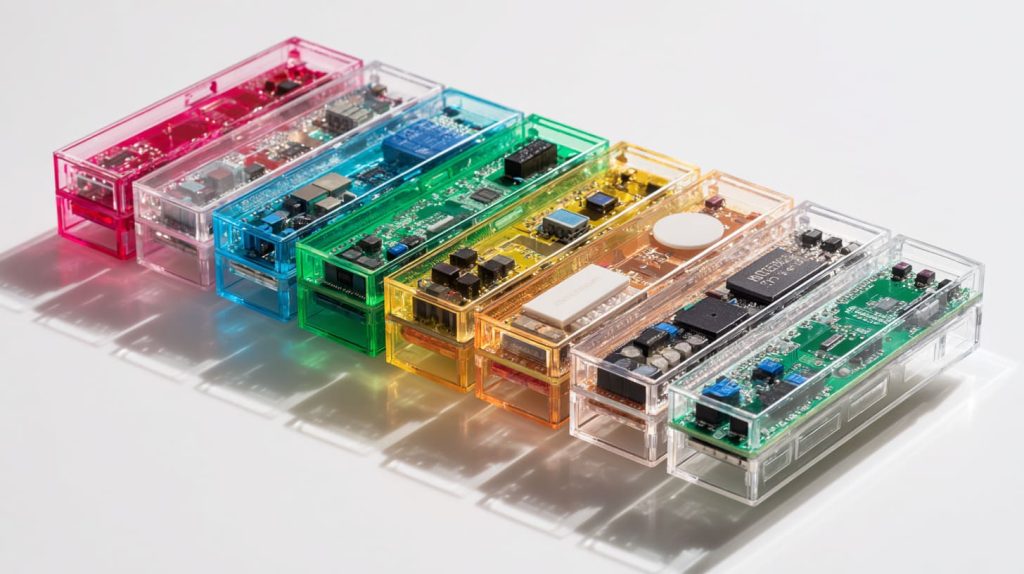
Dimensional checks, fit & assembly testing
- Use calipers, gauges to ensure everything fits.
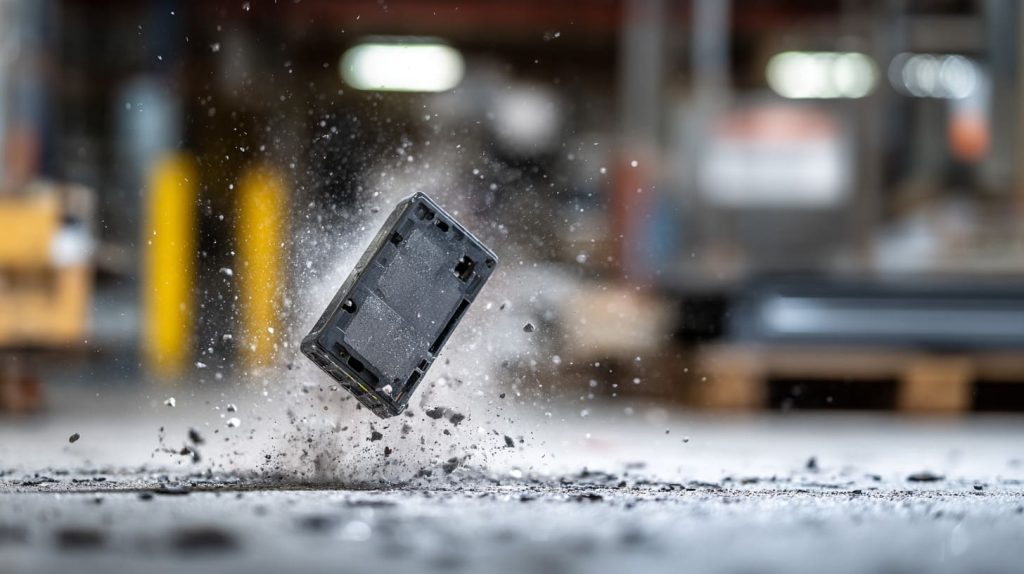
Strength / impact / drop tests
- Drop the device. Hit it lightly. Does it crack?
Environmental tests (temperature cycling, moisture, UV)
- Heat up and cool down. Wet environment. Sunlight if applicable.
Finishing & Assembly
Post‑molding finishing (trimming, sanding, polishing)
- Remove flash, smooth edges.
Painting, printing, engraving, pad printing, silk screen
- Choose finish method. Some need masking, some can be done in mold.
Assembly: fastening, sealing (gaskets, O‑rings), hardware inserts
- Screws, clips, seals.
Once you know how to build, cost & lead time become crucial.
Cost & Lead Time Management
Estimating Cost Components
| Cost Factor | What contributes | Why it matters |
|---|---|---|
| Materials | Type of plastic, additives, coloring | Affects cost per unit and durability |
| Tooling / mold | Steel vs aluminum, complexity, features | Big upfront cost |
| Production per unit | Cycle time, labor, finishing | Lowers with scale |
| Packaging & shipping | Boxing, labels, transport | Can eat margin if ignored |
Reducing Lead Time & Risk
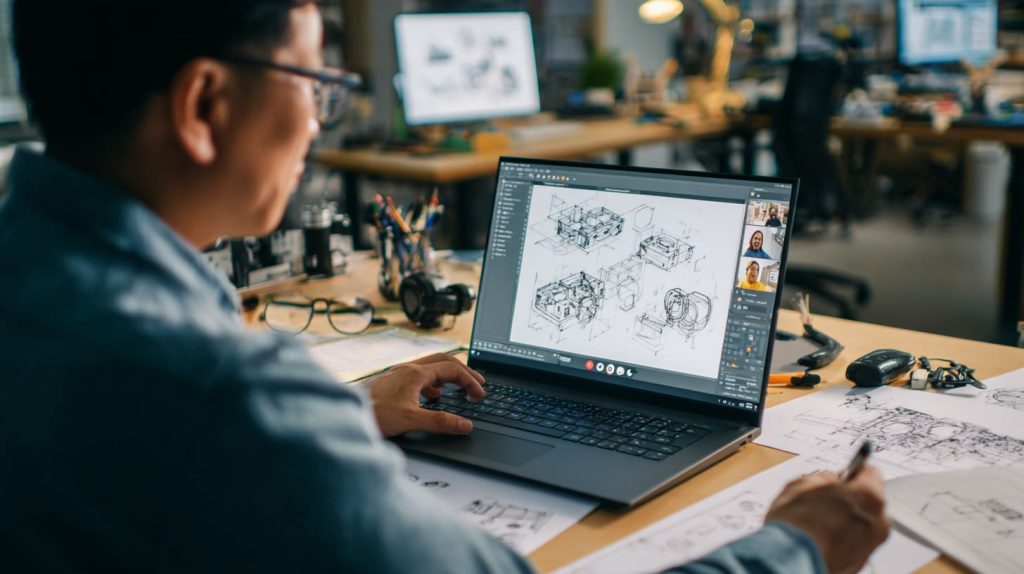
- Start prototyping early.
- Be clear when you send designs: measurements, tolerances, finishes.
- Choose suppliers who communicate well.
Scaling from Prototype to Volume Production
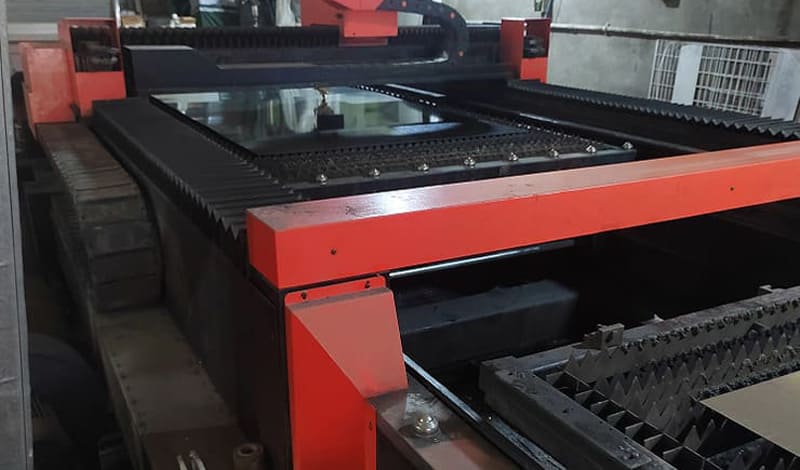
- Watch mold lifetime: steel molds degrade slowly; aluminum faster.
- QC processes need to scale: what works for 10 units may break at 1000.
- Cost per unit will drop, but mistakes at scale are more costly.
Case Studies / Examples (Optional)

I’ll tell two stories based on my work. These may help you avoid pitfalls.
Example 1: Small‑volume custom maker case
I had a customer who needed 50 units of a custom Raspberry Pi case. We used 3D printing for prototypes. Logo printed UV‑print. Final batch was made via a small steel mold injection. Cost per unit dropped by nearly 60% compared to making each by prototype alone.
Example 2: Mid‑volume product: Raspberry Pi case
Another time I helped a re‑brand seller scale up. First version used ABS with open top. Customers complained about heat. For second version, we switched to polycarbonate, added vented slots, and improved logo engraving. Sales rose. Returns for overheating dropped.
Conclusion
In making plastic cases, every decision matters. Material, design, prototyping, manufacturing—all shape the final product you deliver.
You must balance cost, look, performance, and time. Sometimes paying a bit more up front (better mold, better material) gives payoff later.
Here is a checklist to keep you on track:
- Measure internal components & plan tolerances
- Choose material suited for strength, heat, UV, brand look
- Prototype with 3D print or soft tooling to catch issues
- Design mold with release angles, ribs, bosses for strength
- Test early: drop, heat, environment
- Finish well: surface, brand name, logo method
If you follow these steps, you’ll make plastic cases that protect, impress, and sell. I’ve done it many times. You can too.




